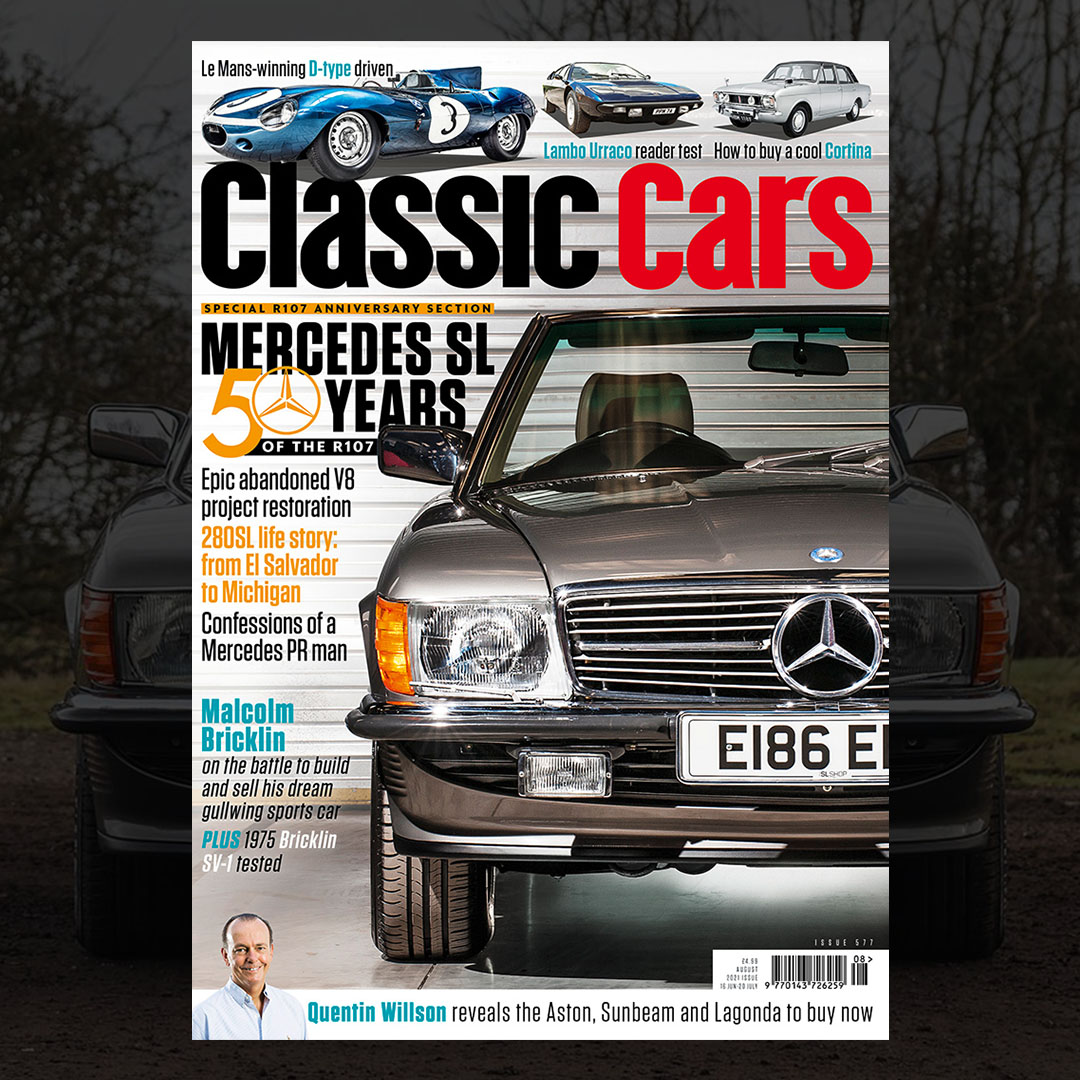
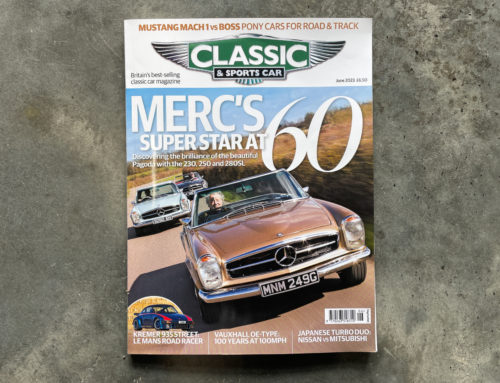
Classic Mercedes Magazine, Issue 577
Words: Nigel Boothman
It was just a bare Mercedes 420SL shell on a spit,’ says Sam Bailey, founder of Mercedes R107 SL specialist The SL Shop. ‘Everything else was packed into boxes. Lots of boxes. We bought it from seeing a few photos – it seemed like it would be a good parts haul.’ The SL Shop’s parts department had been offered the car in sad circumstances. A customer had become ill and was unable to finish the restoration he’d started. Once Sam had seen the car in the metal, he realised it deserved a different fate. ‘The repairs I could see were not quite to SL Shop standards but for a home restoration, they’d been very carefully executed. Although dismantled, the car seemed to be complete and there were some well-restored components. The engine had supposedly been rebuilt. What’s more, this was a 420SL – it’s the least numerous R107 model.’
This left Sam in an unusual position.
The SL Shop is always busy with customer restorations, but now they’d have to find time for their own project. In the end, it disappeared under a dust sheet for a few years as the business grew and grew, but in 2019 Sam made the space and time available to begin the work. With so much experience of this model, surely his staff could throw it together in a few weeks? Well, no – it’s not quite as simple as that.
‘To restore the car to our standards we couldn’t take for granted that anything was correct. So even though we started with a repaired bodyshell, we had to strip it all over again and begin from the beginning. It was going to be a huge job.’
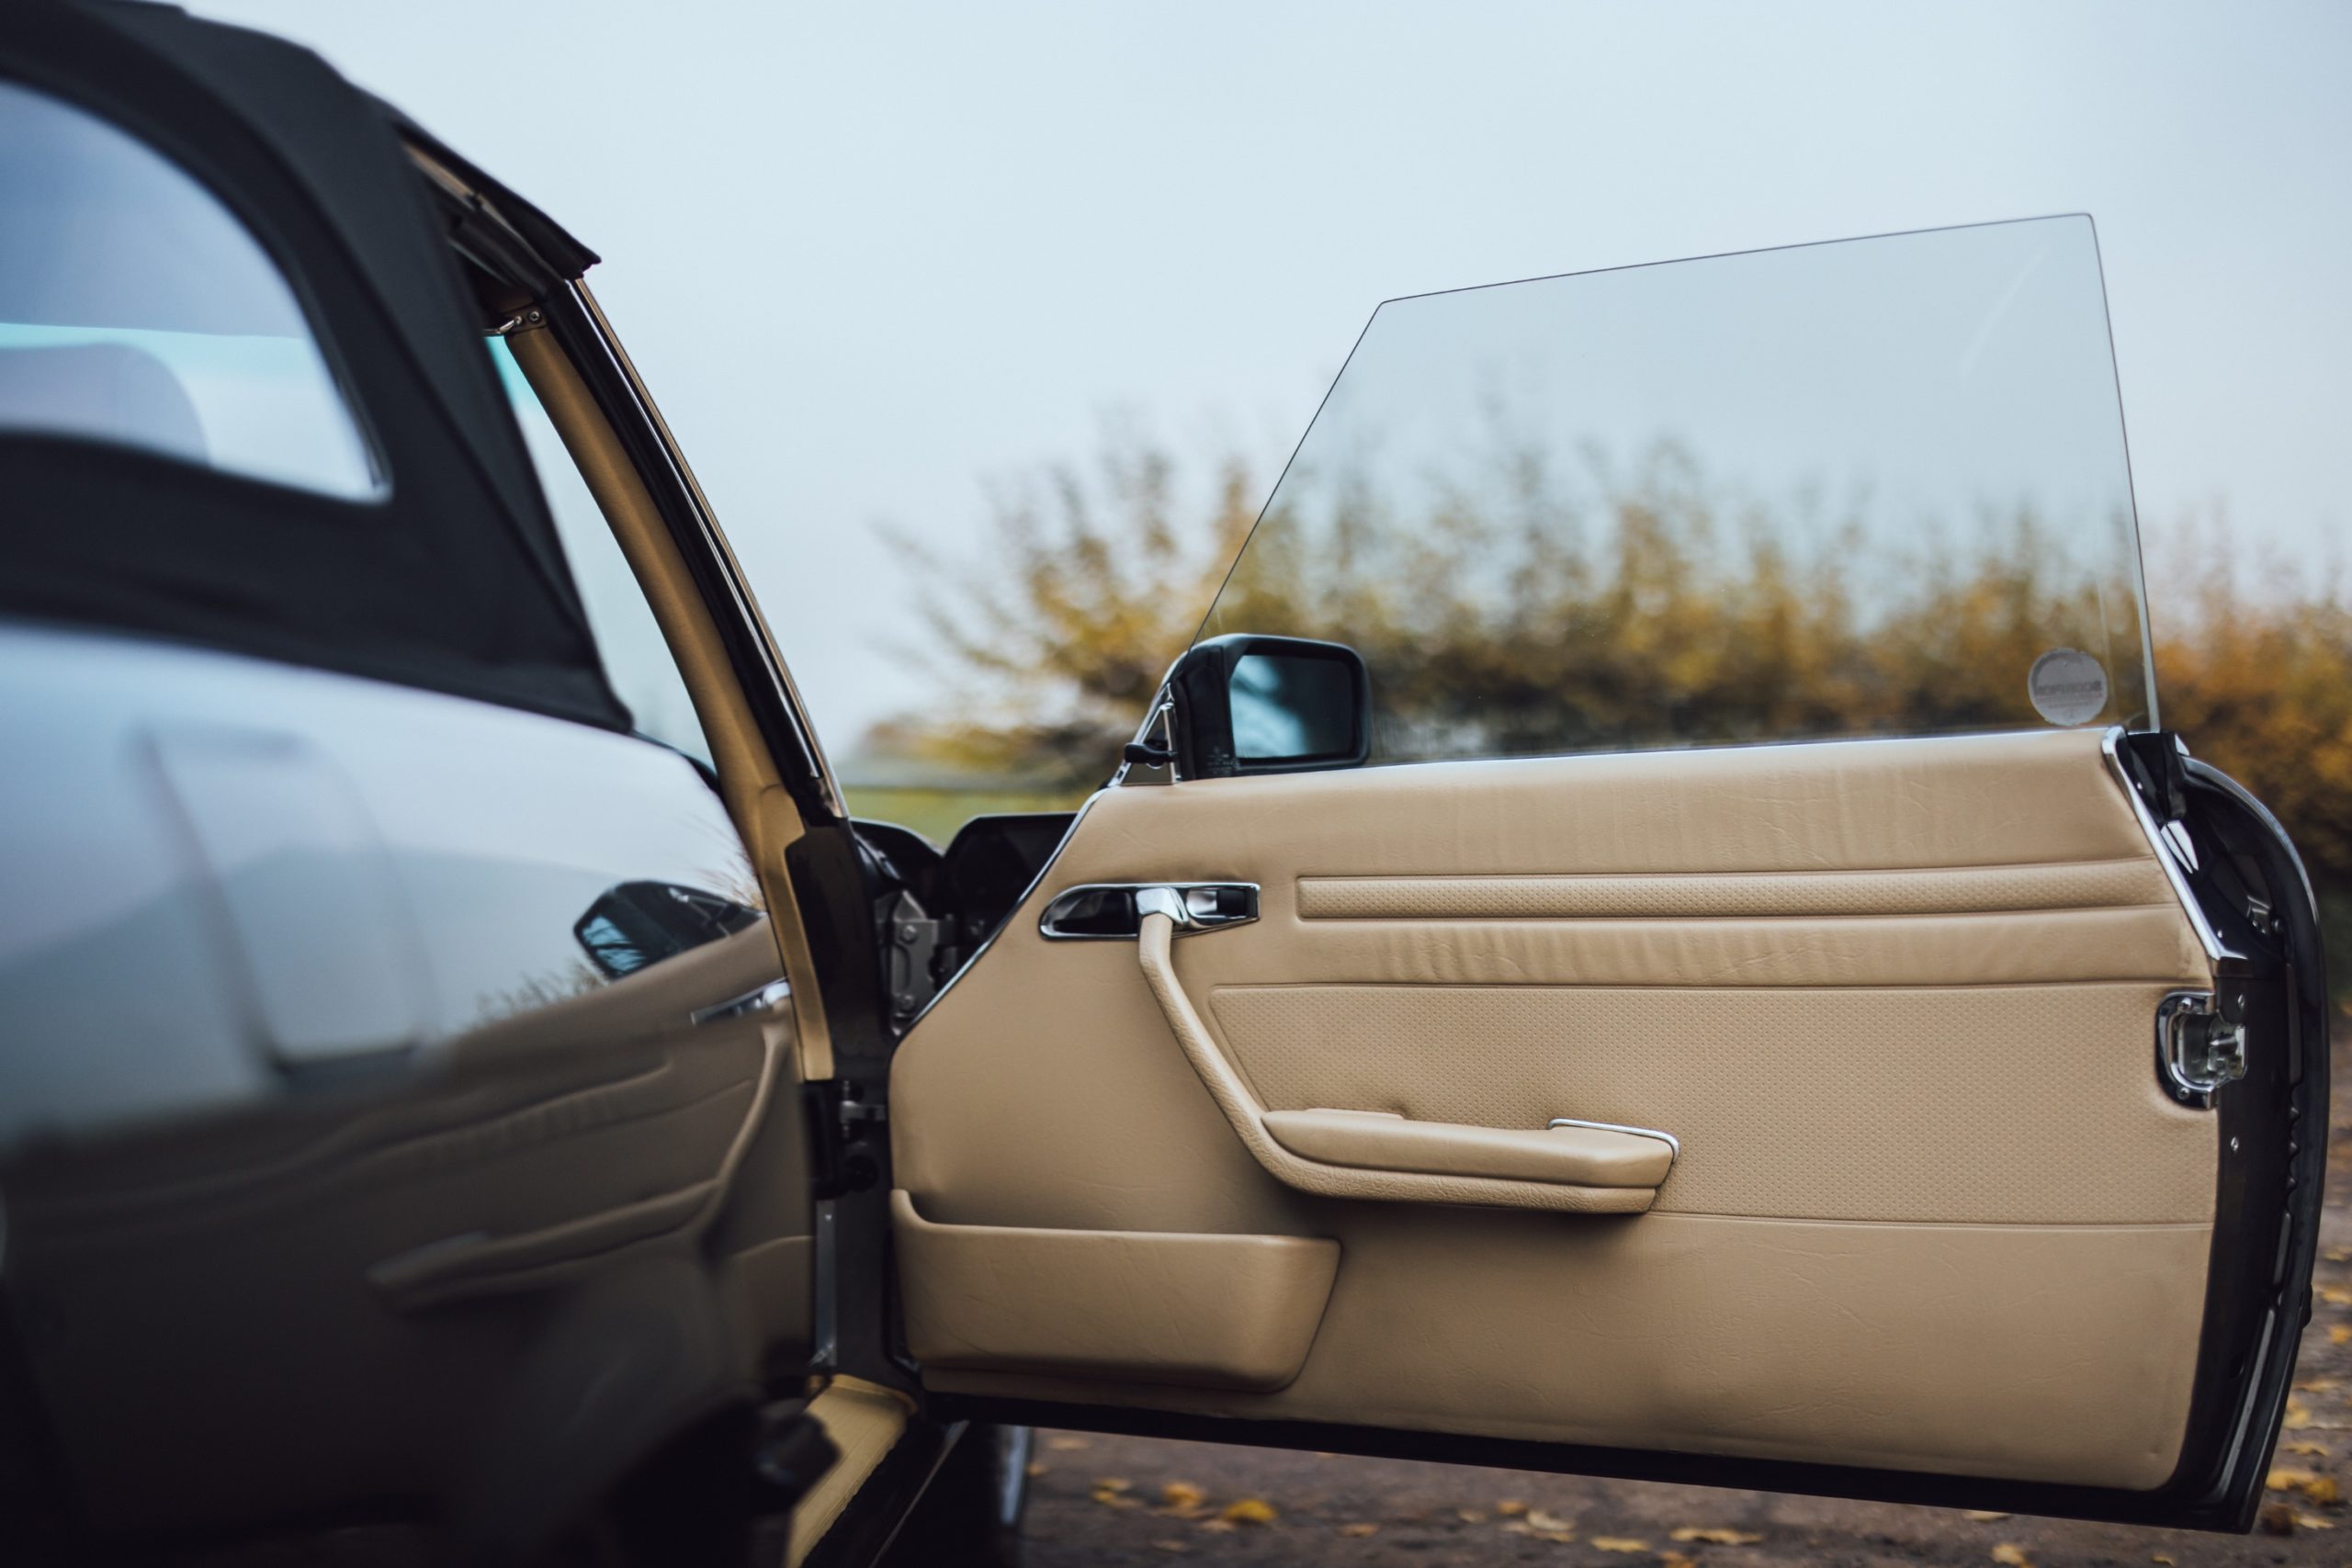
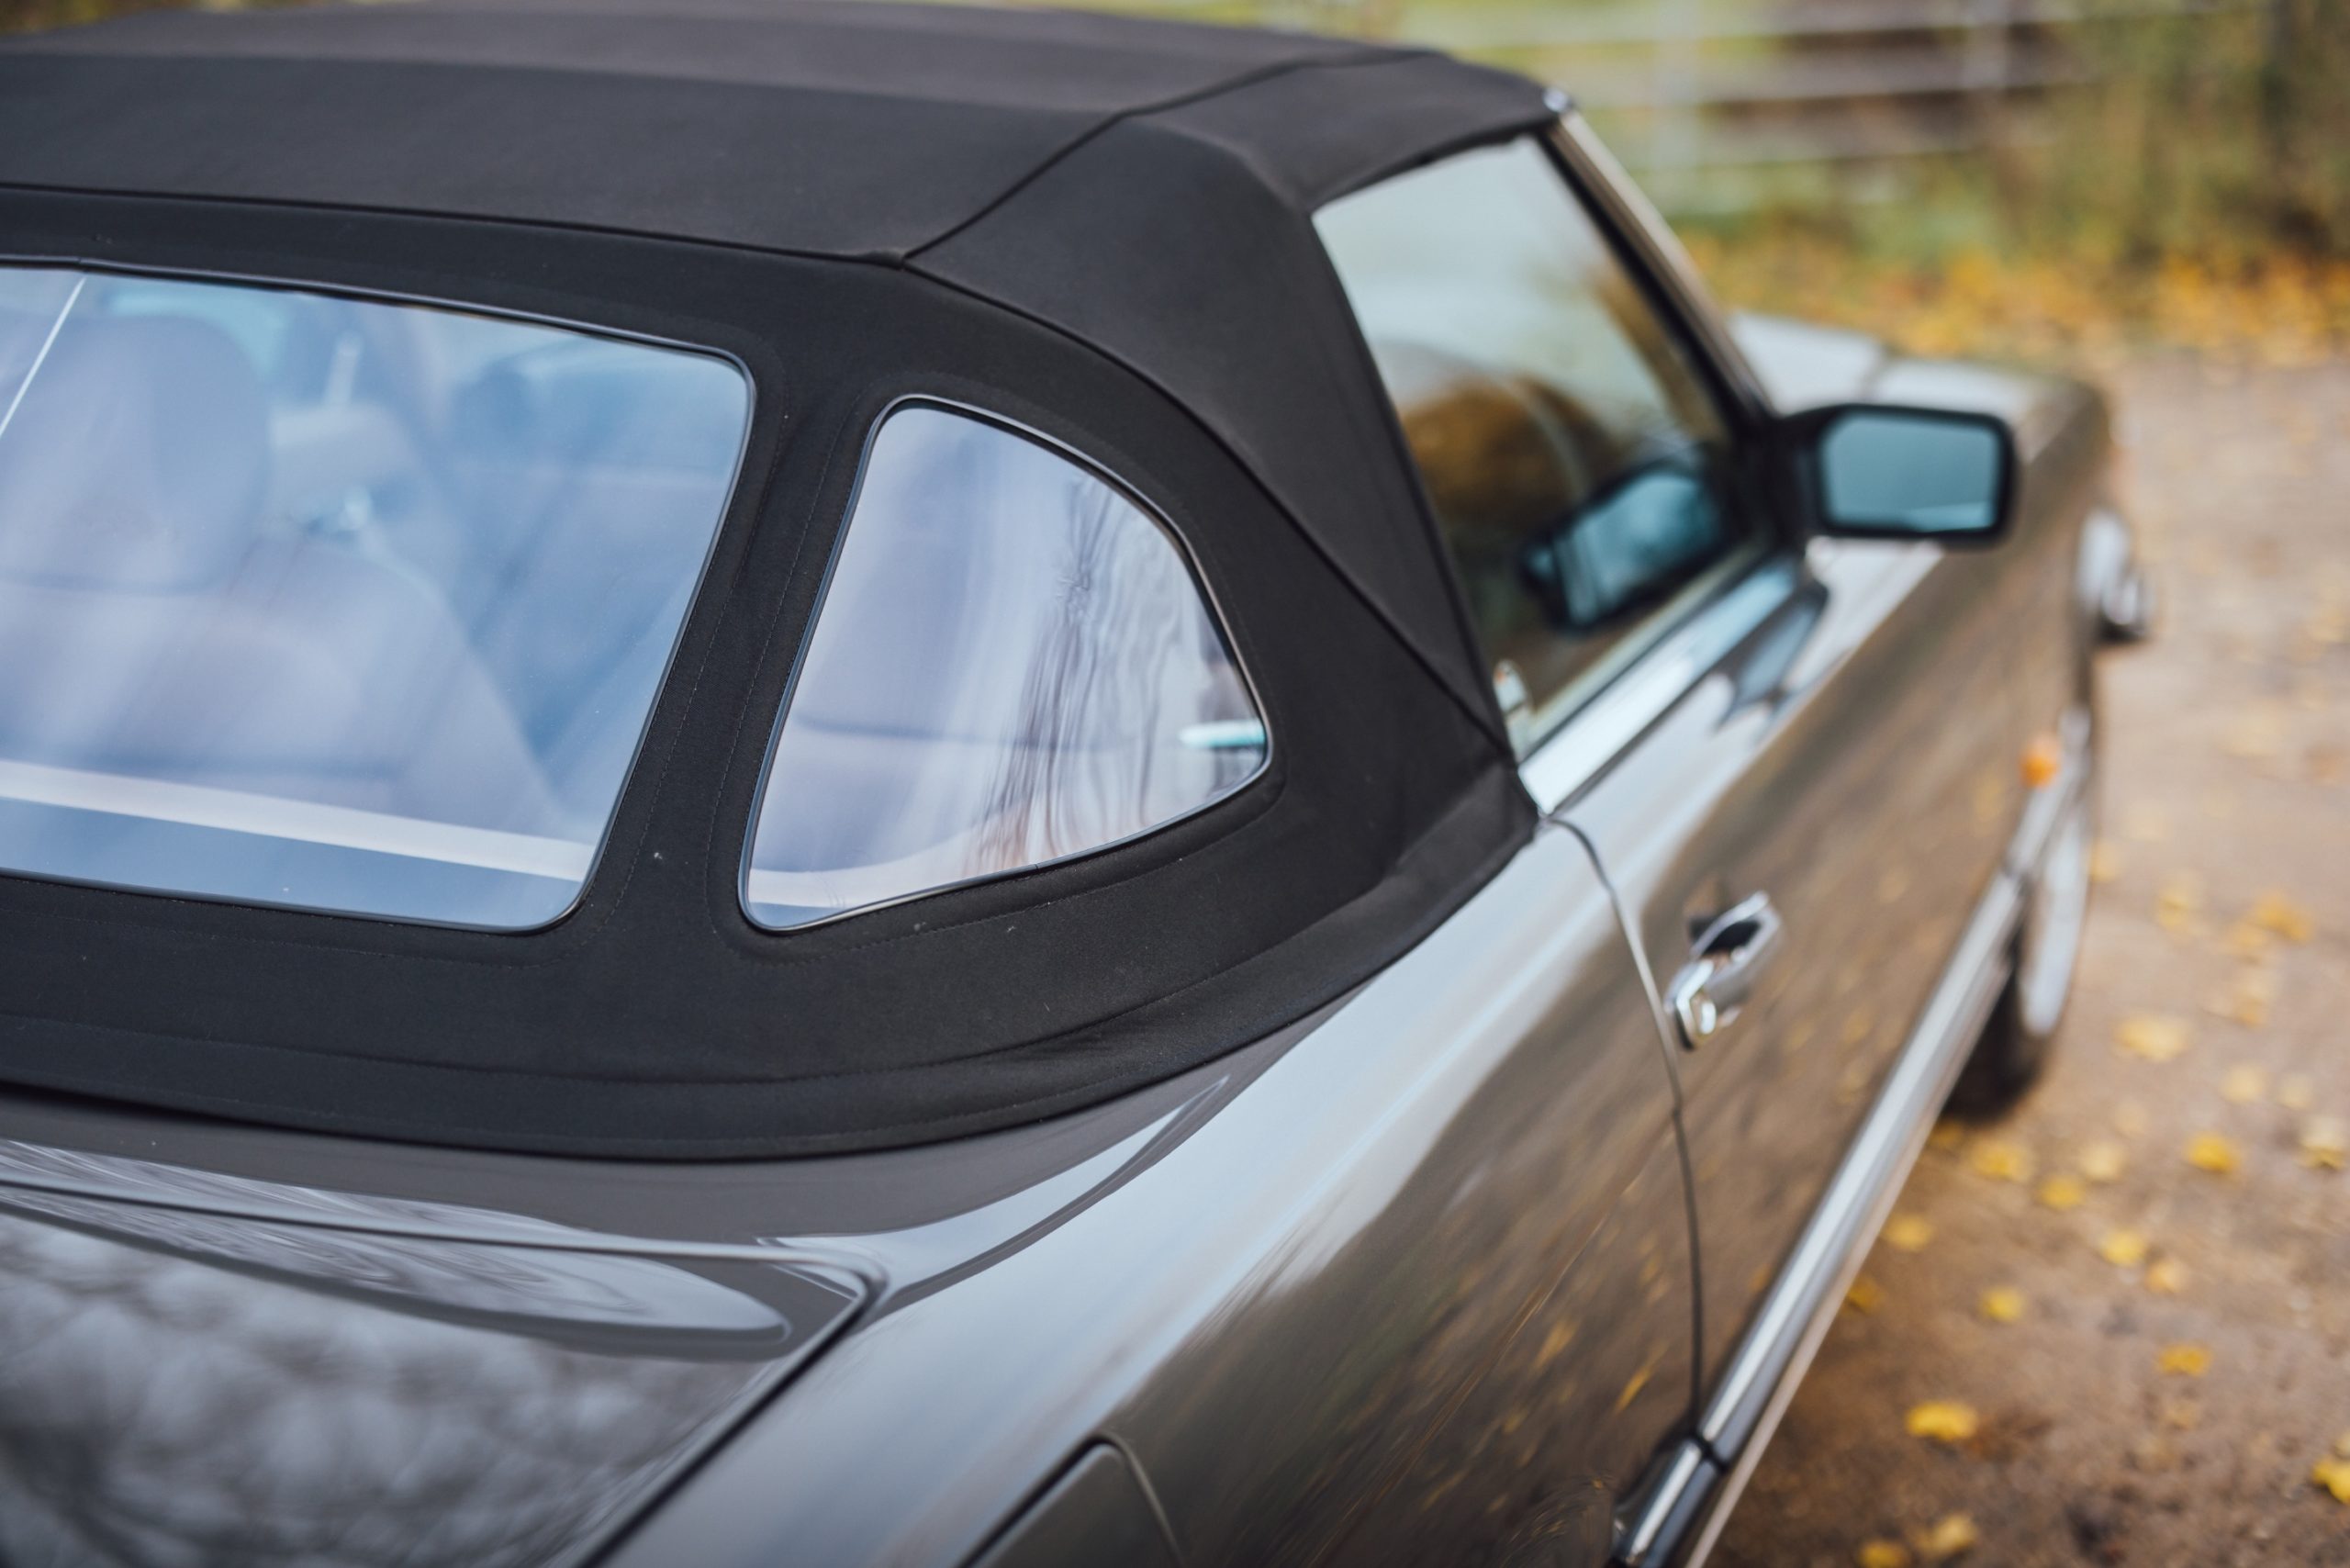
Low point: ‘Alignment of the door glass for a snug fit in both hard- and soft-tops. This job robs you of hours and fills the swear jar!’ Sam Bailey
First, peel the orange
The car’s bodyshell arrived in a coat of orange-red primer, covering up lots of seam sealer and making the repairs hard to judge. Rob Mccormack, Restoration Specialist at the SL Shop, knew what had to happen next. ‘We took the whole lot off with a wire wheel,’ he says. ‘It’s only by looking at the bare metal that you can be sure of the work. The gentleman had done a good job but we have specific measurements that aren’t available to the home restorer and I found a few things I needed to re-do.’
The first of these was pretty intimidating. The bulkhead in an R107 is a crucial structural feature but it’s about as close as these durable cars come to having a weak point. Water gets trapped near the top and it rusts through, as it must have done on this car. The previous owner had taken the bold step of ordering a new bulkhead – and it looked like an SL Shop part – to install himself. To anyone but Rob Mccormack, it looked fine.
‘The angle at which it sat wasn’t quite right,’ he explains. ‘I had to cut the welds, gently tap it into place and then re-weld the whole thing. The fit of the bulkhead doesn’t just affect the panel fit for the rest of the car but also the heater box. If it’s got too much or too little room, it can rattle or vibrate whenever the blower motor is used.’
Elsewhere, Rob discovered that the spare wheel well needed repairing, but in that case it was preferable to drill out the spot welds and replace the pressing from the SL Shop’s stock. One rear chassis leg showed a visible repair – structurally sound but noticeable. ‘It has to be invisible,’ Rob explains. ‘I cut out the repair, which was a bit of an overplate, and butt-welded new steel in there, flush with the surface.’
Once each repair was complete, Rob protected the area with acid-etch primer. Trial fitting of the external panels was a continuous process, ensuring that there were no nasty surprises once the structural repairs was completed and the final refit began.
‘The front wings bolt on and so there is a little bit of adjustment available,’ says Rob, ‘but with this car the wings that came with it were not quite straight enough – we used some of our own.’
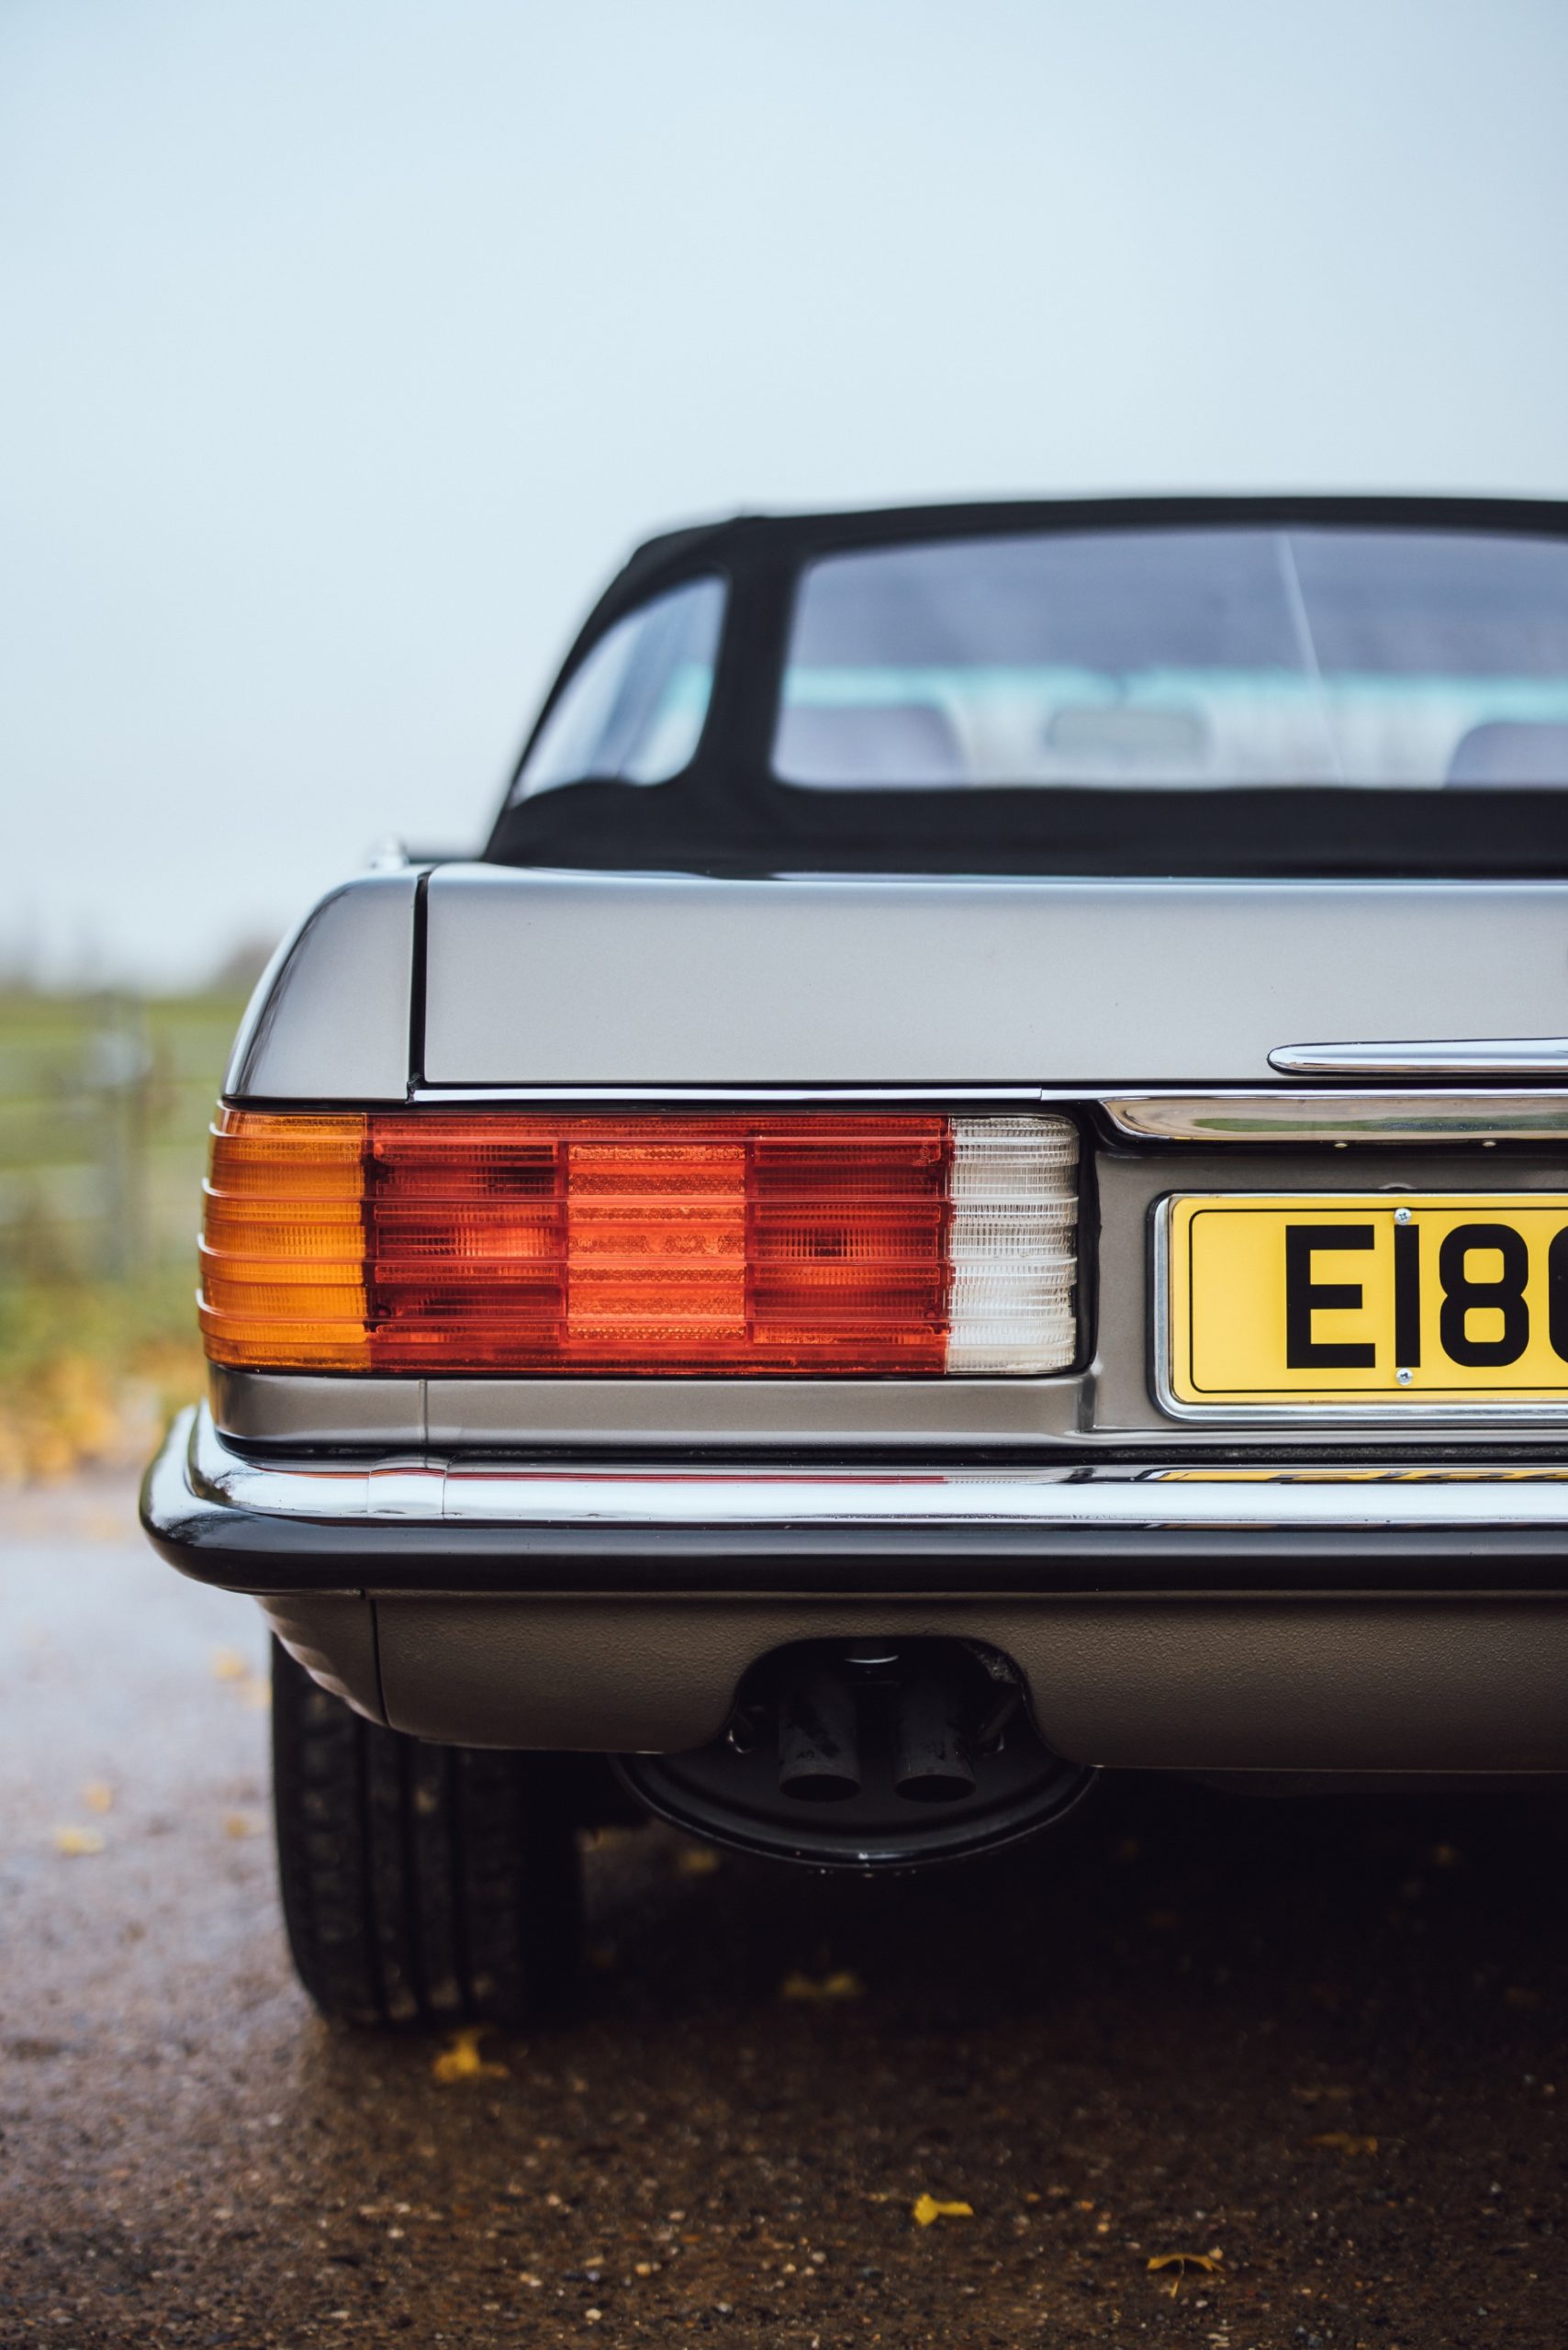
With time, the car’s date with the paint shop came closer, after which no bodywork repairs would be possible. ‘We had to know it was right,’ says Rob. ‘Every panel went on and off again dozens of times because we were continually trialling the panel fit, but in the end, we got to a final quality control meeting. That meant more than just checking the door gaps, so we fitted the light clusters, bumpers and trim and made our decisions. In the end it’s about aesthetic judgement as well as measurement.’
A change of colour
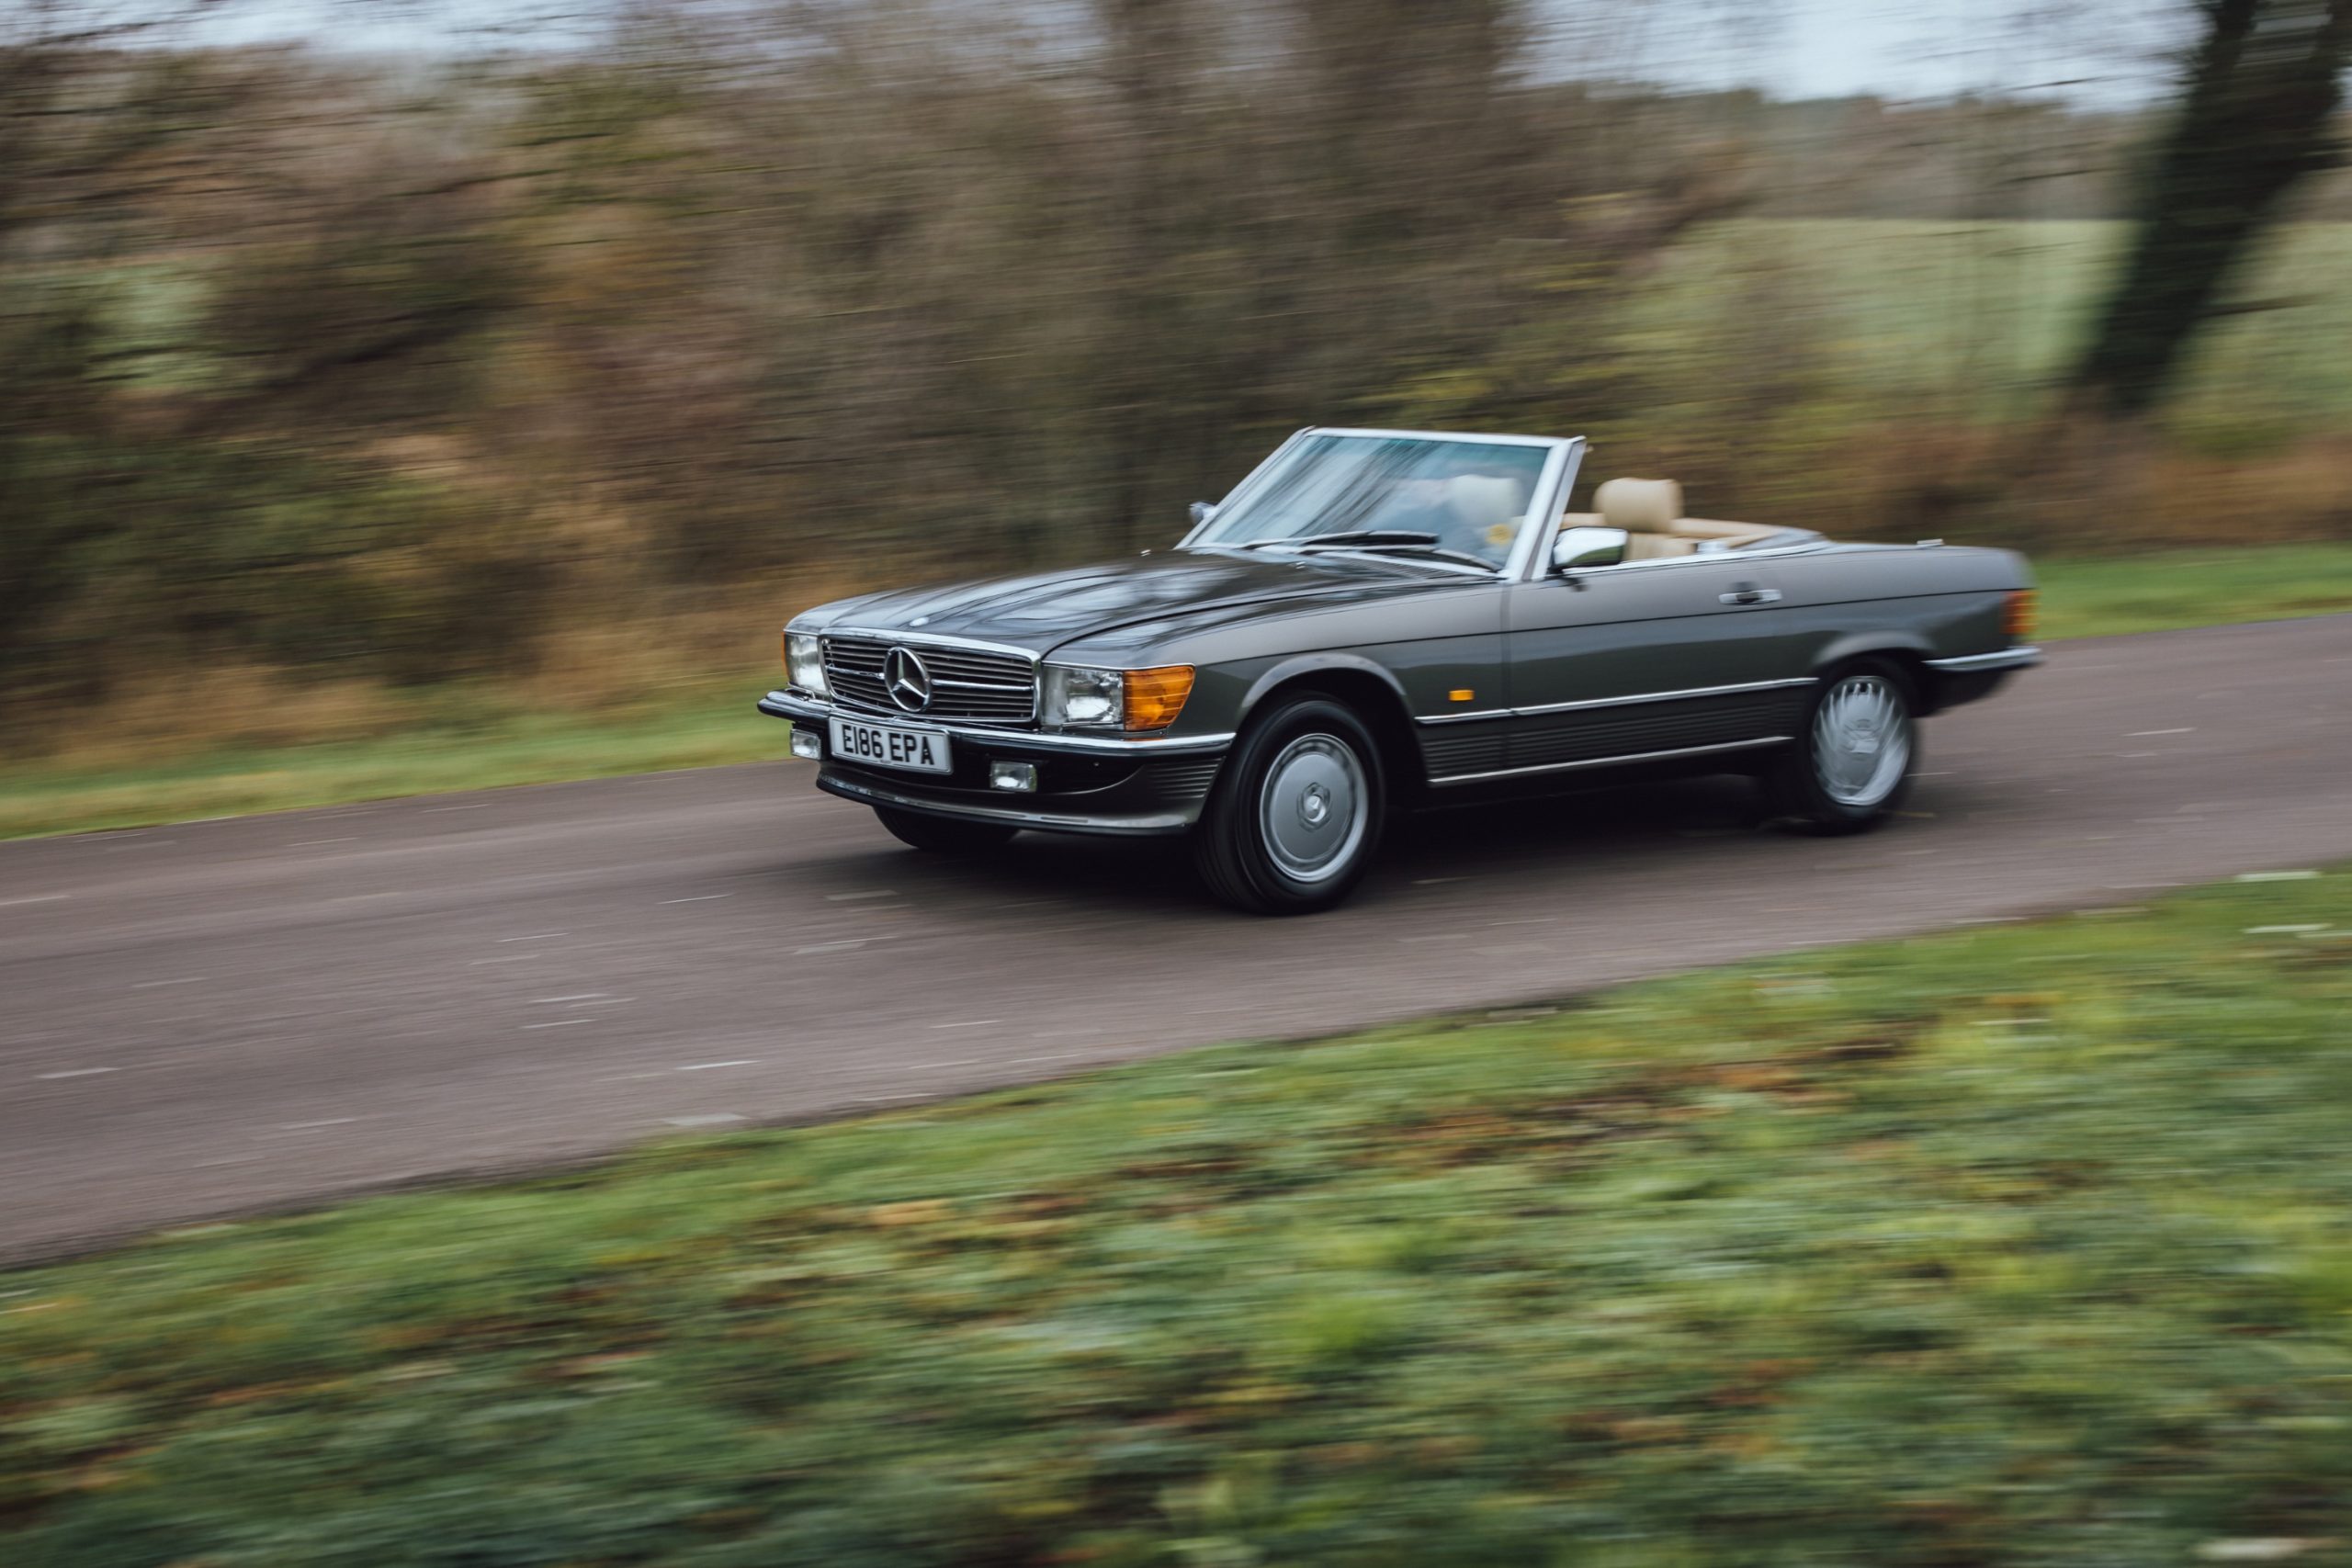
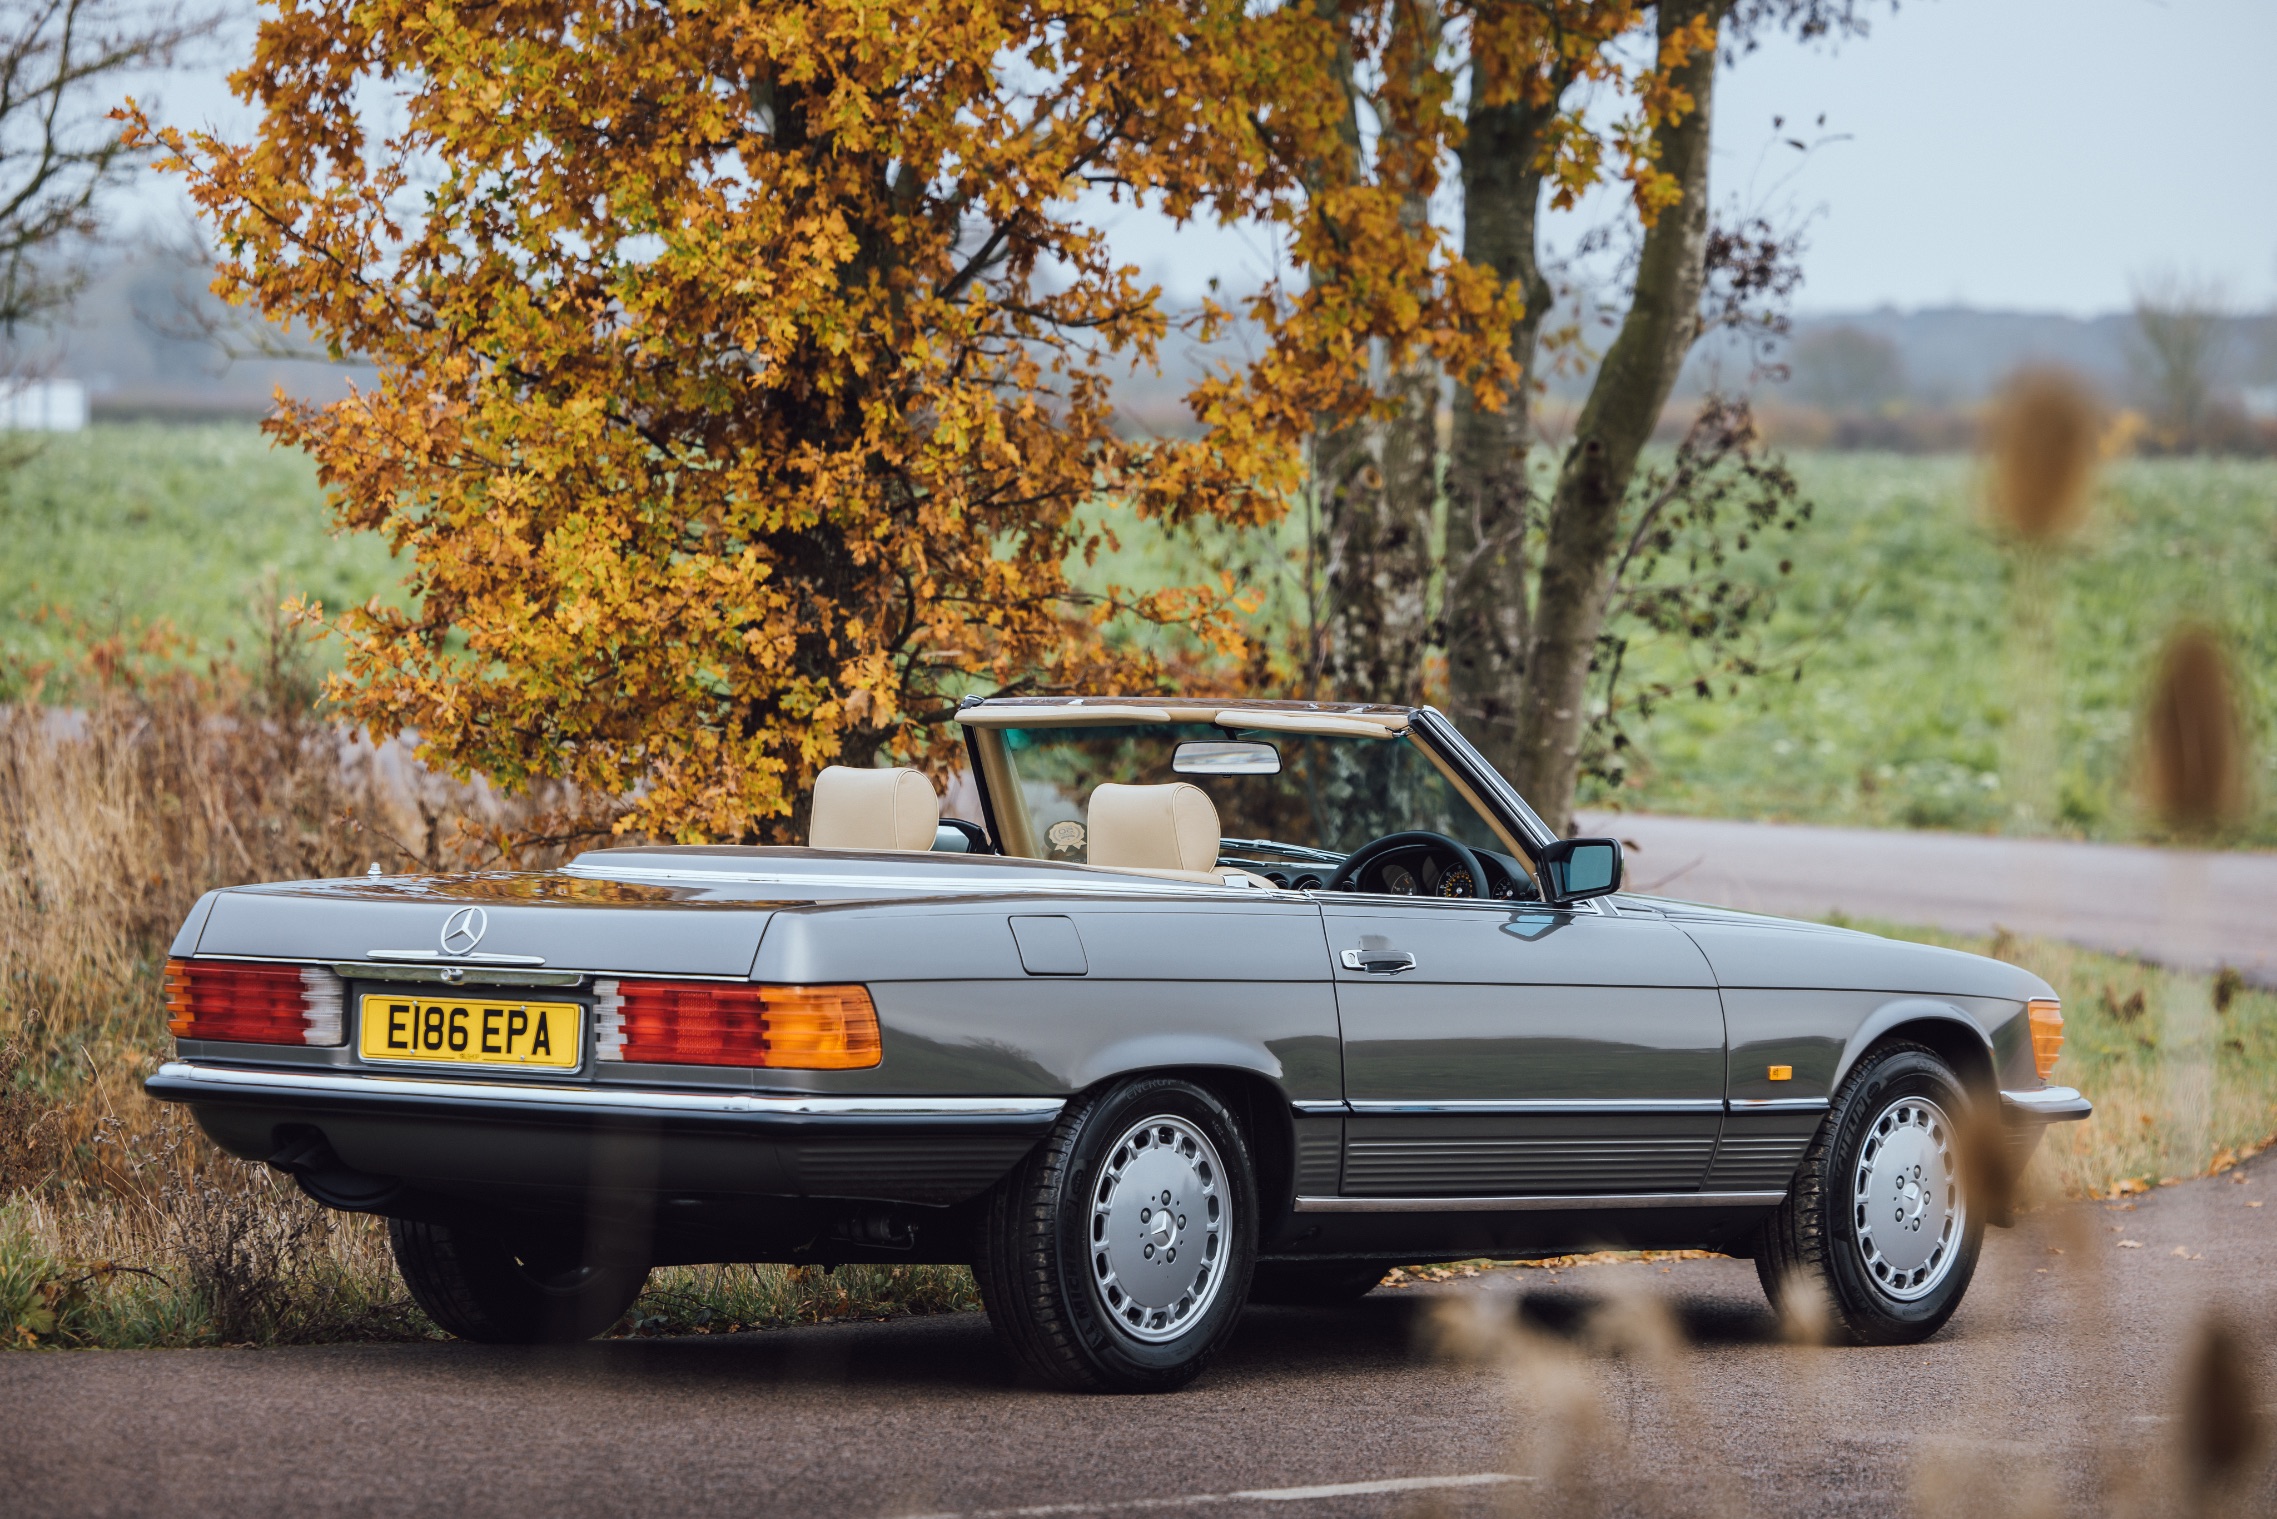
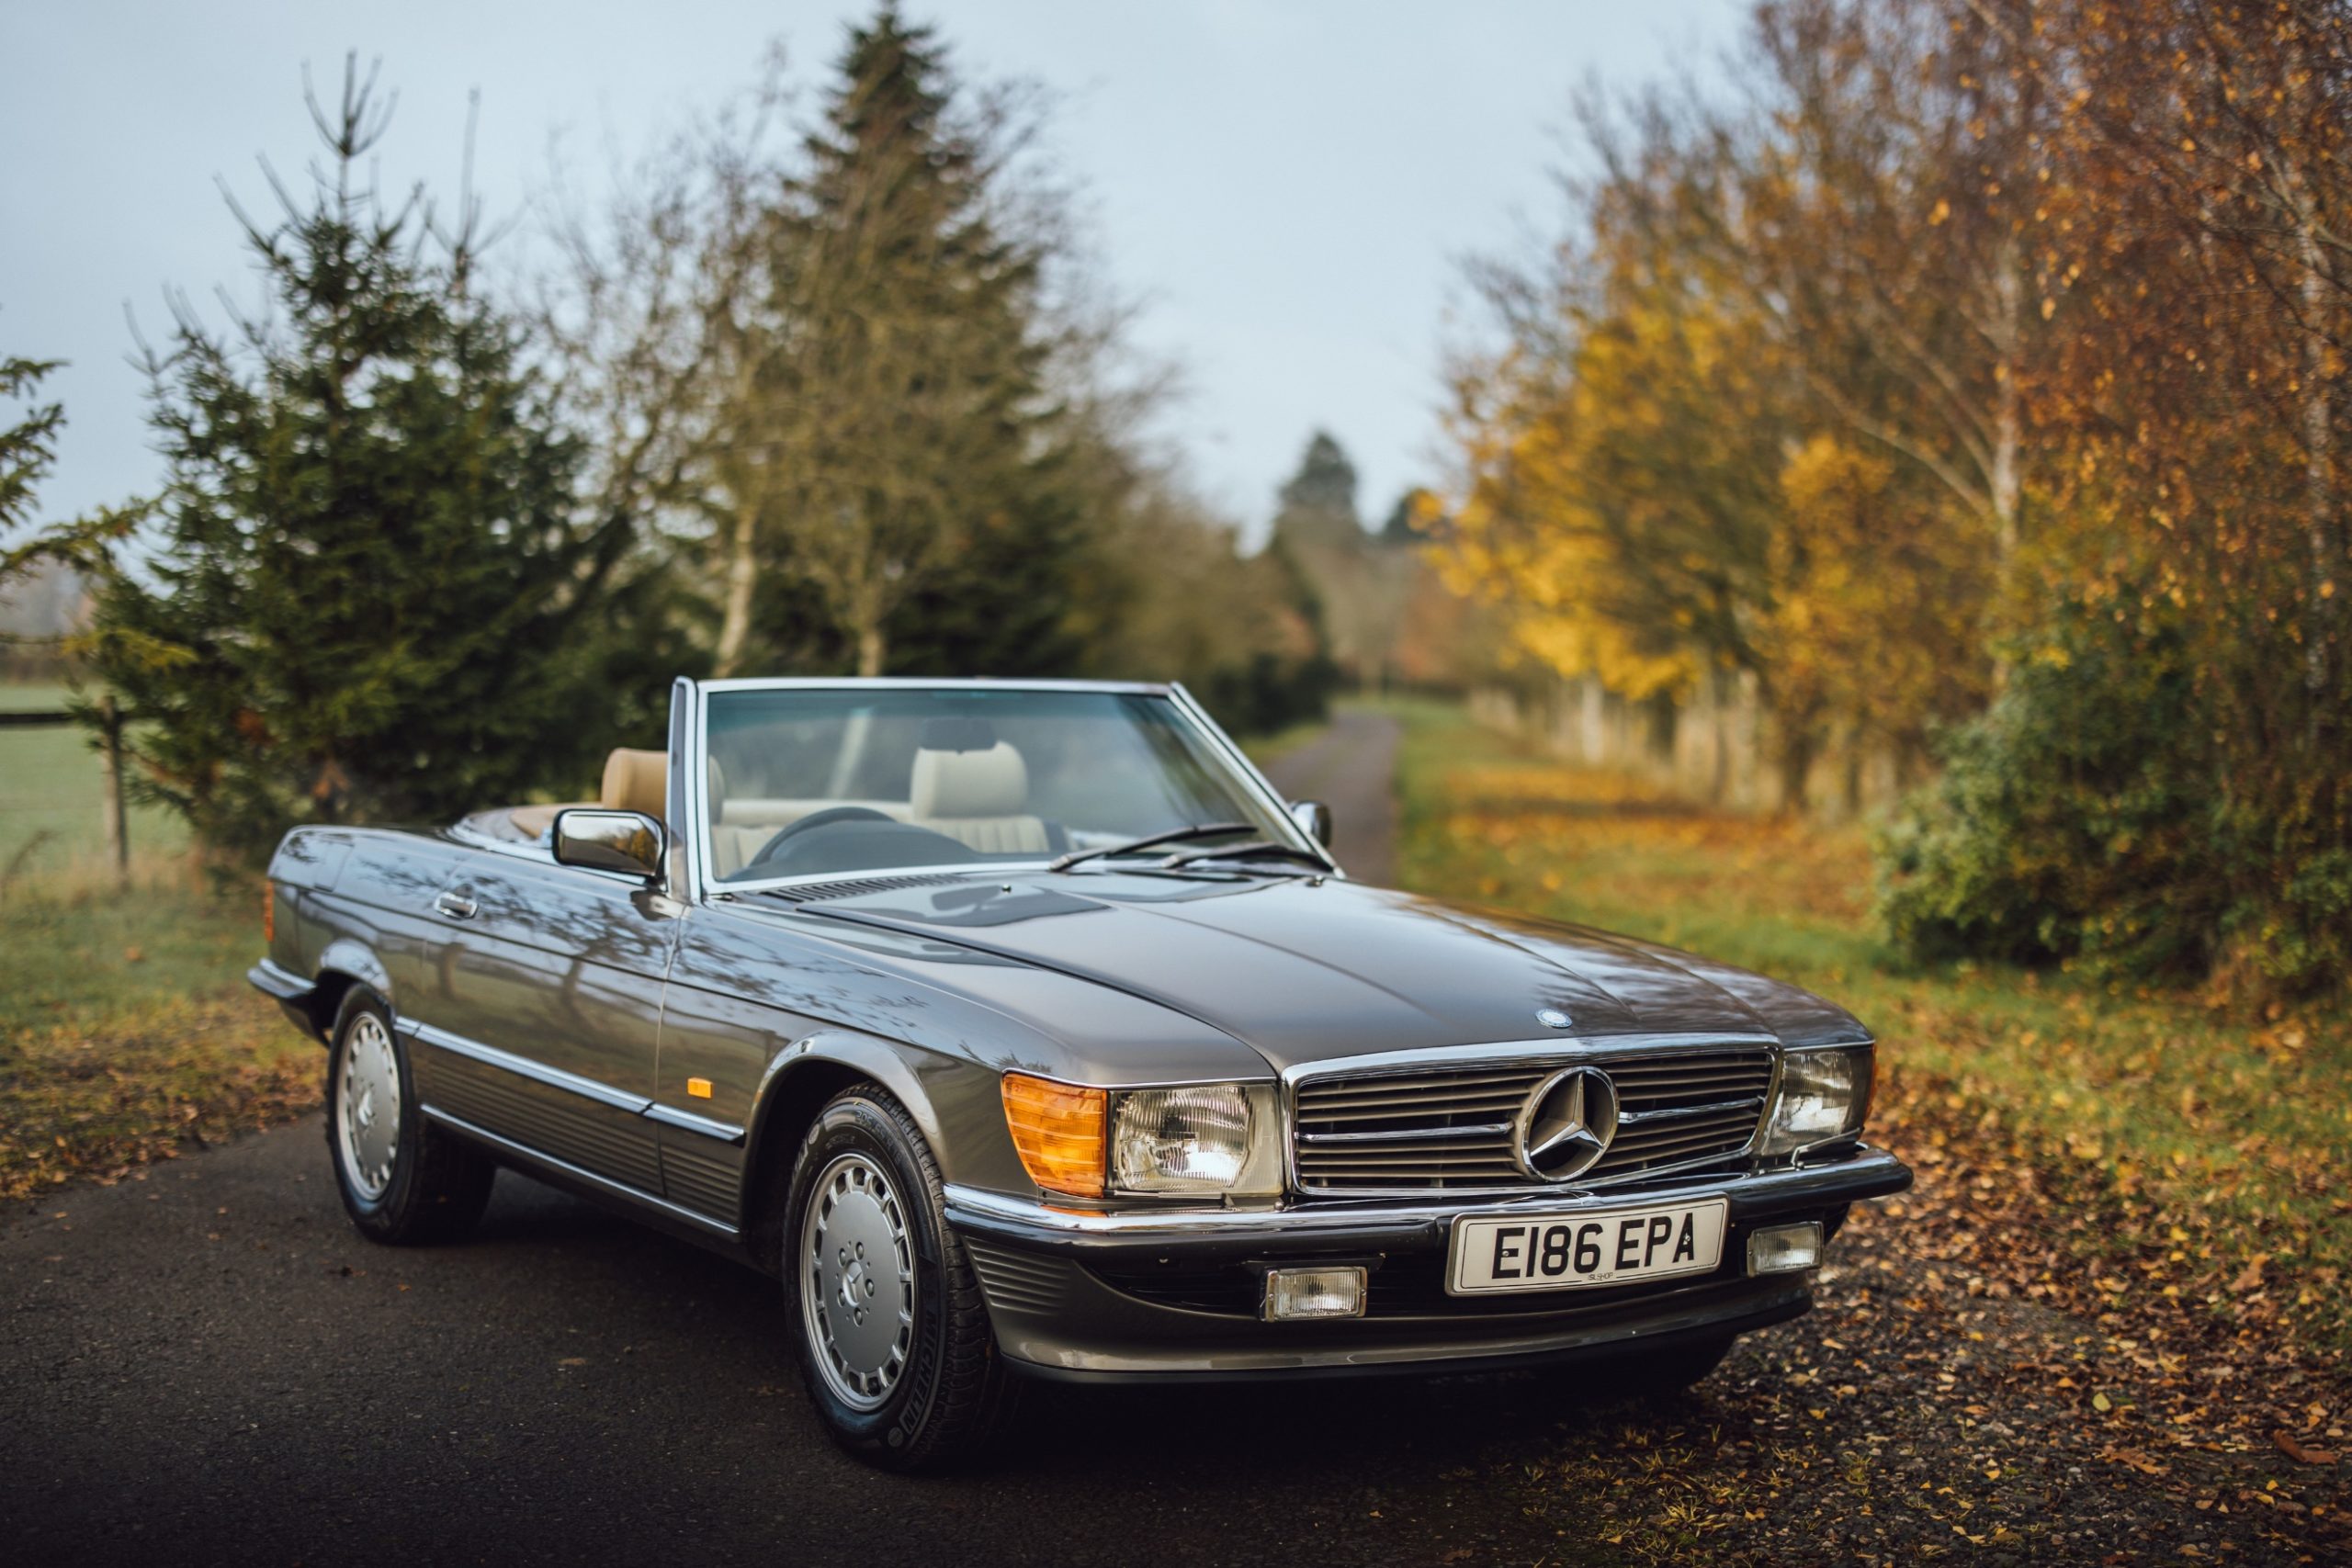
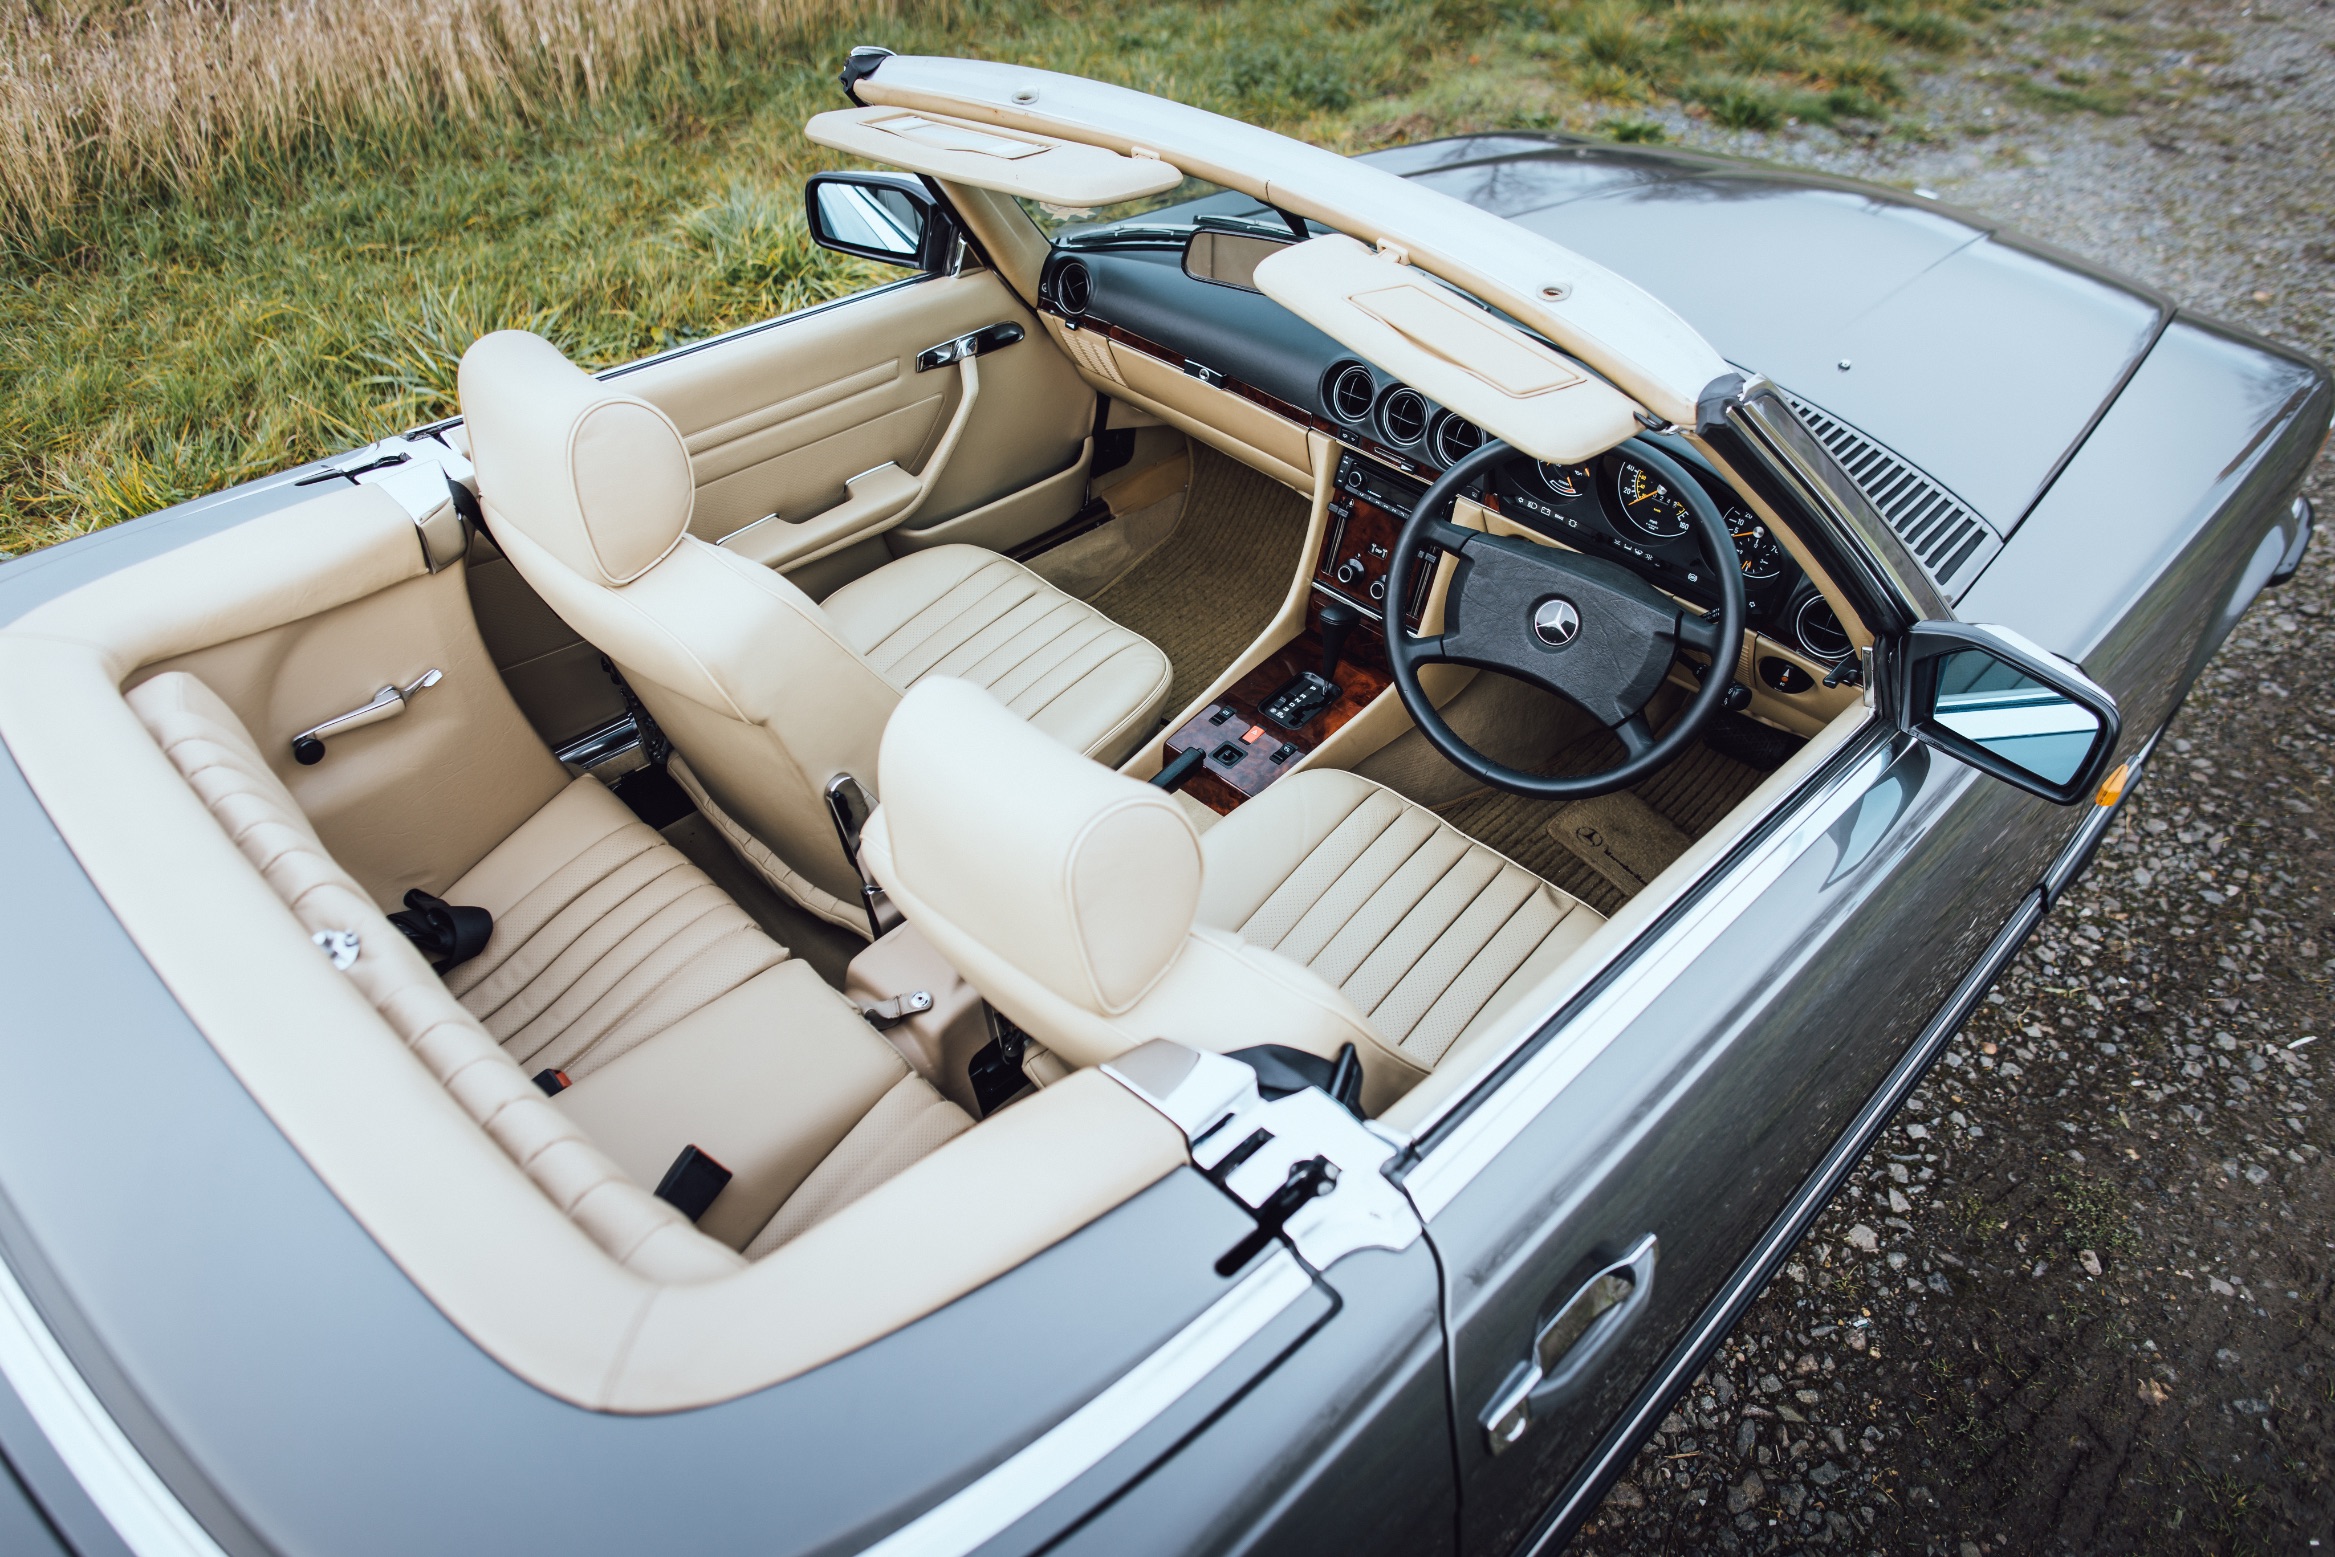
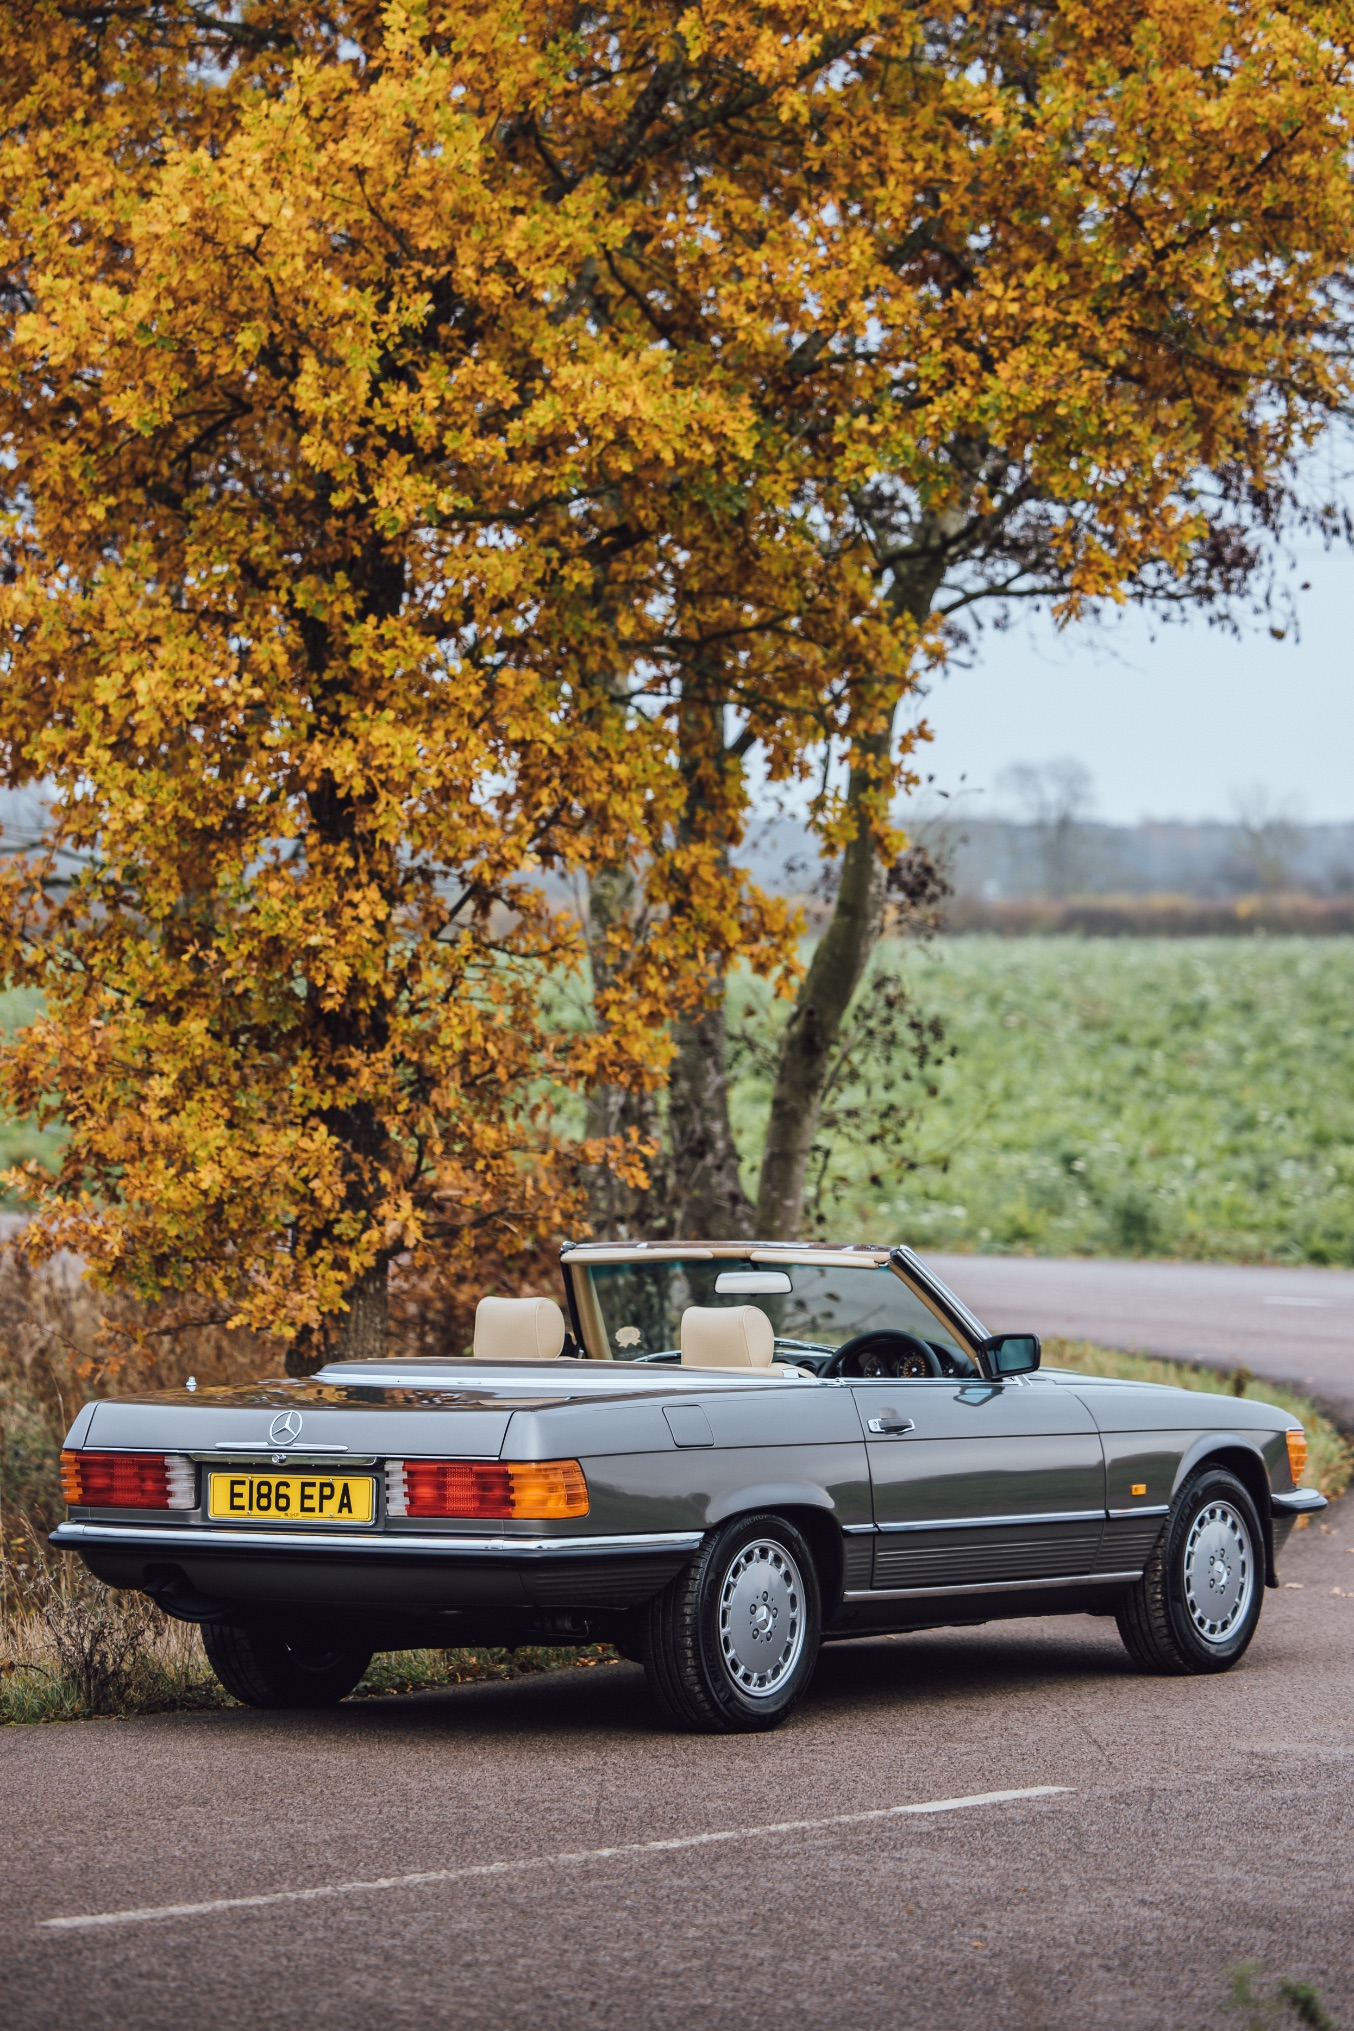
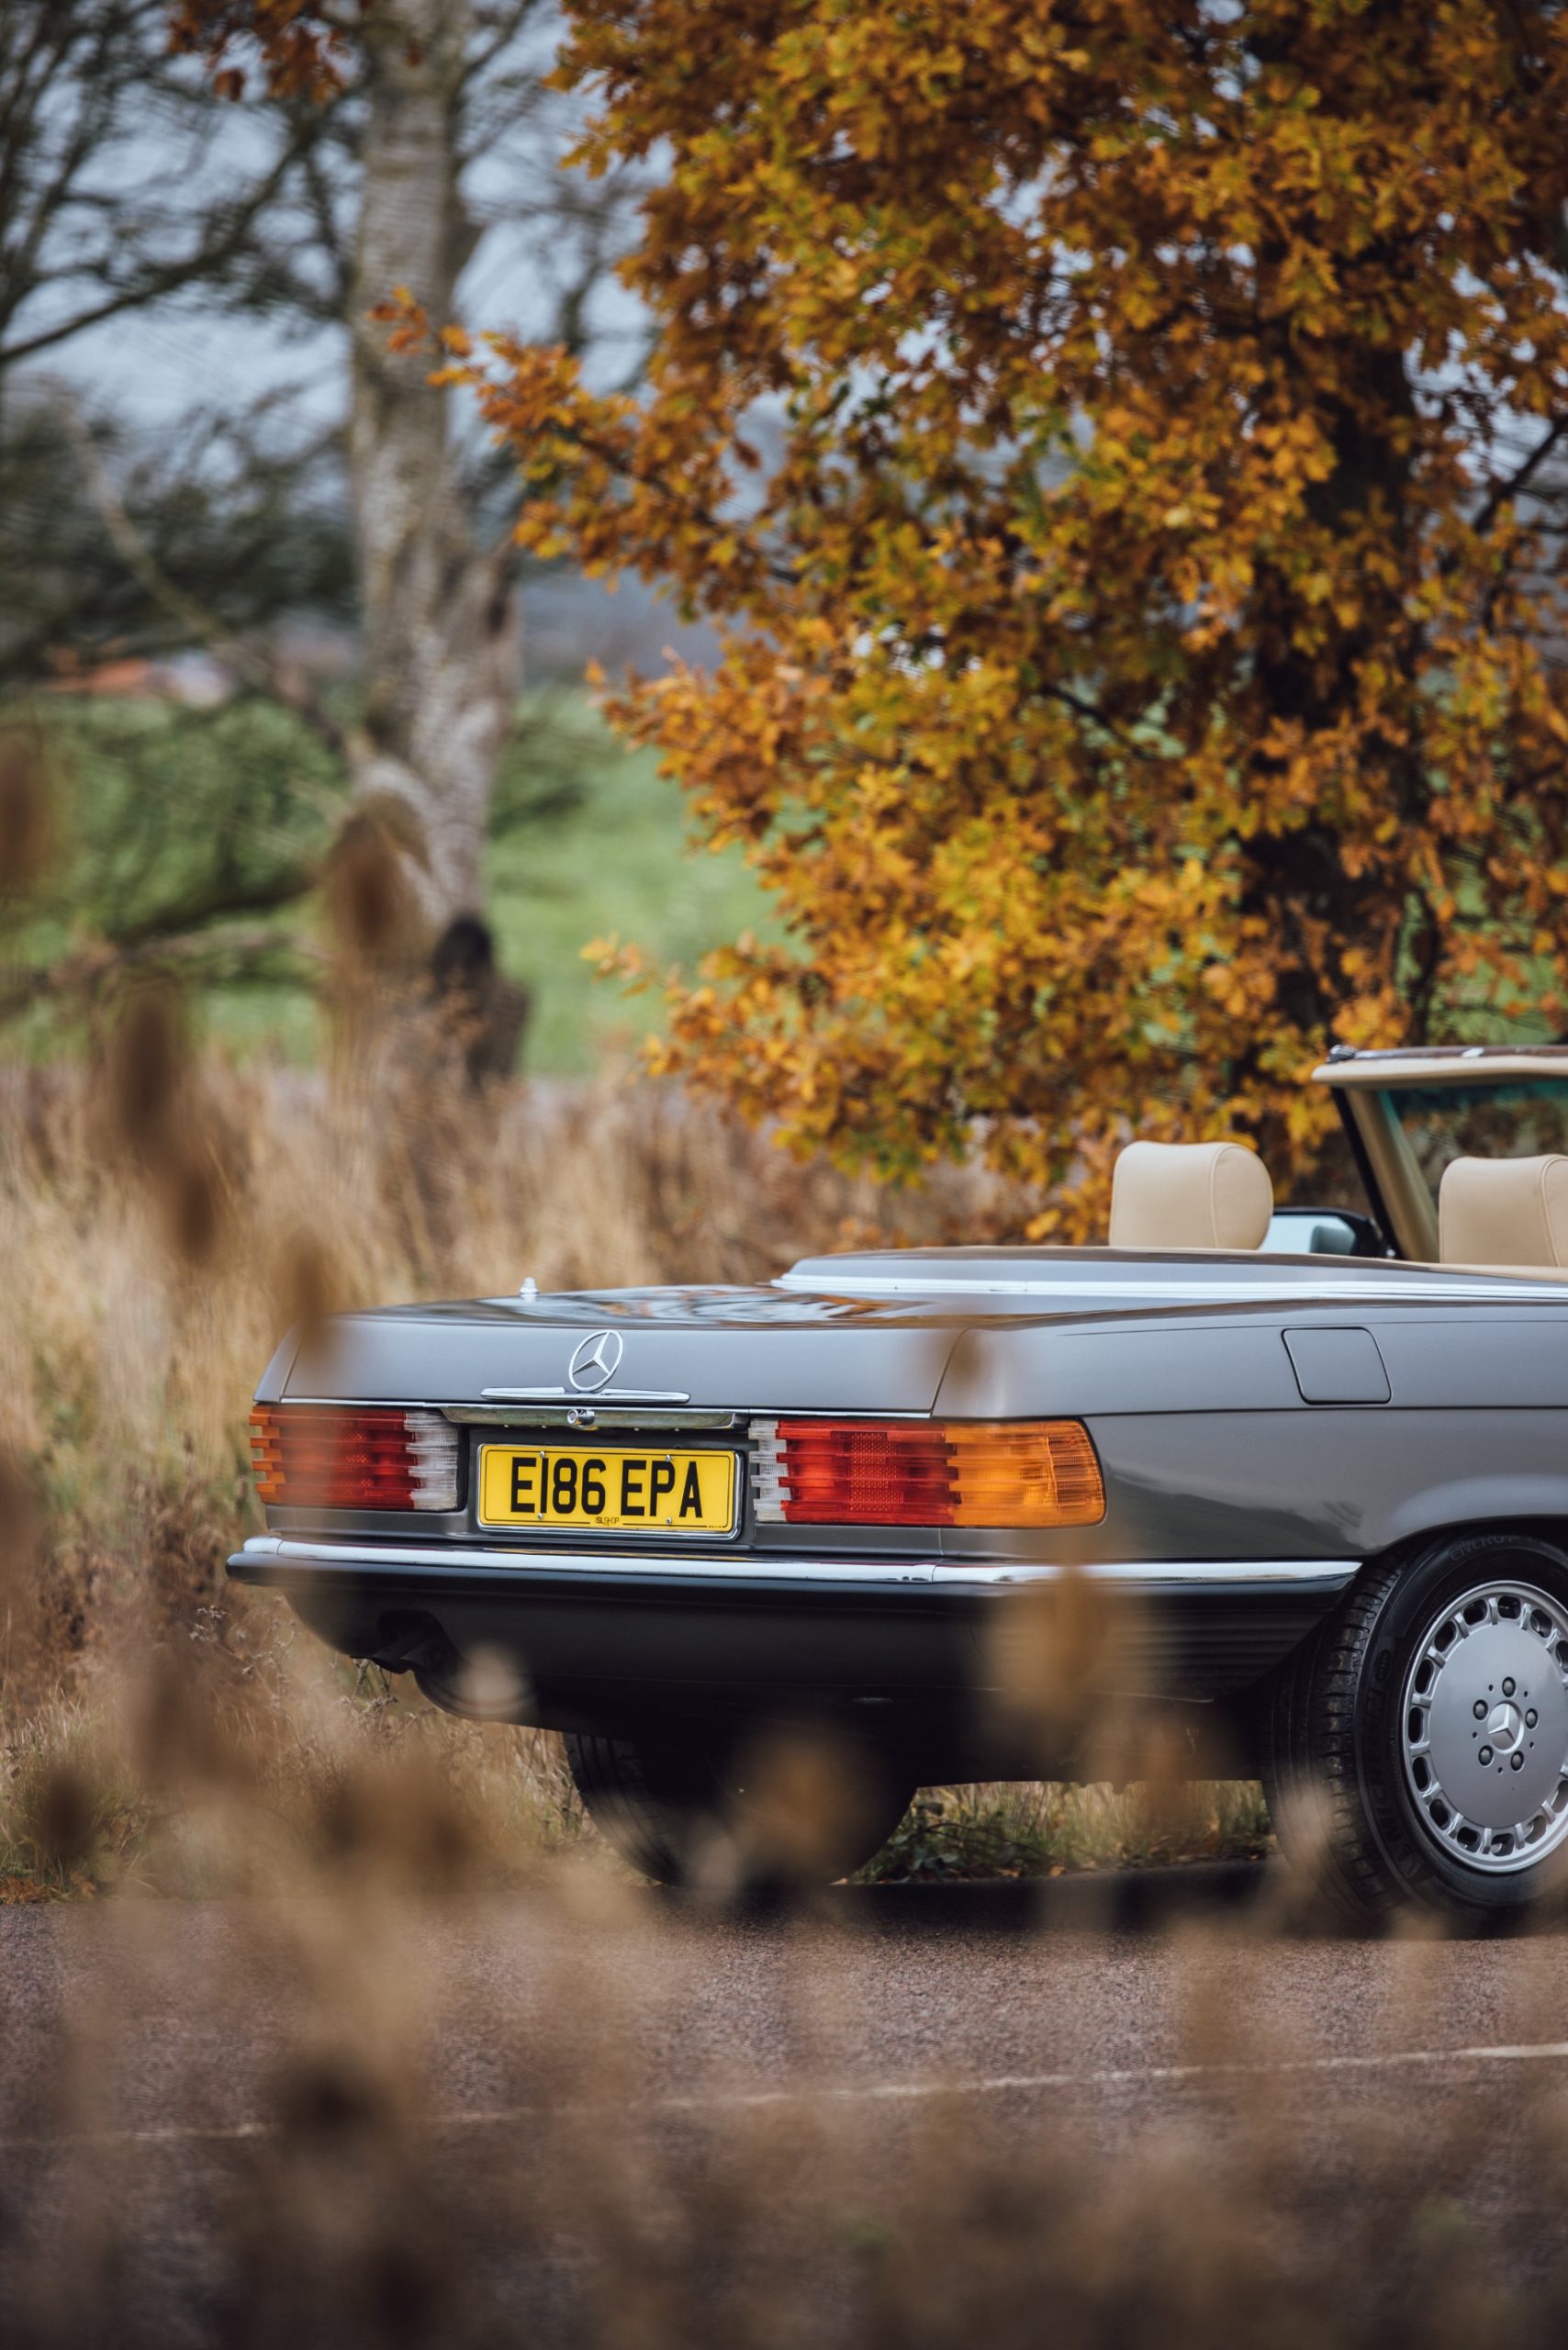
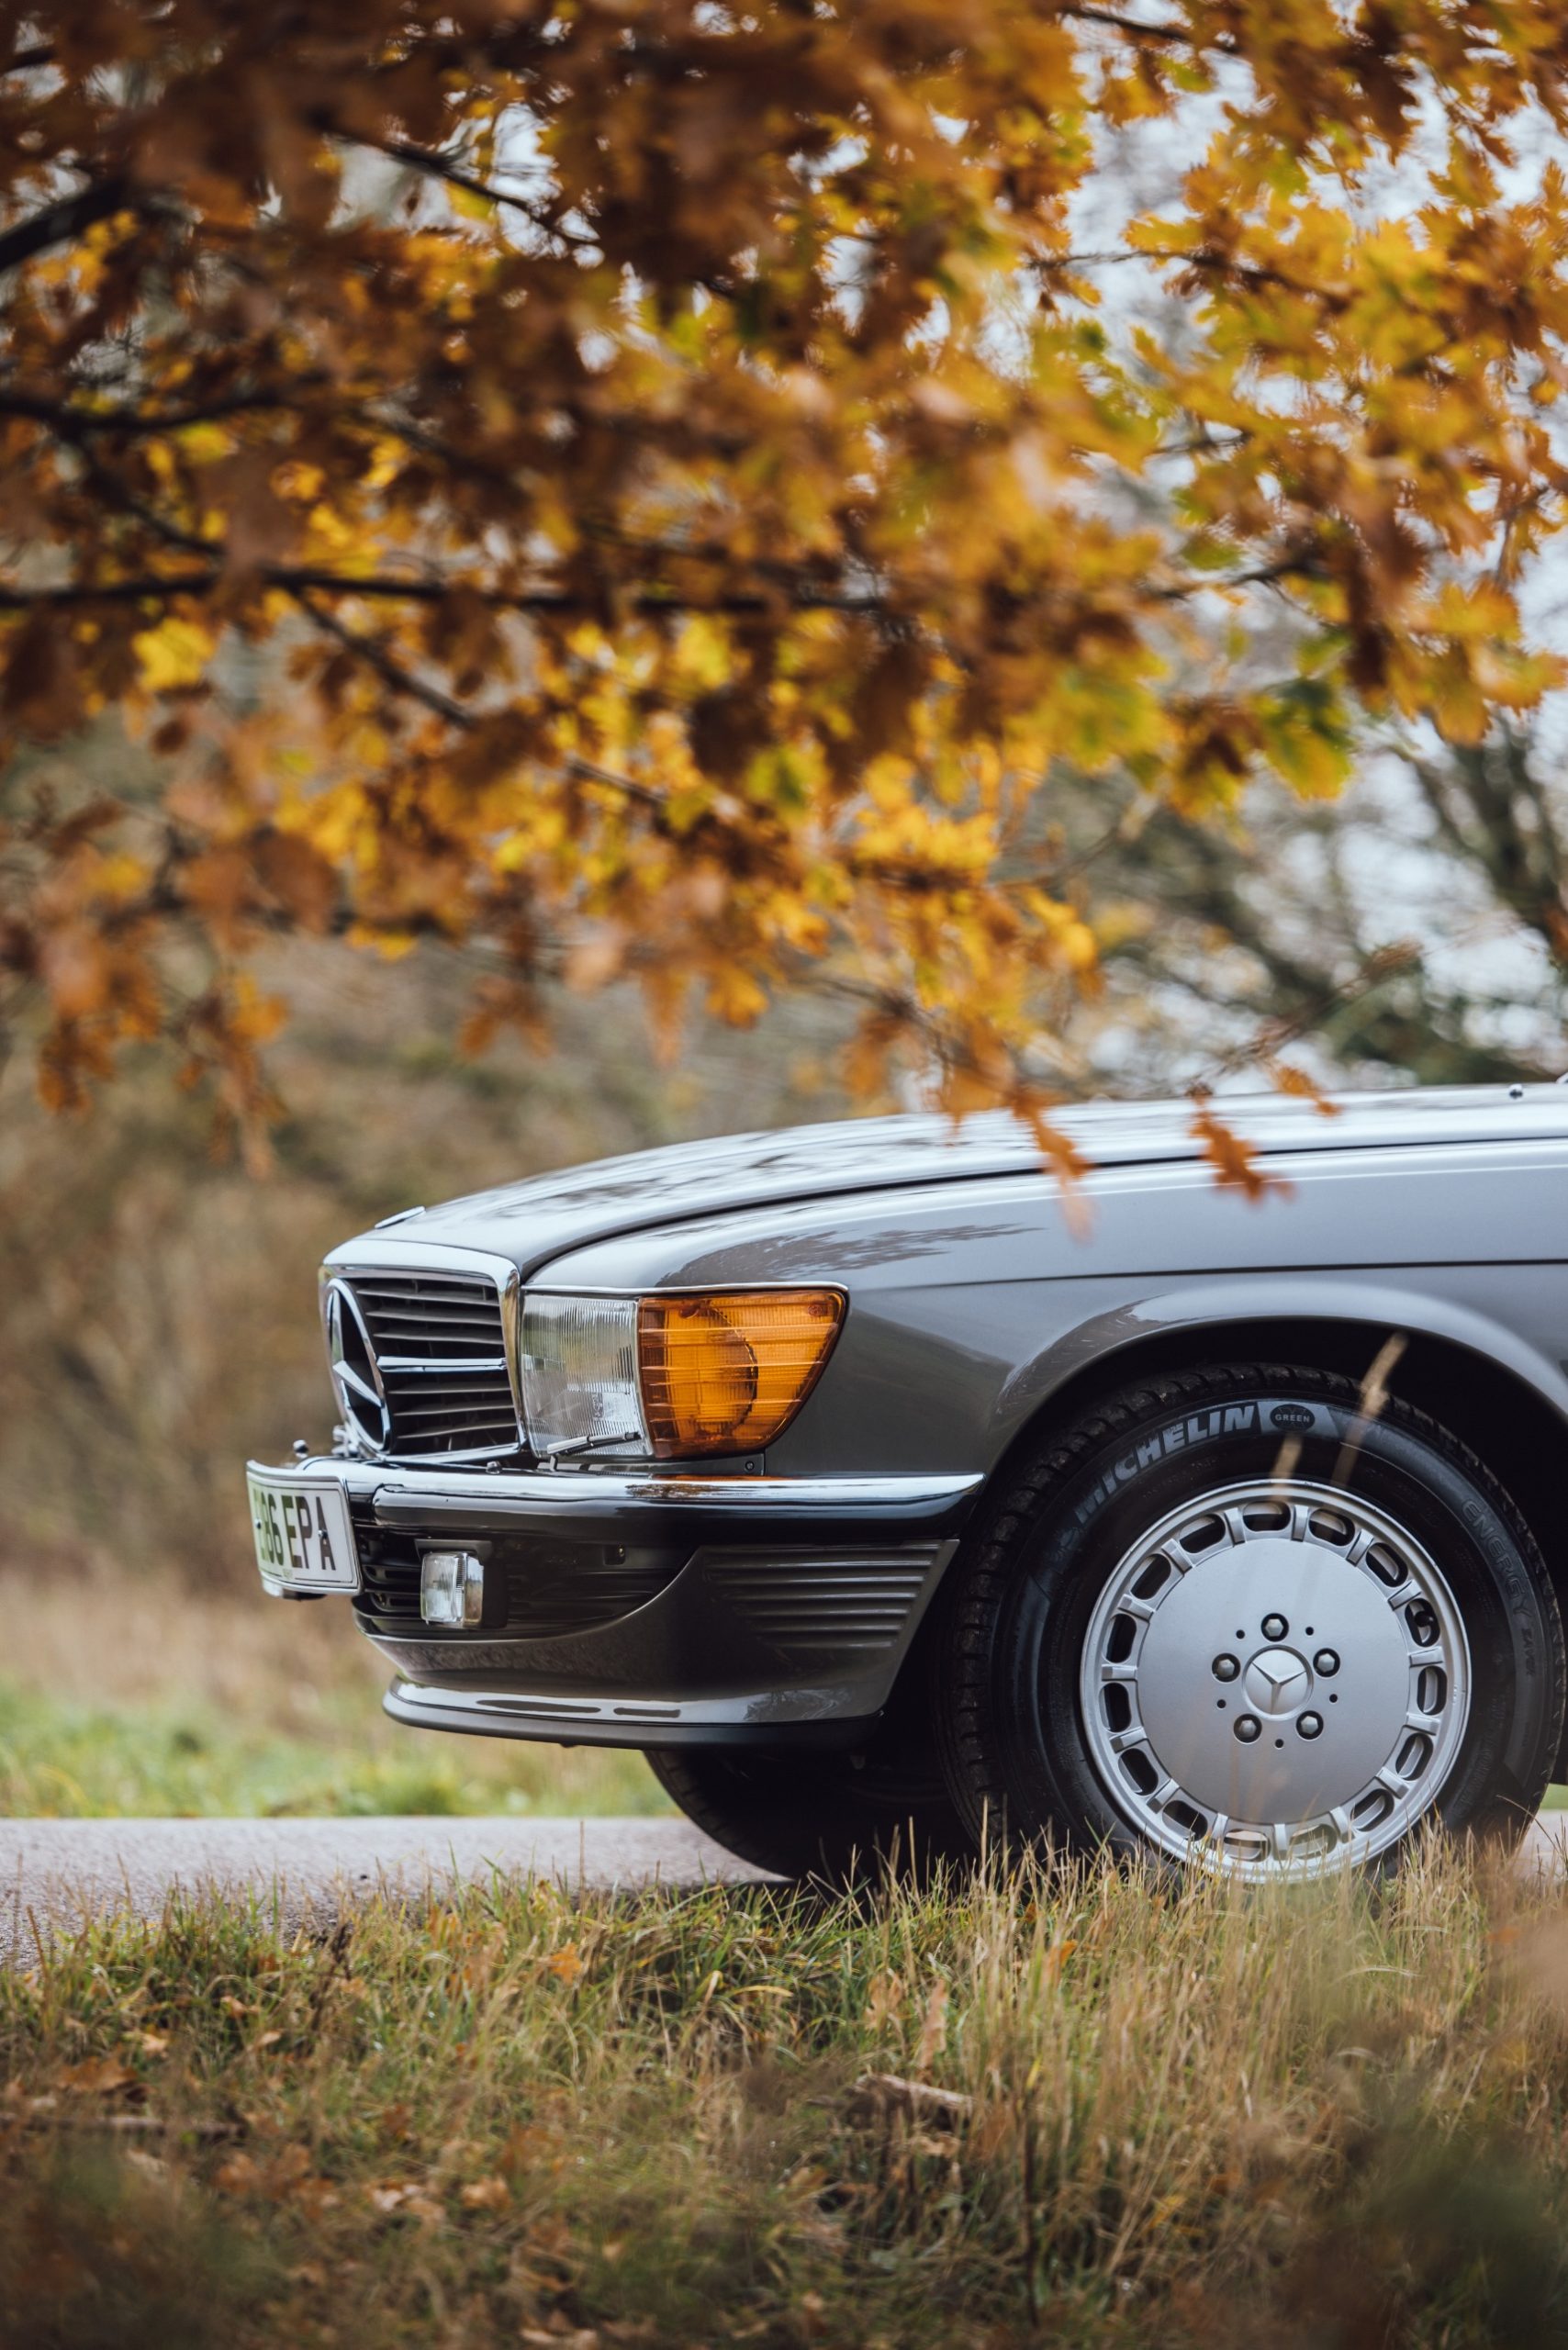
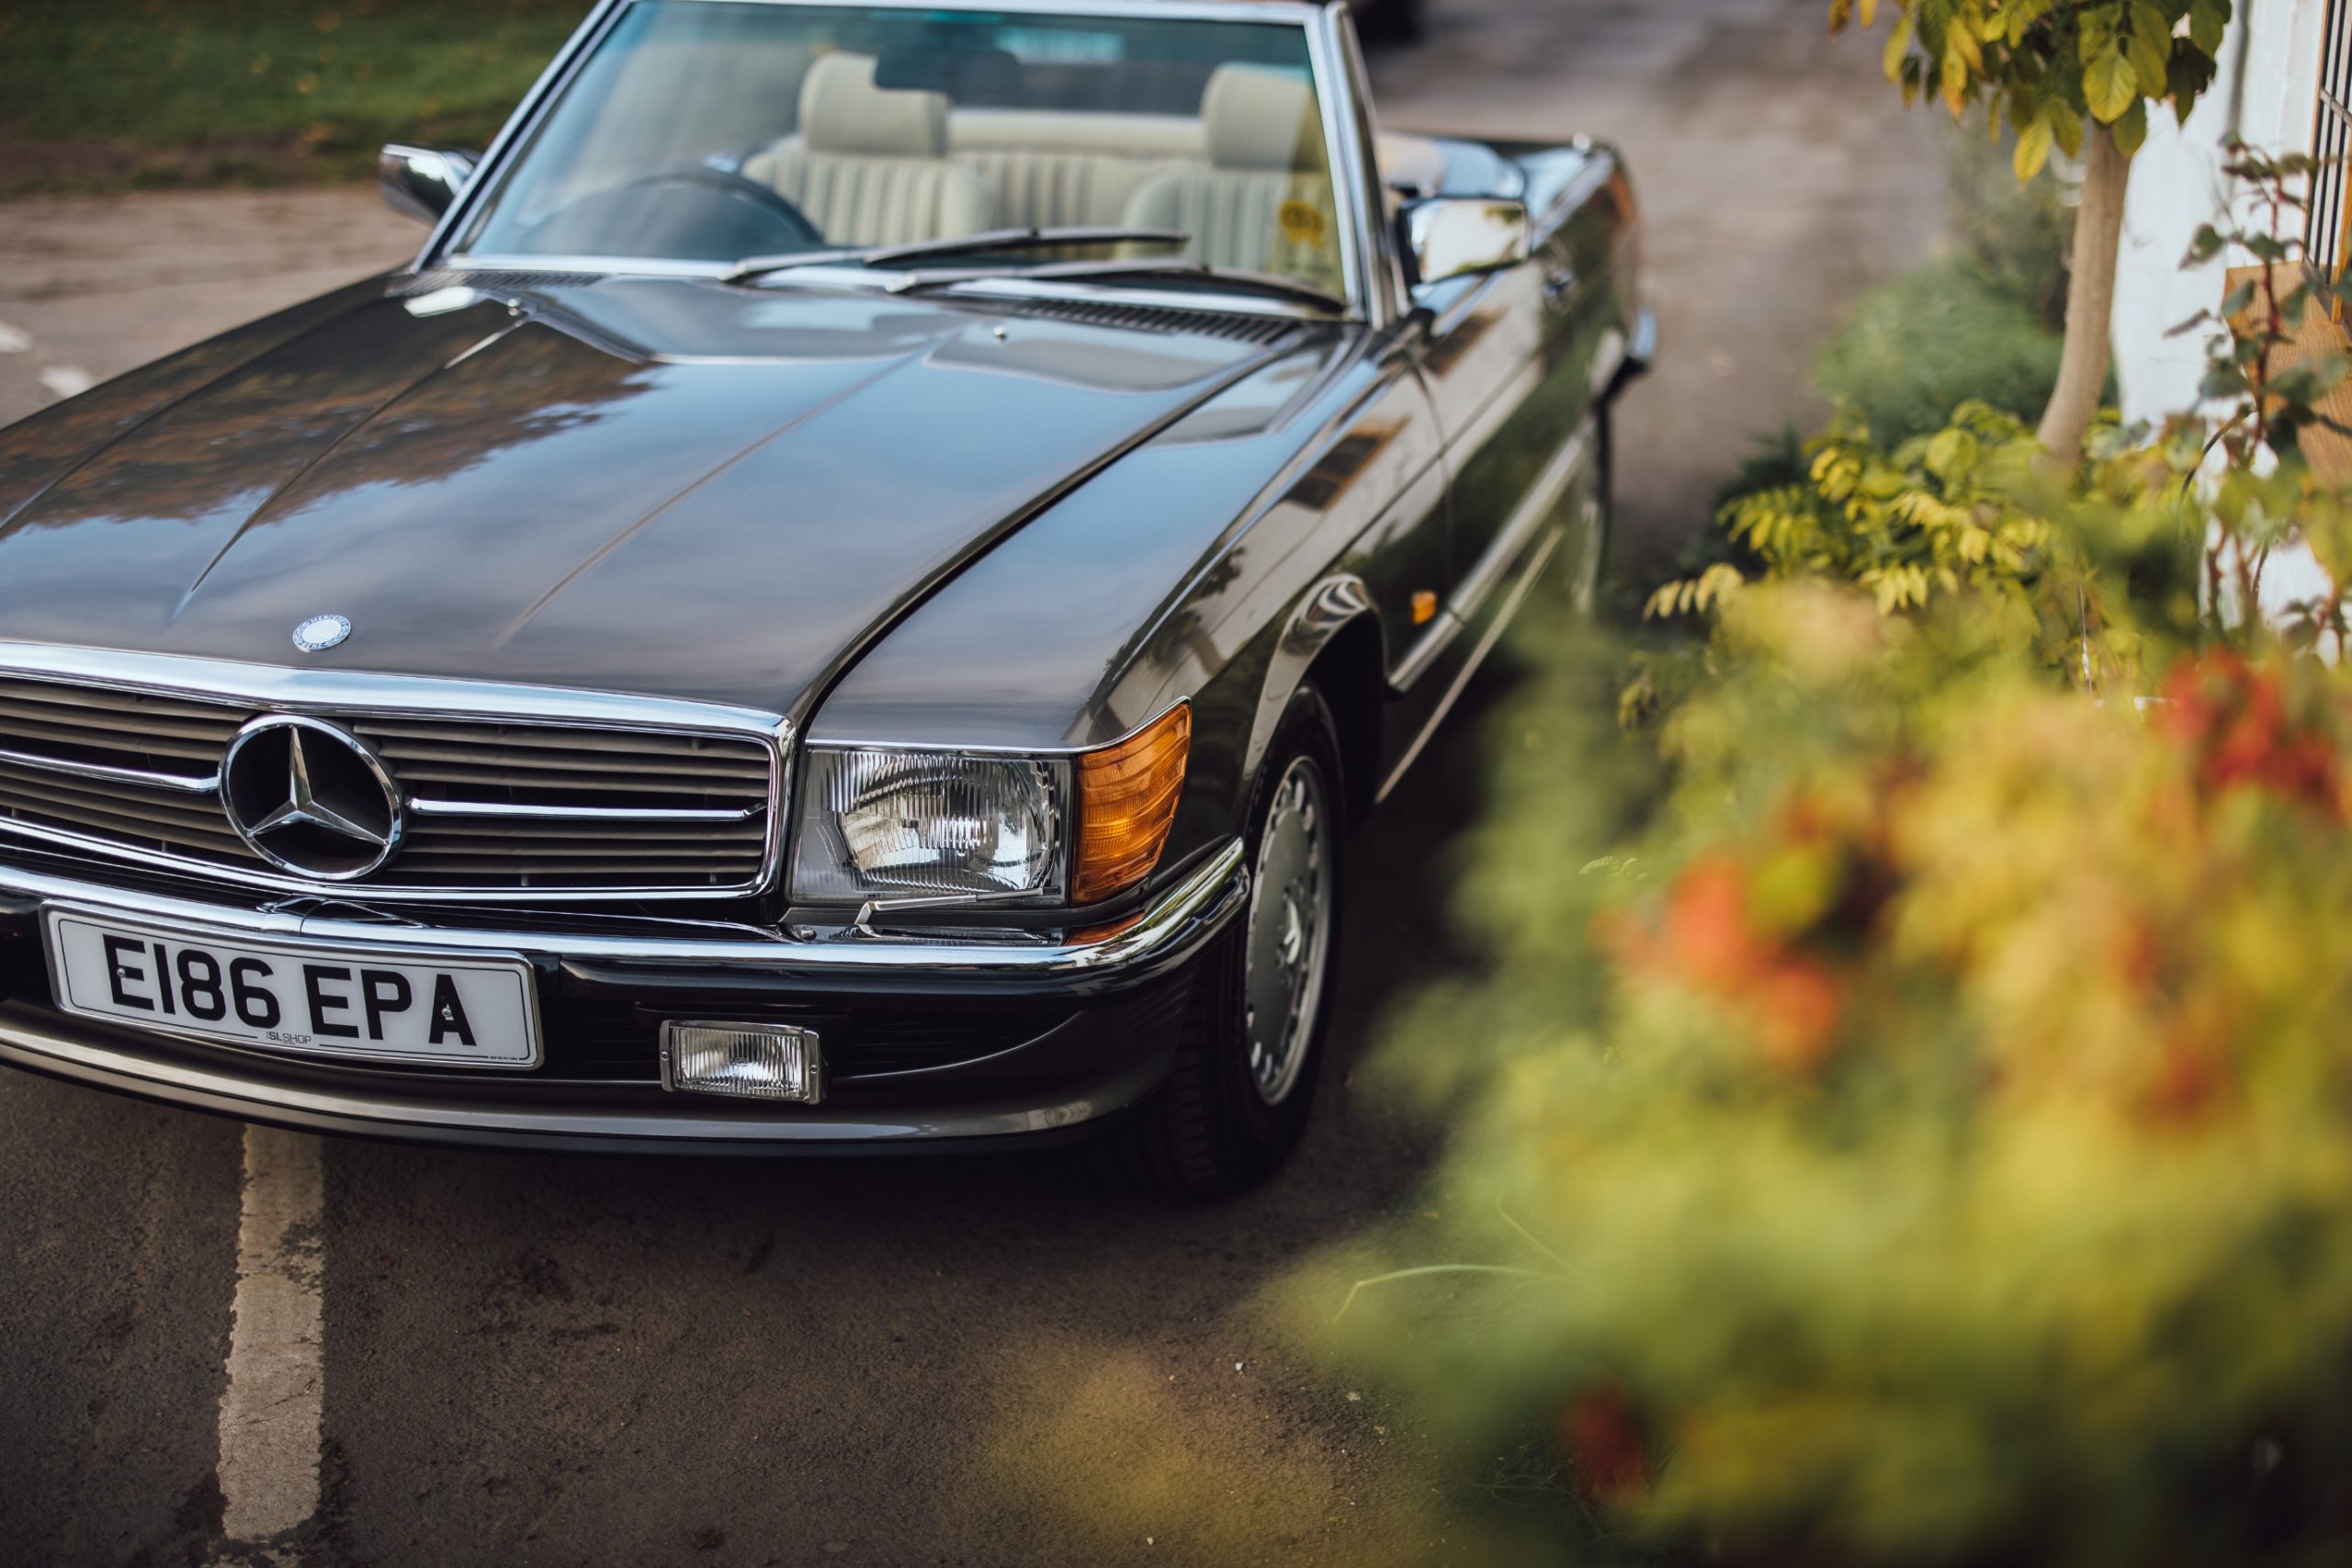
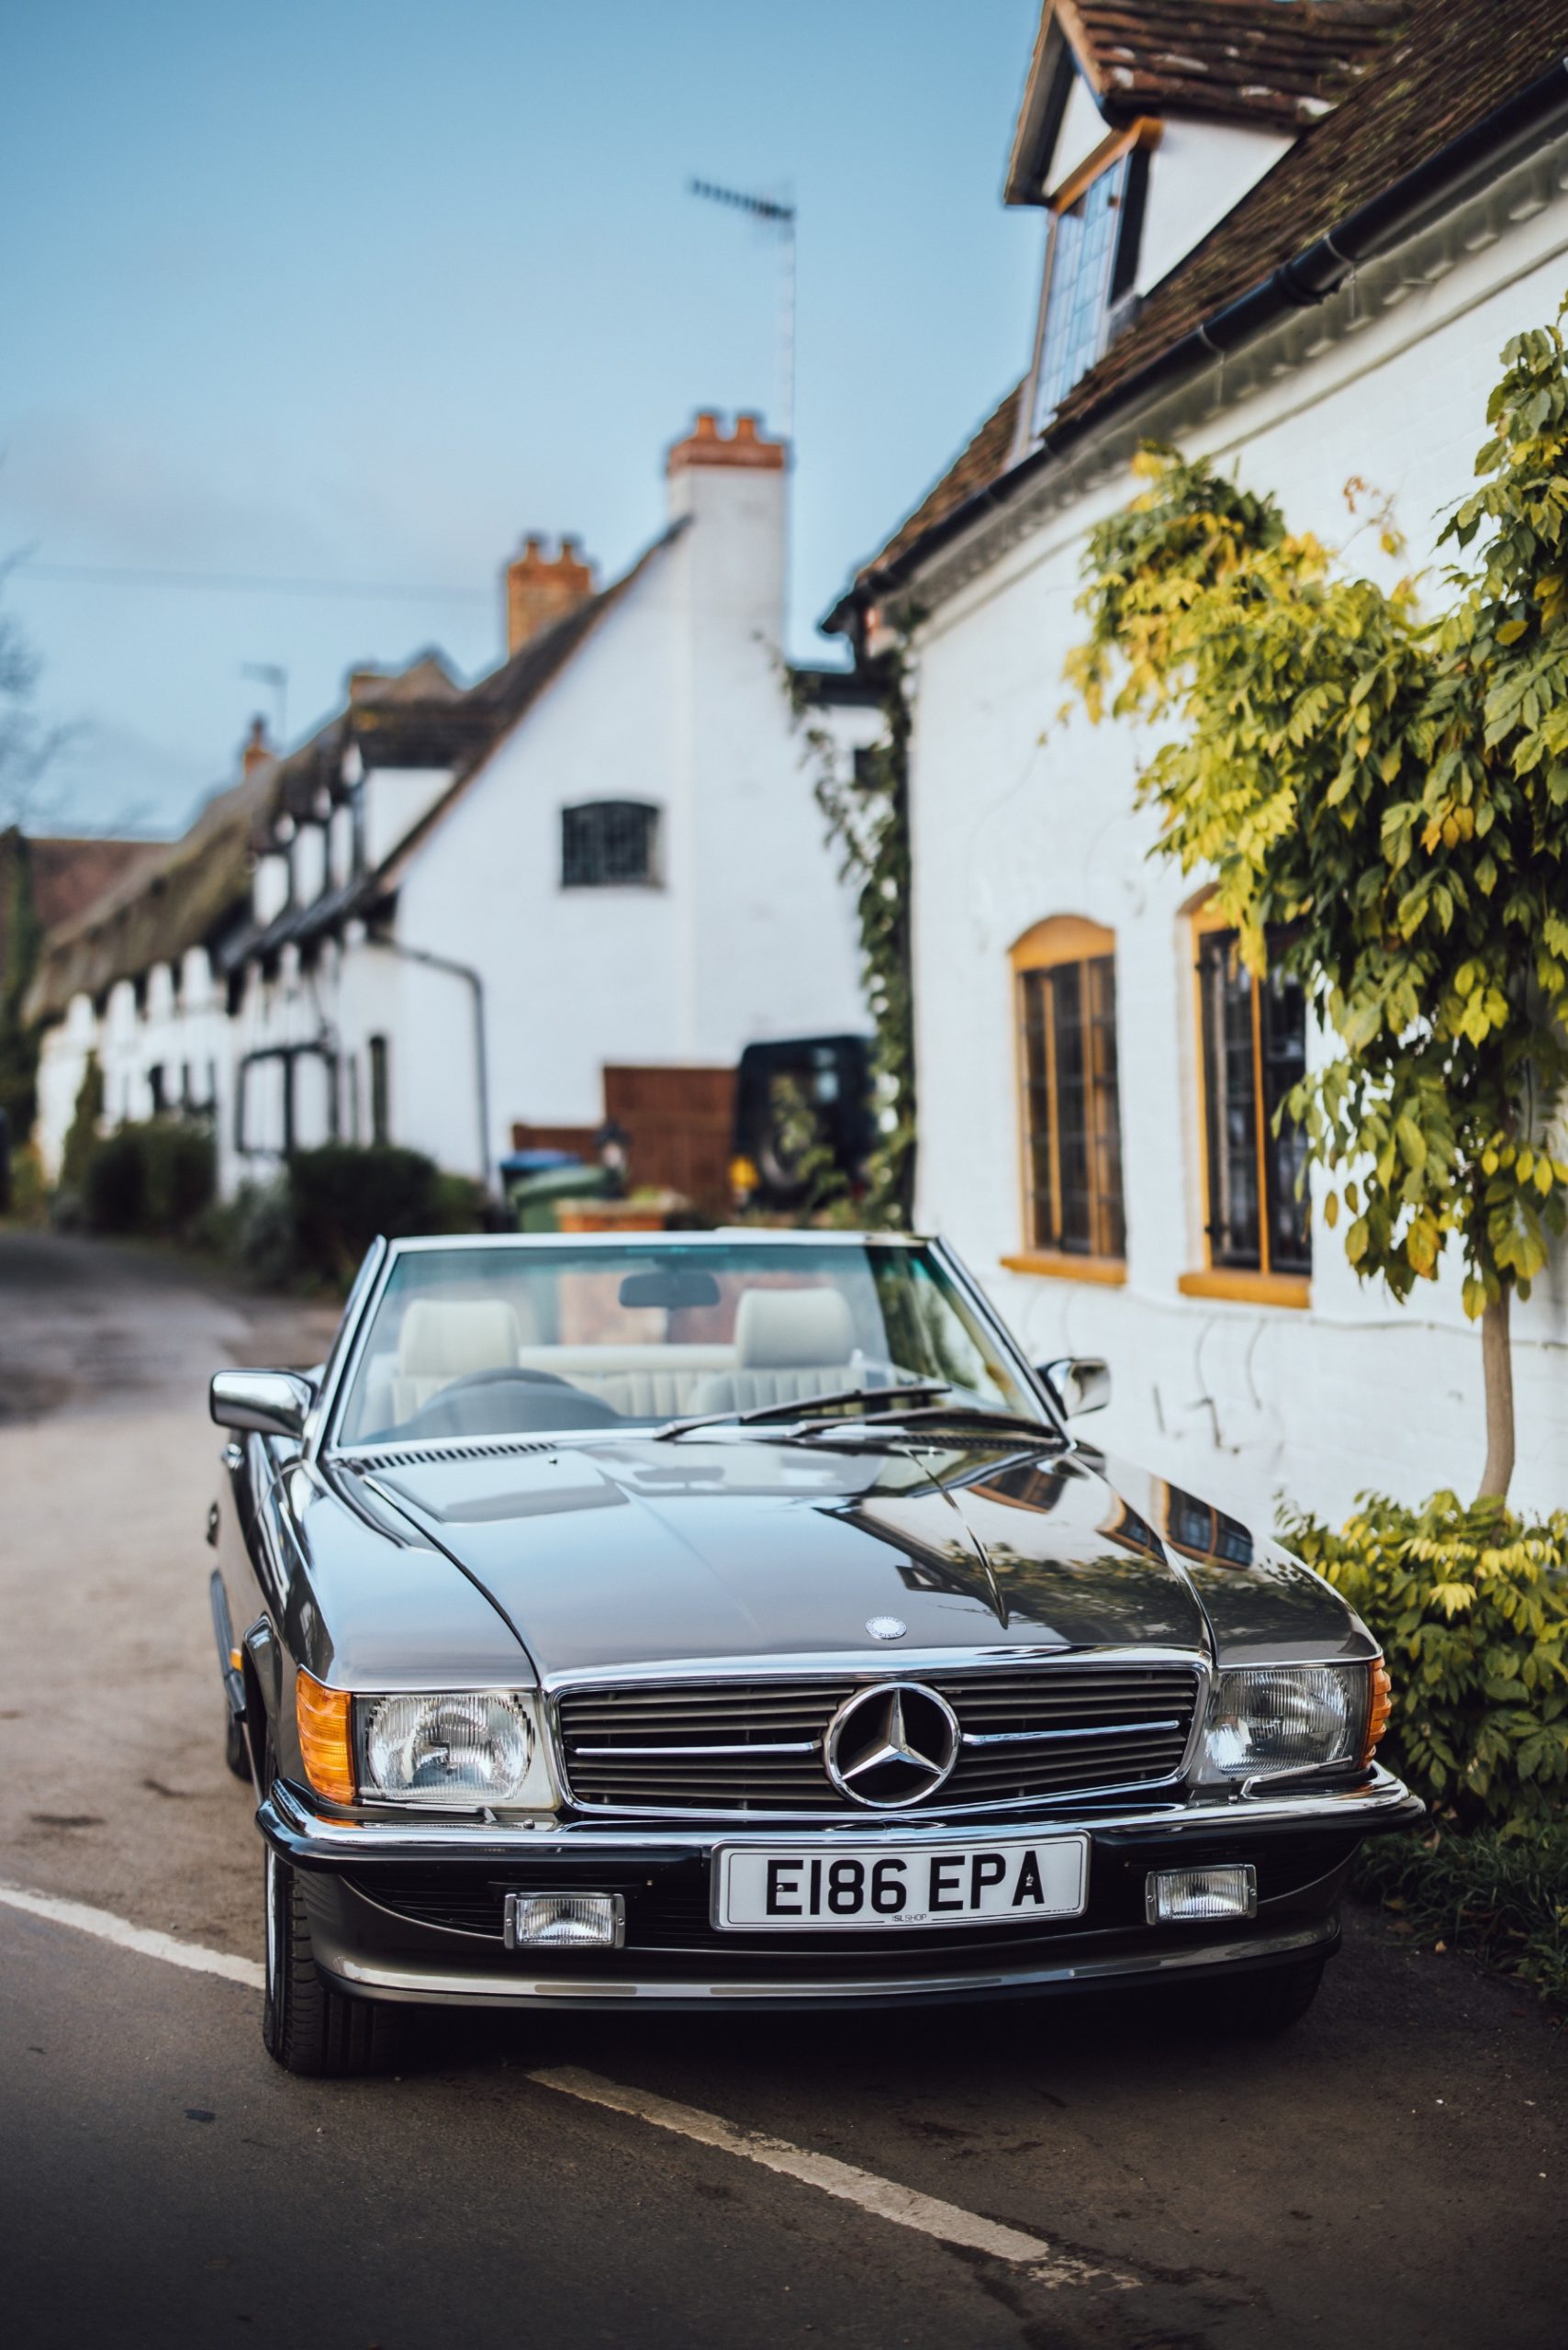
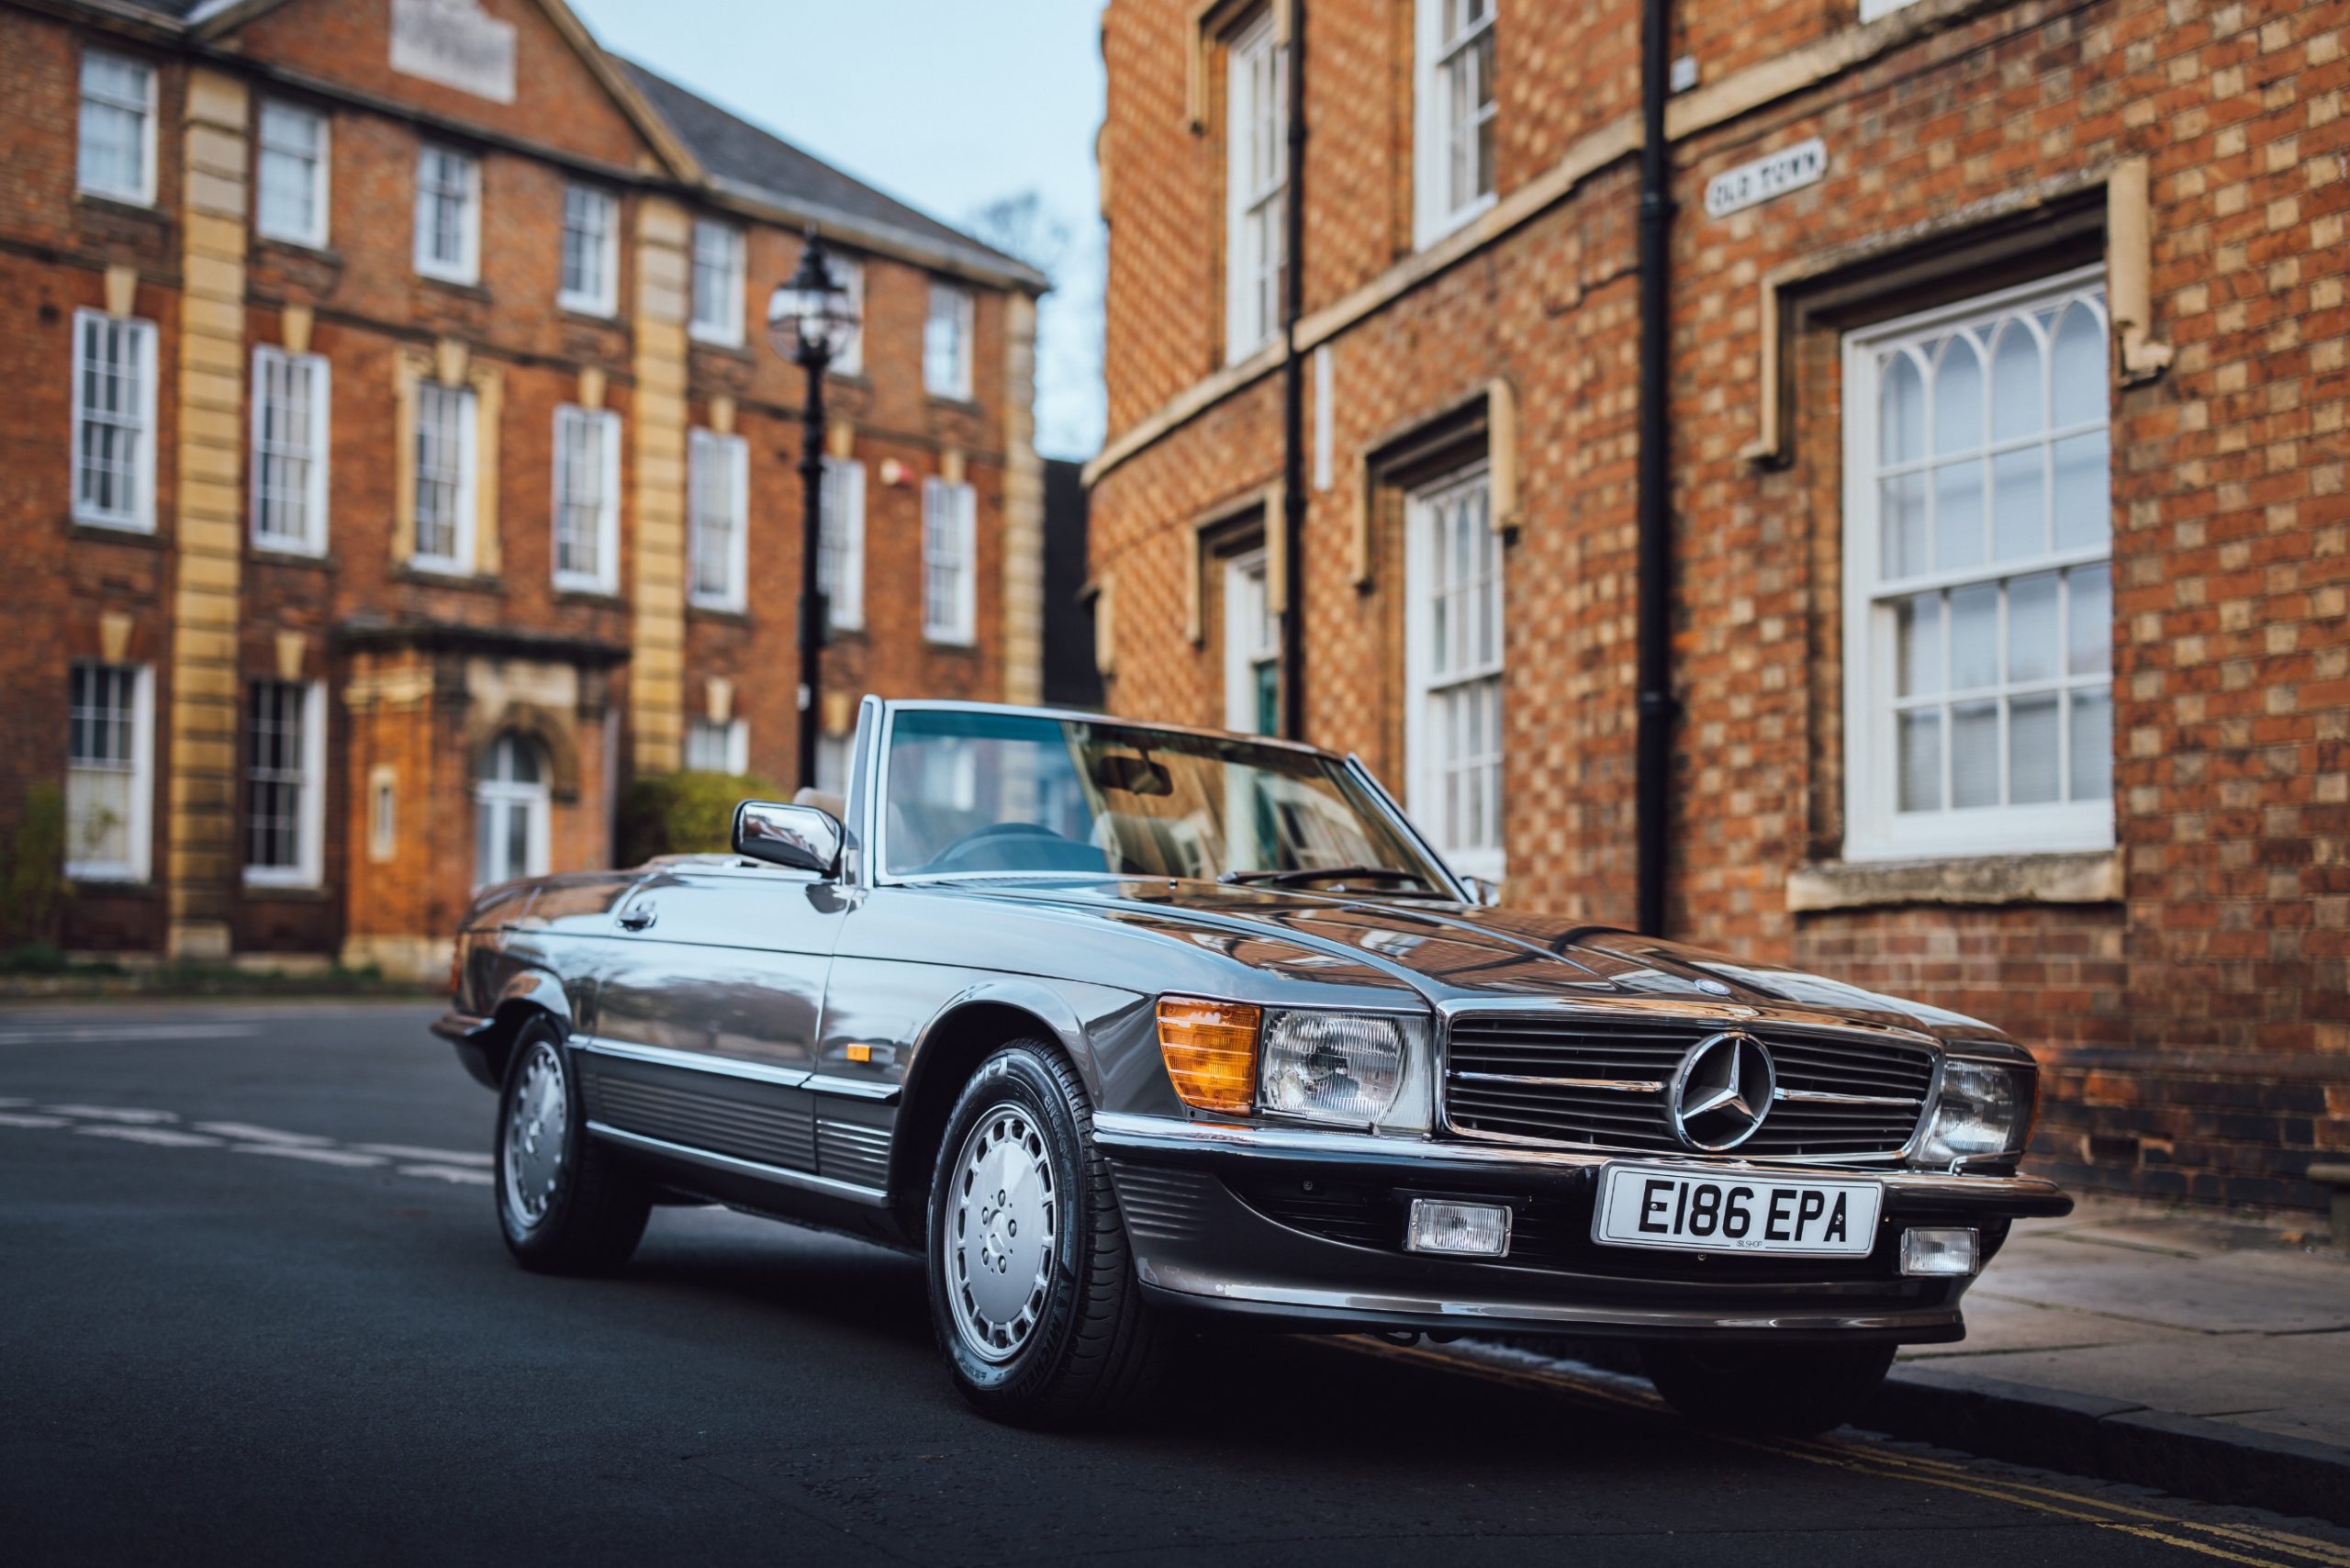
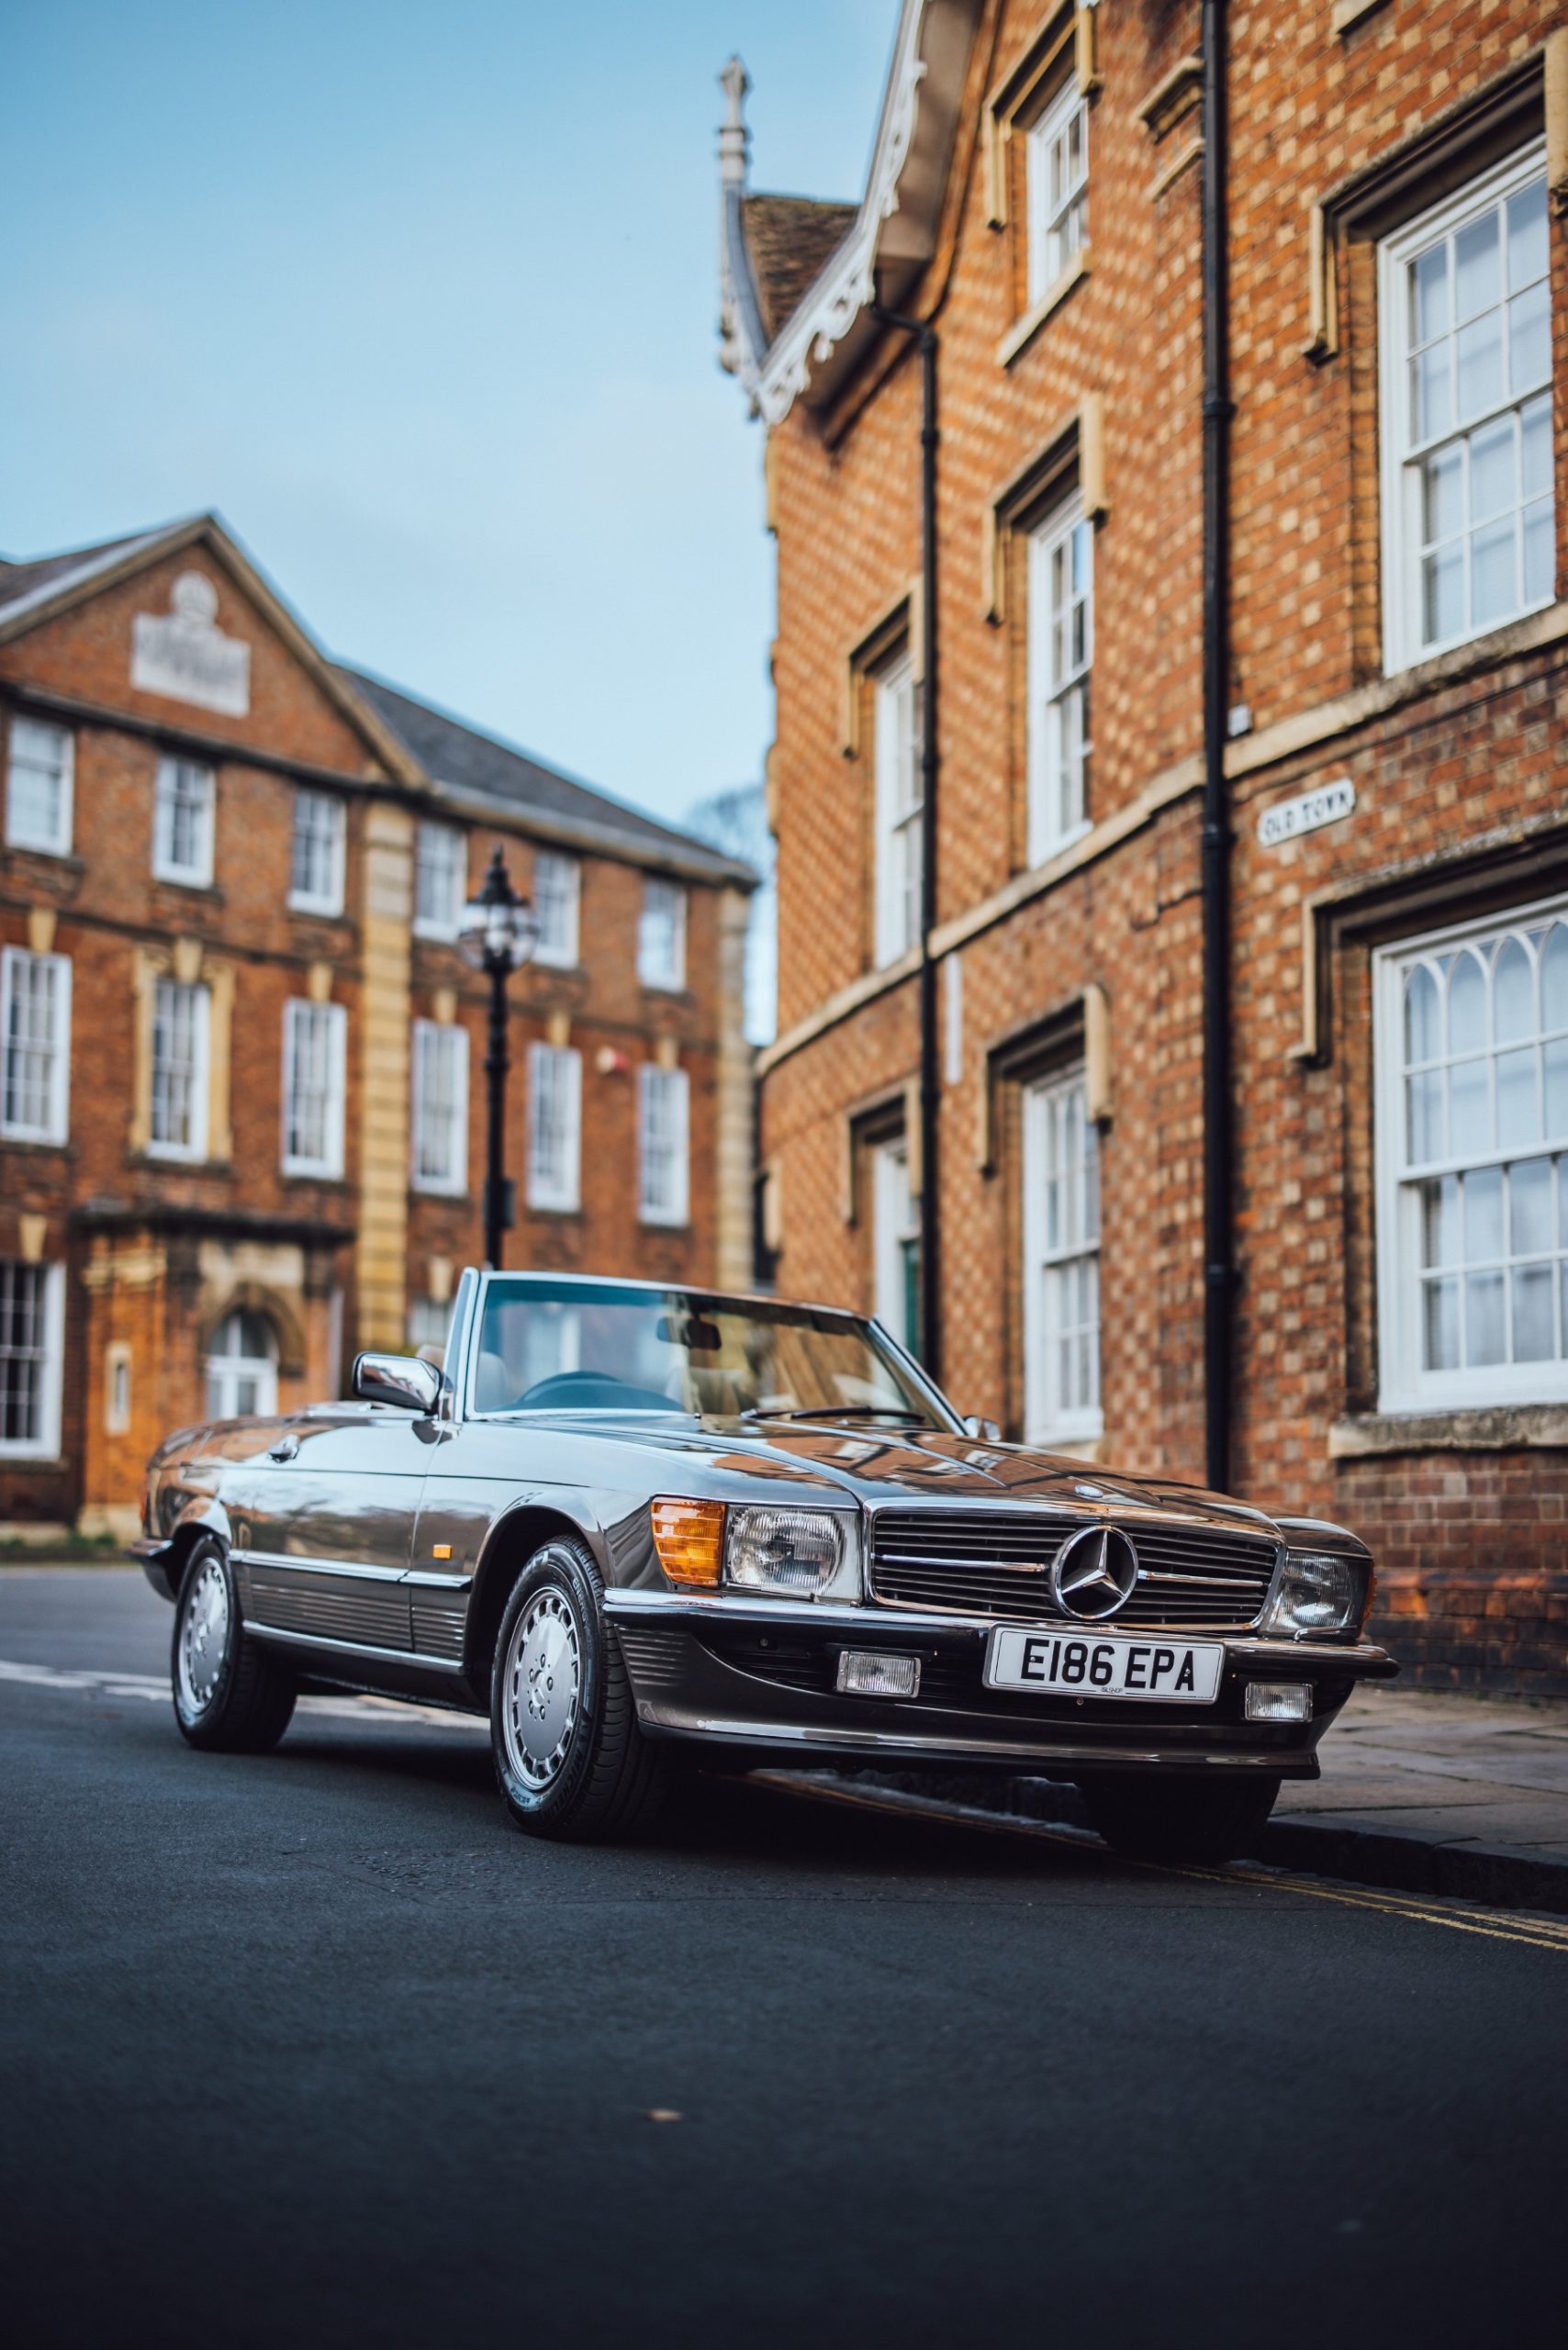
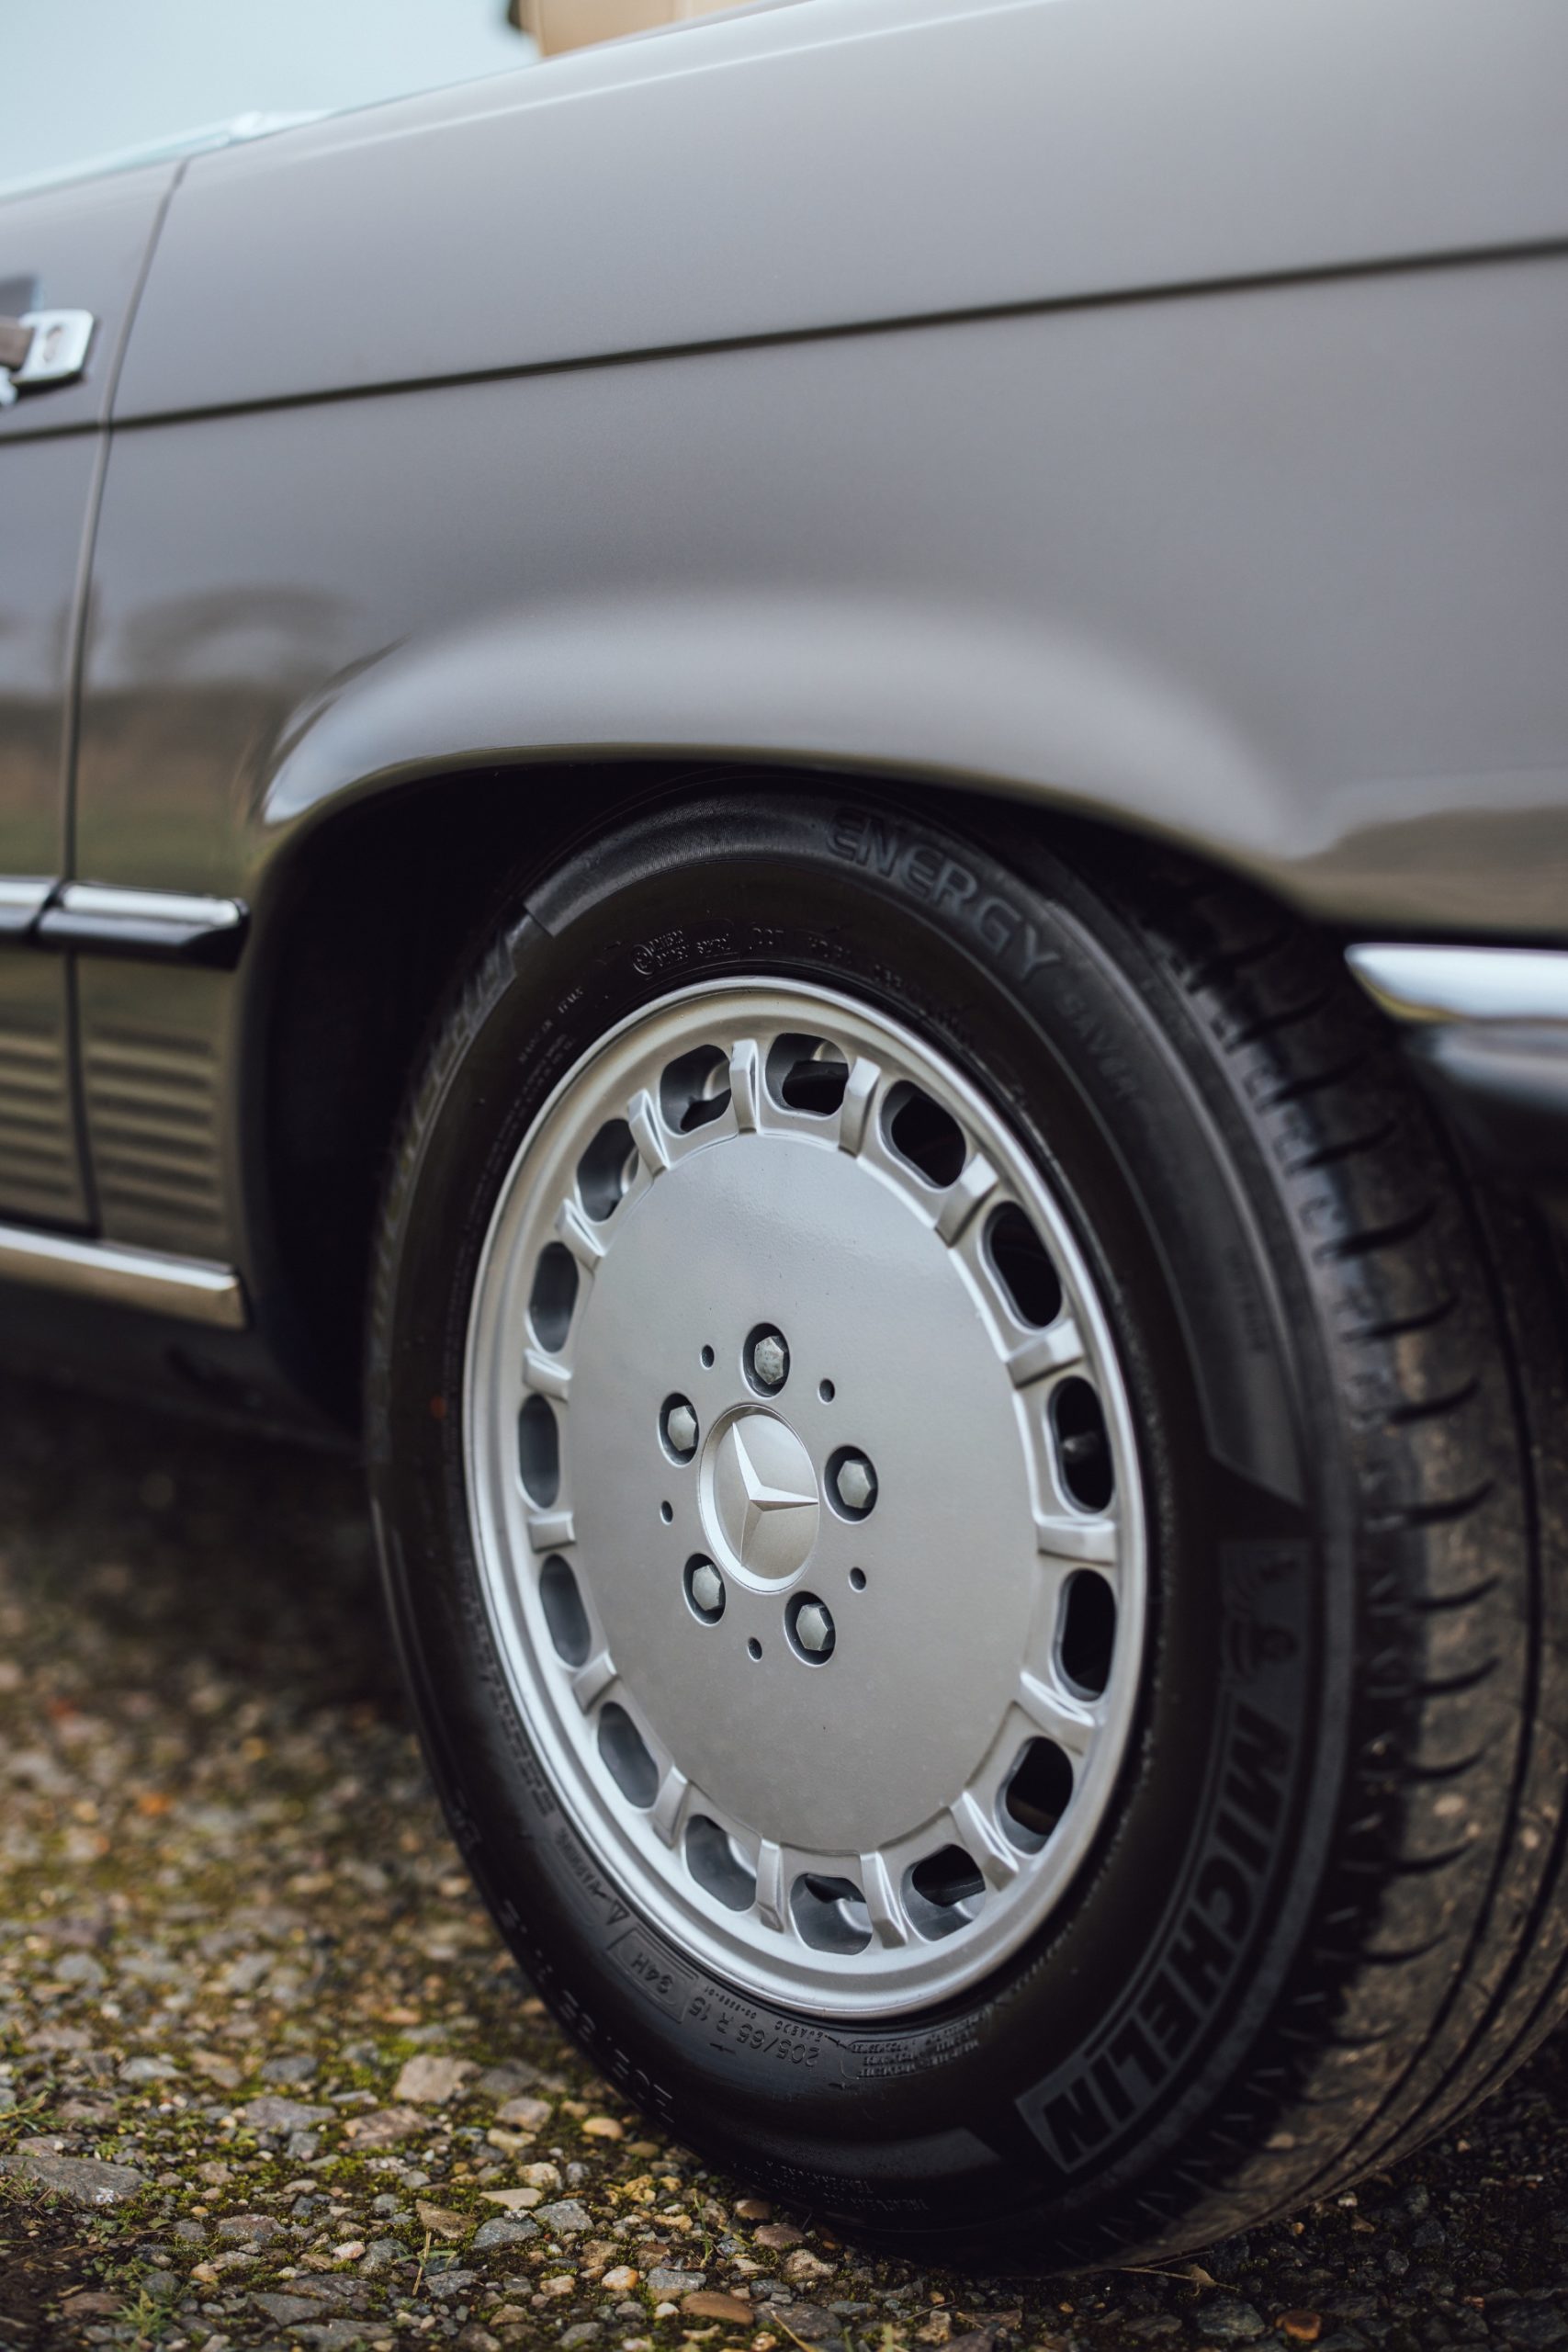
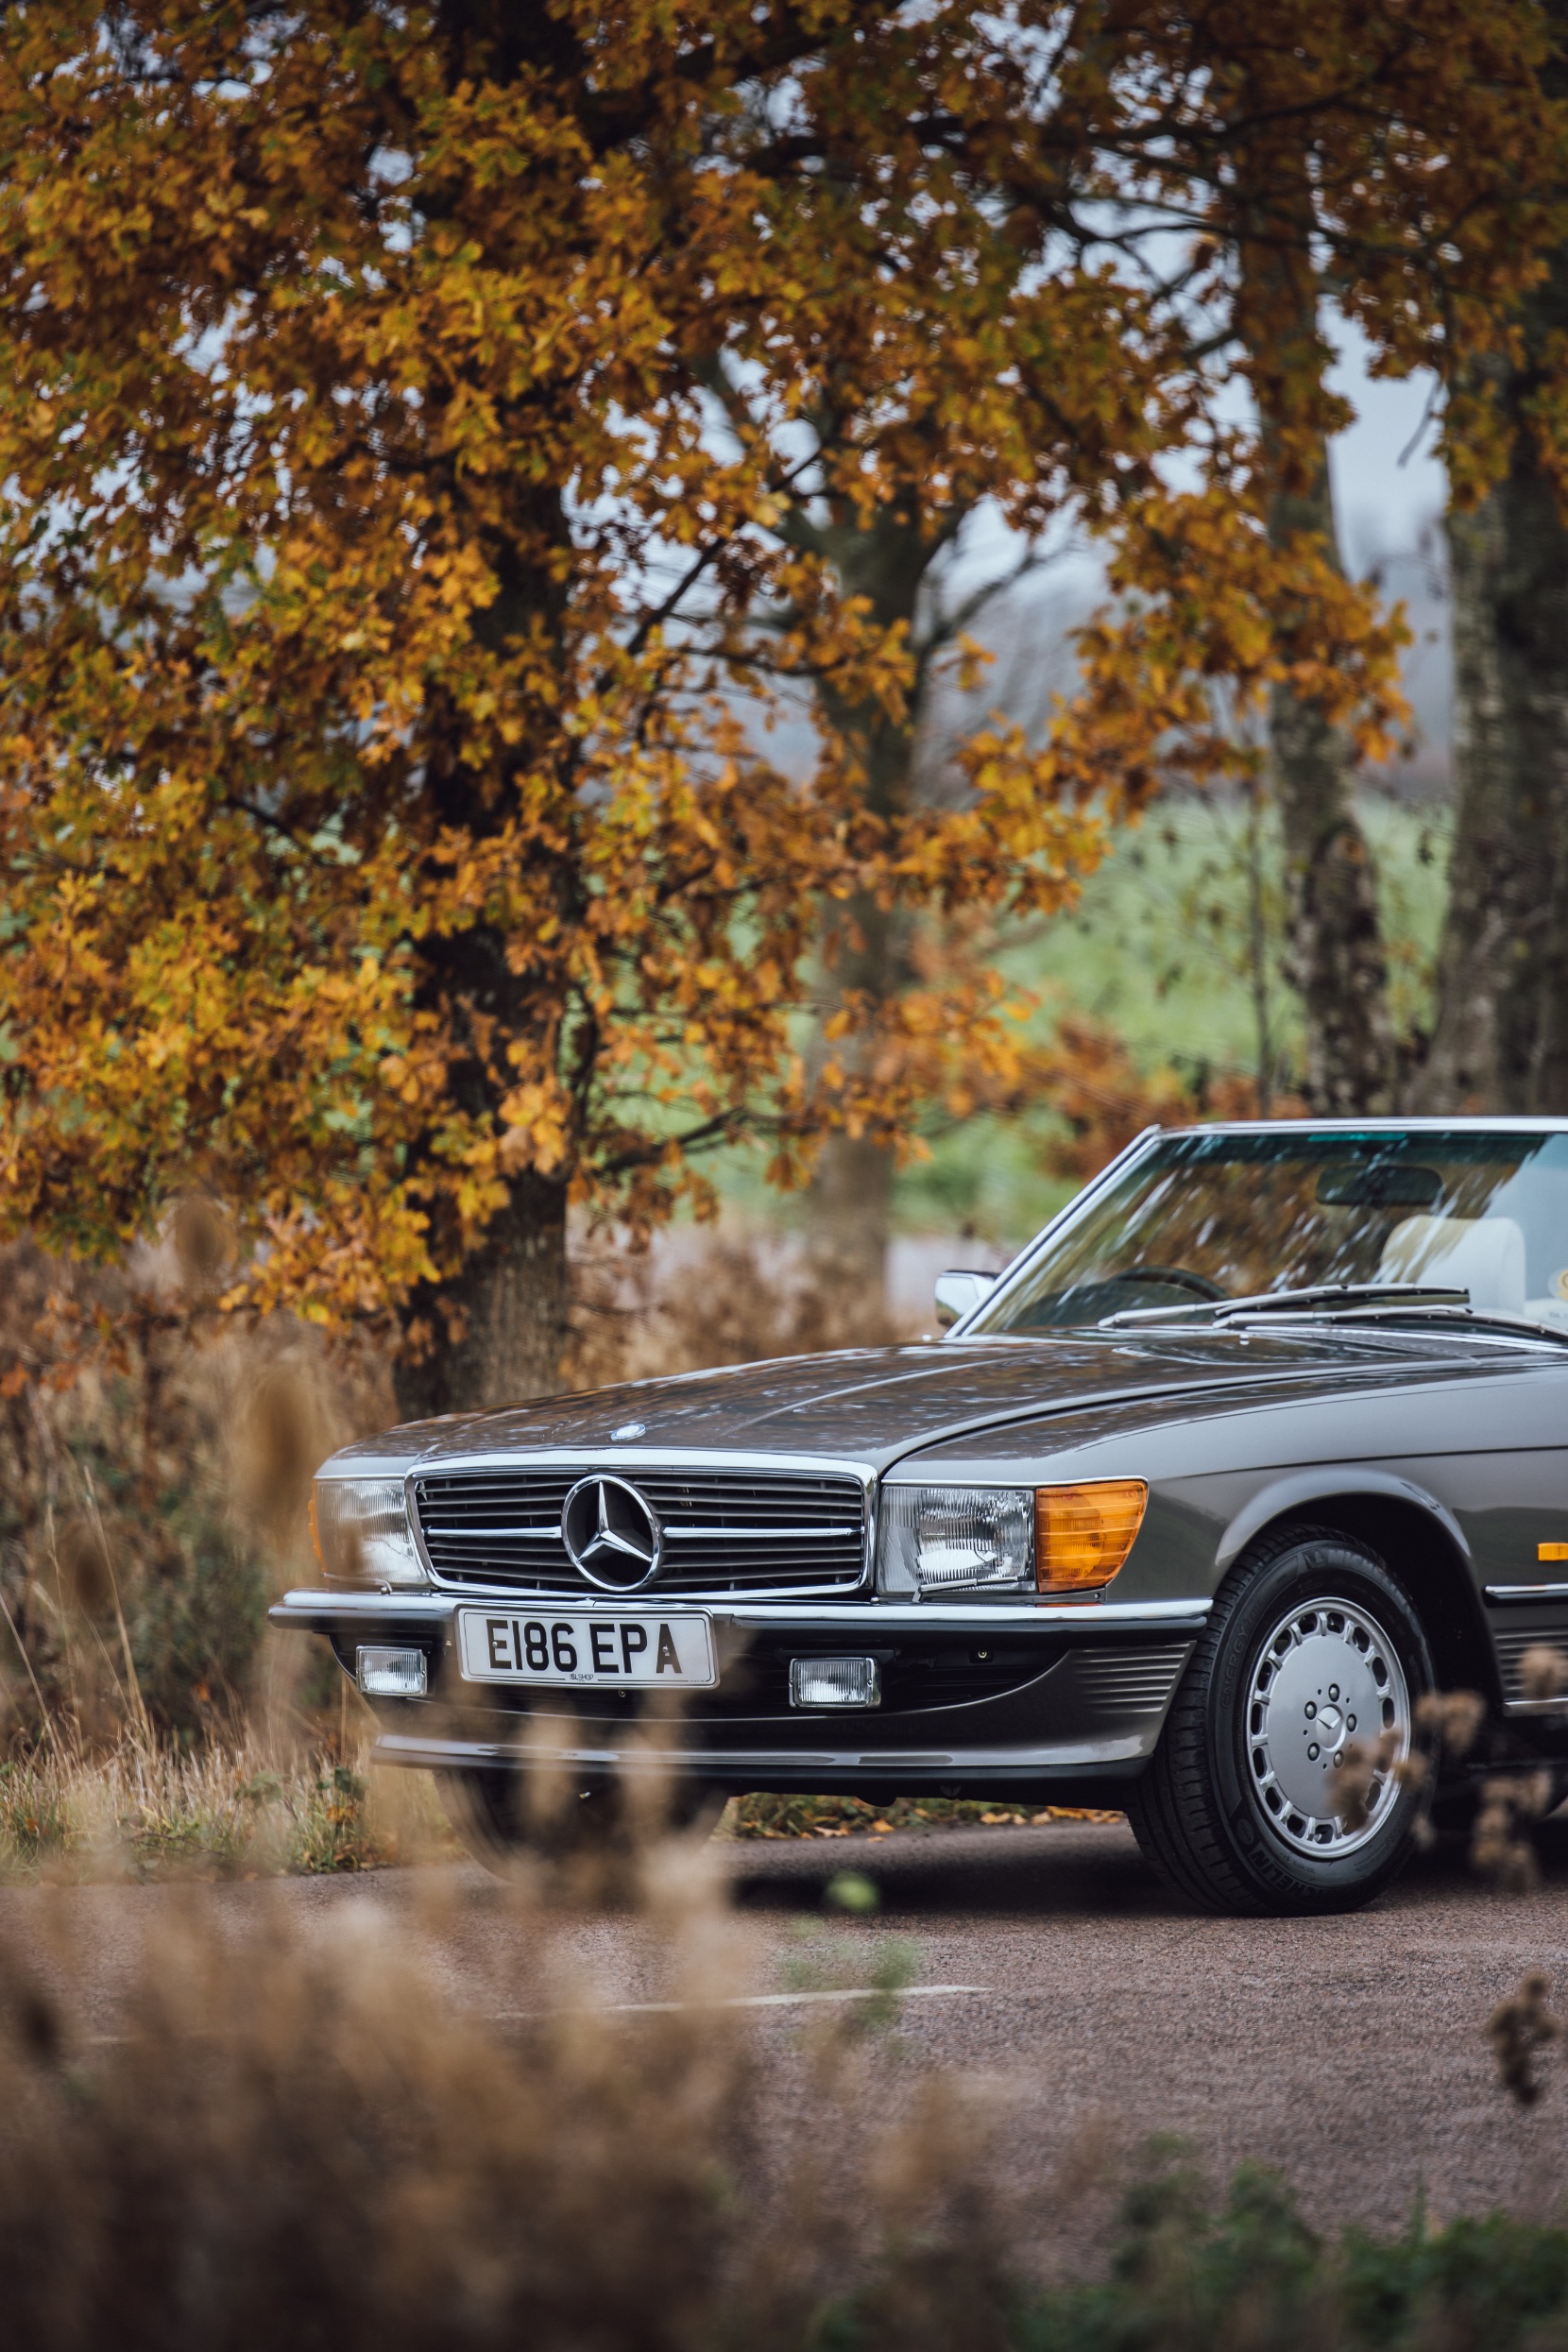
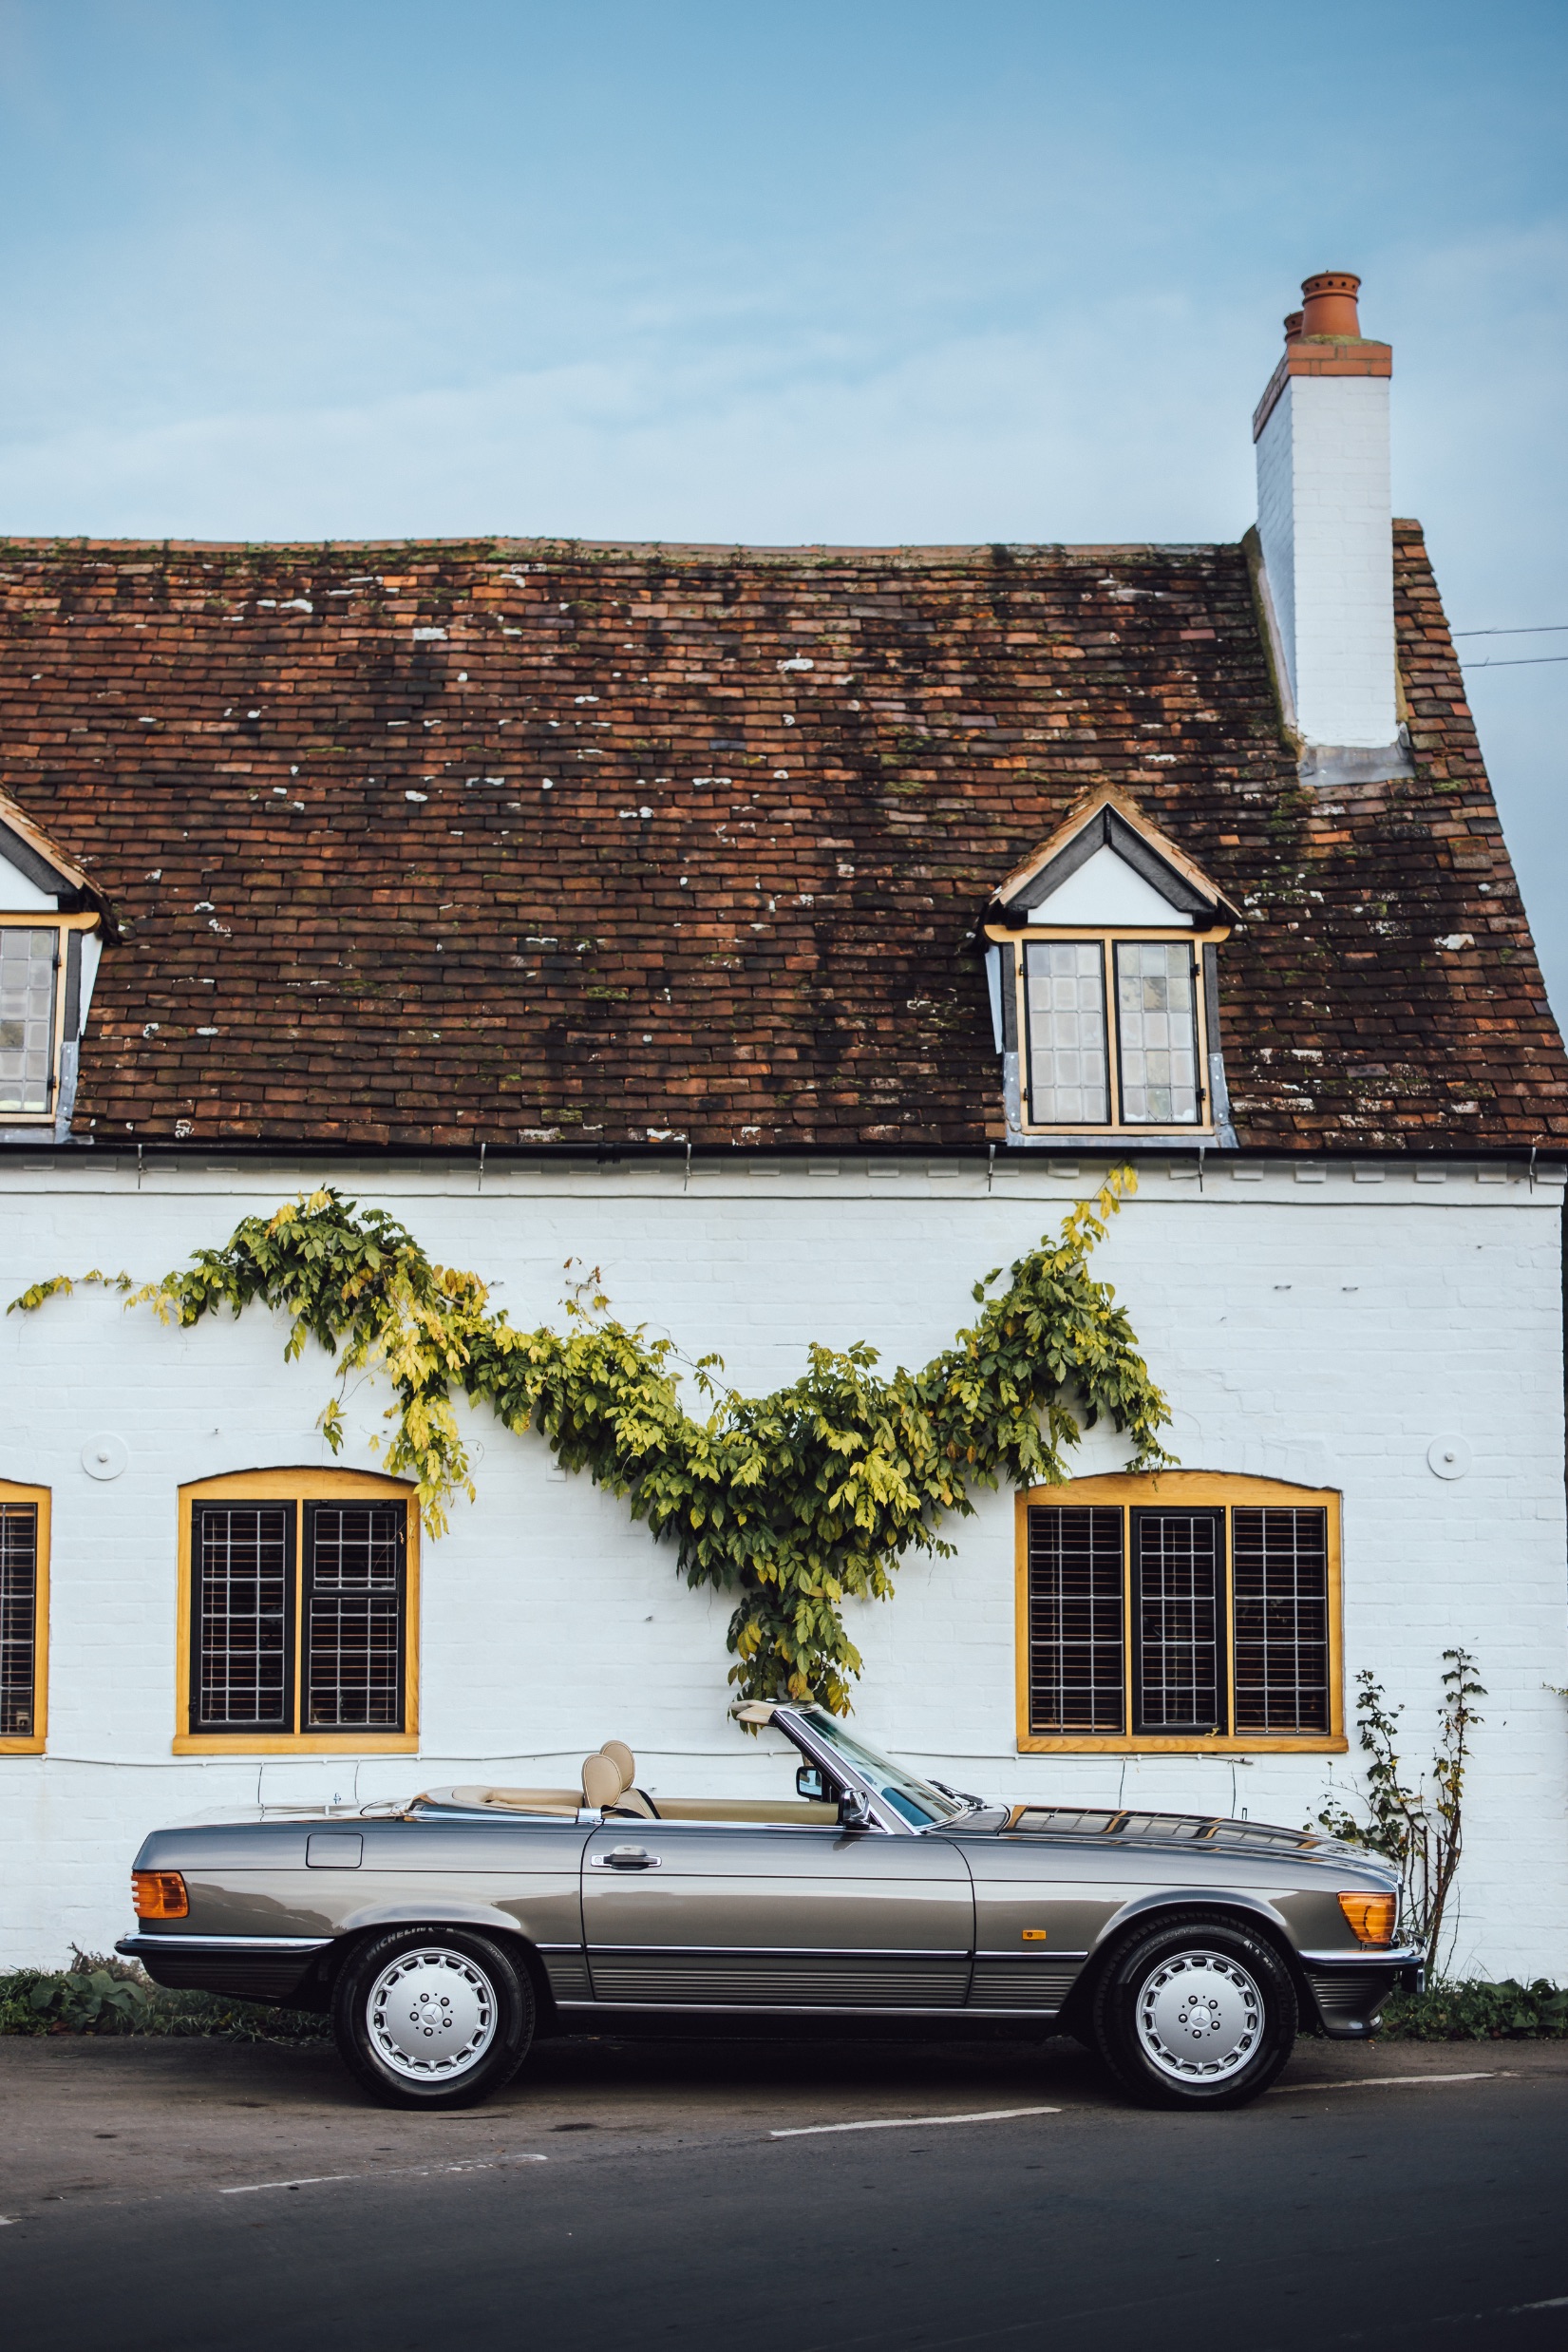
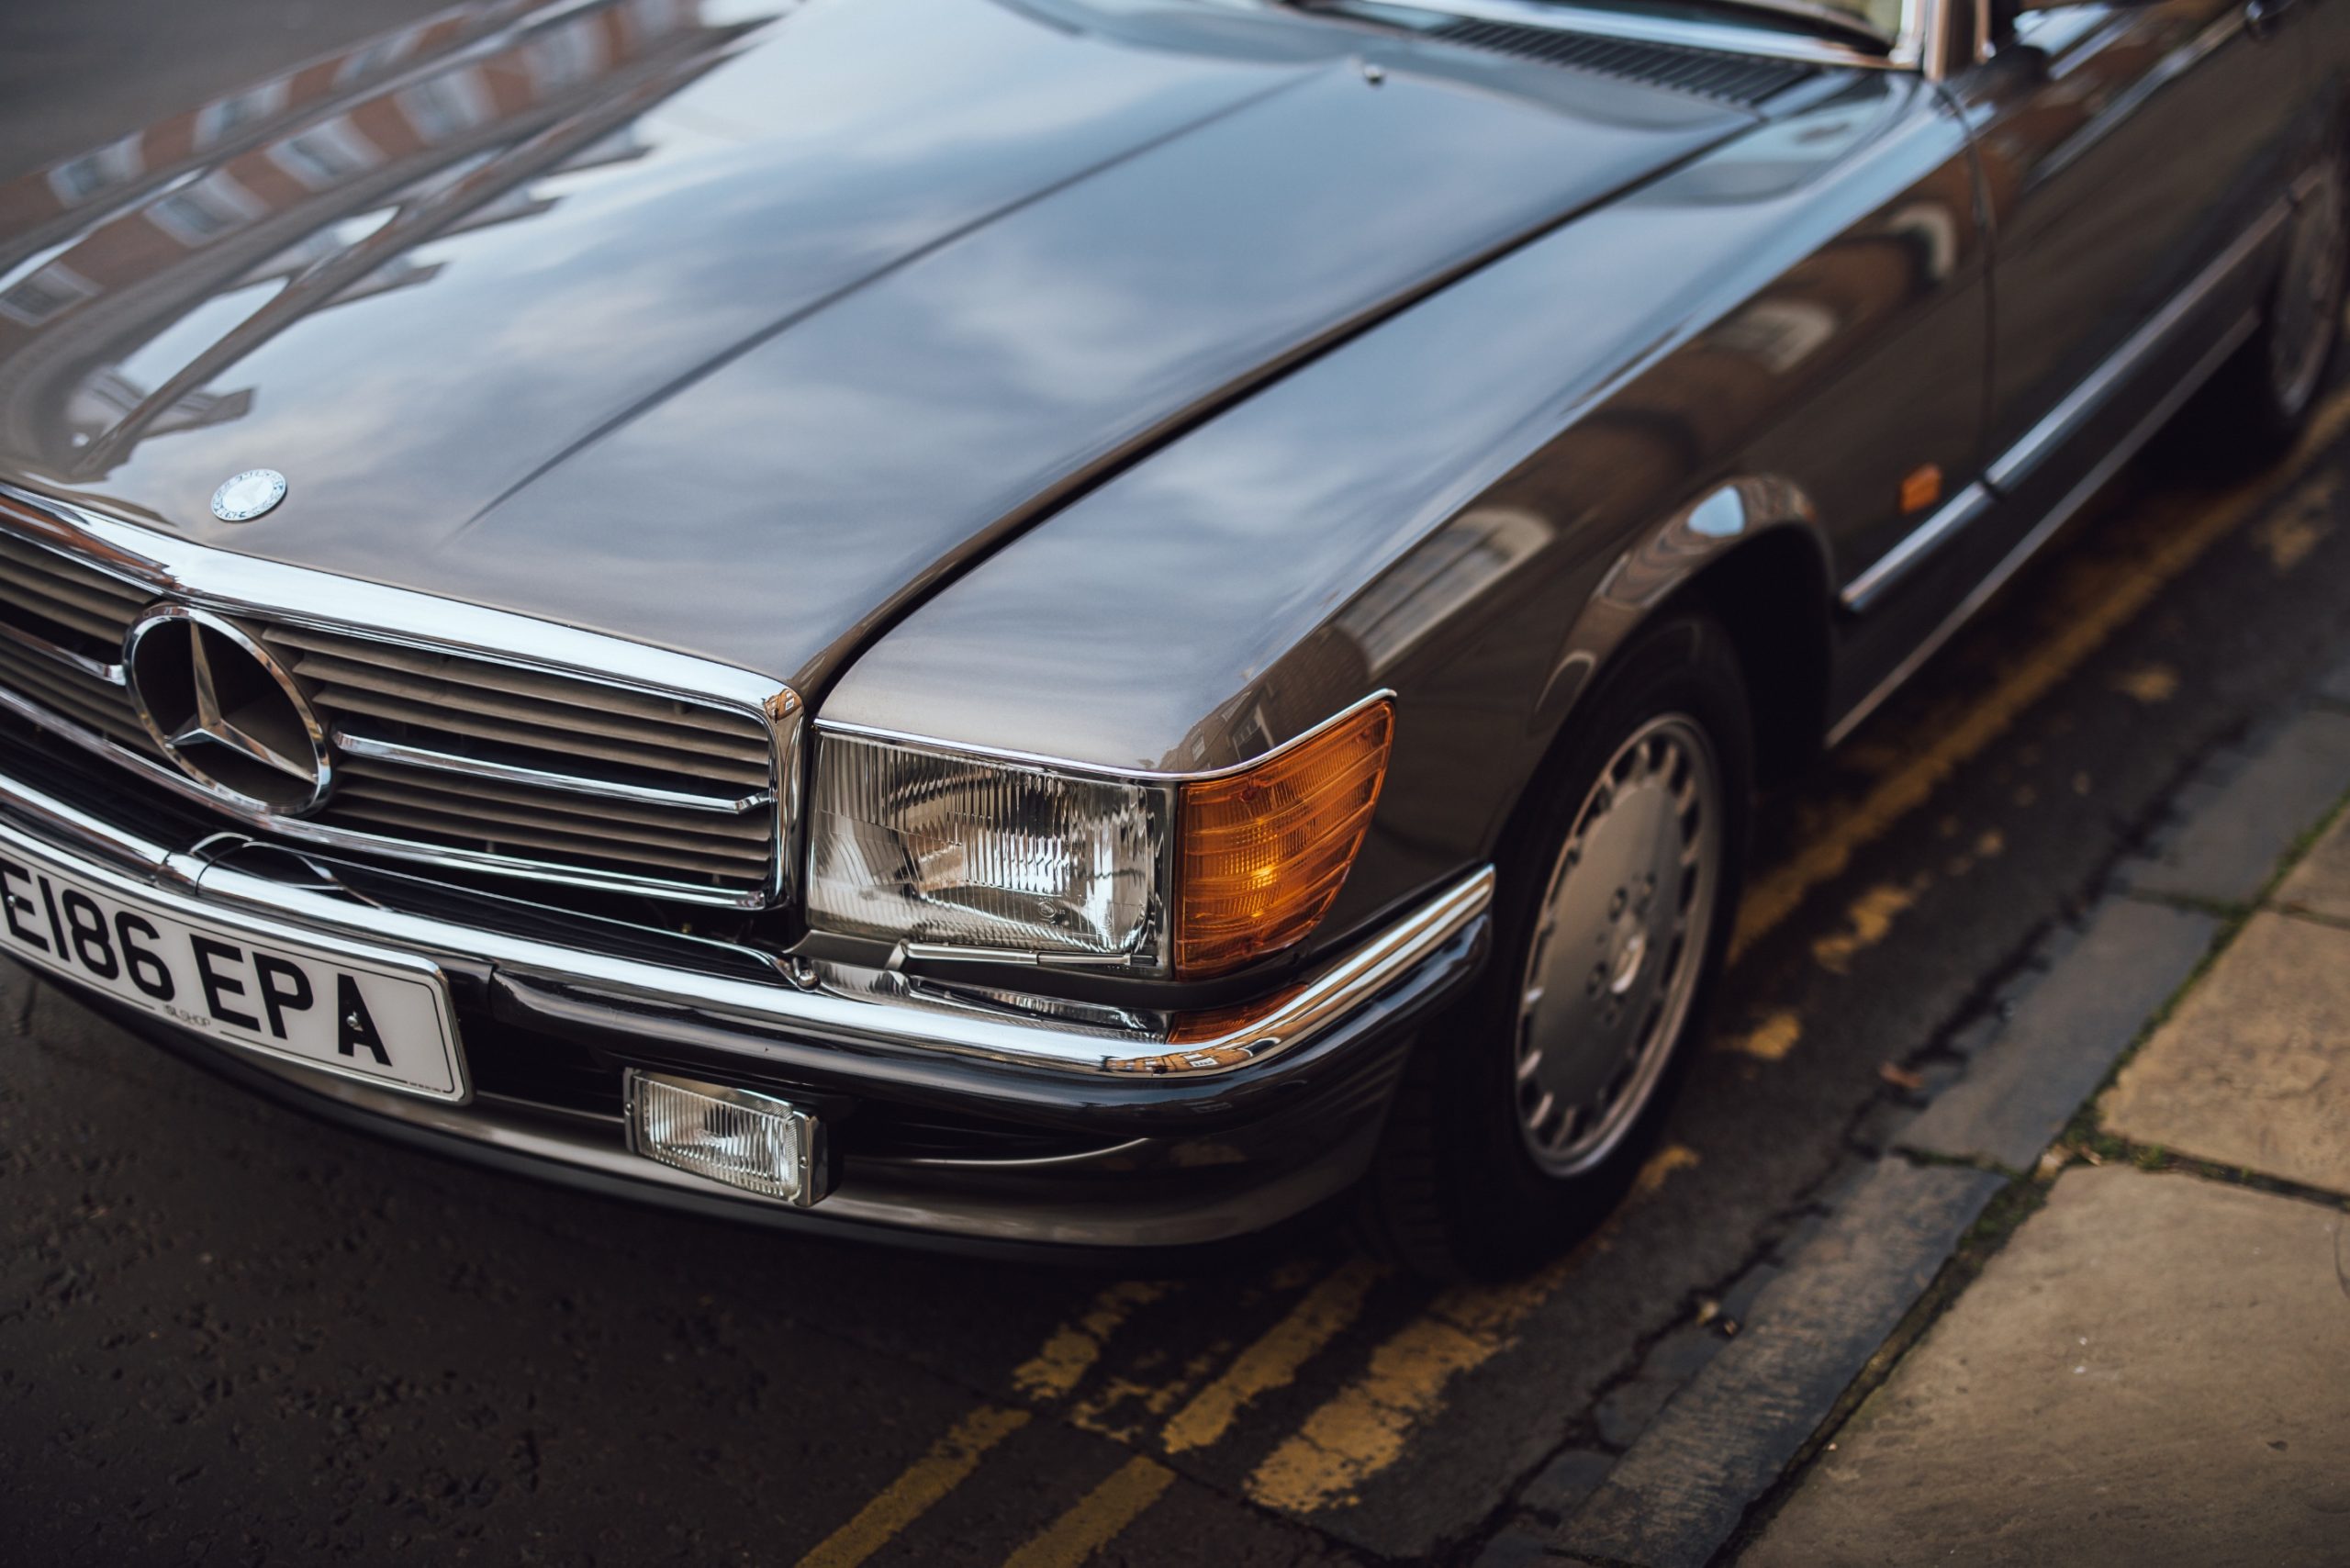
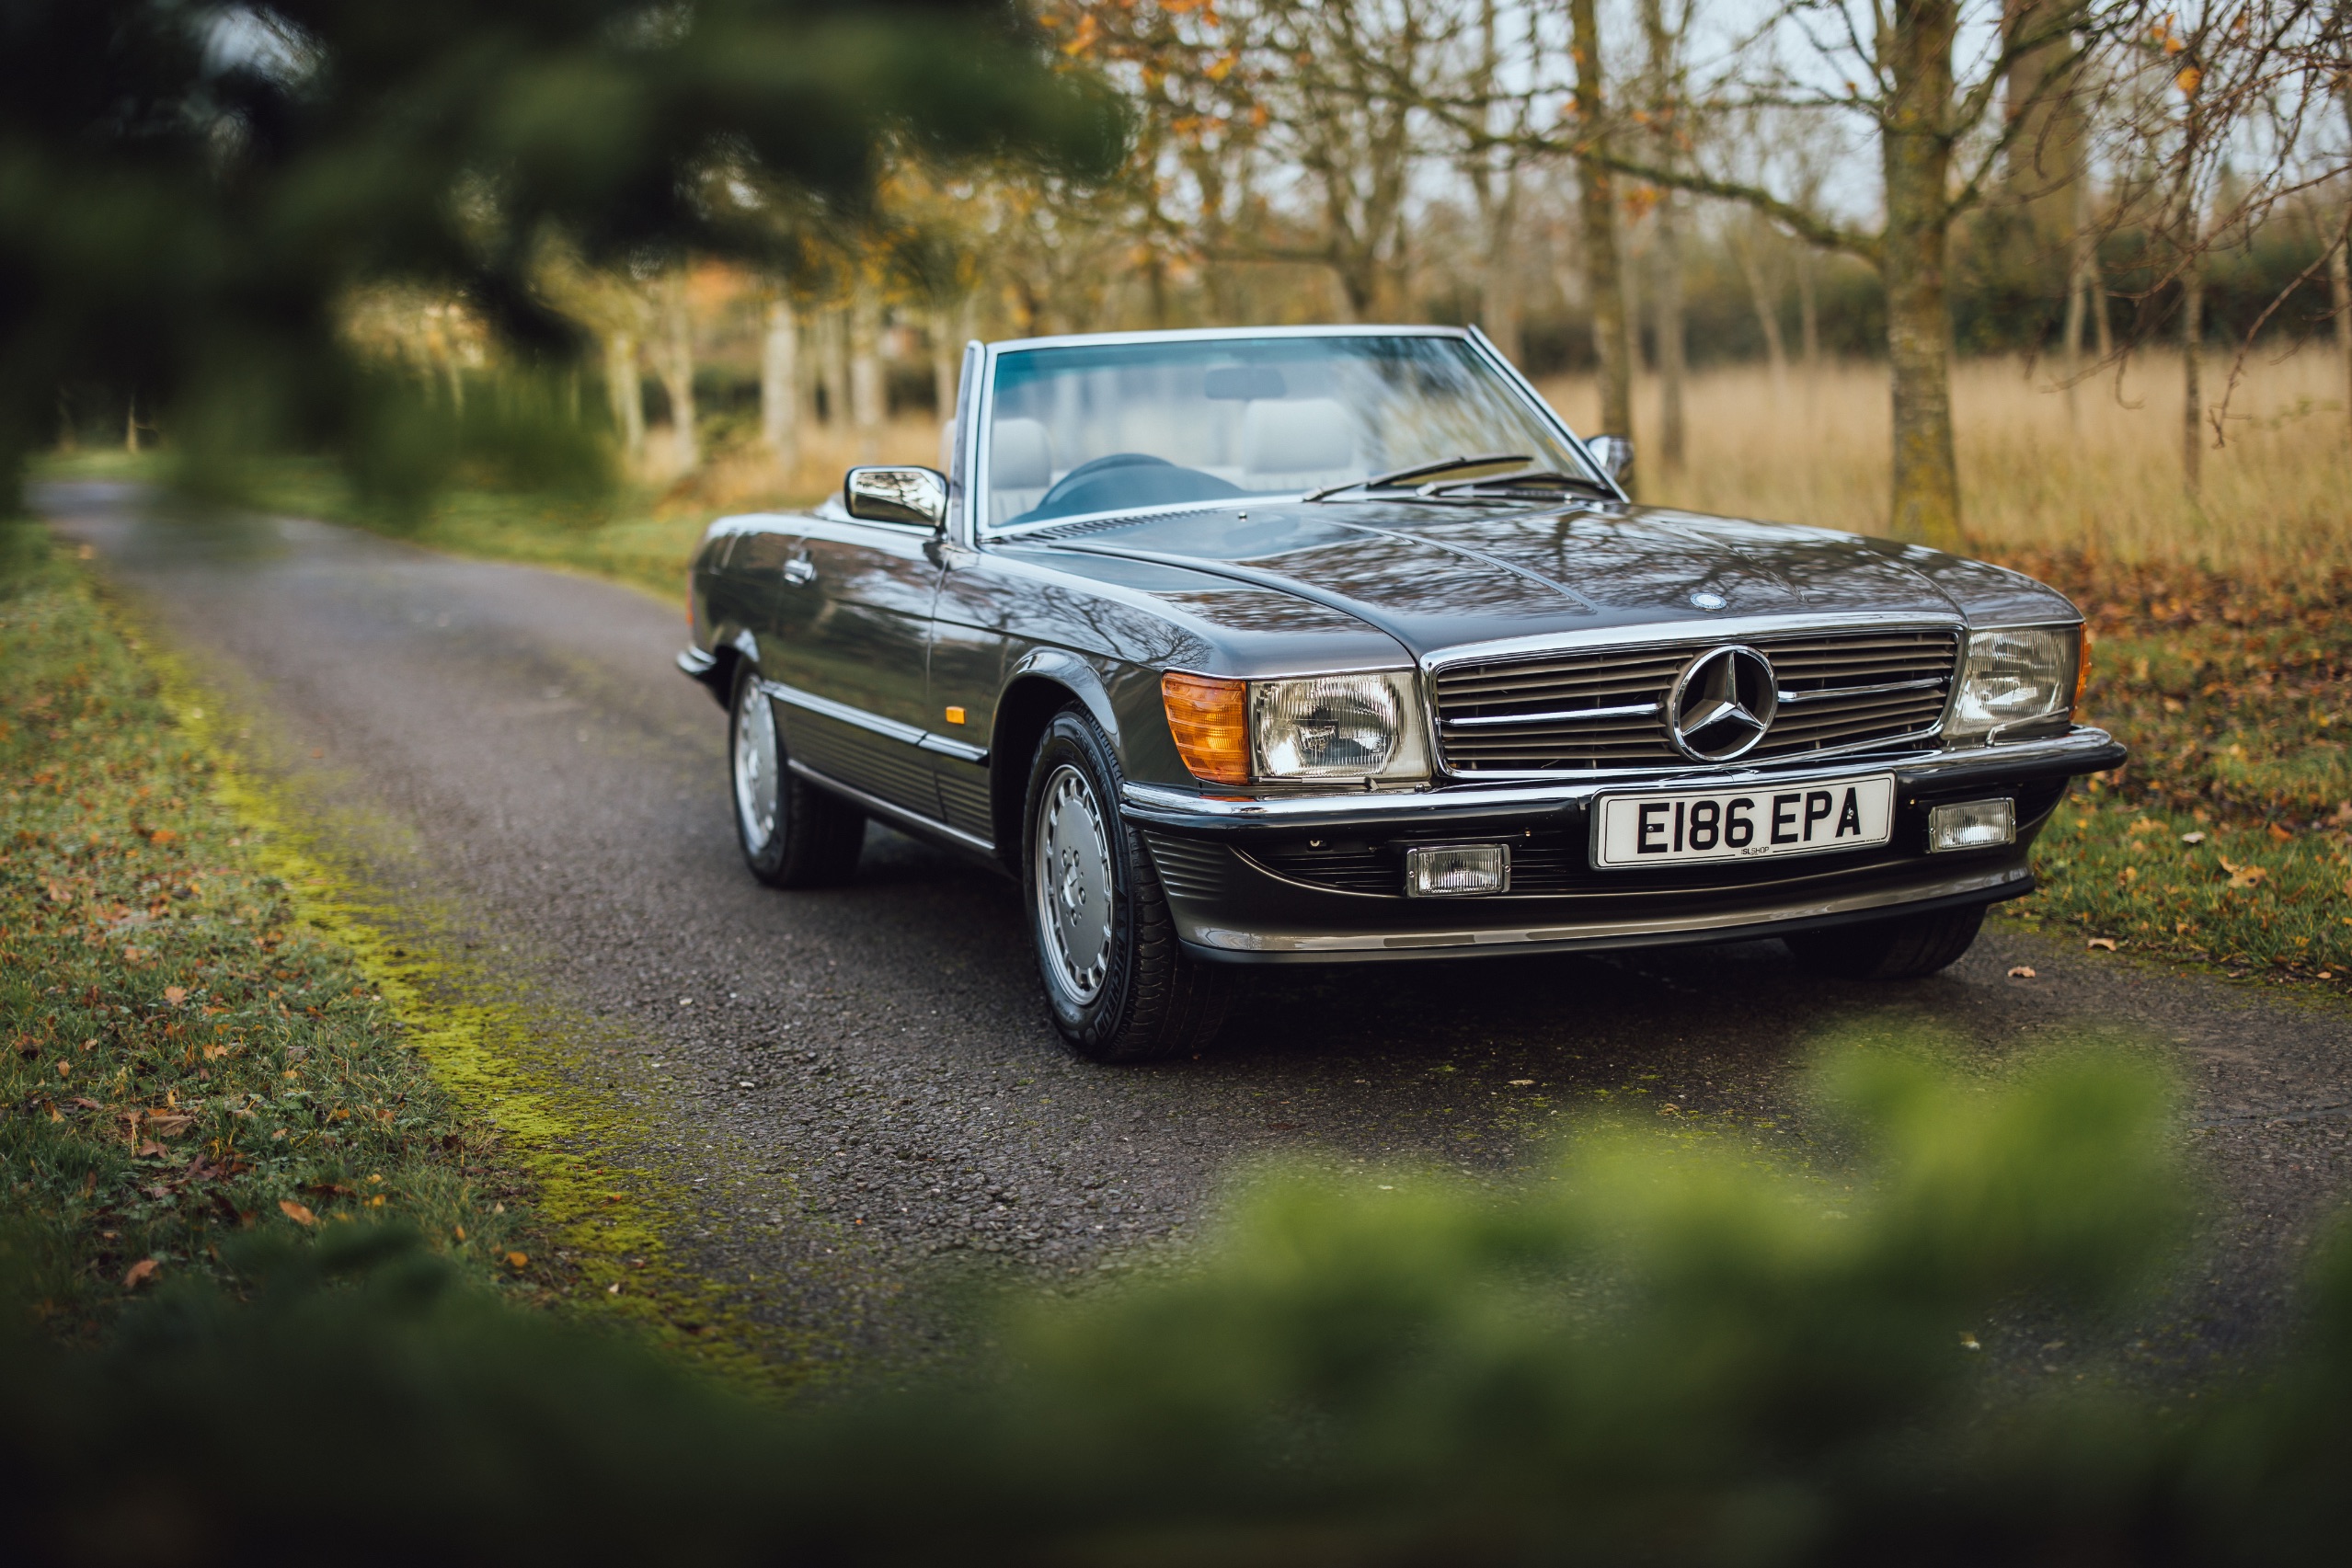
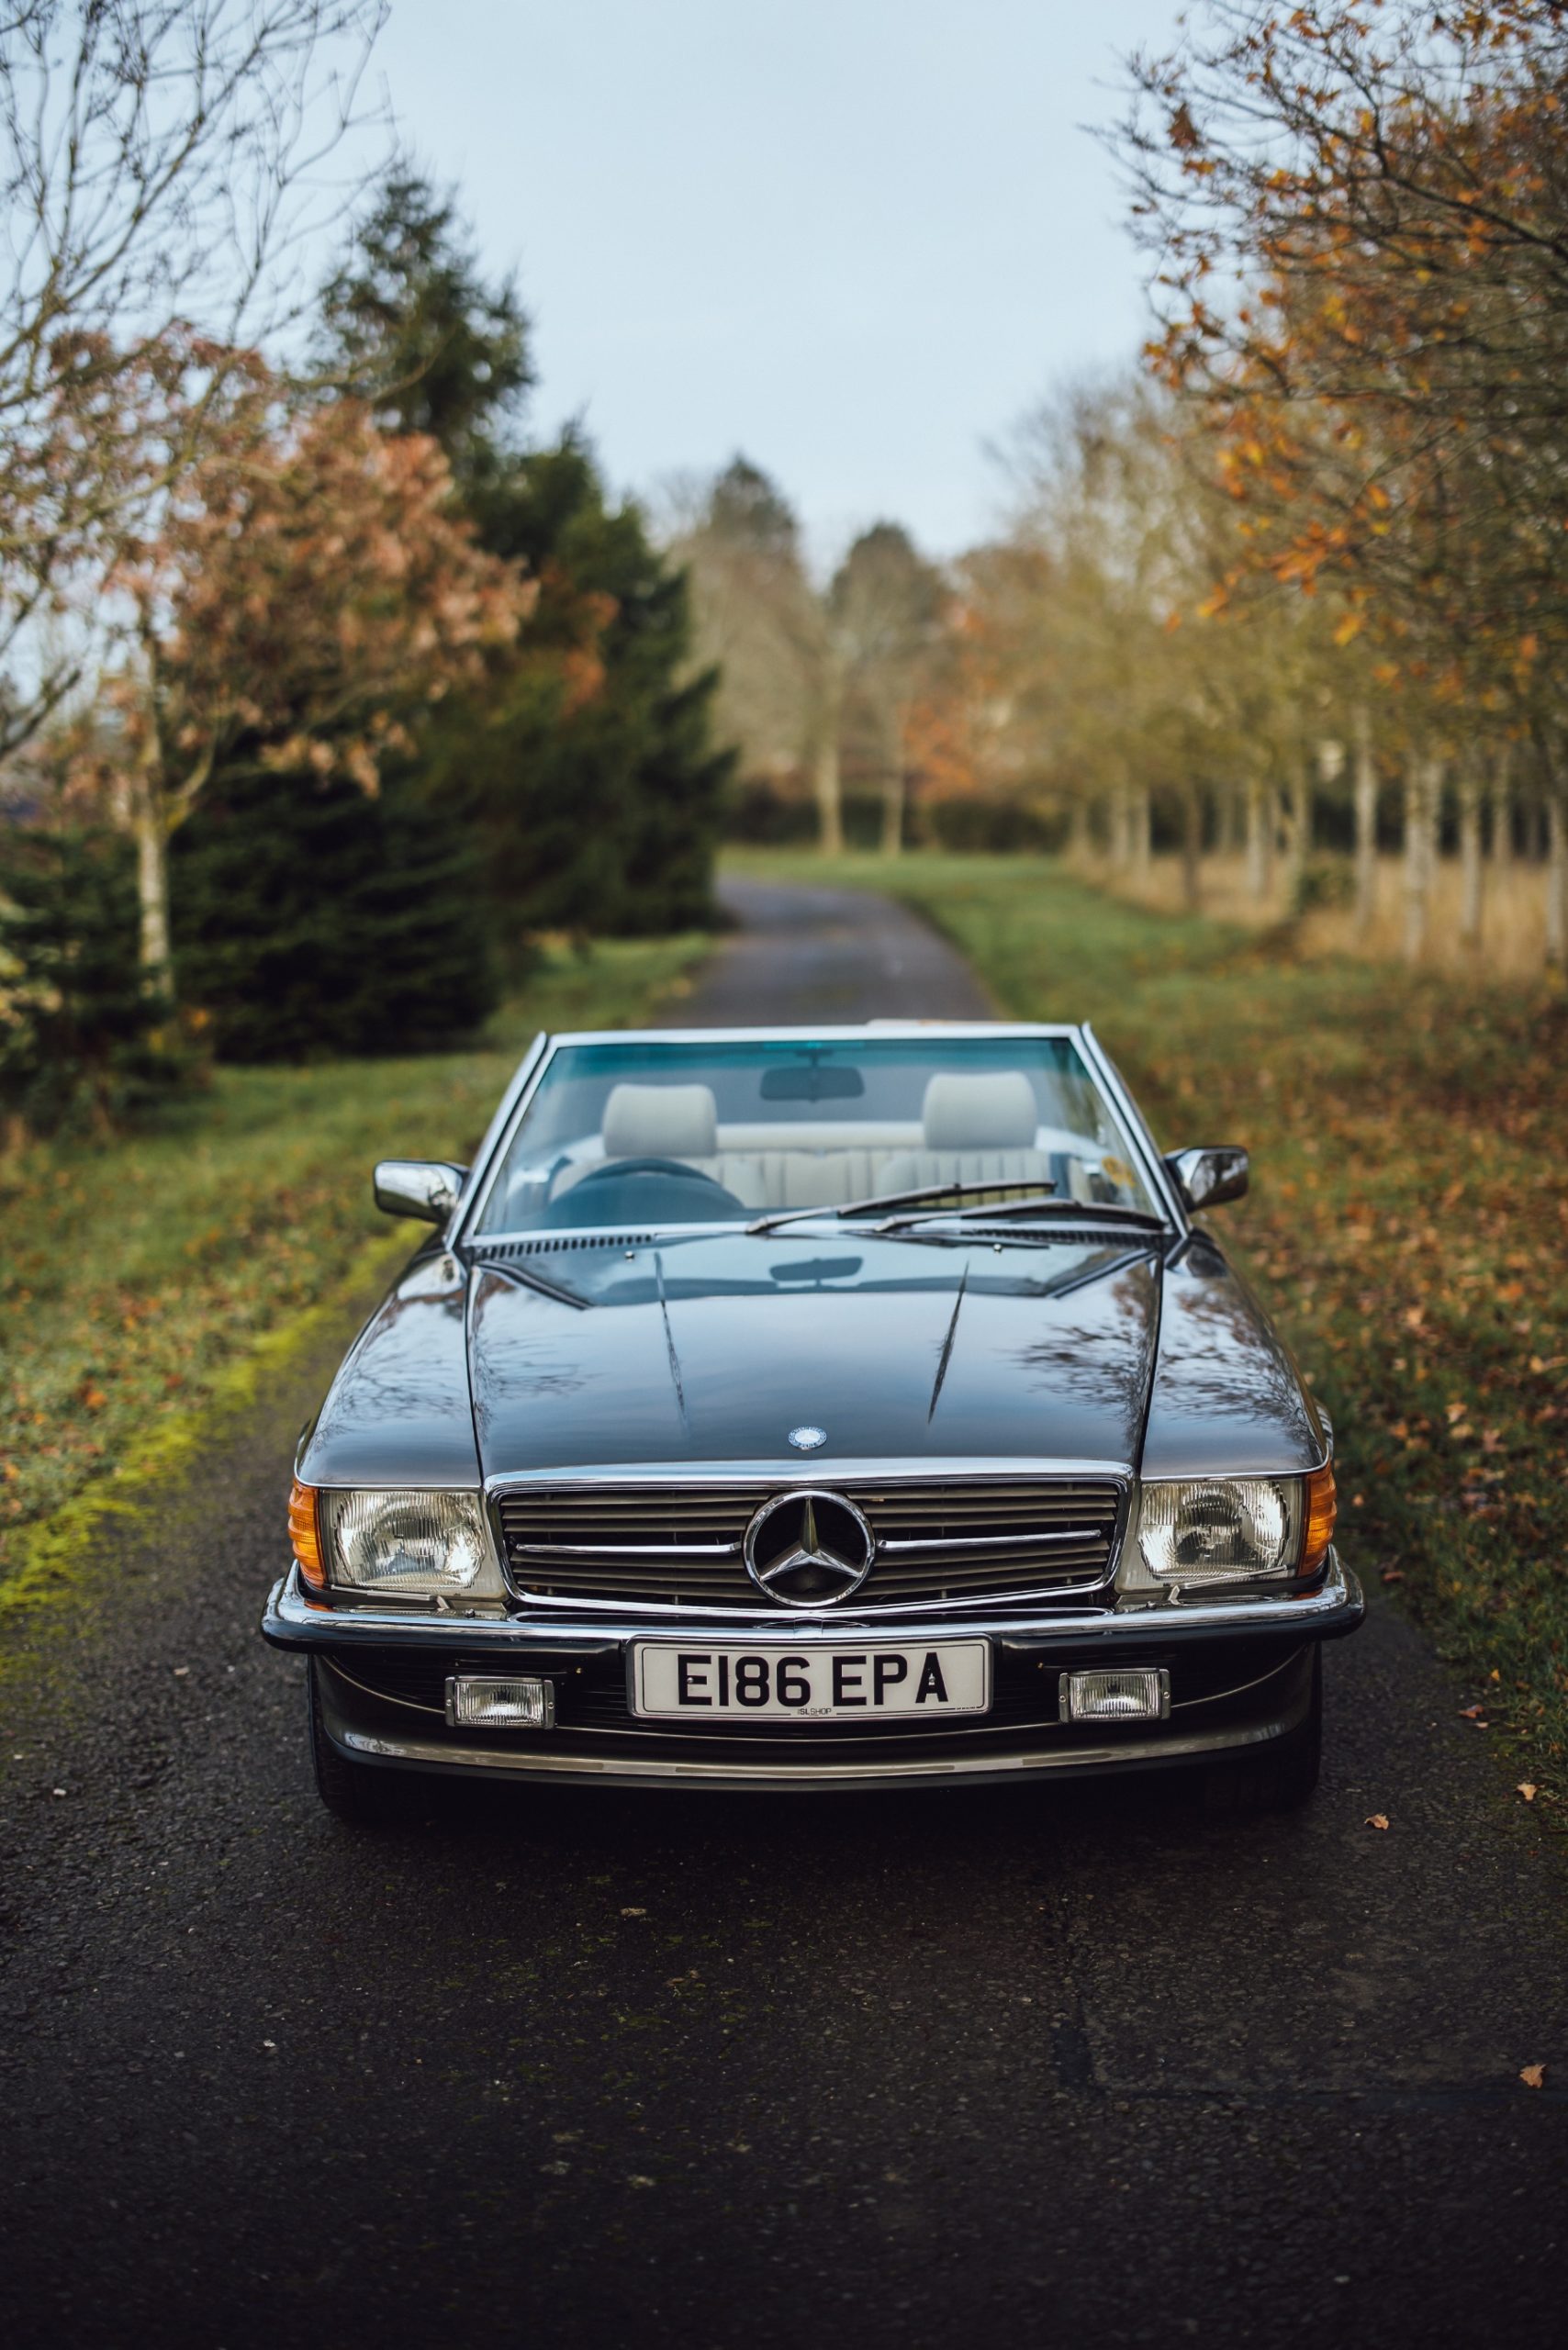
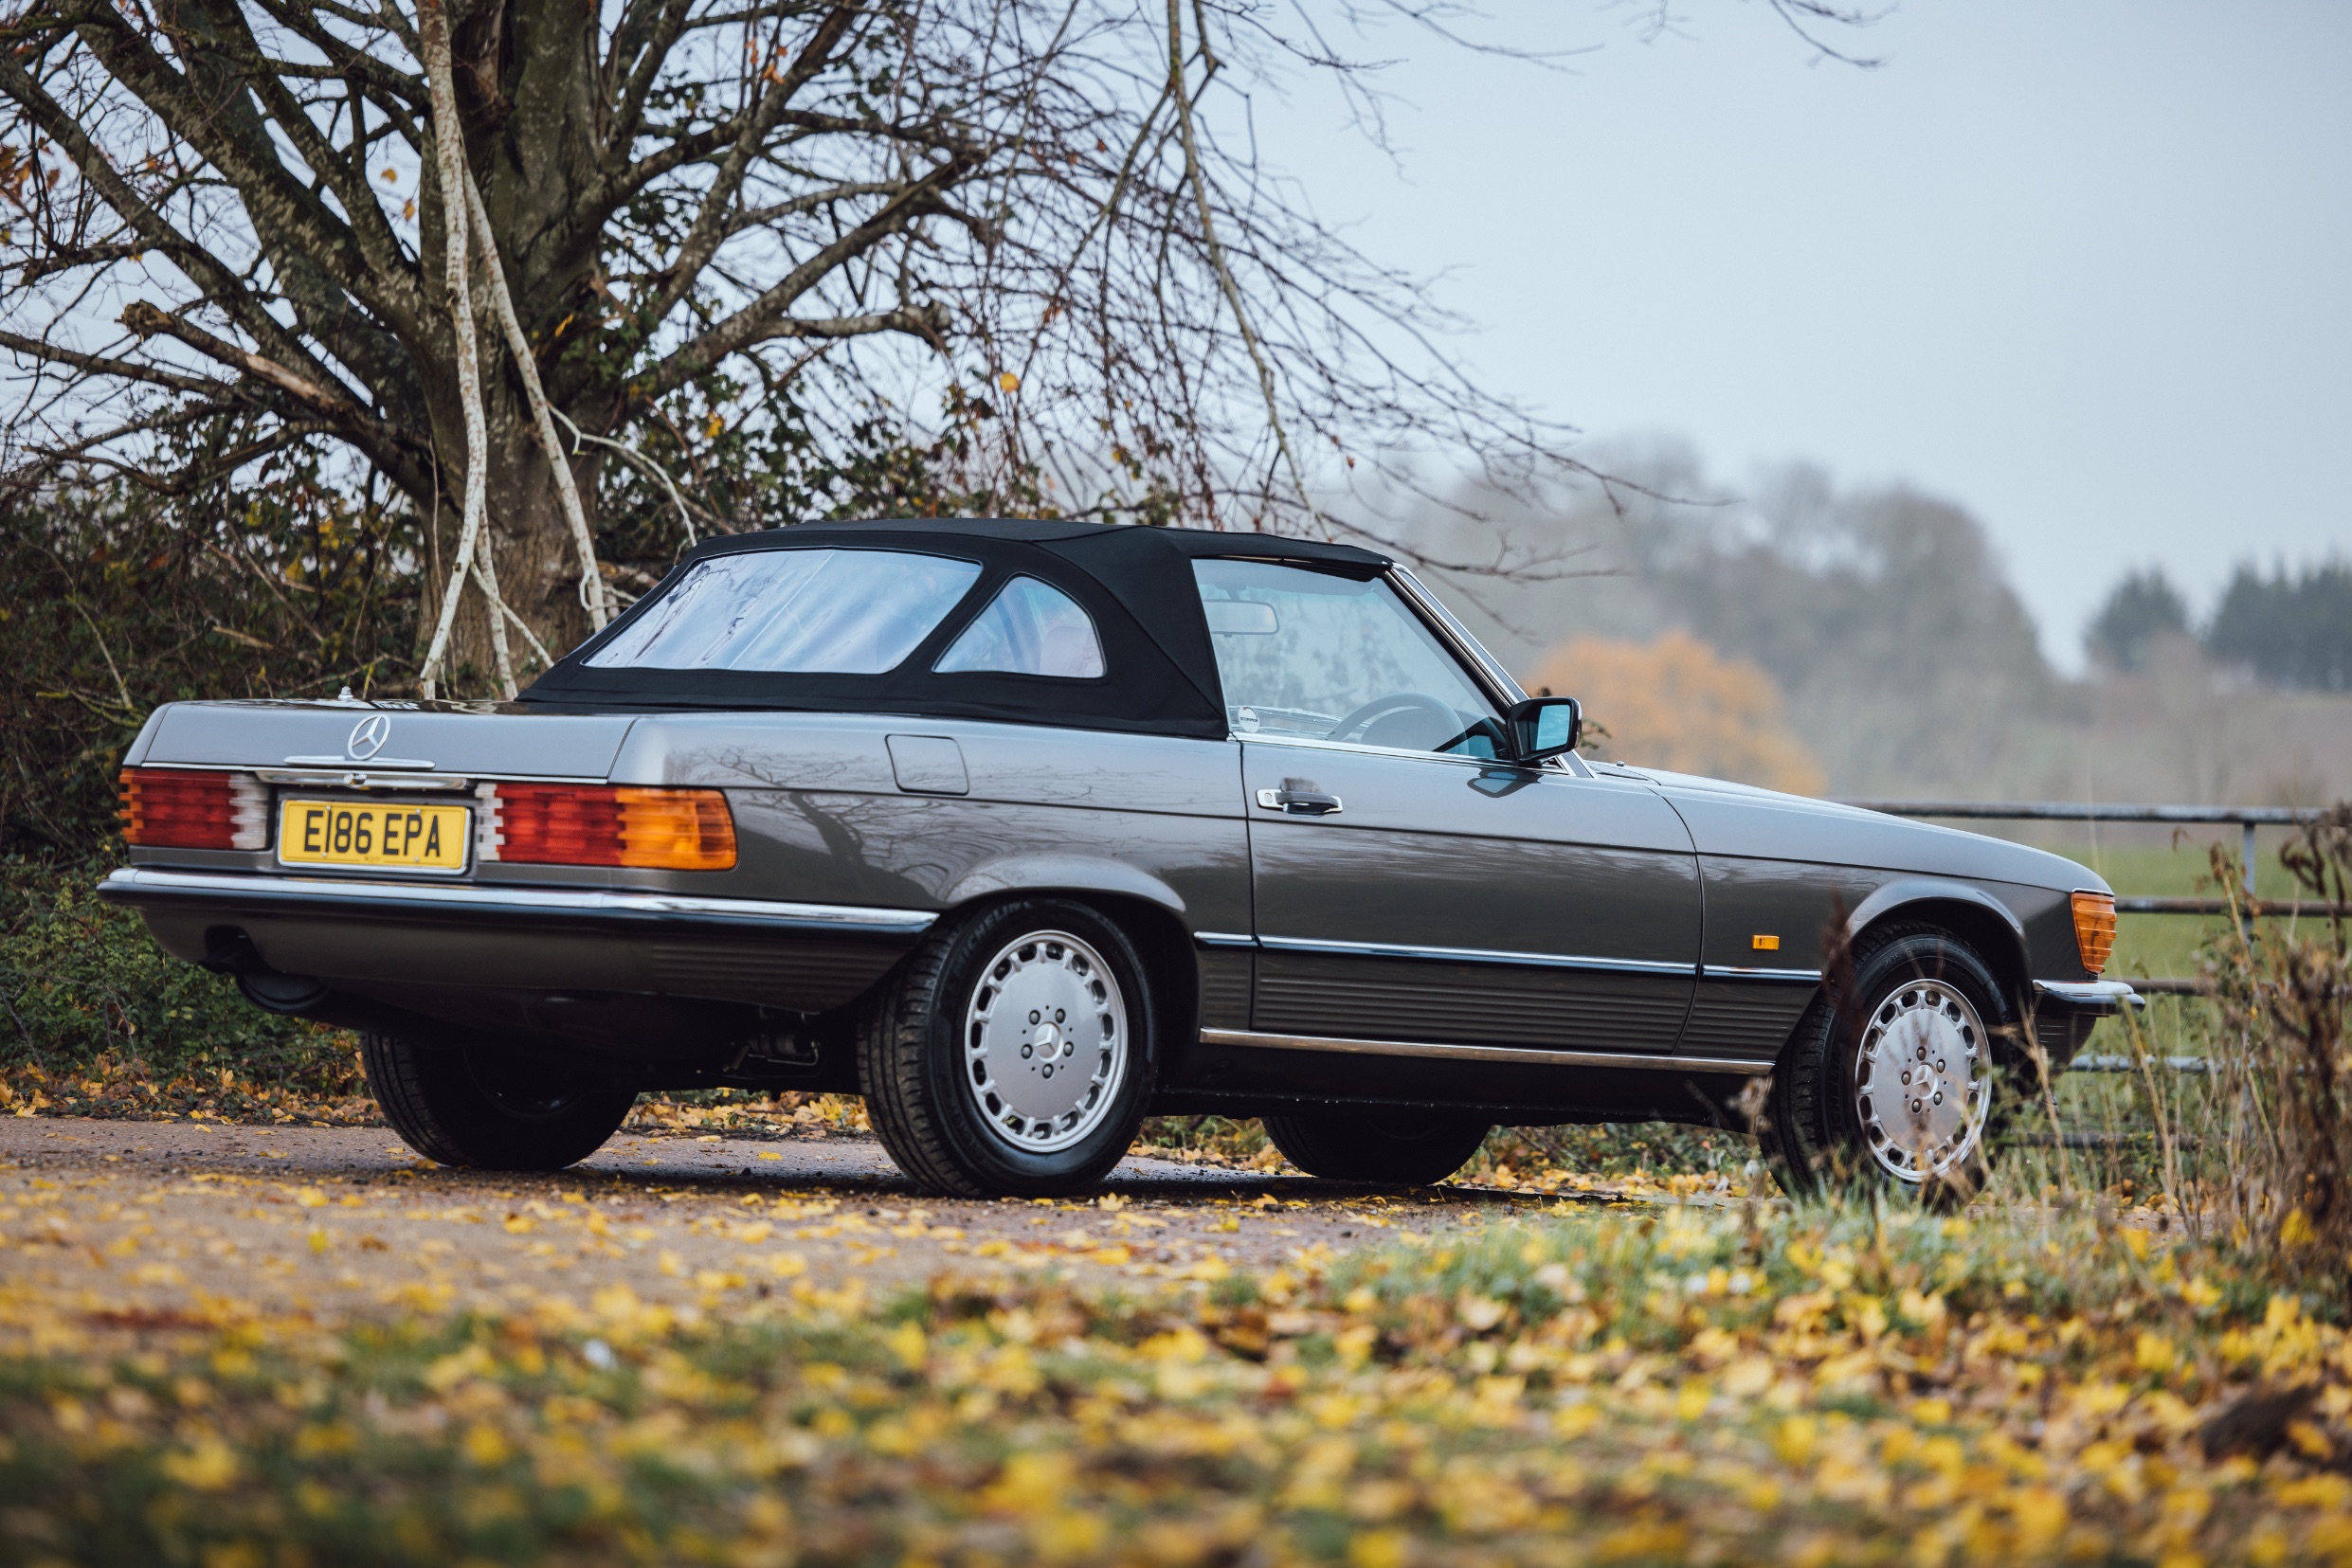
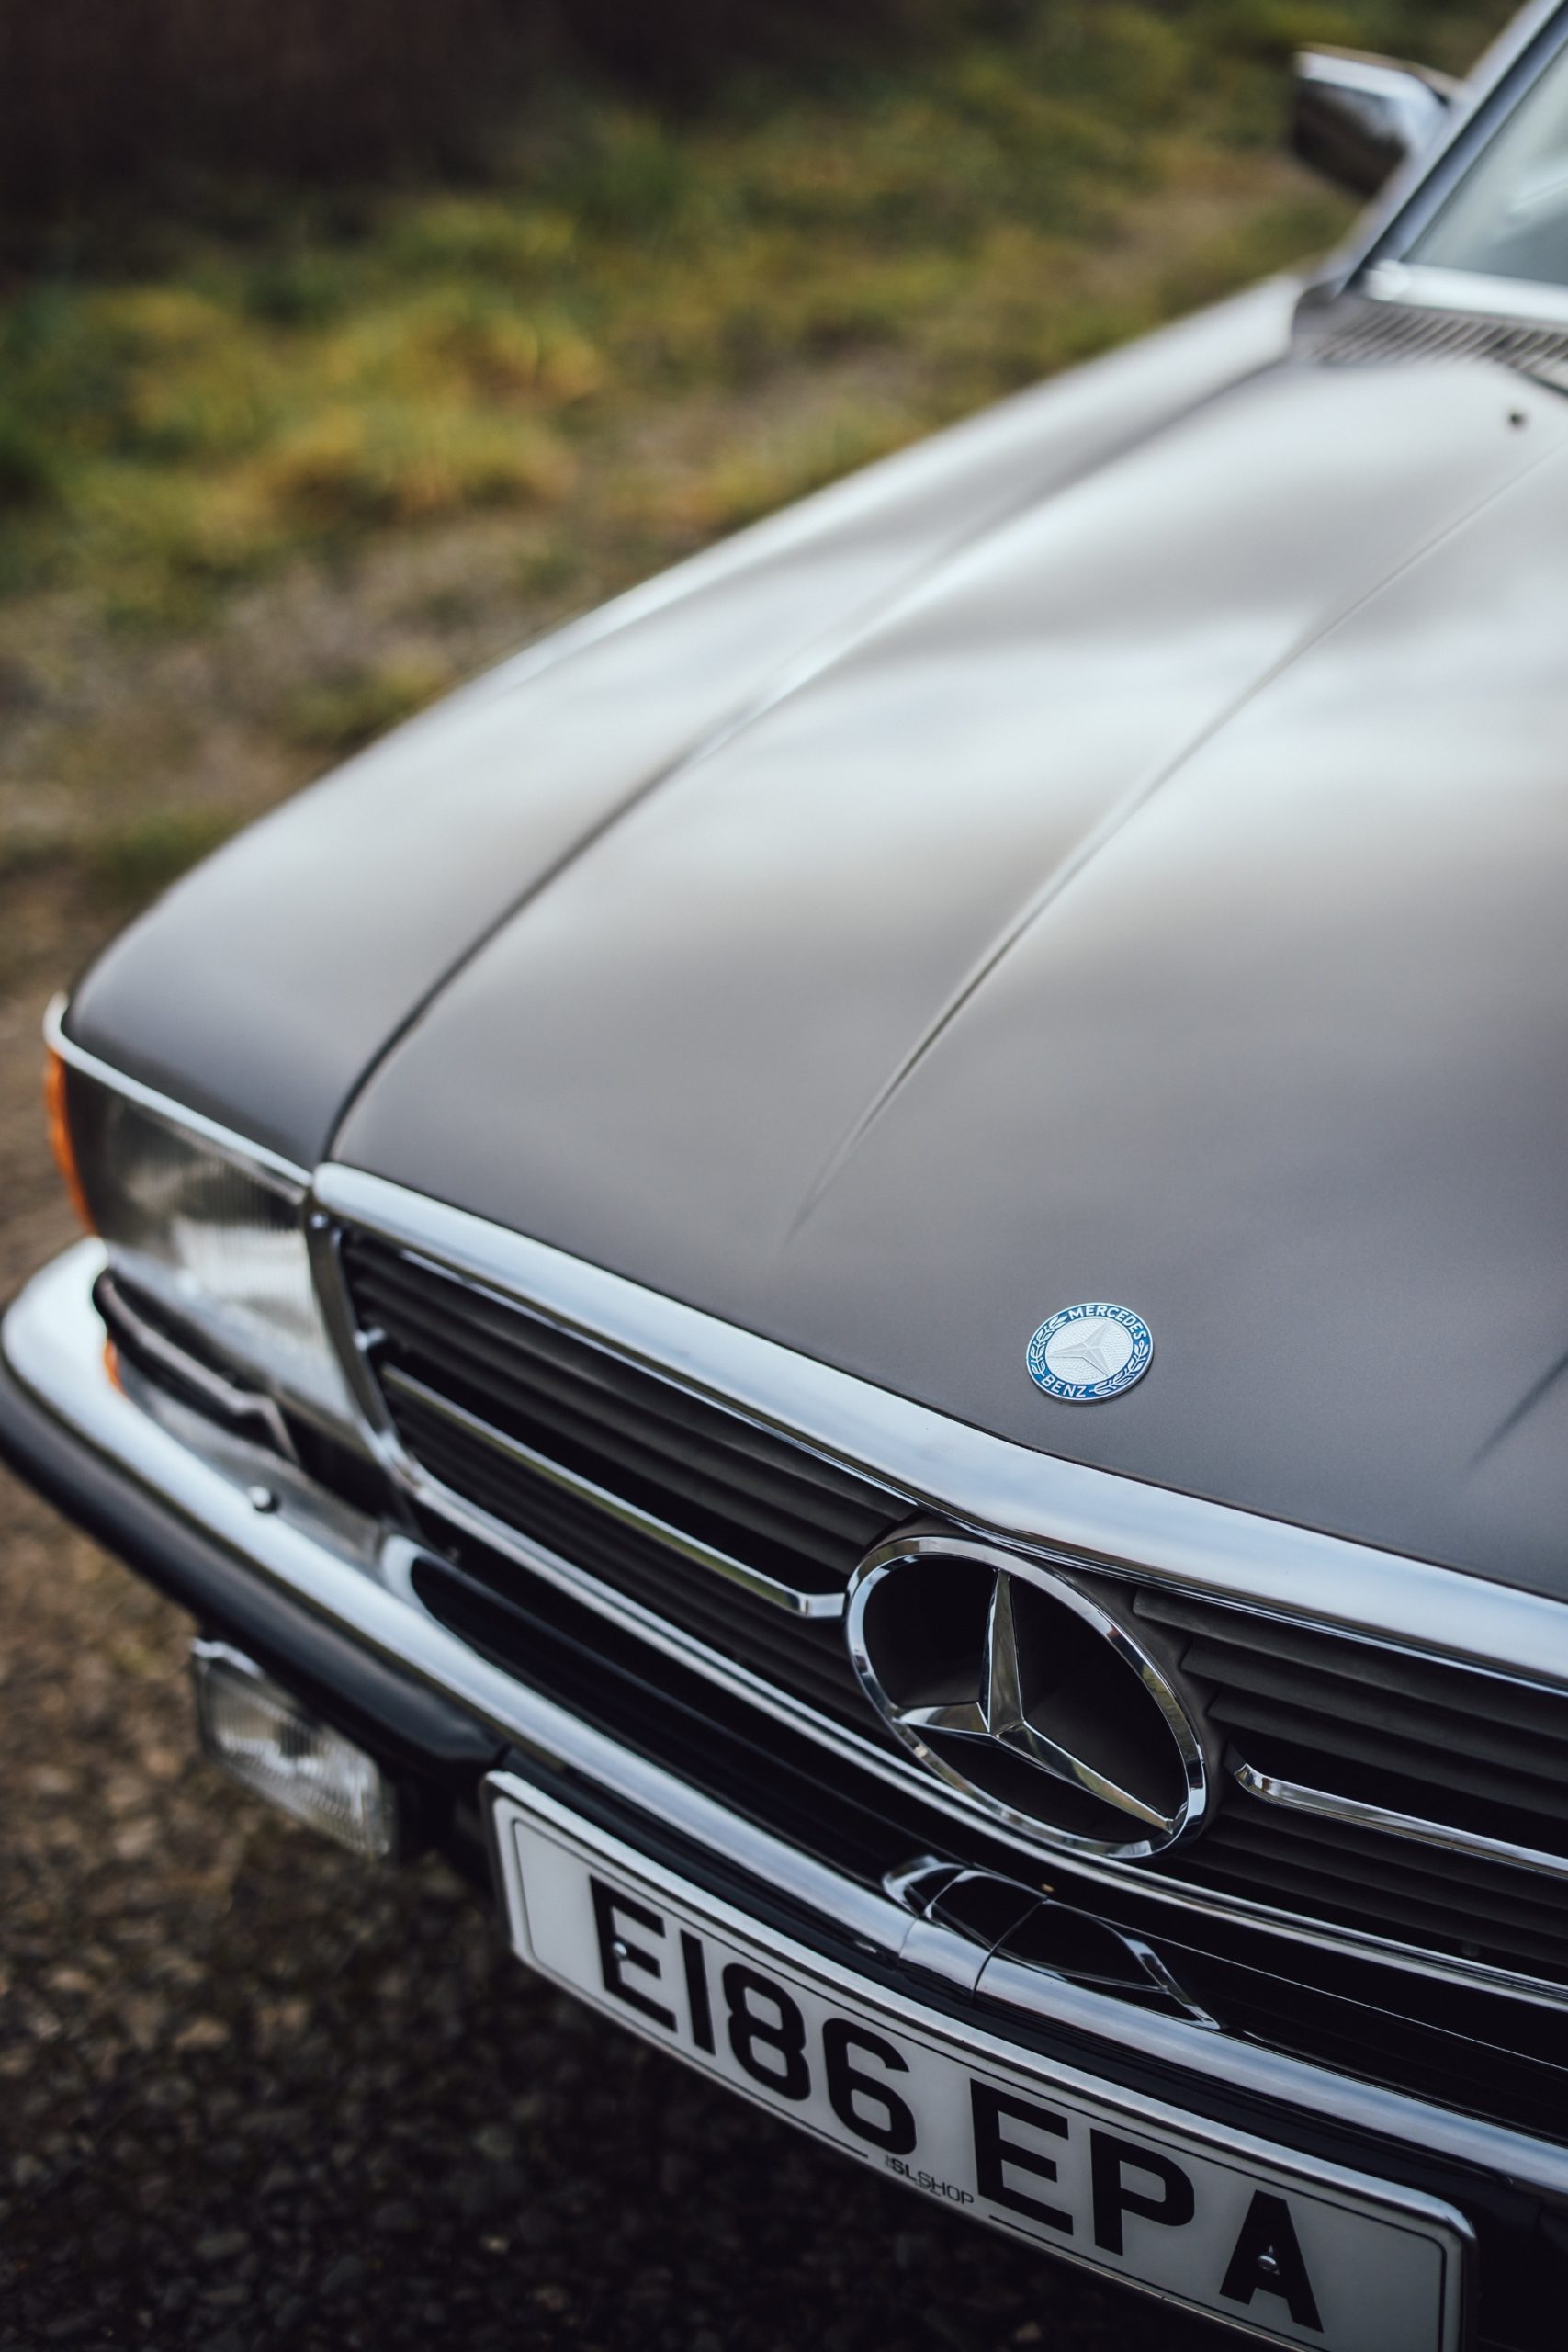
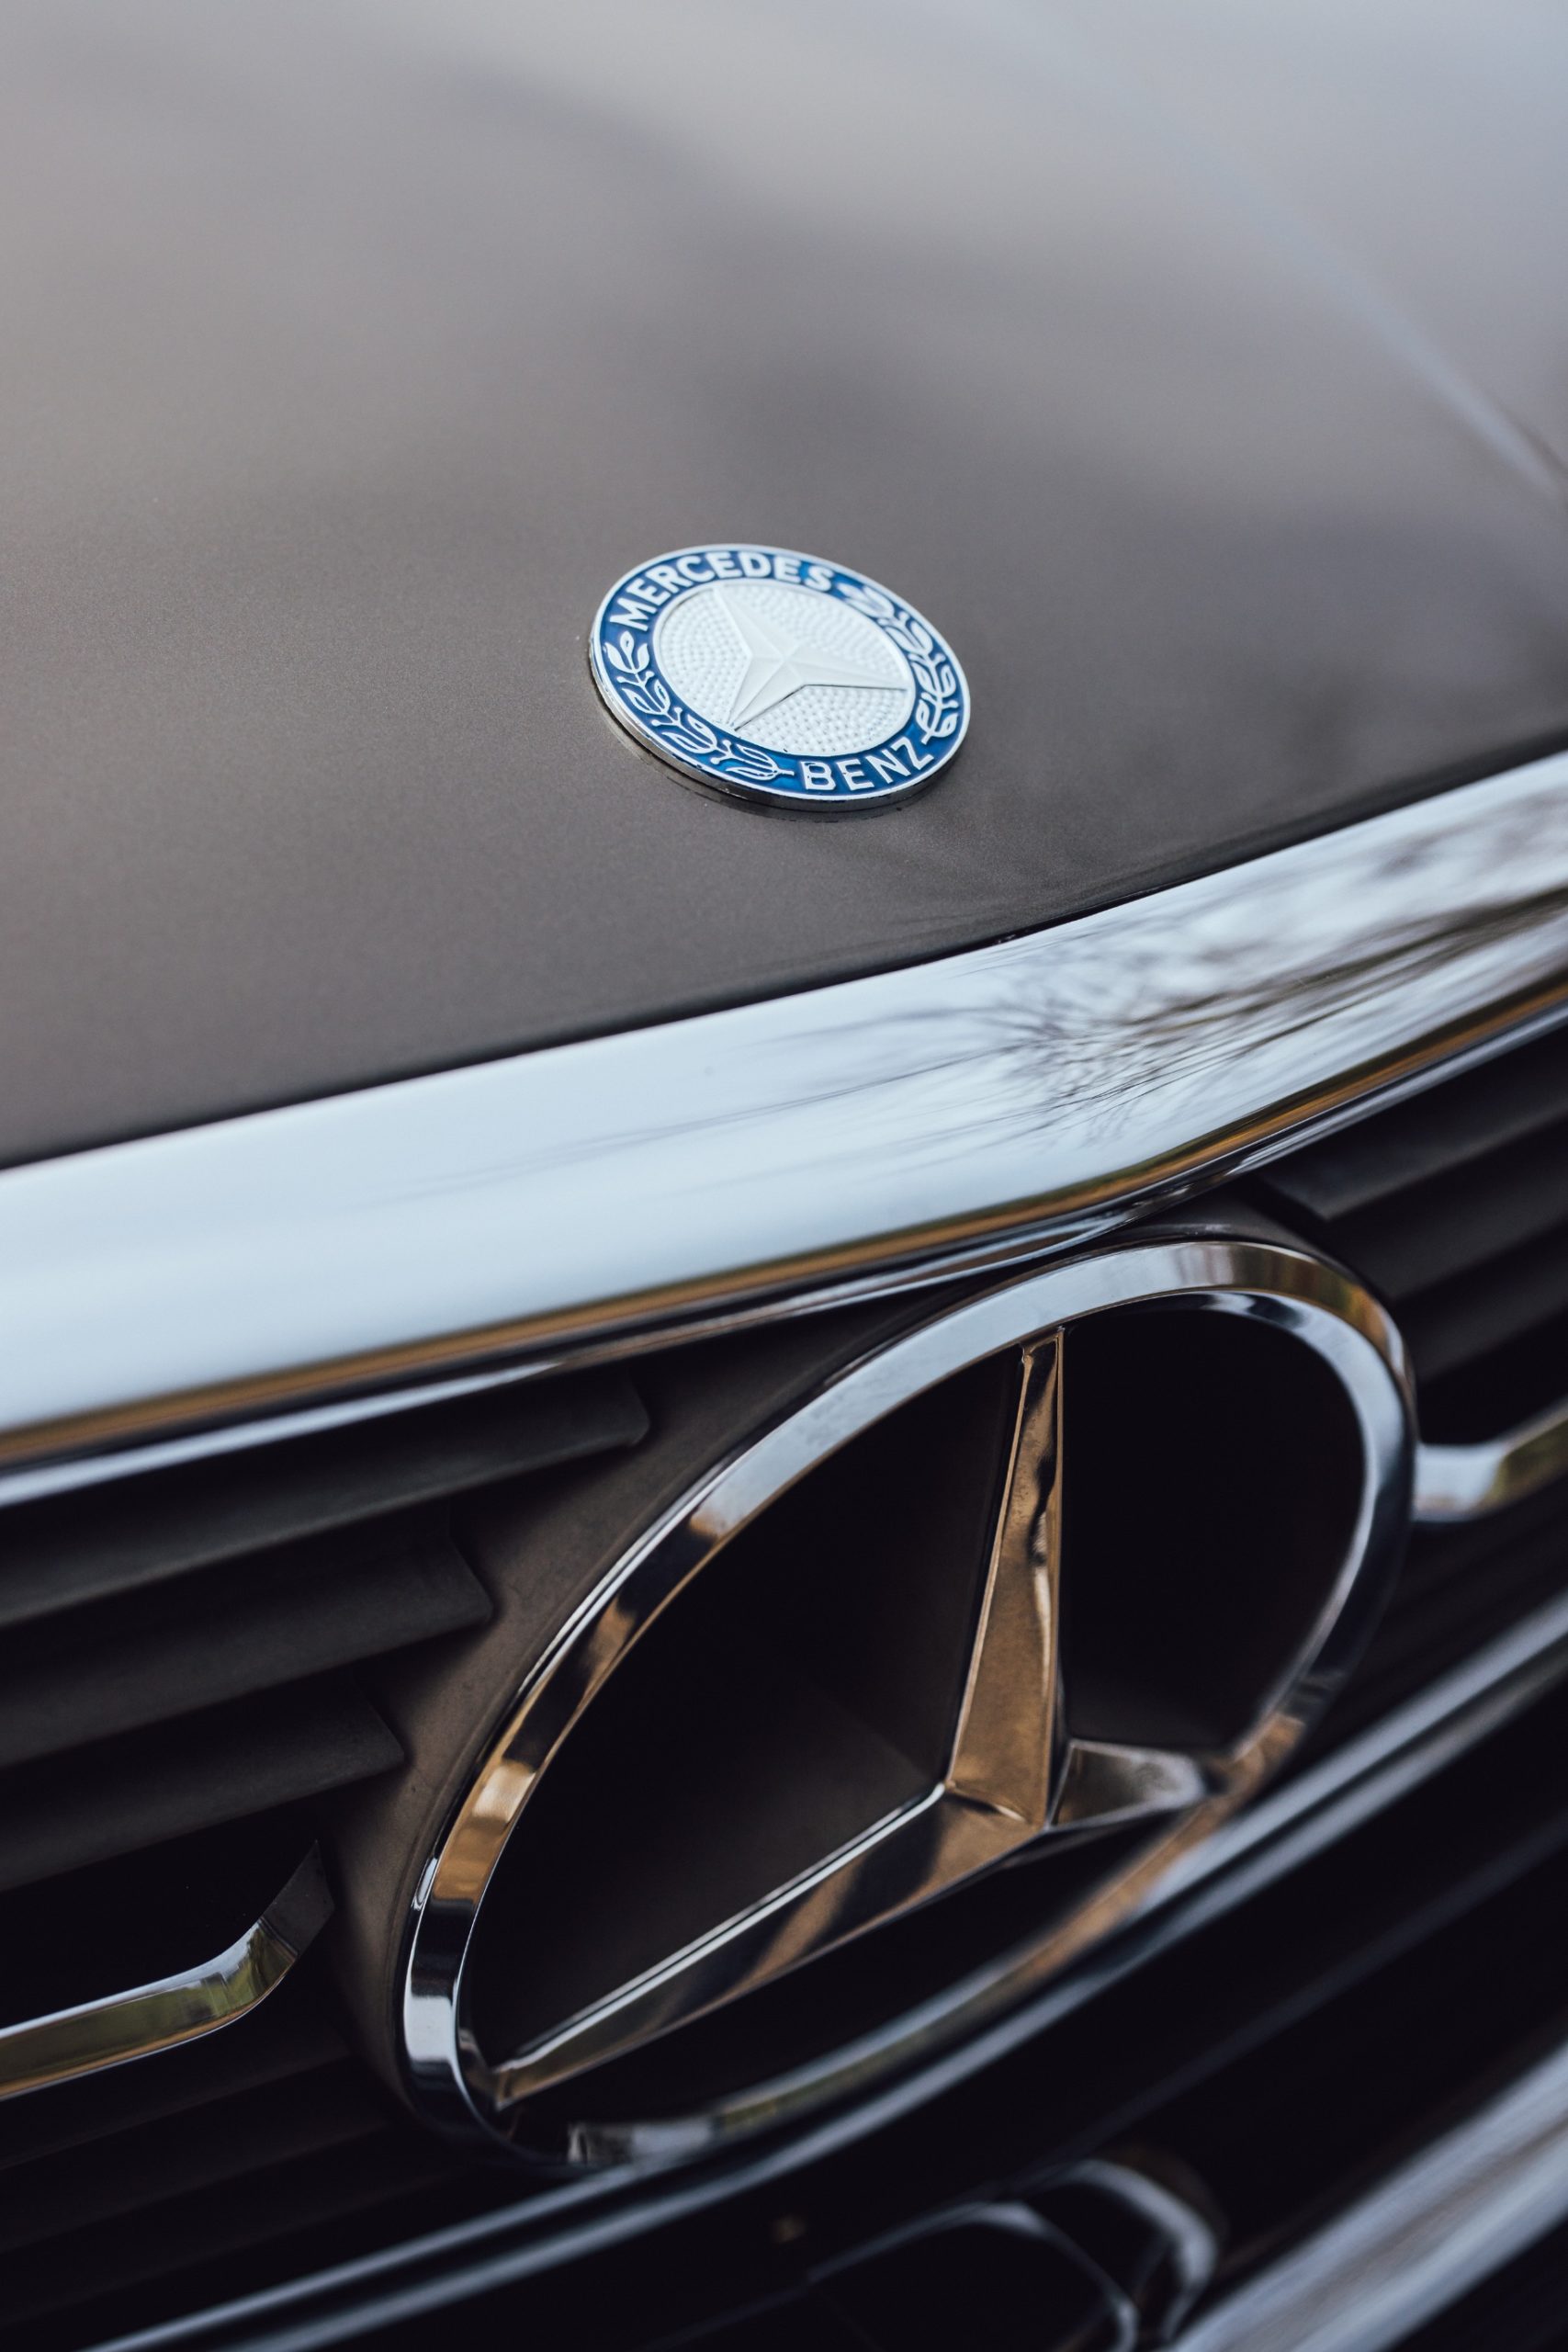
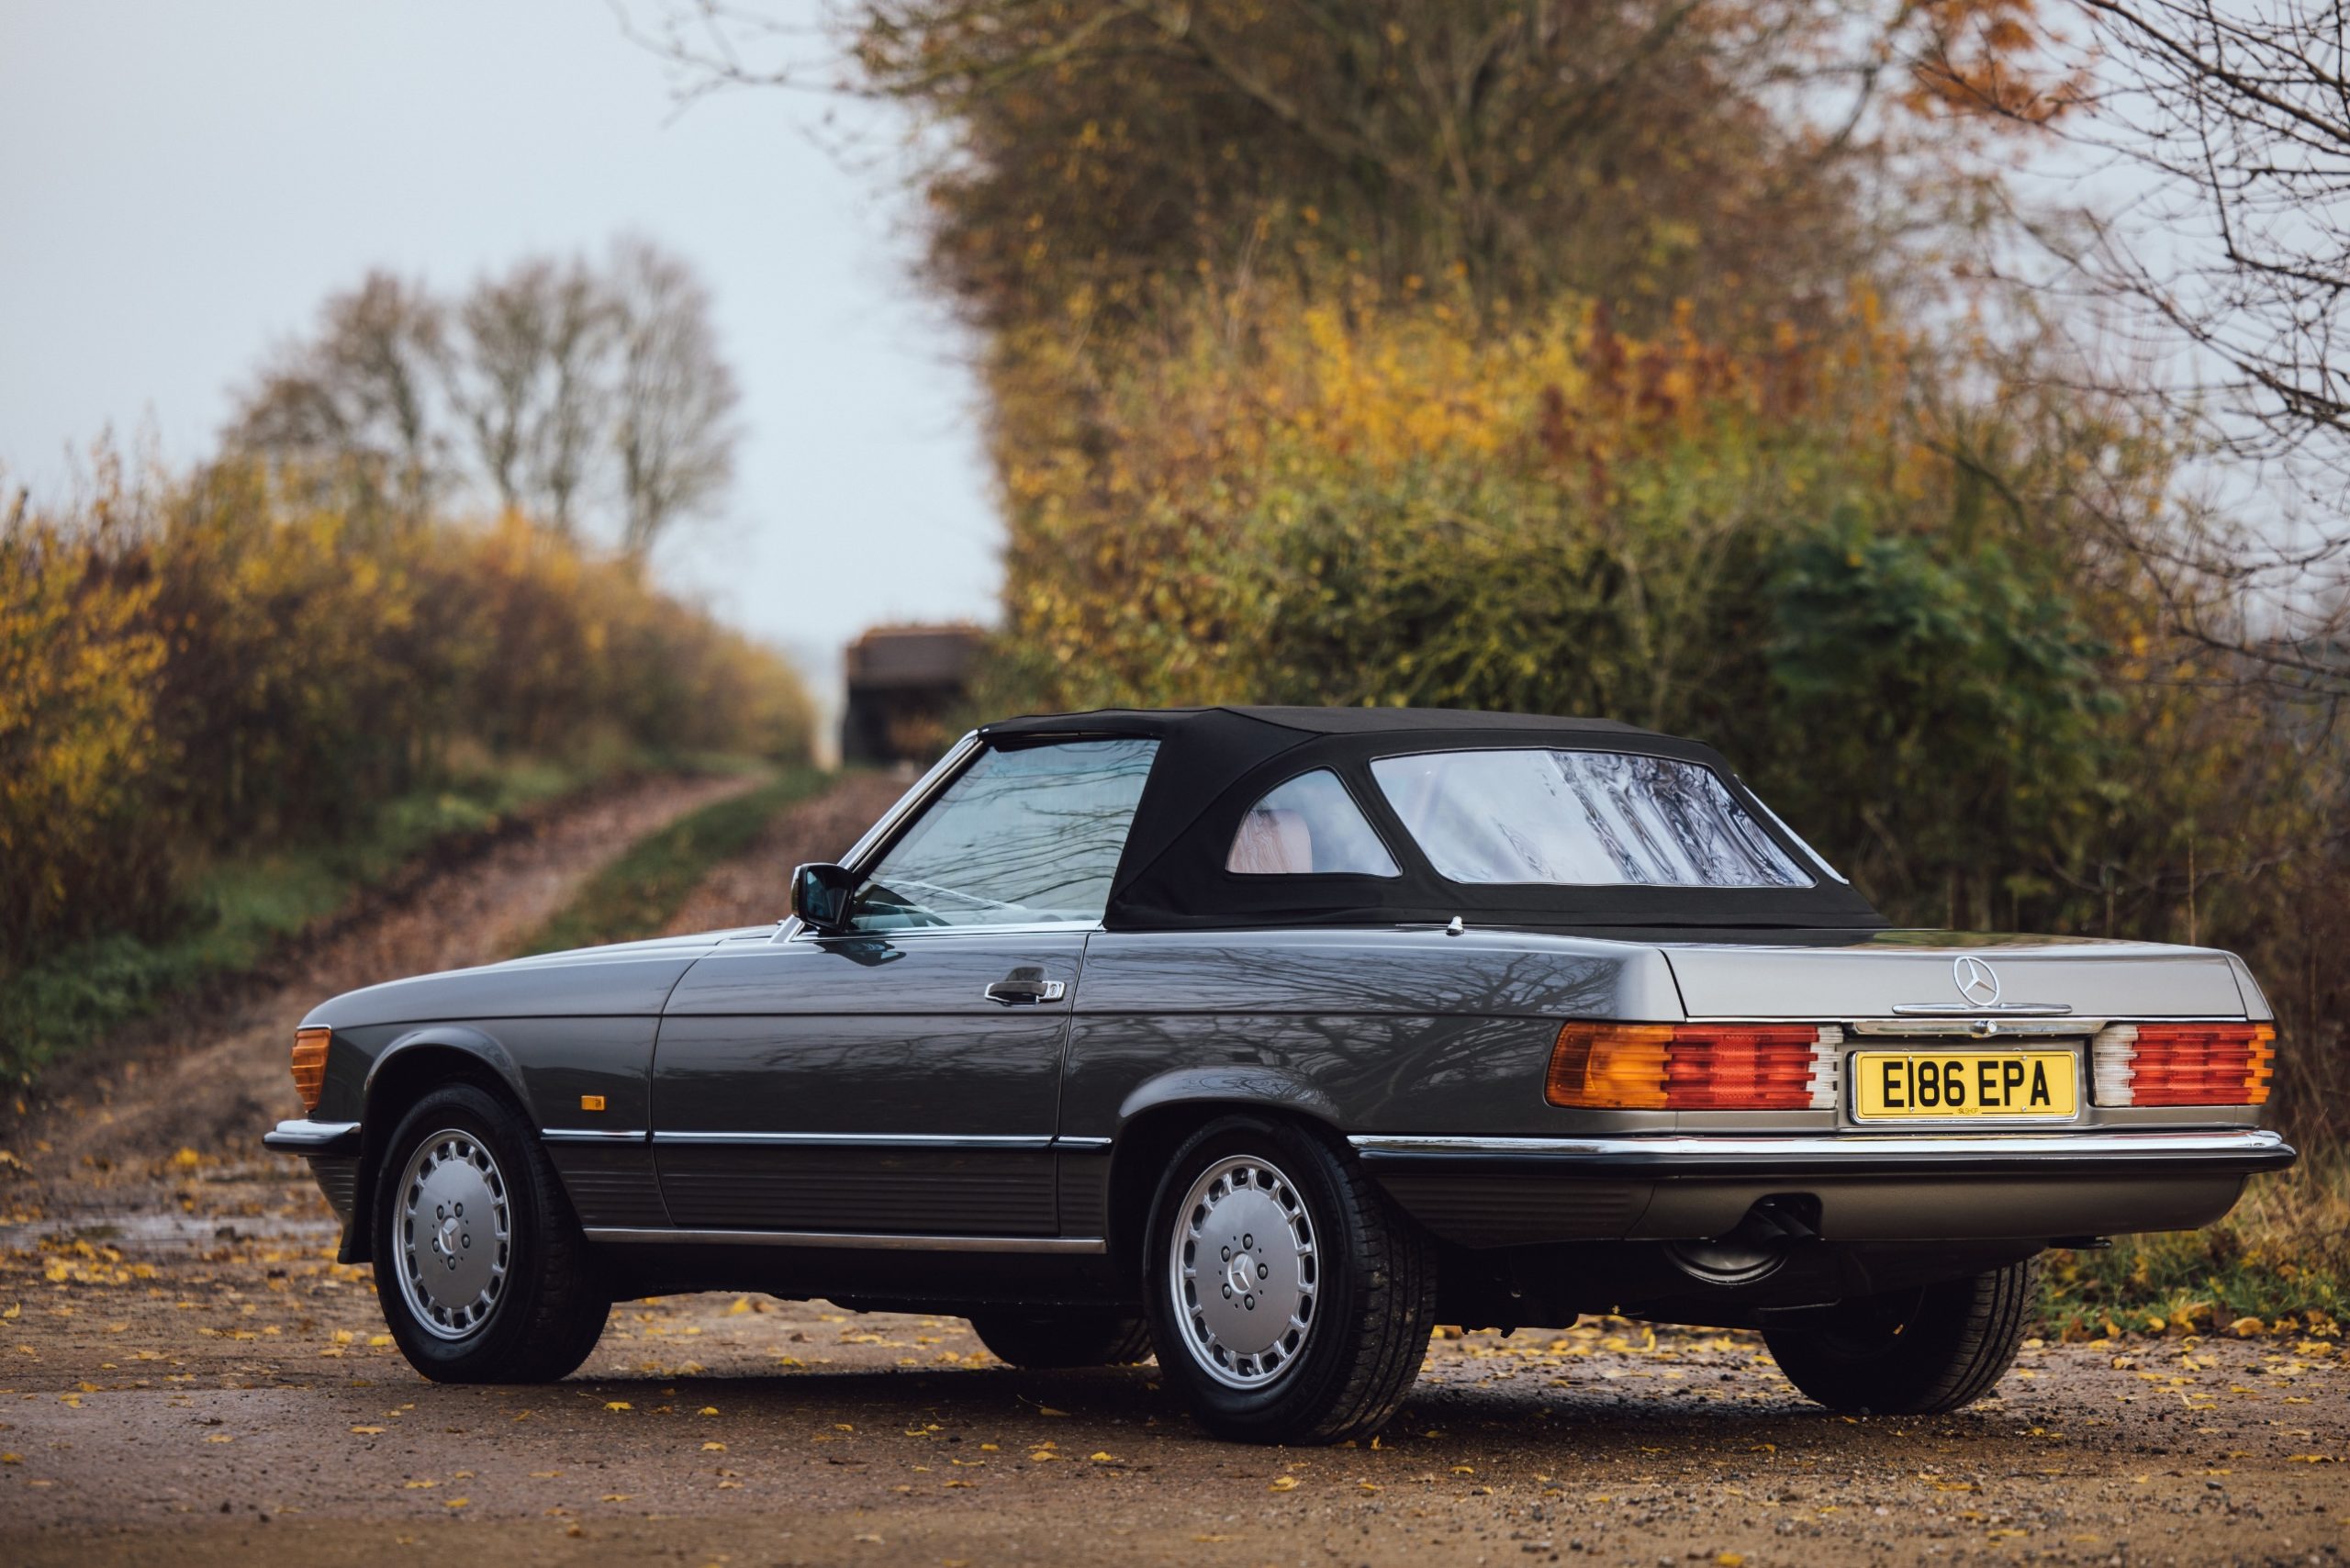
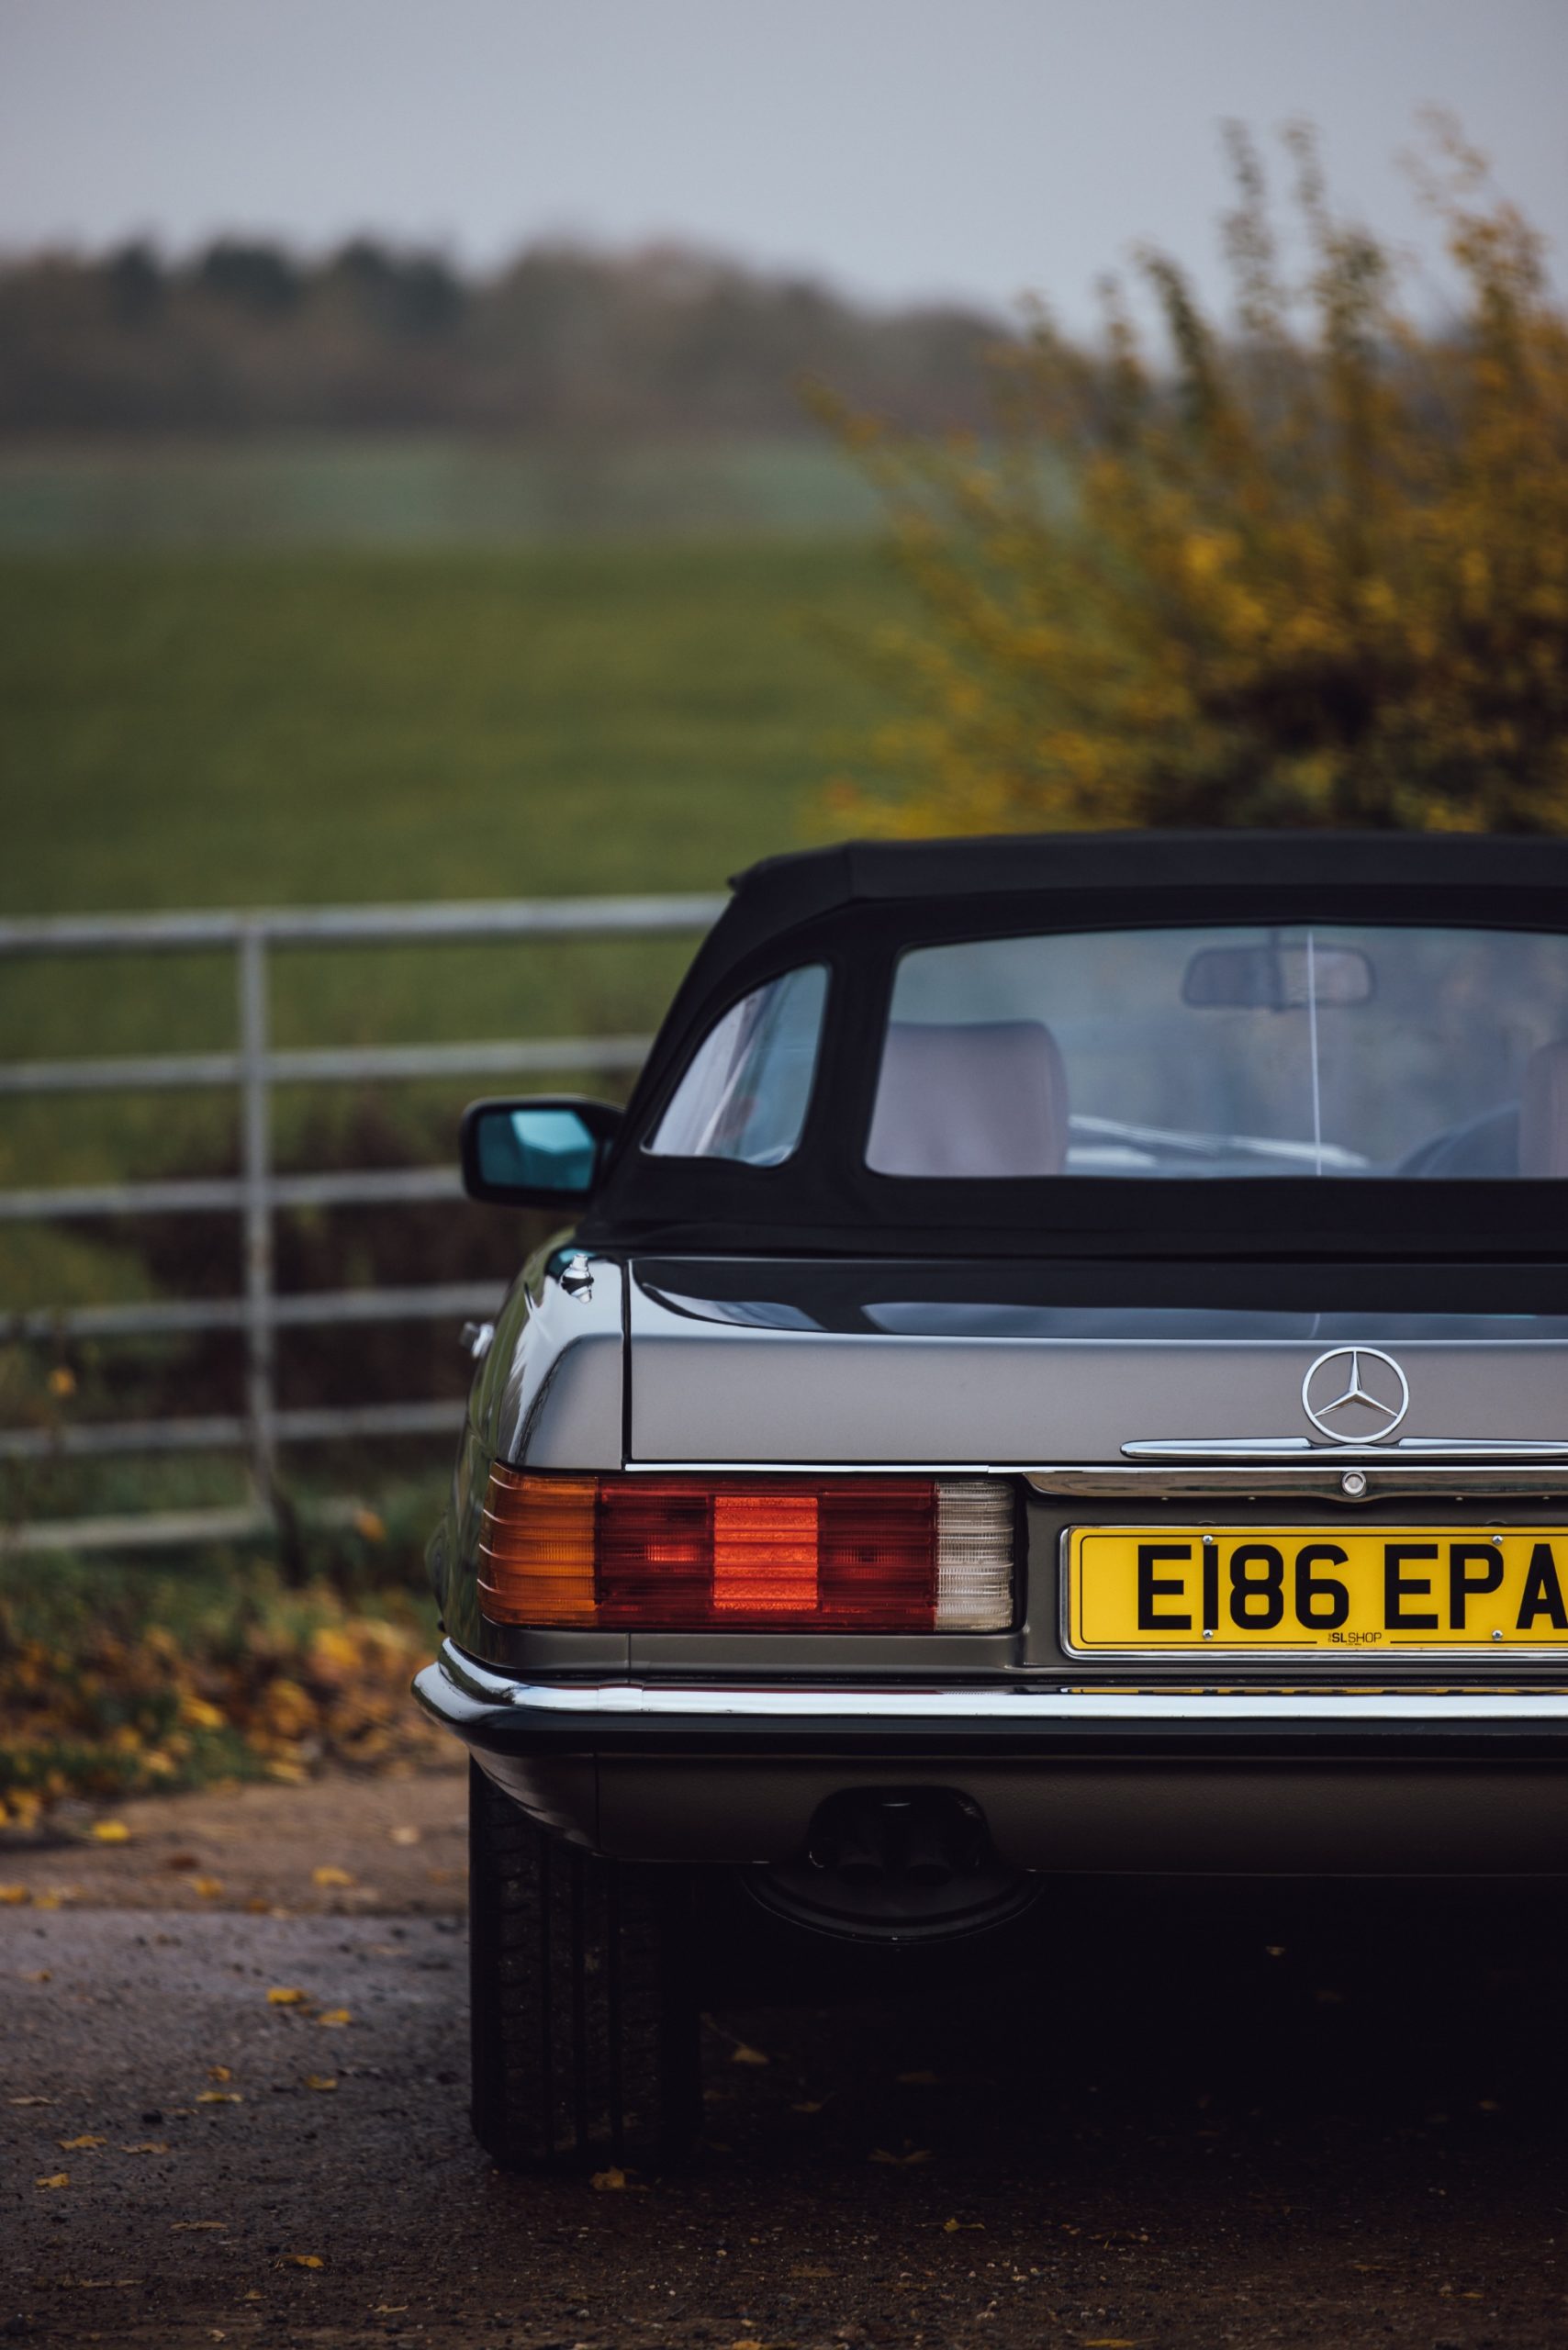
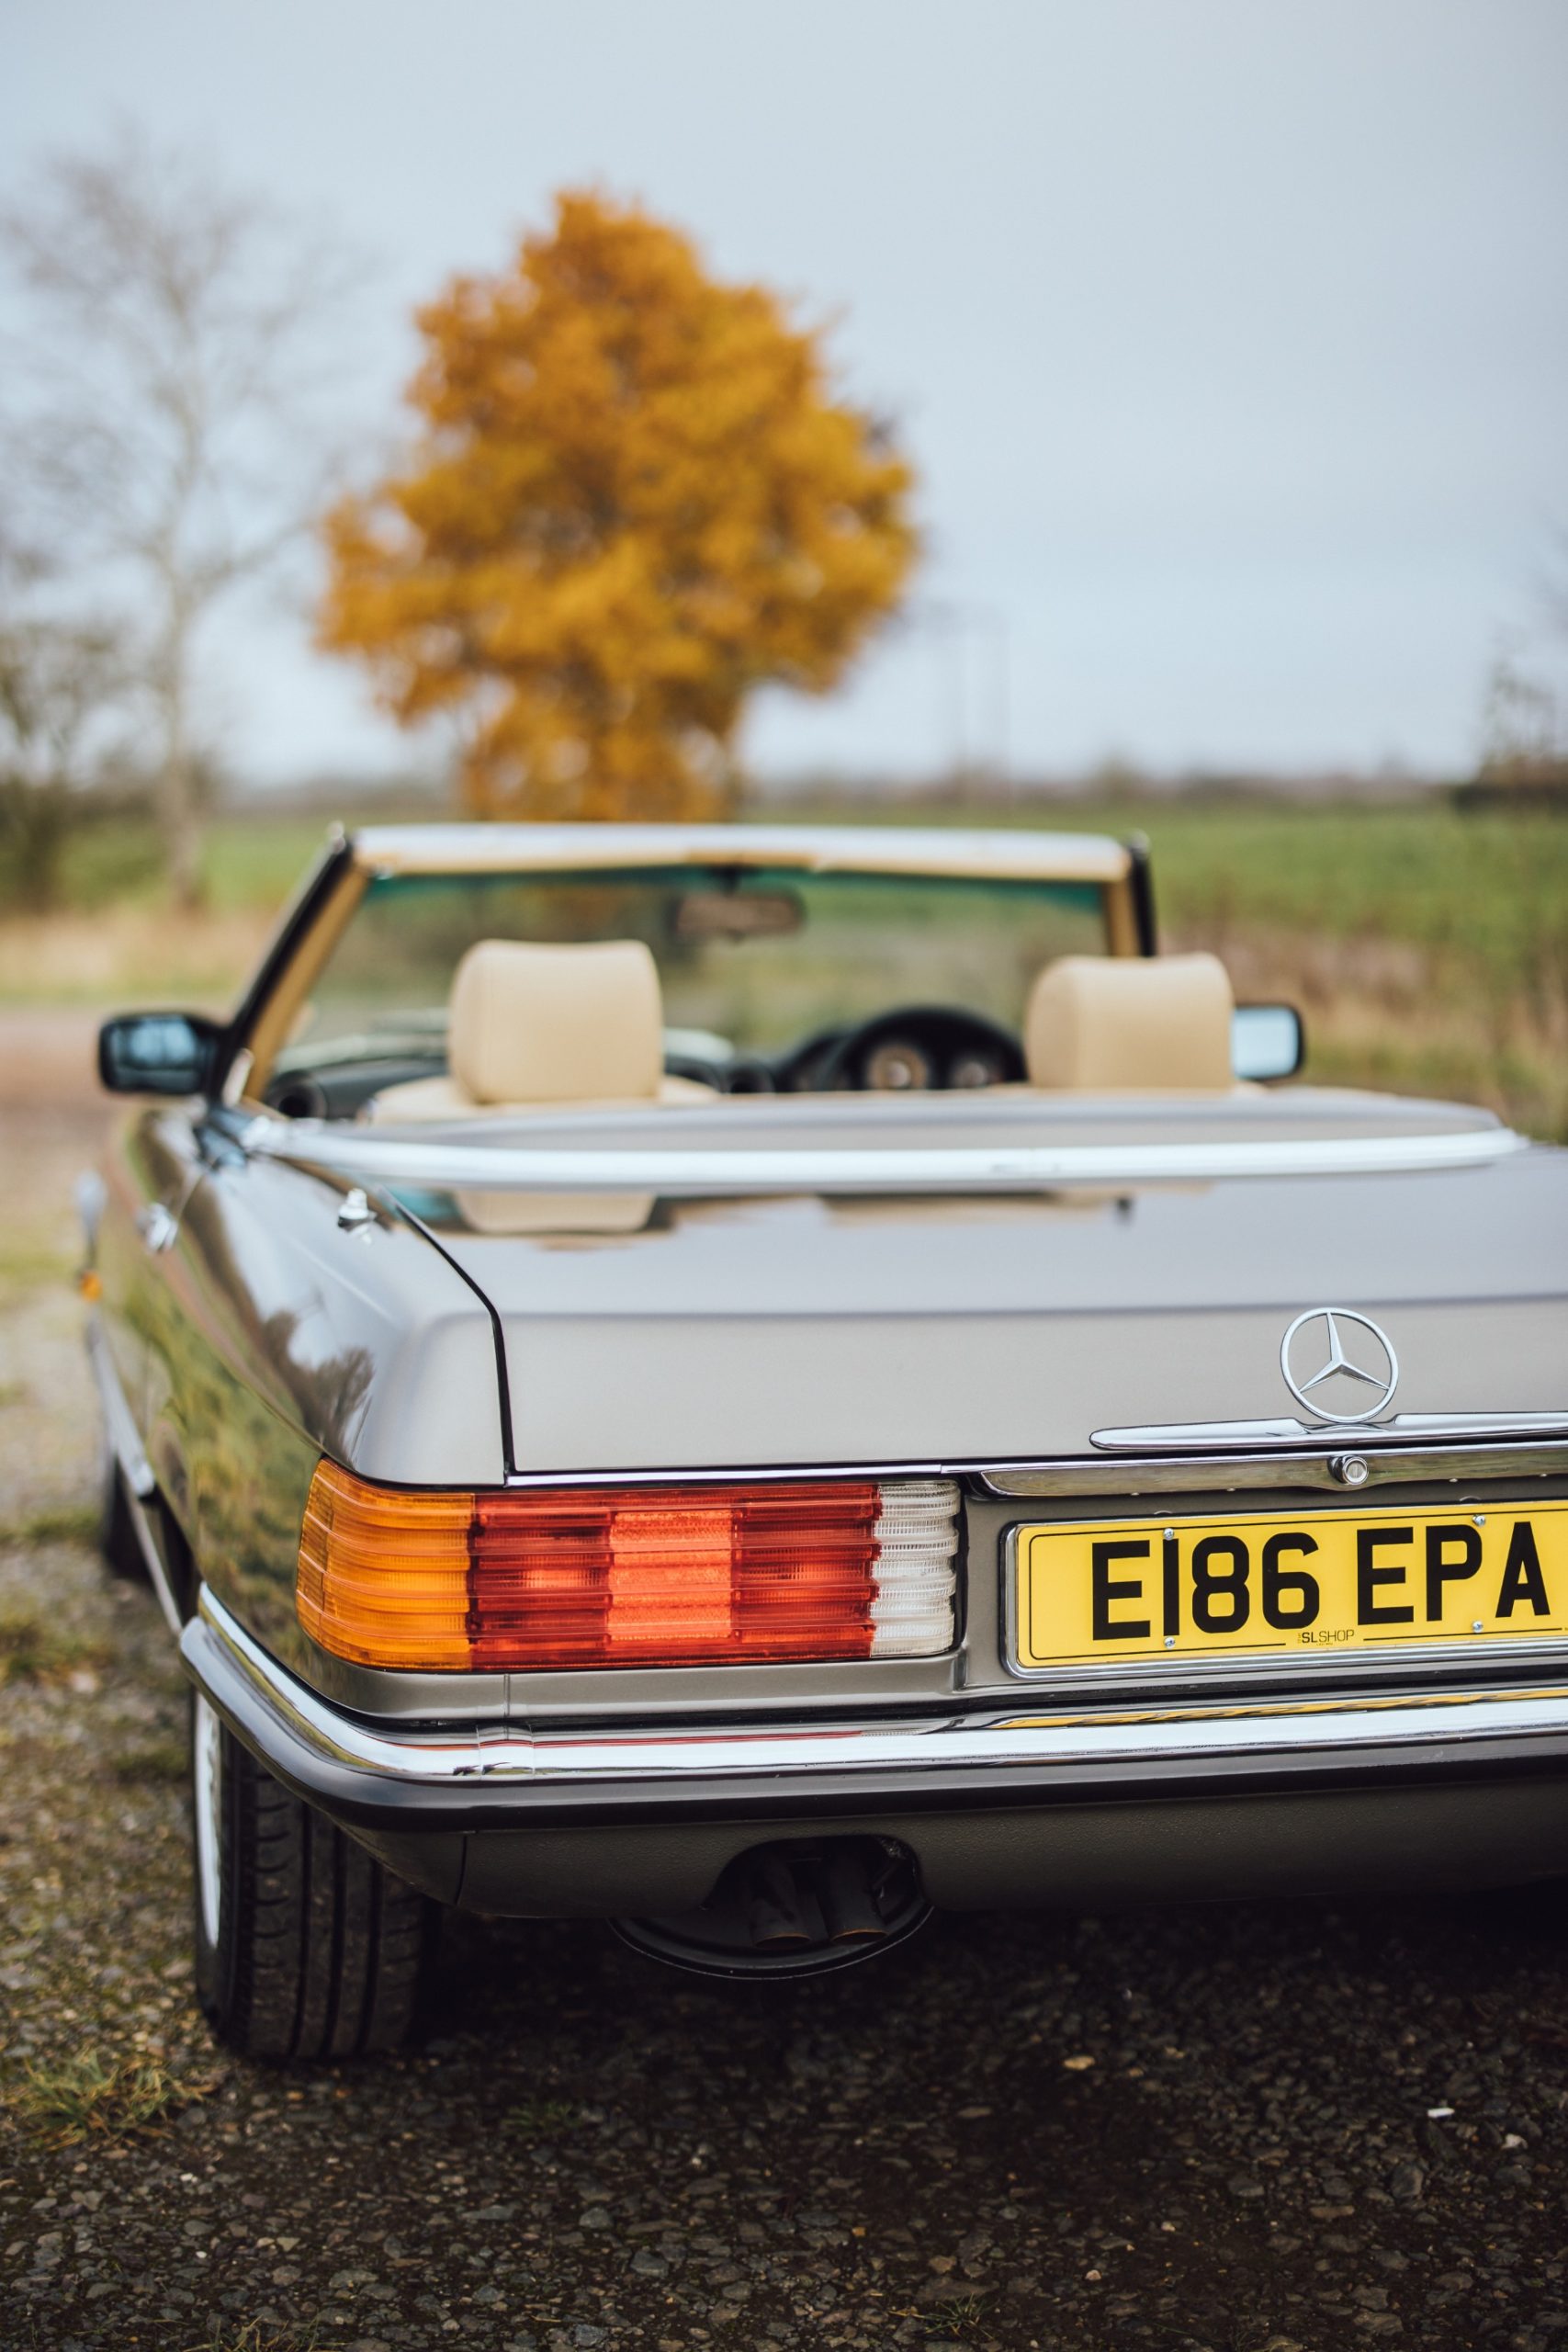
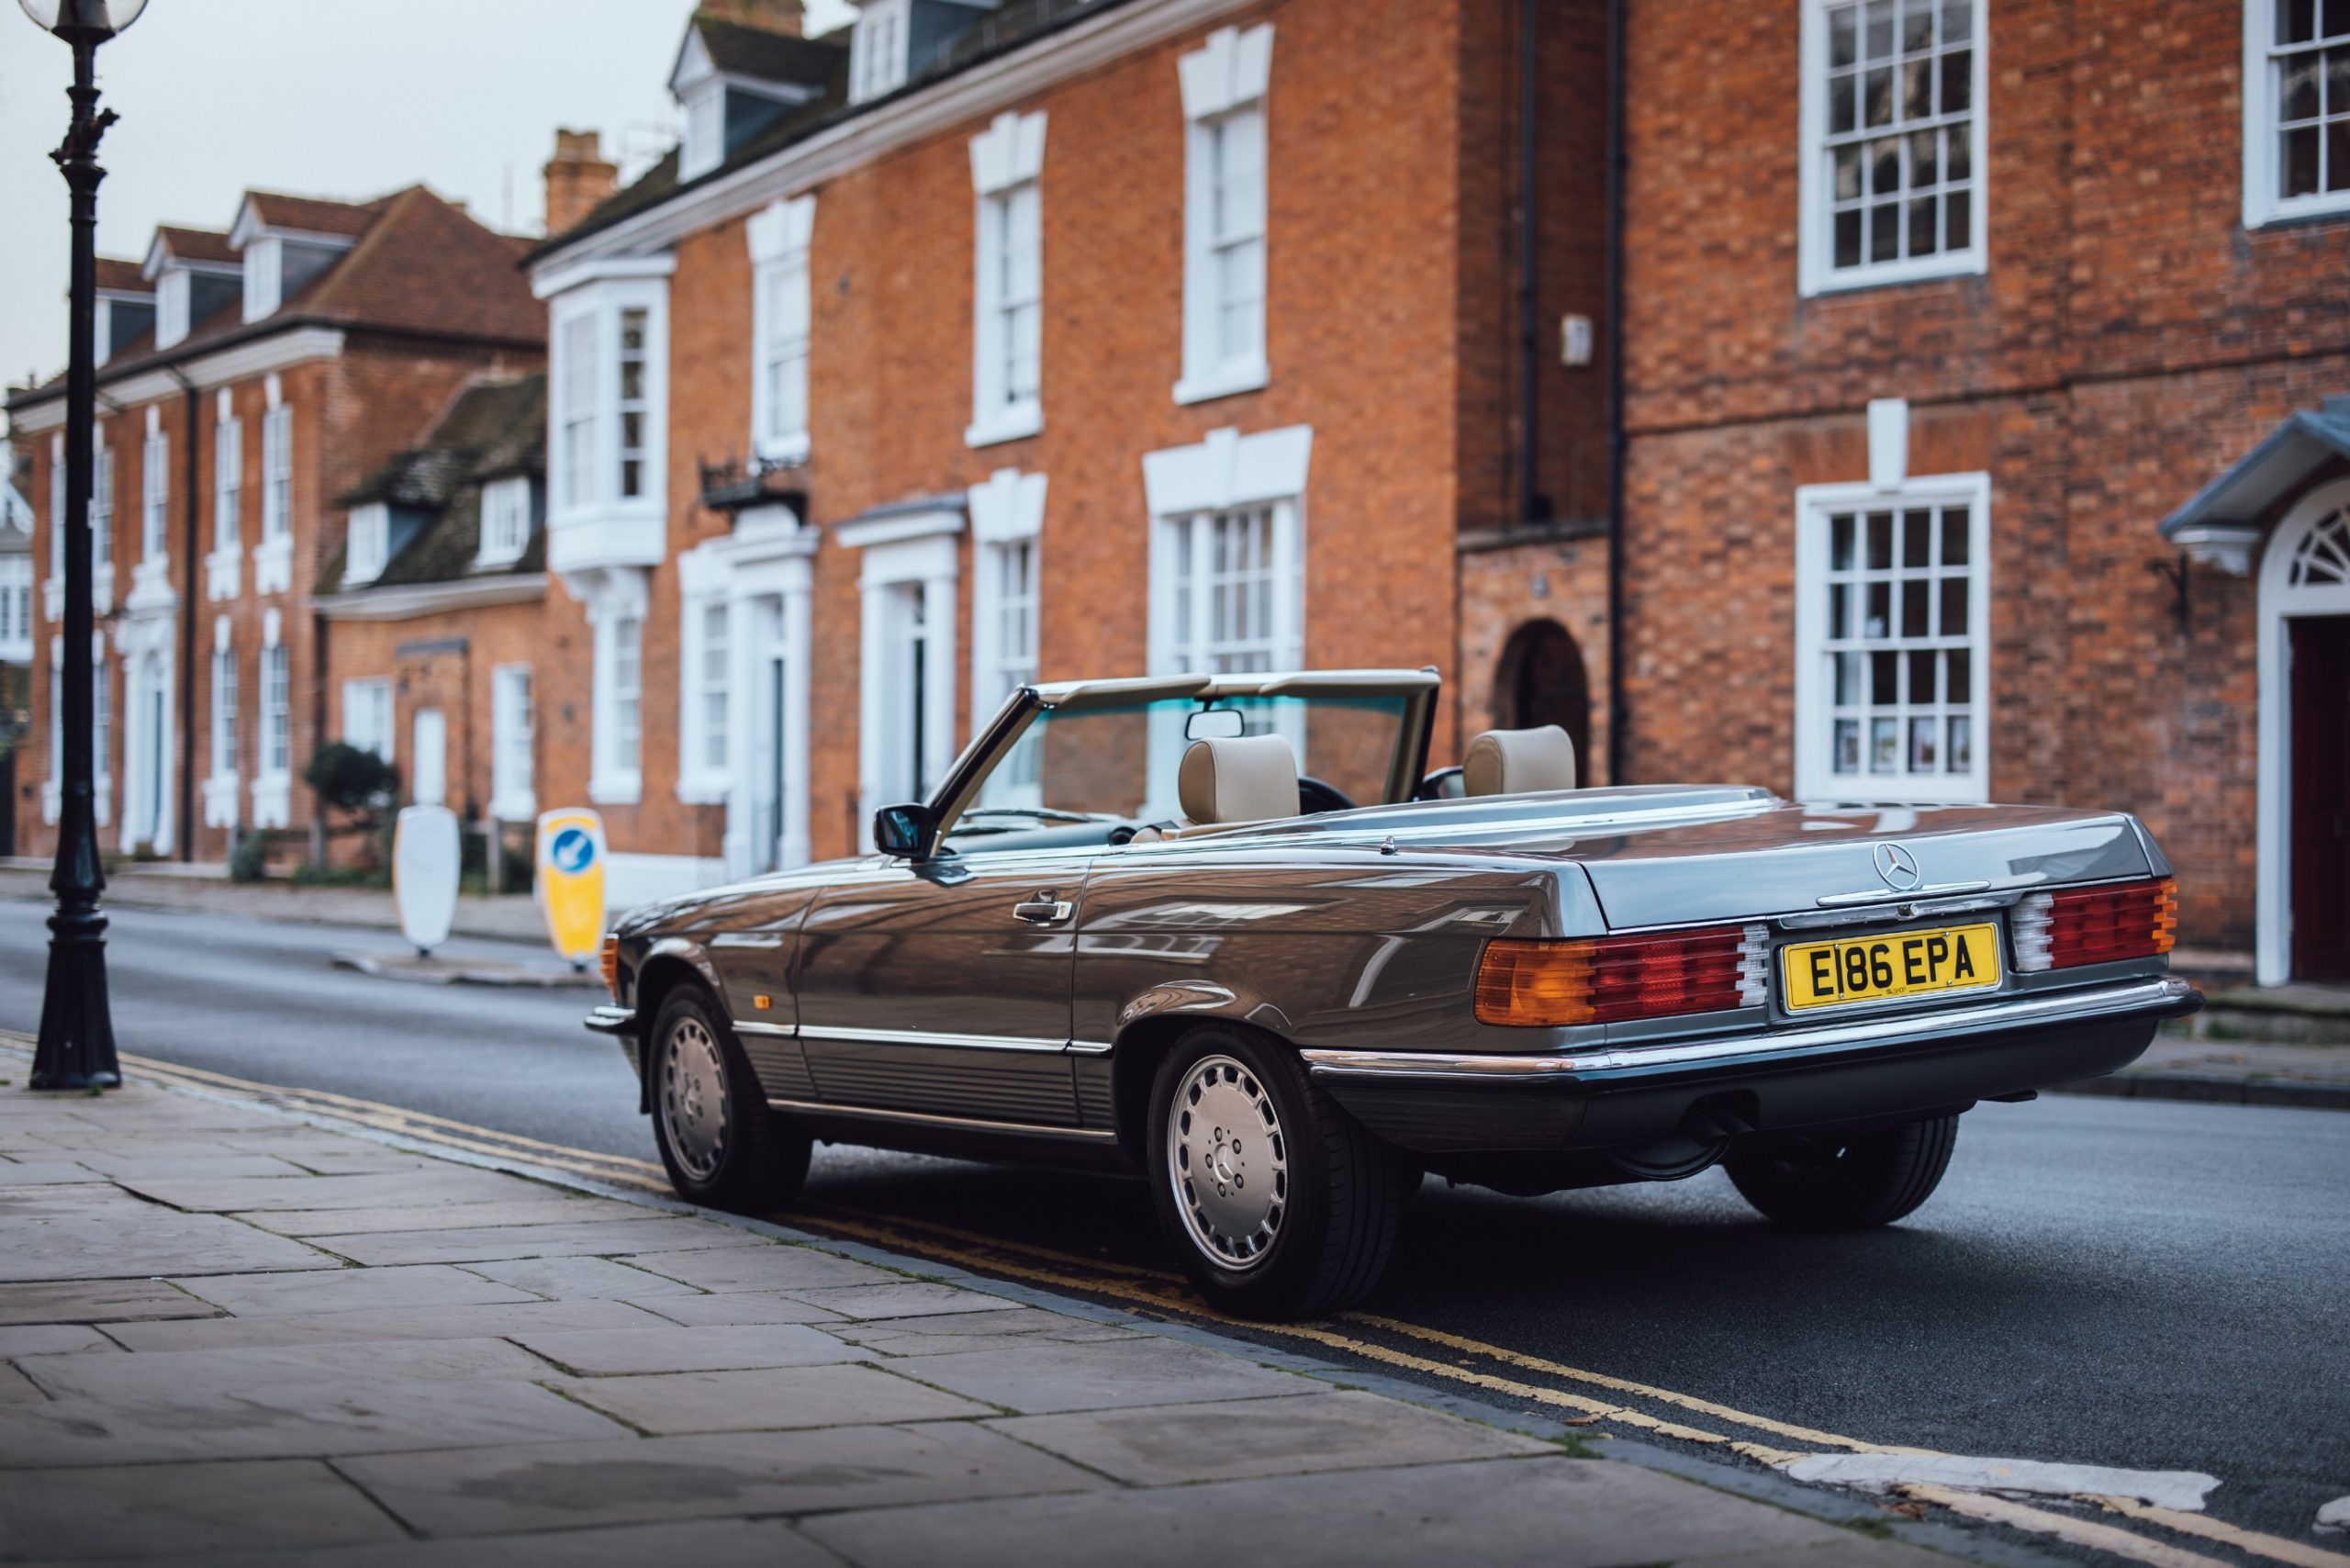
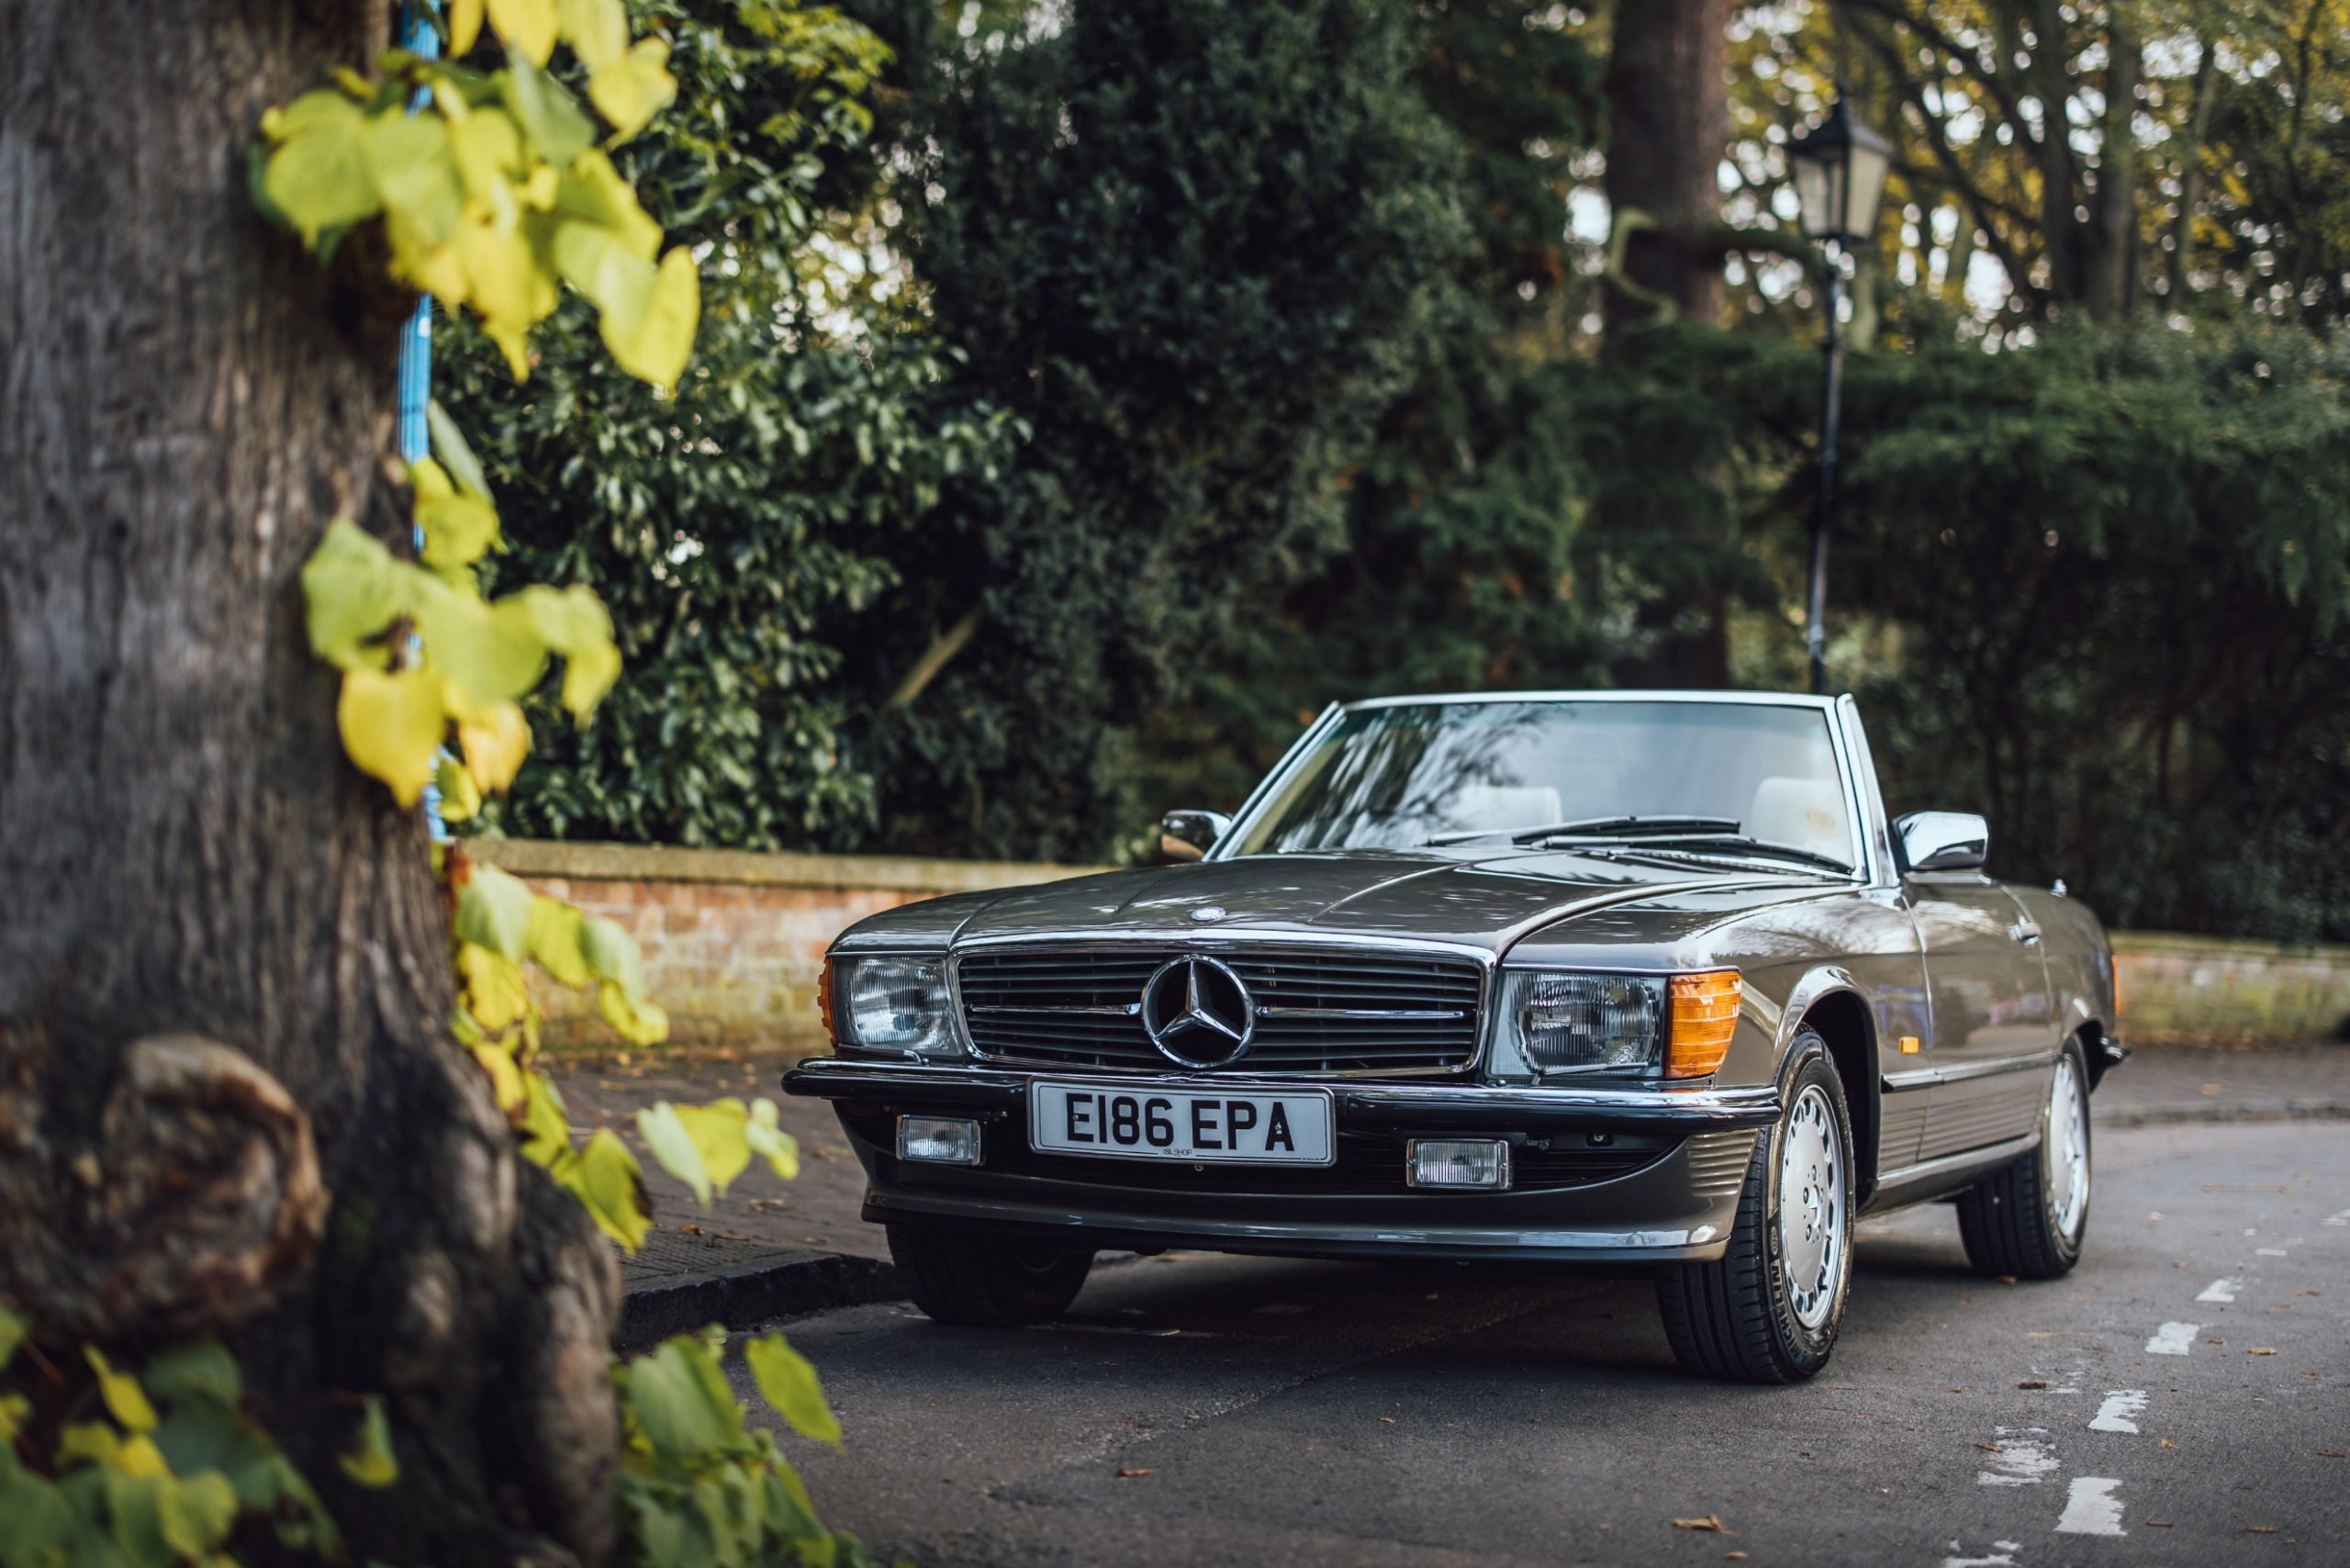
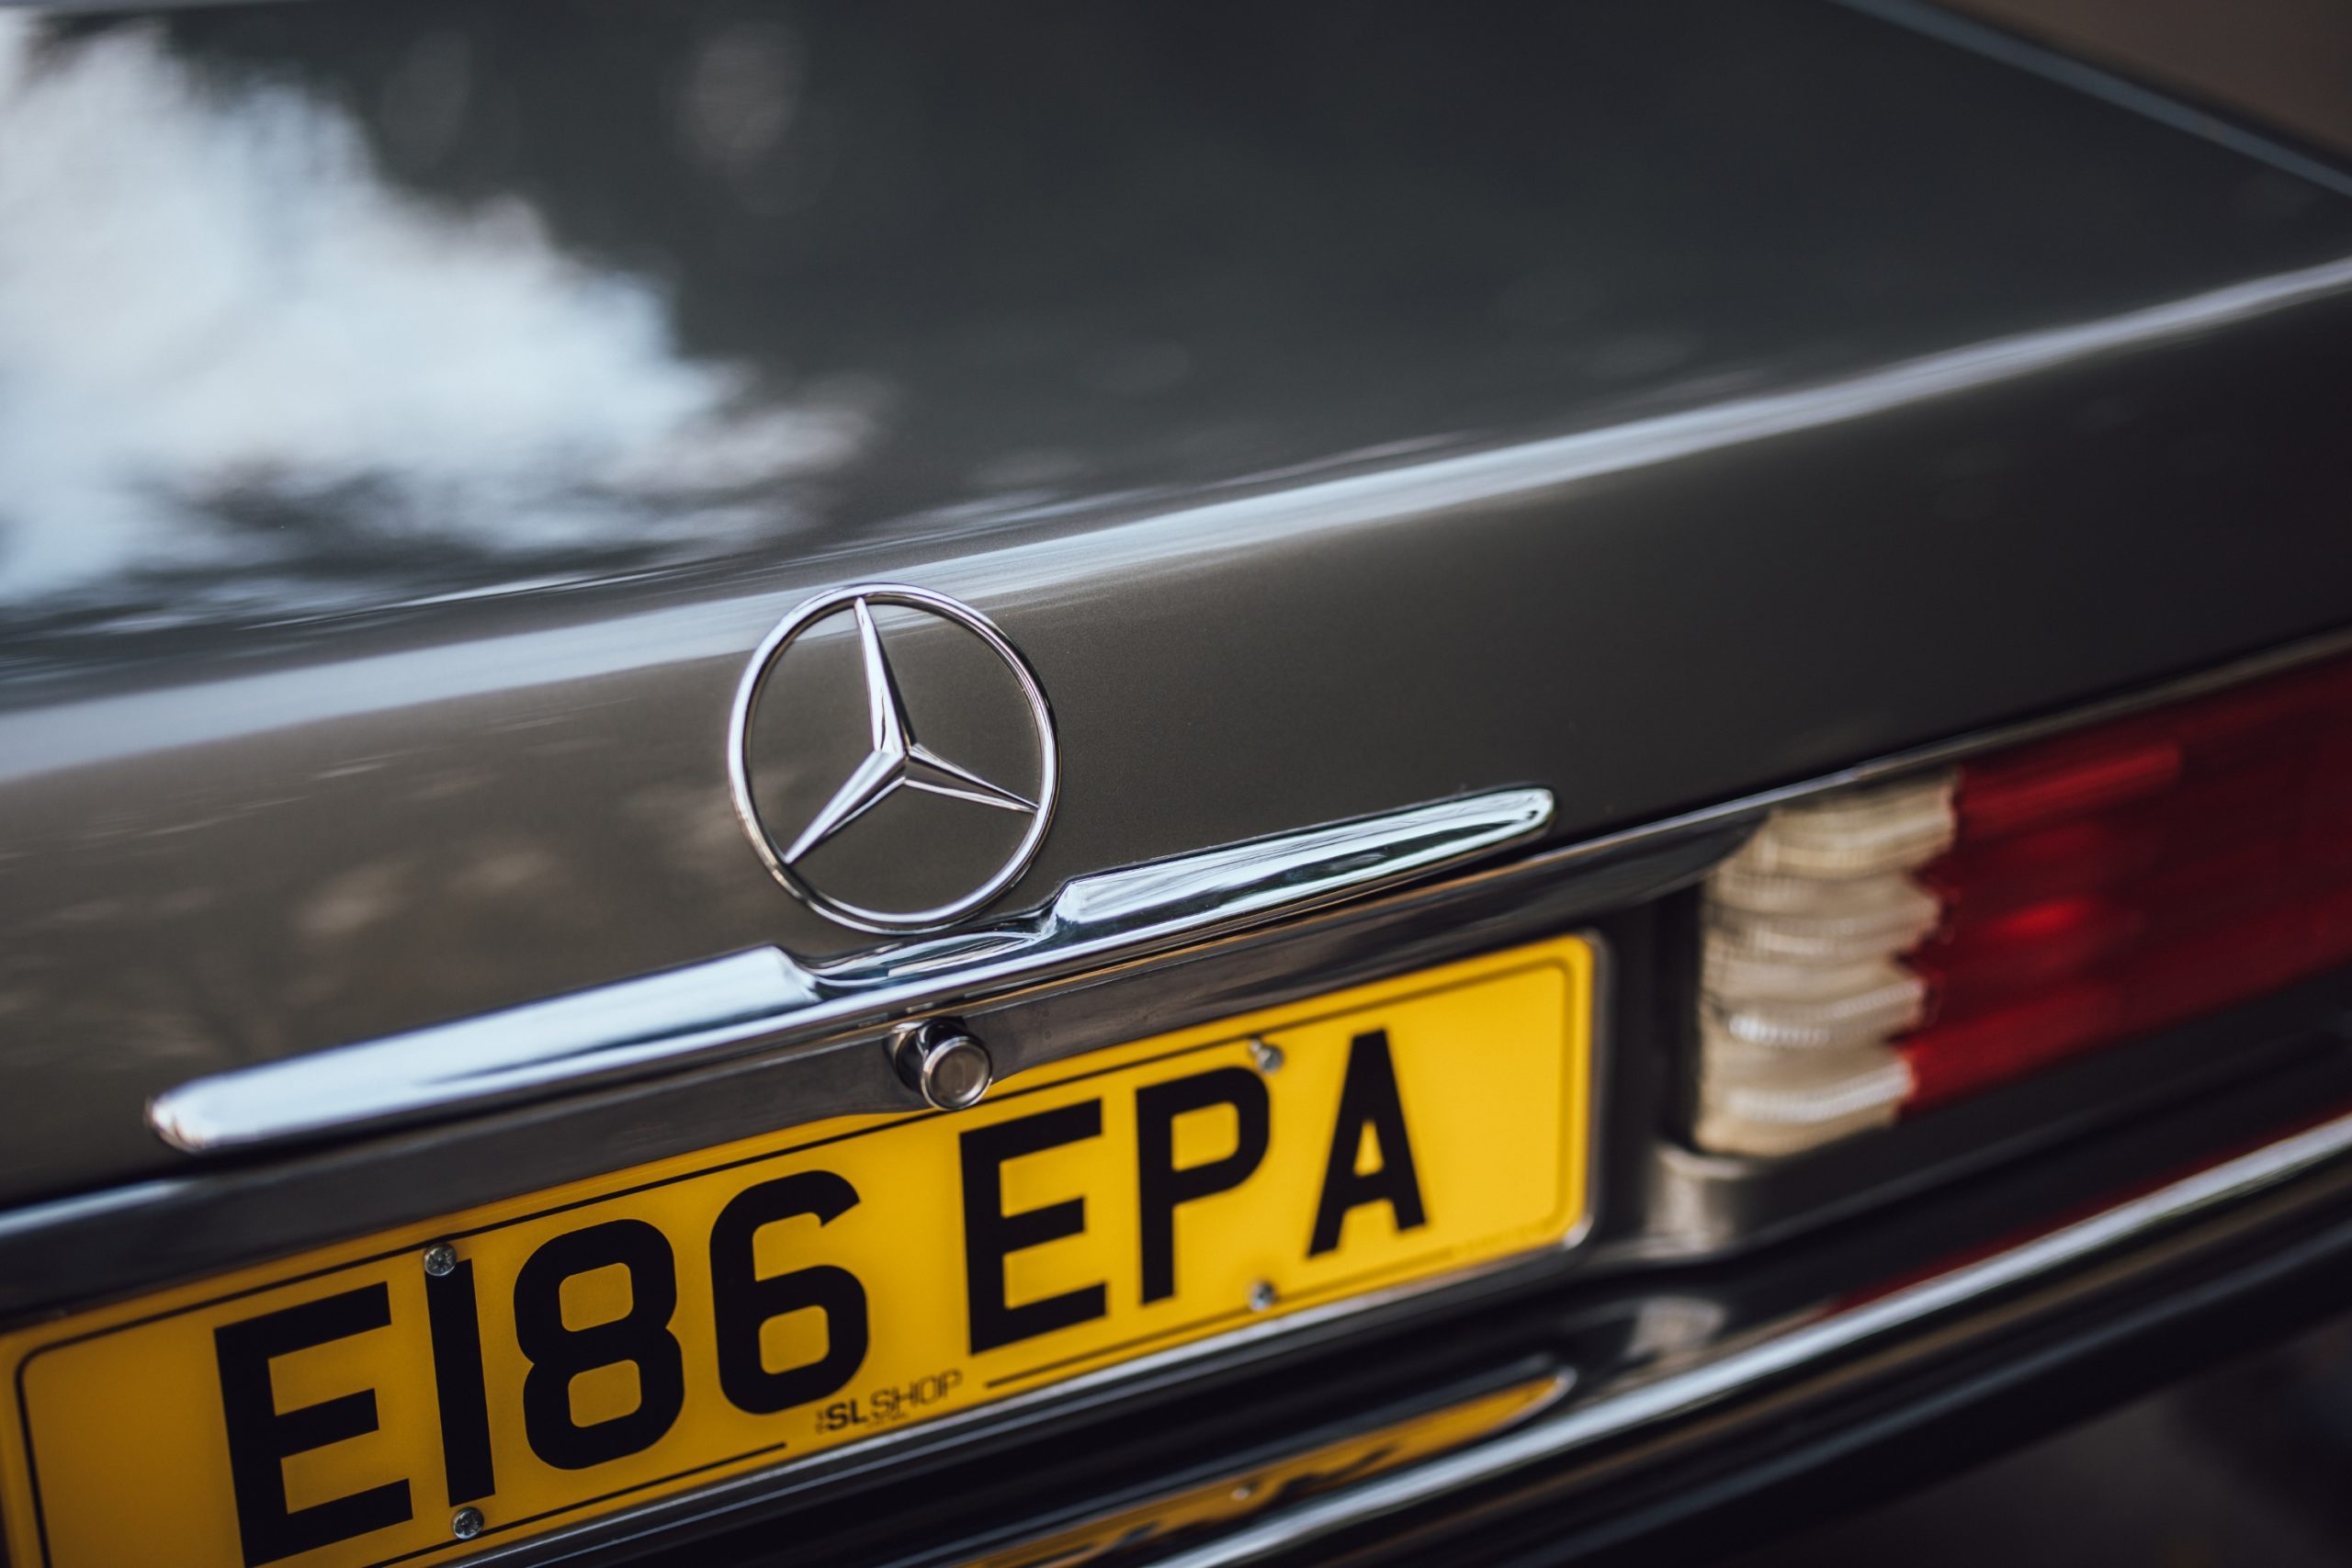
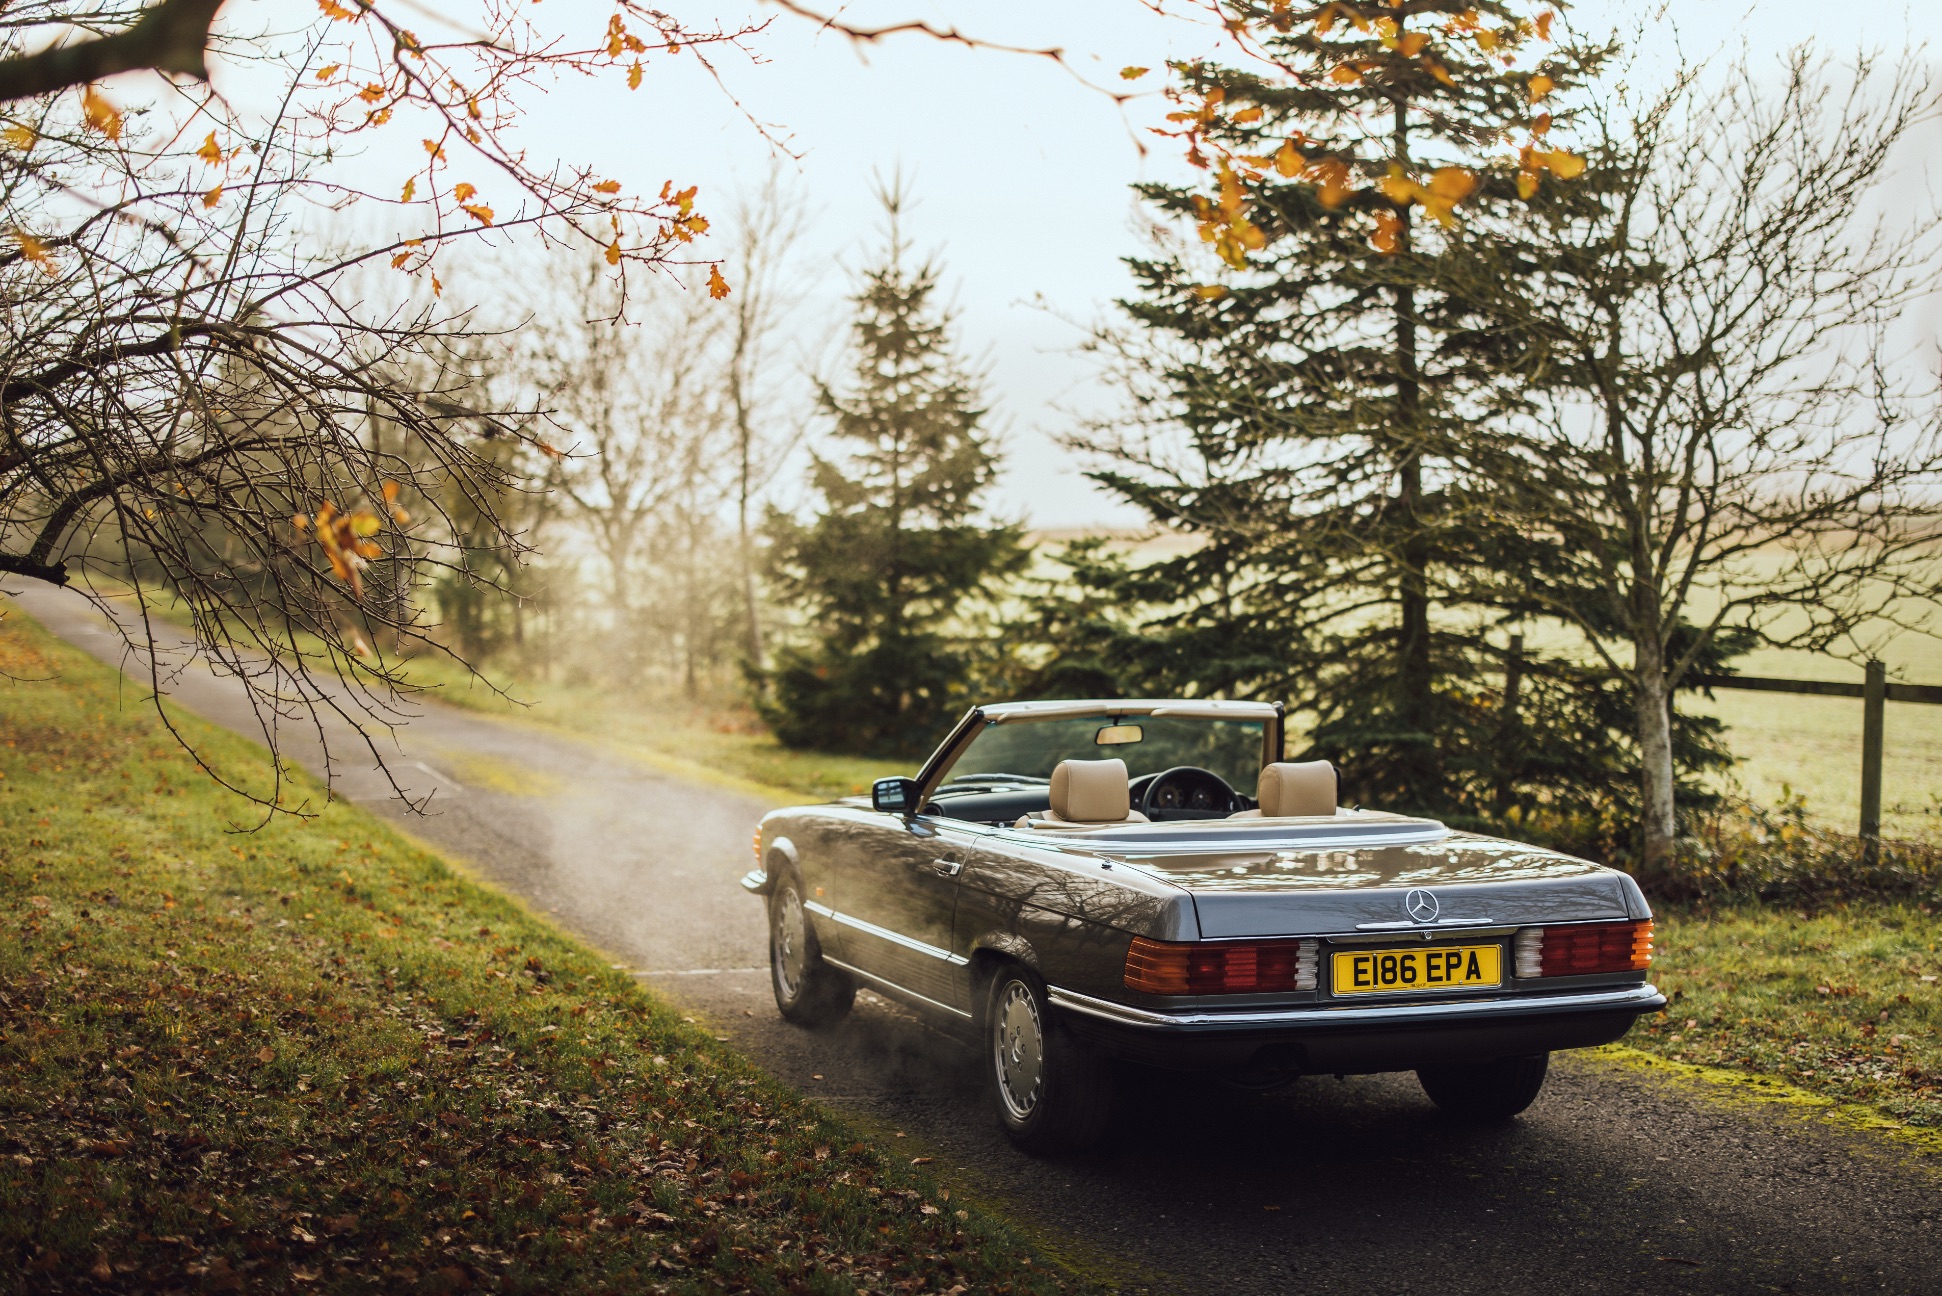
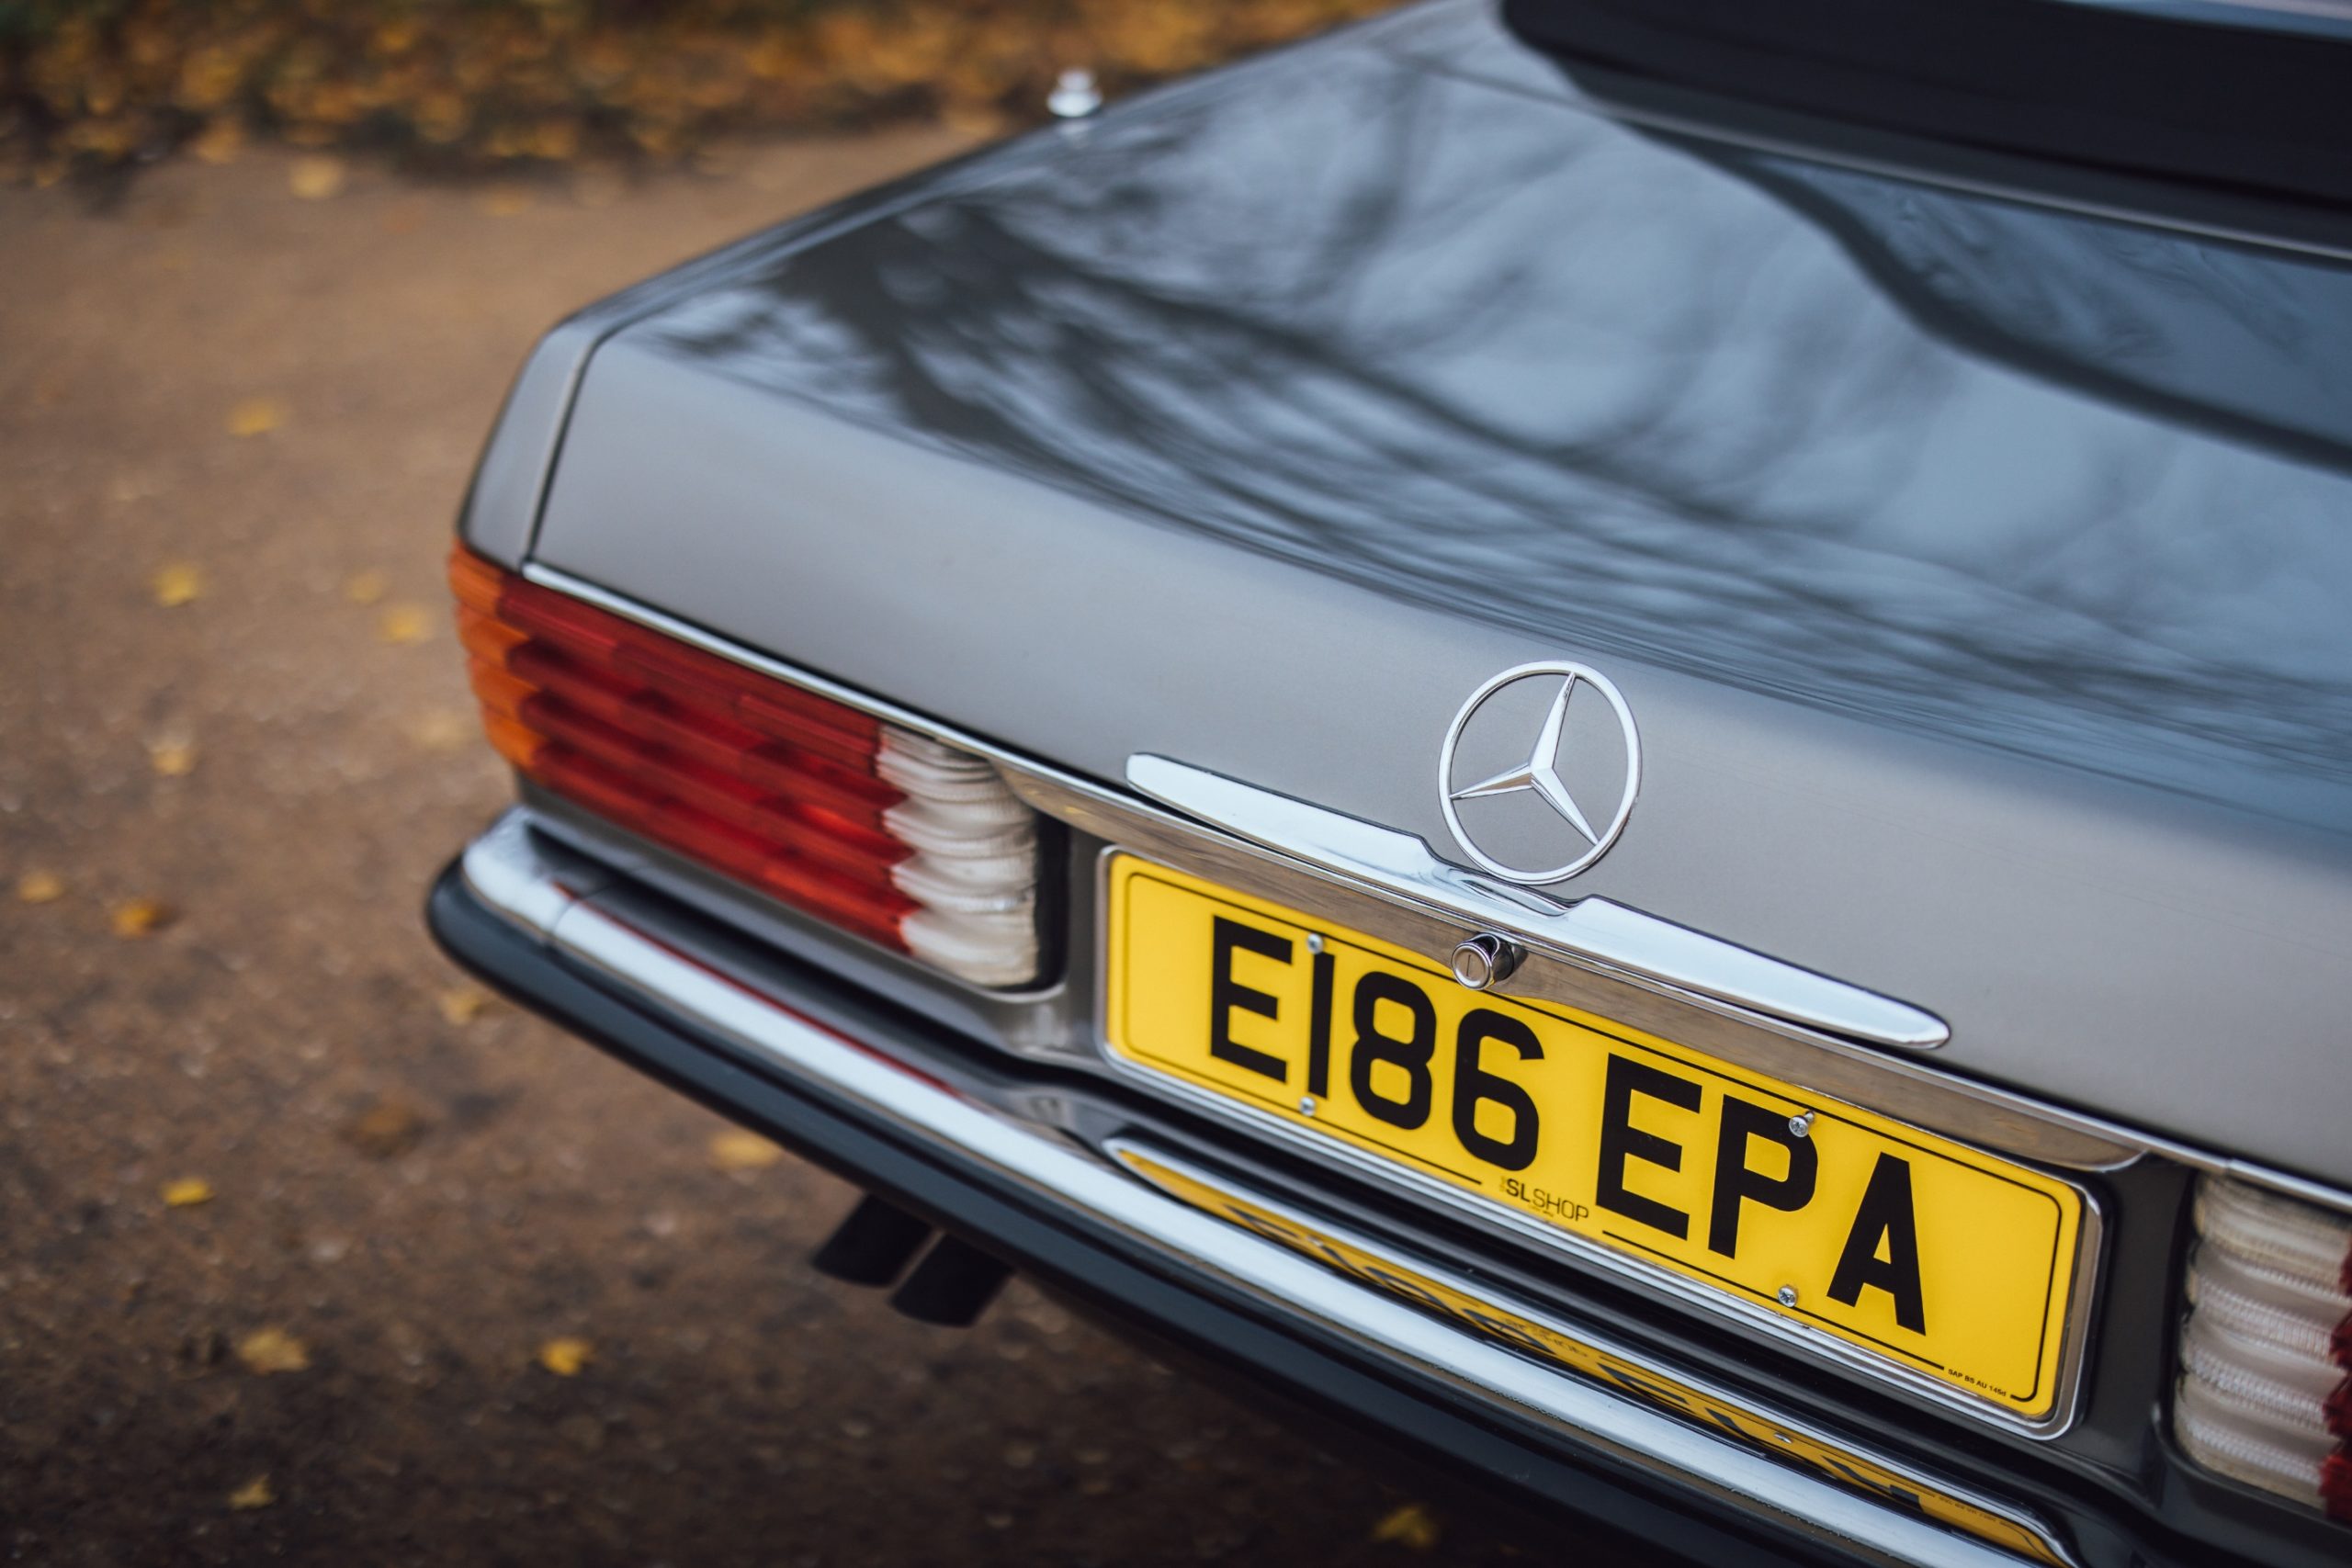
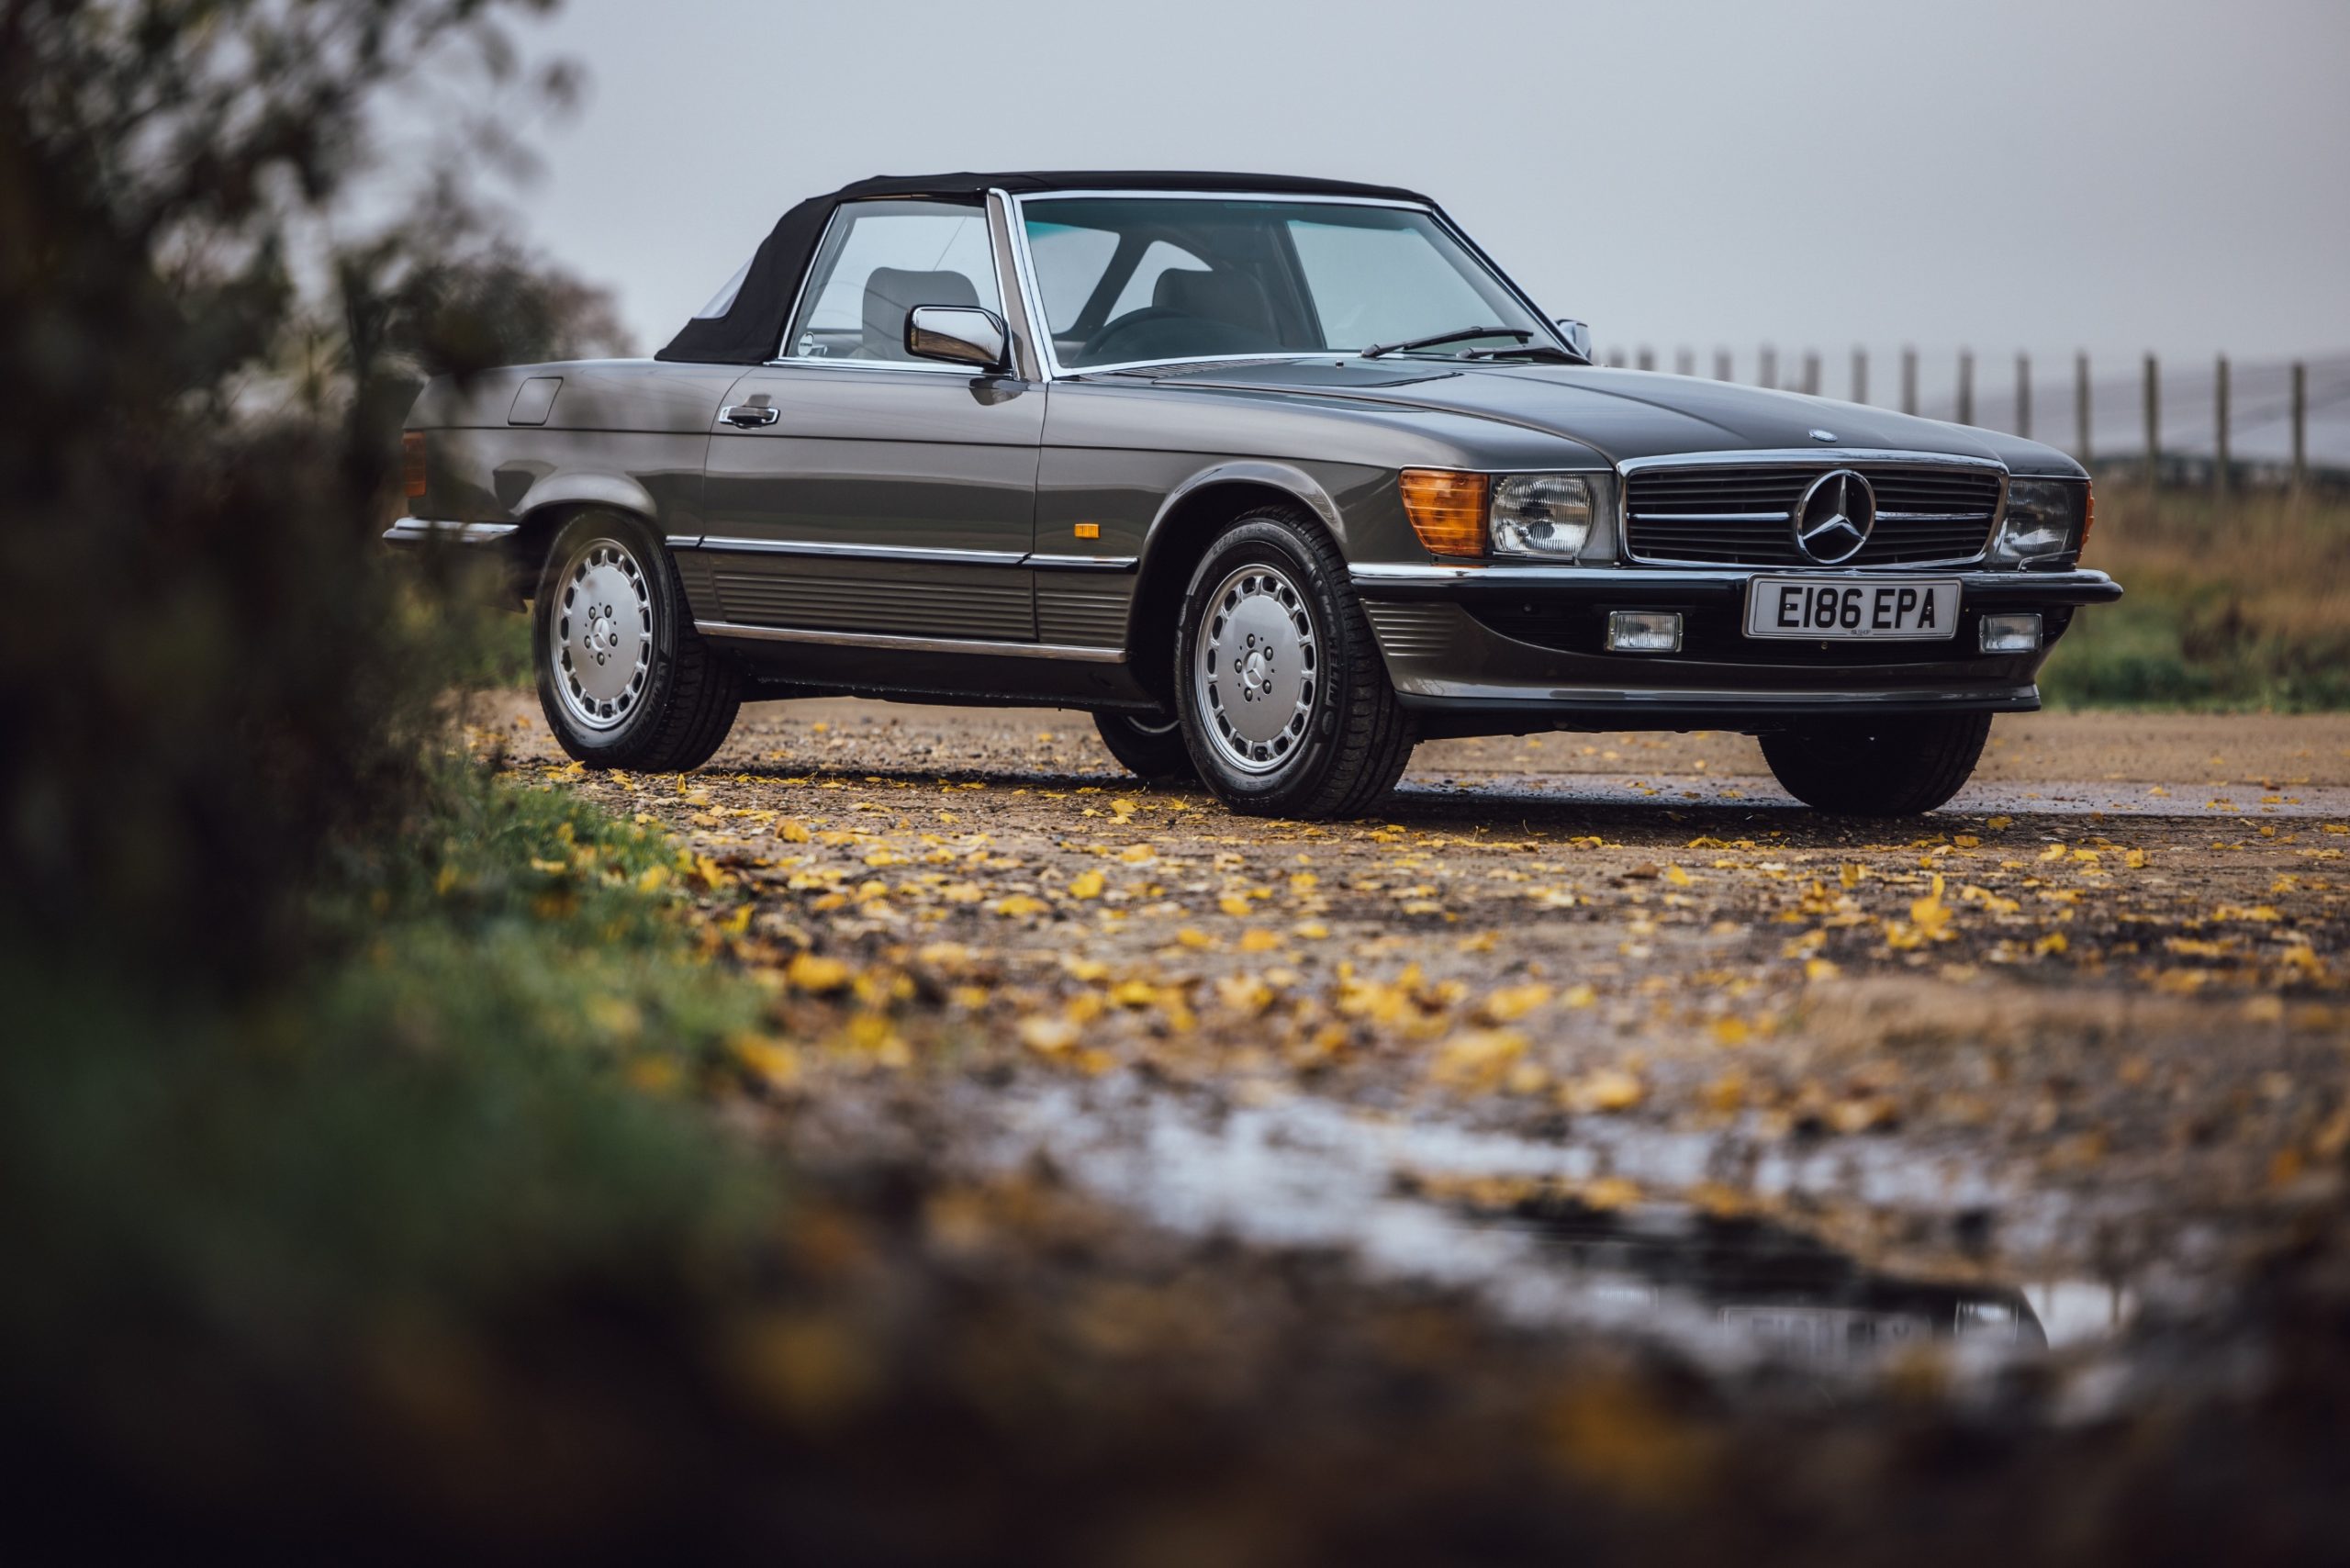
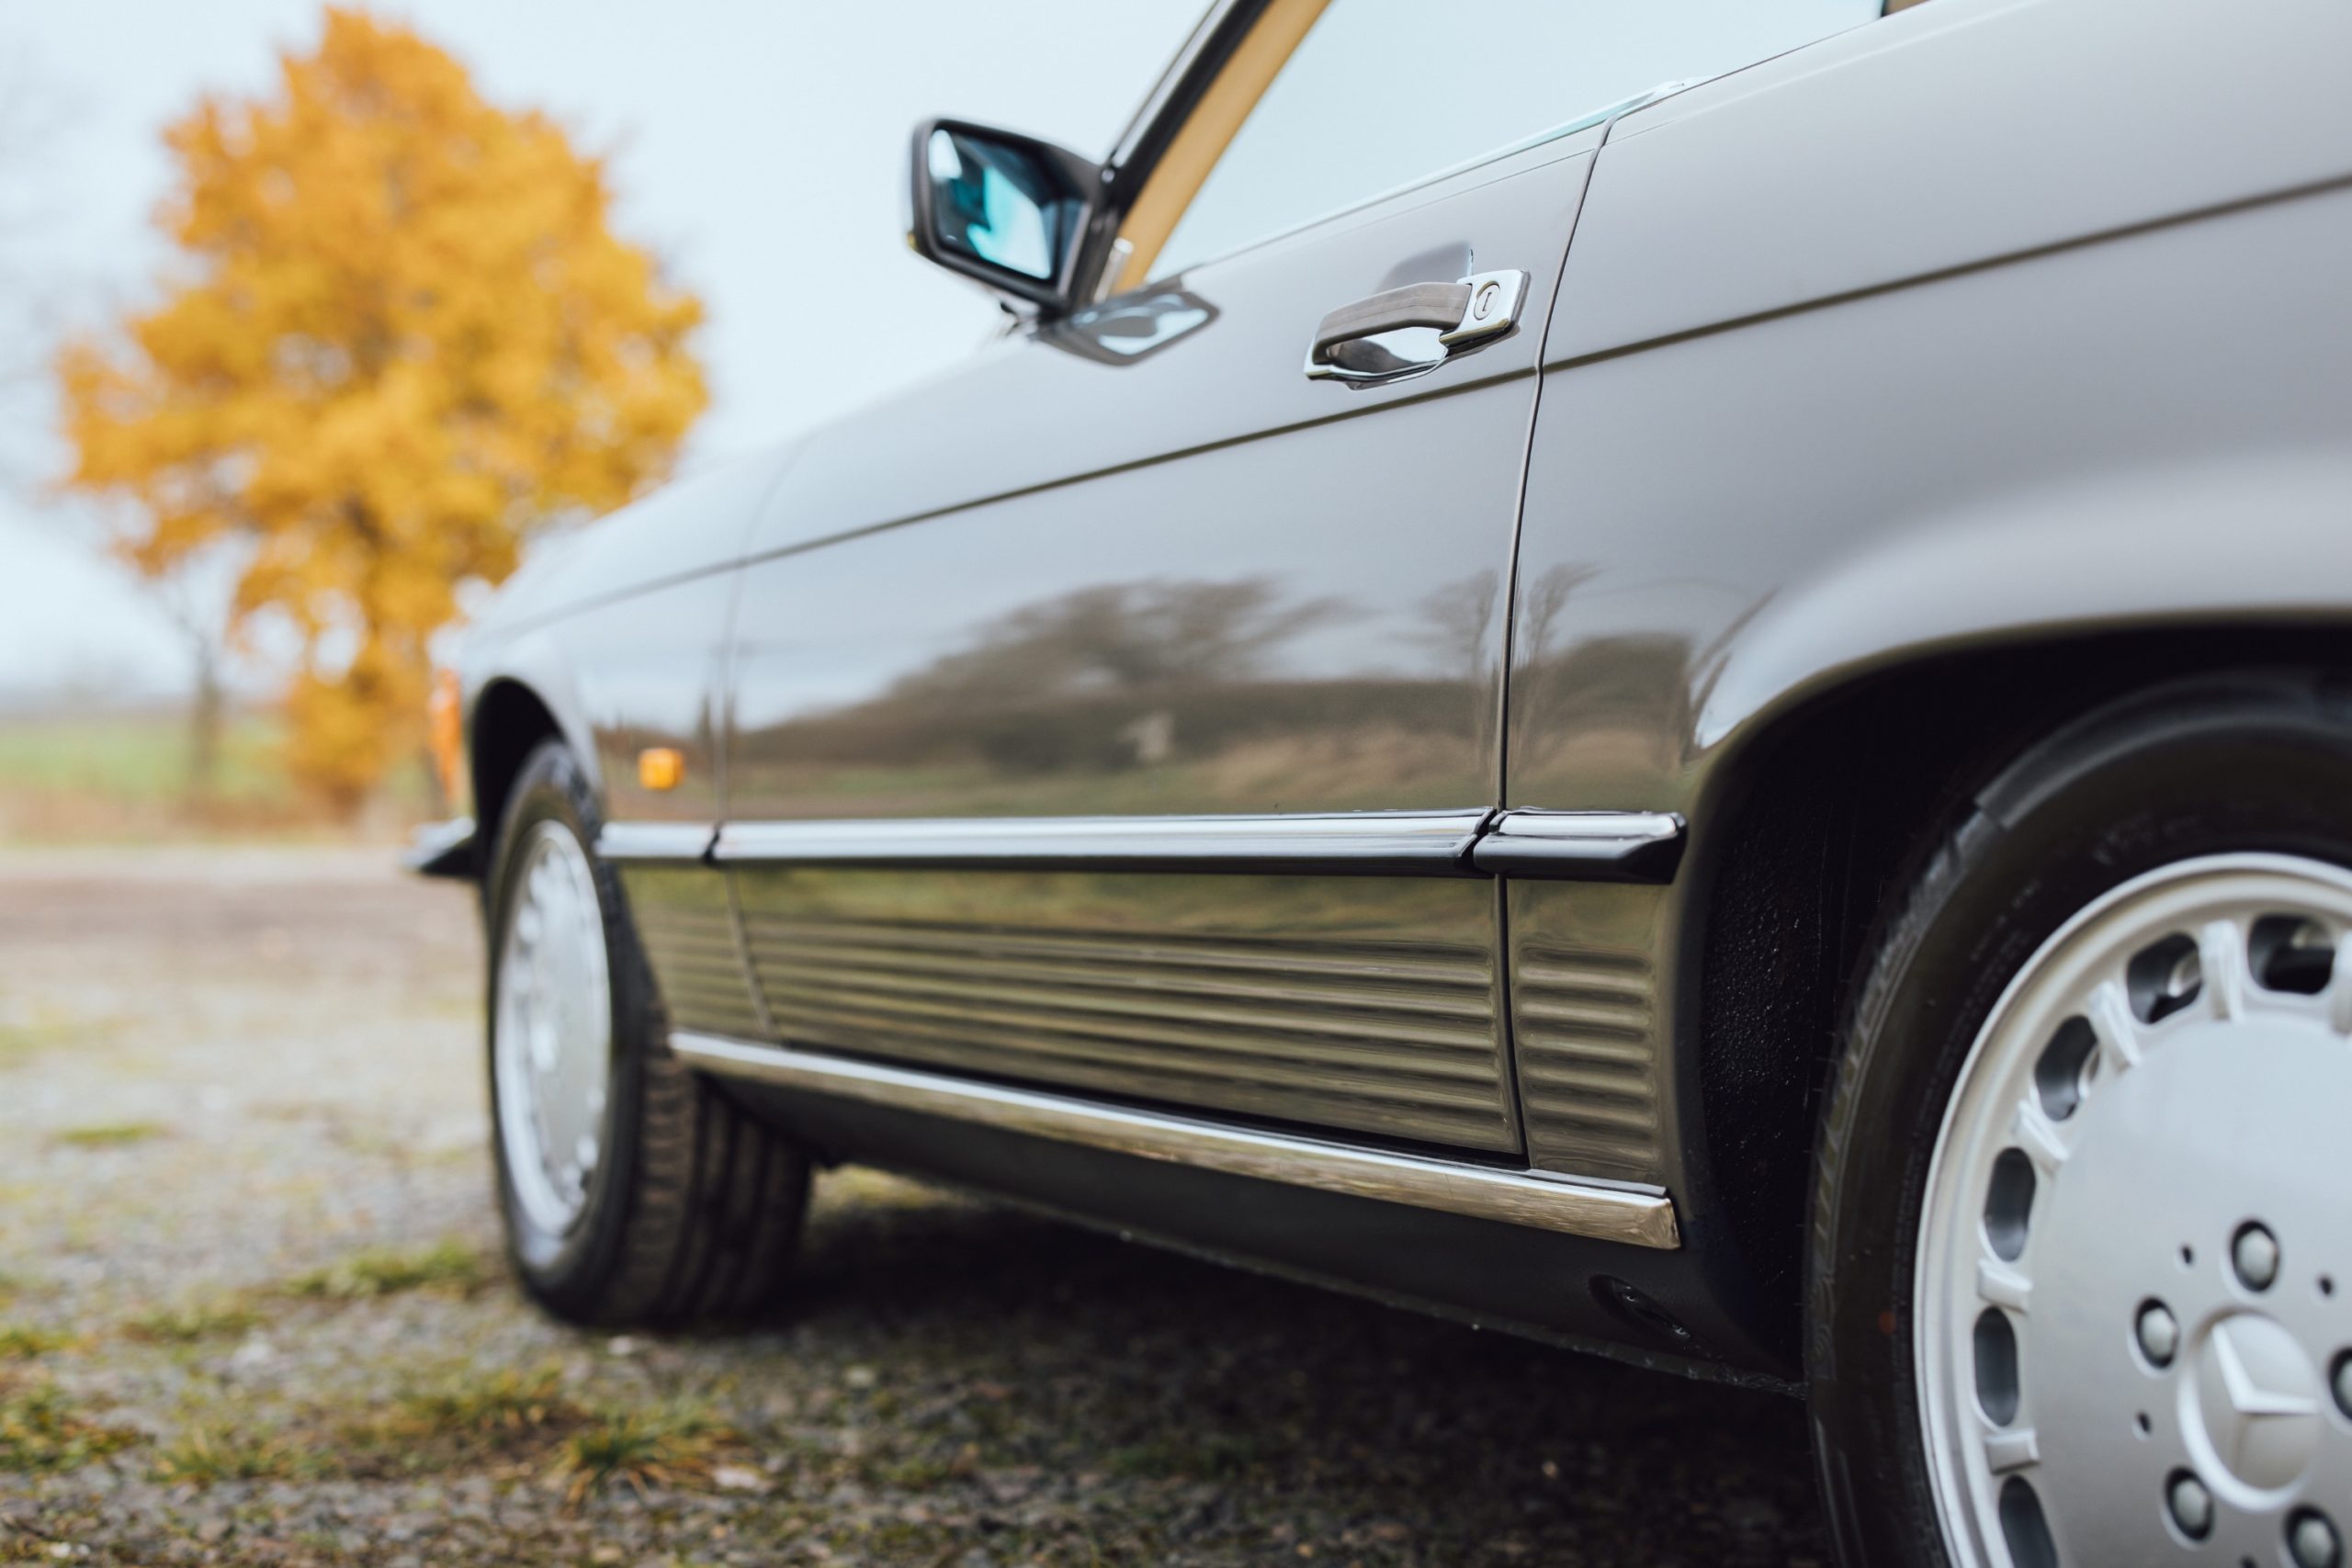
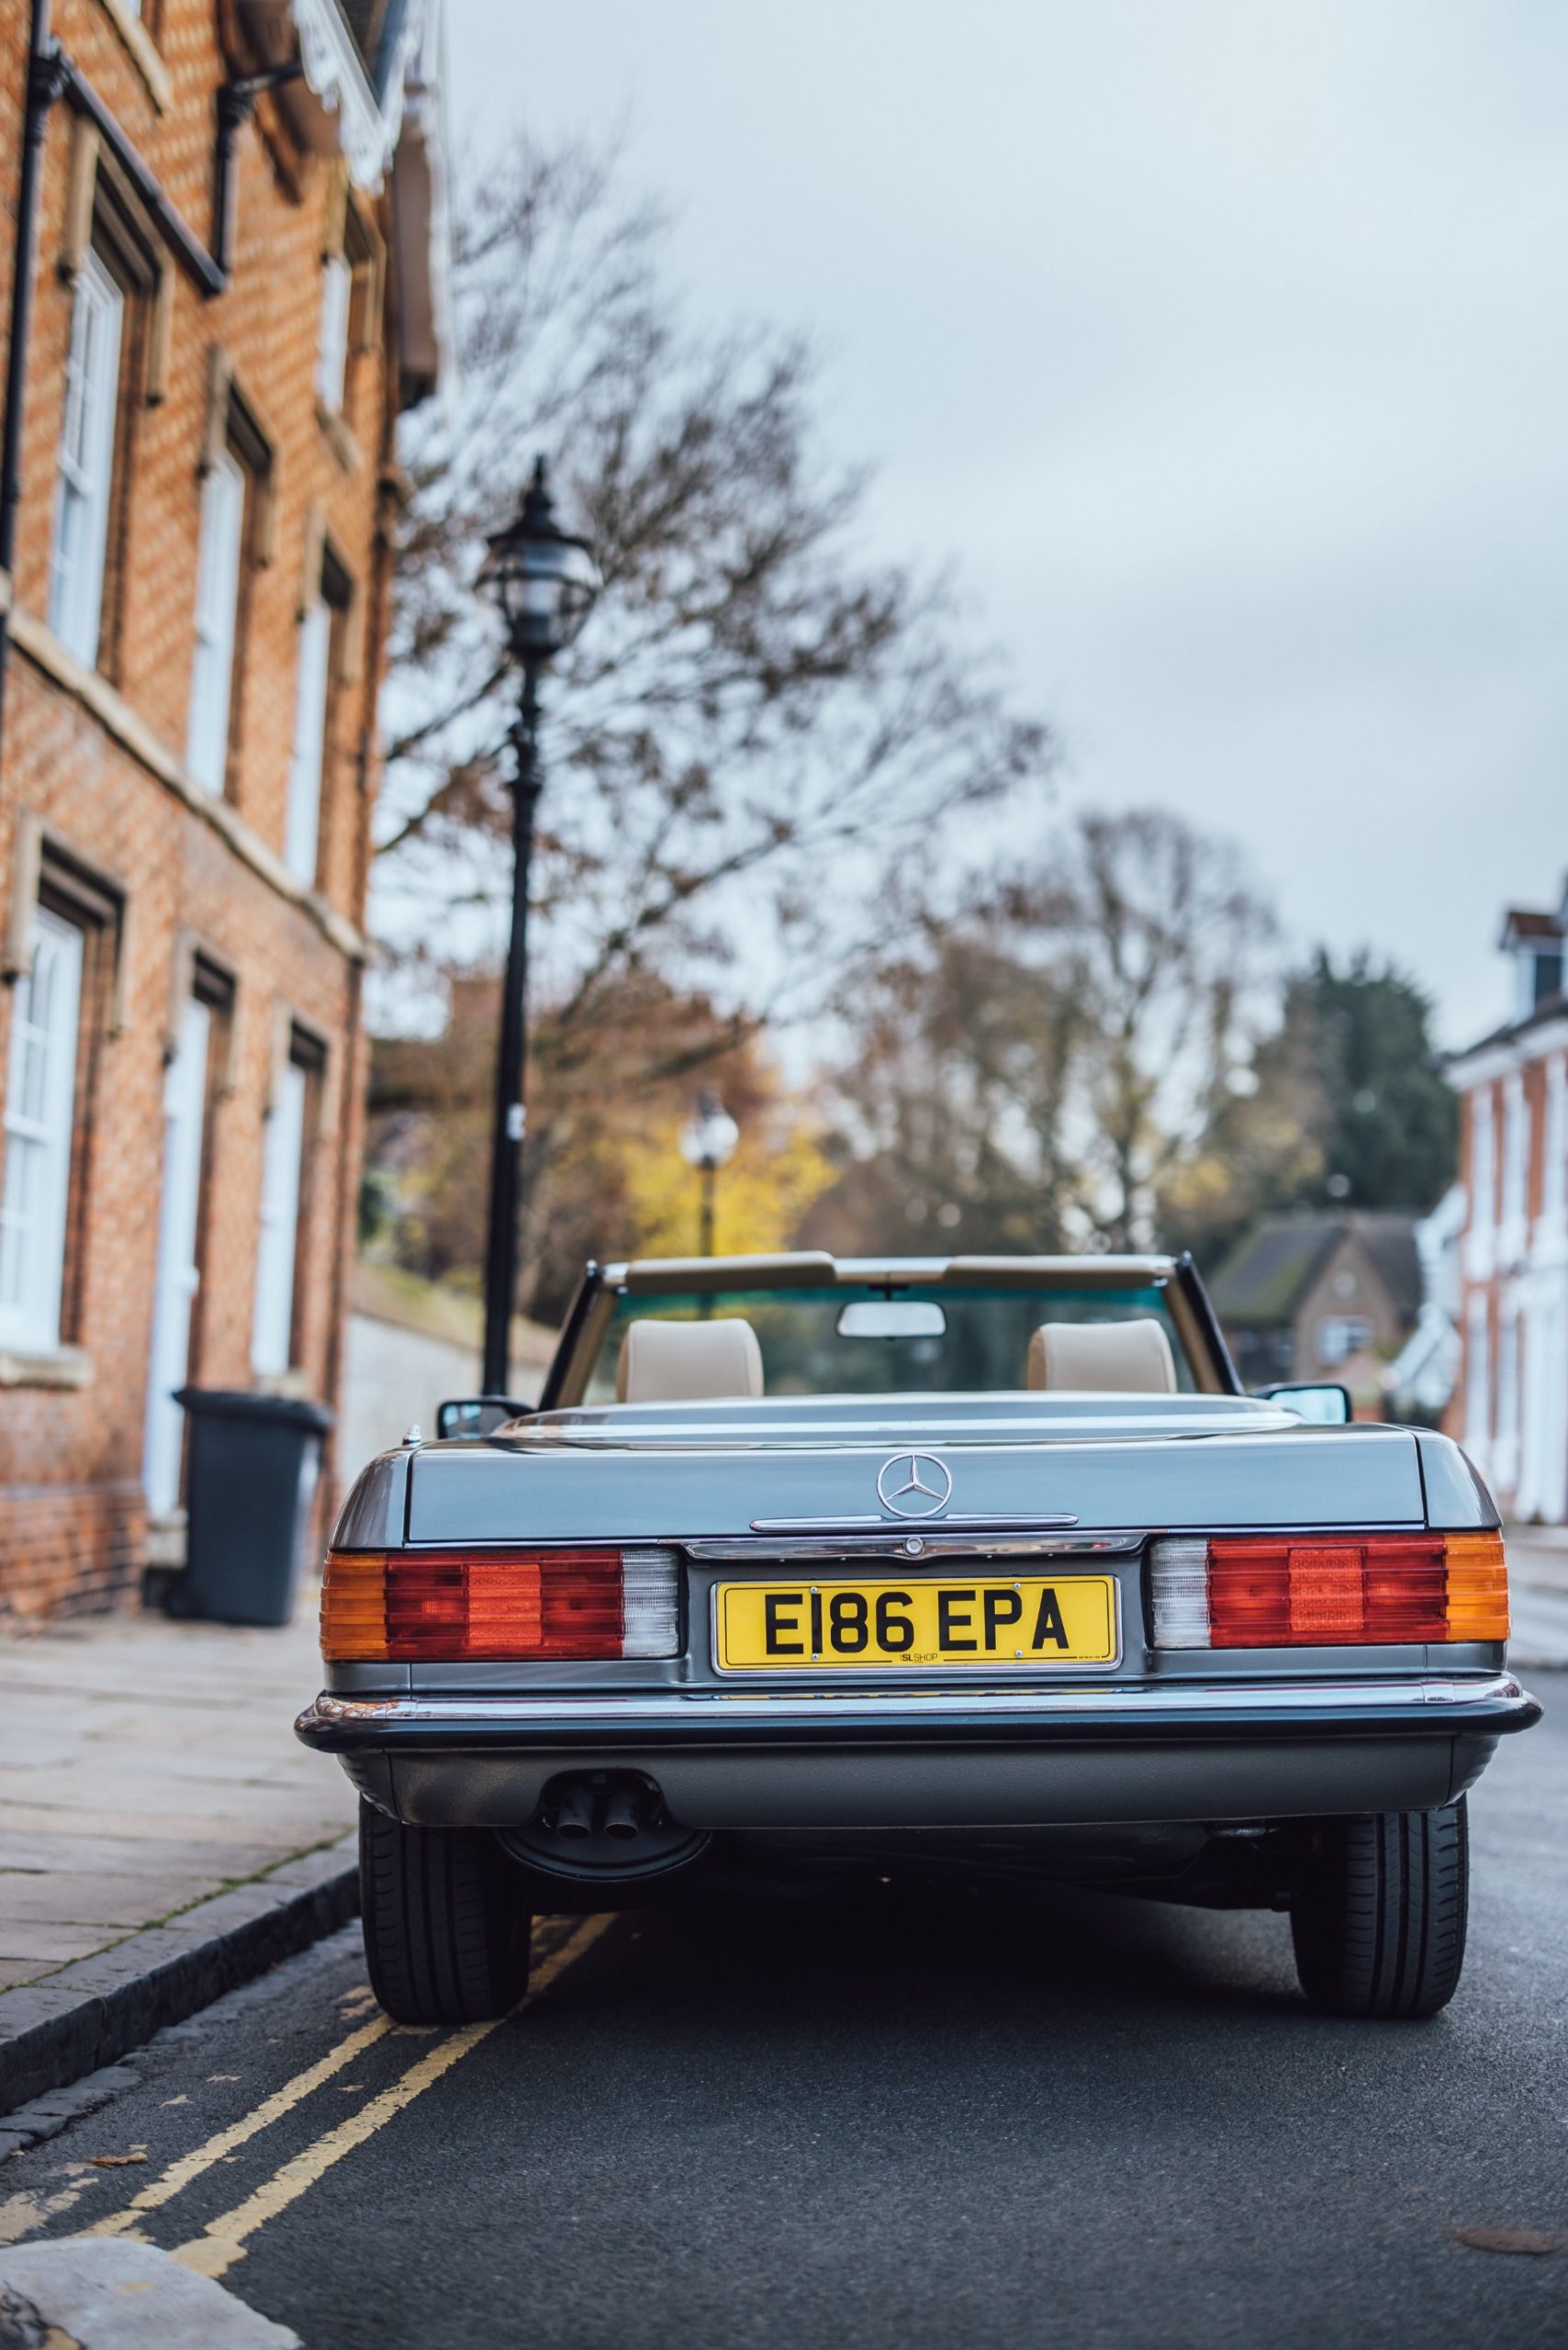
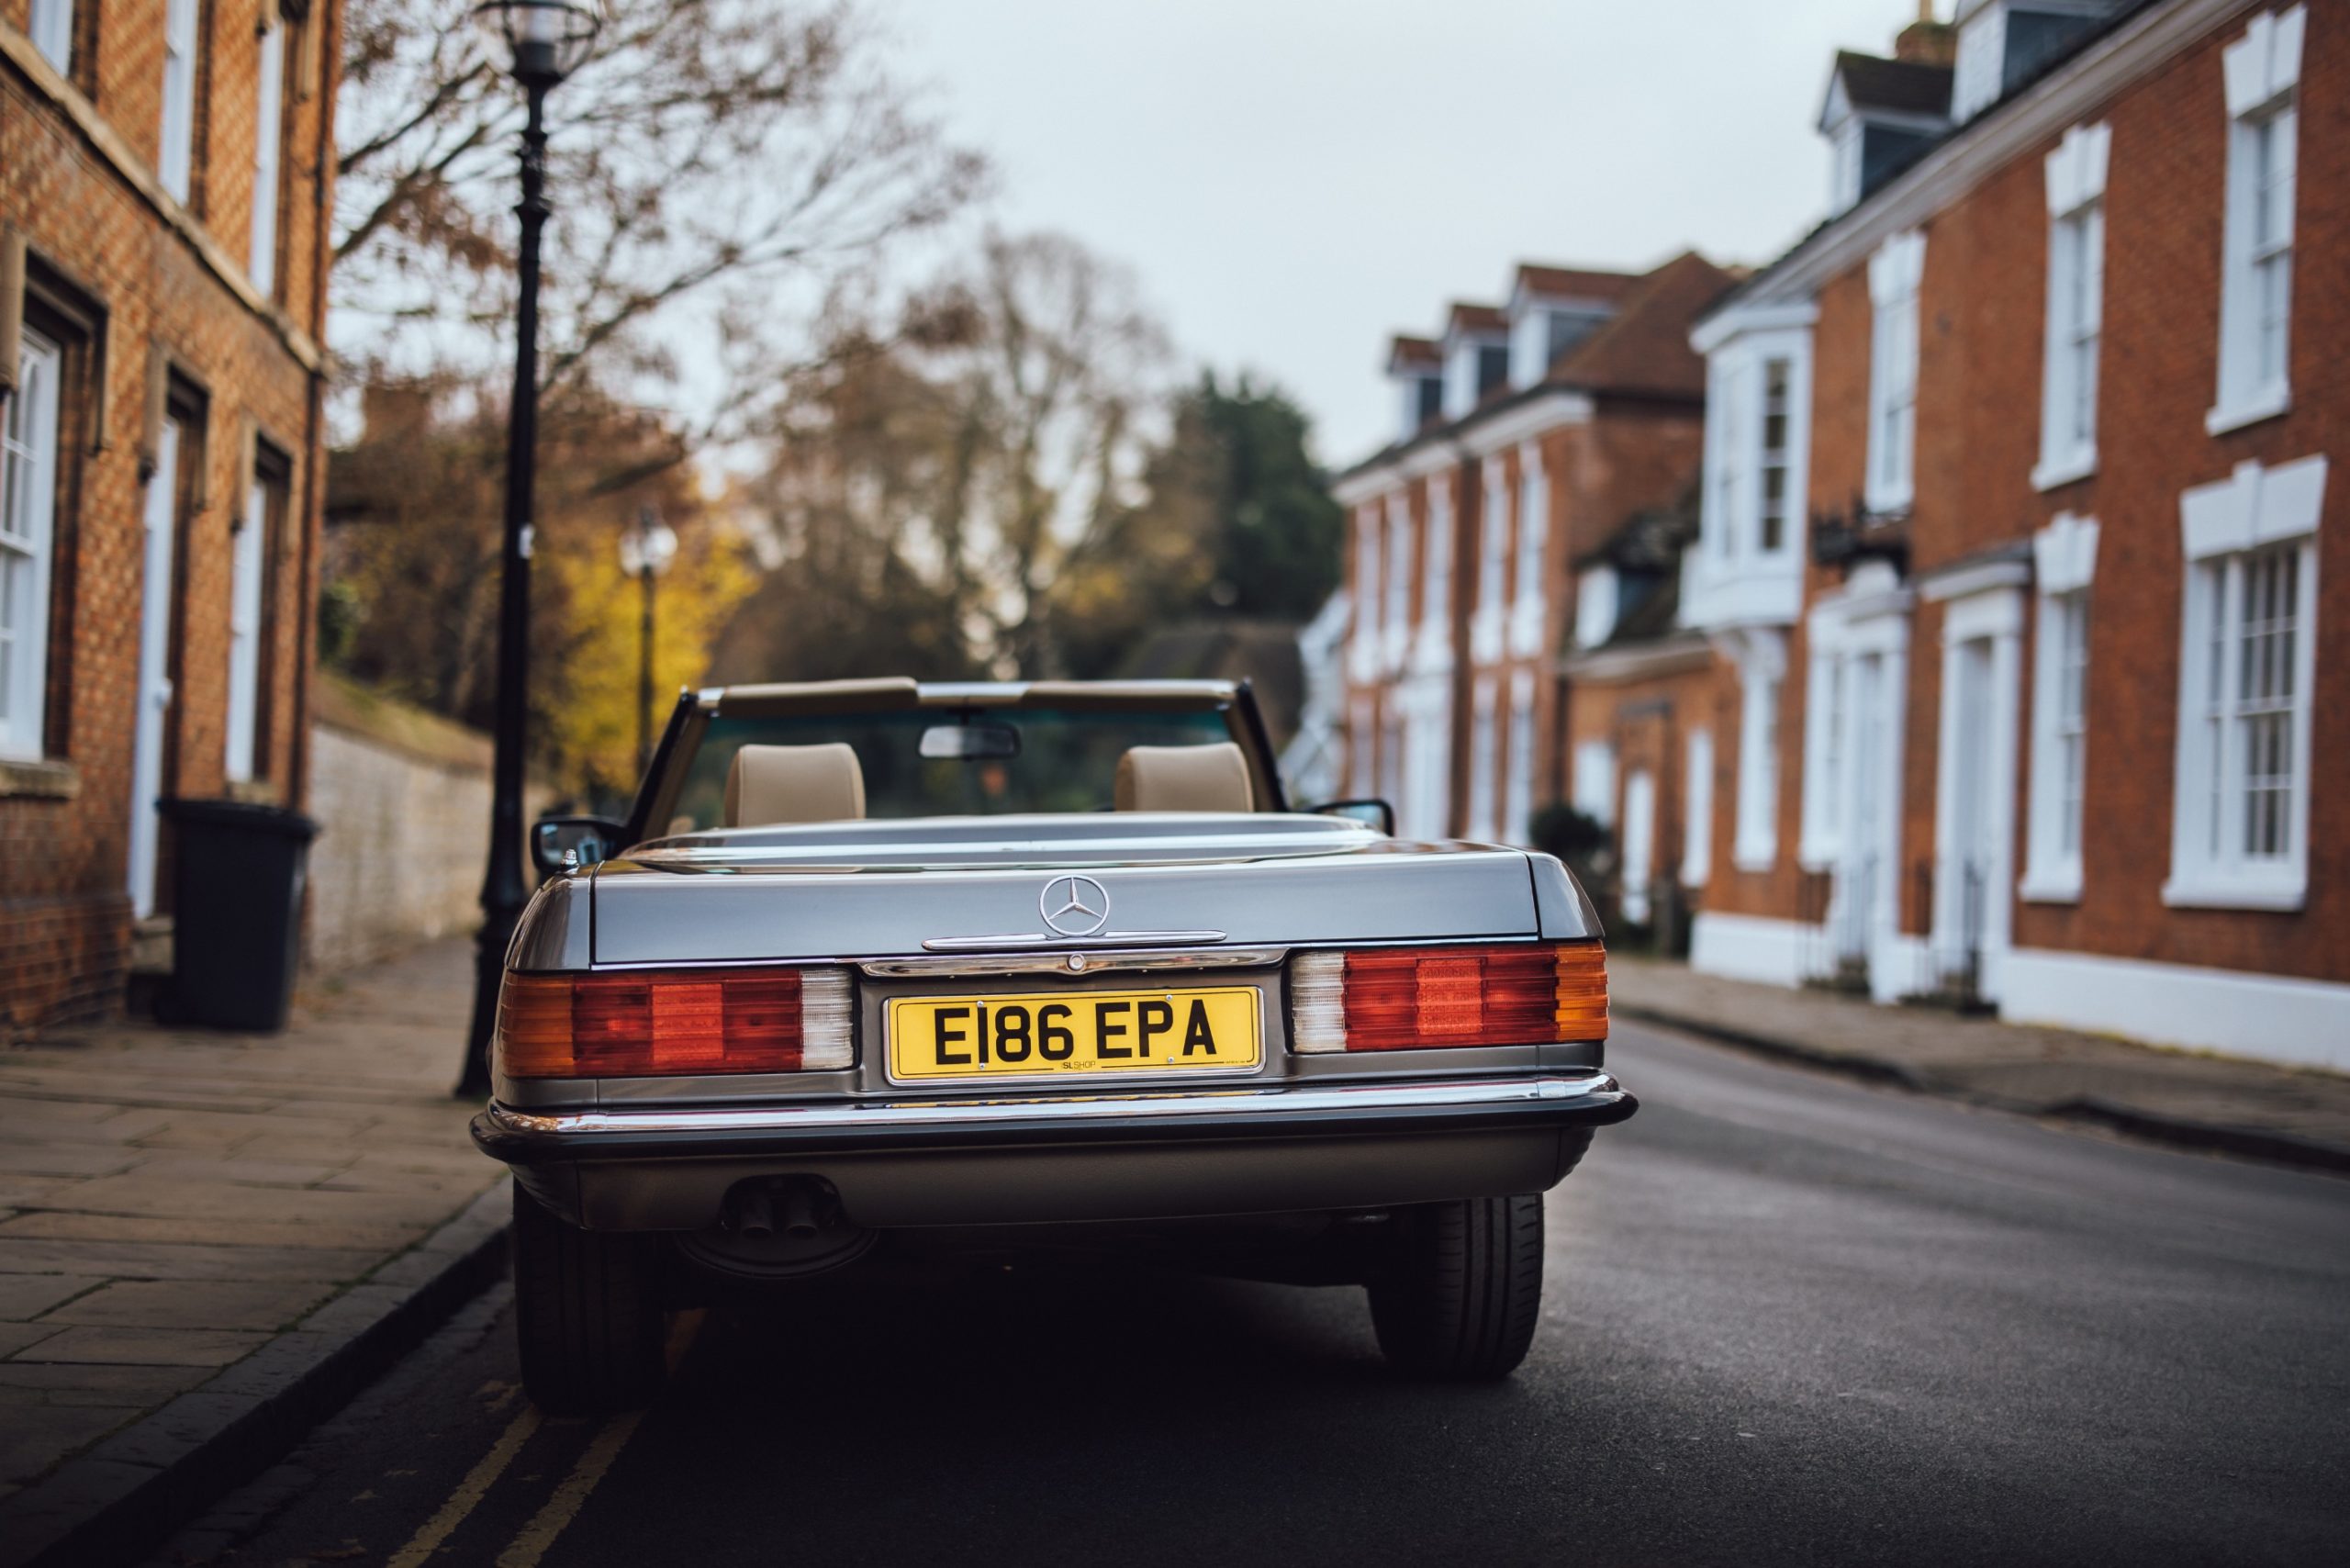
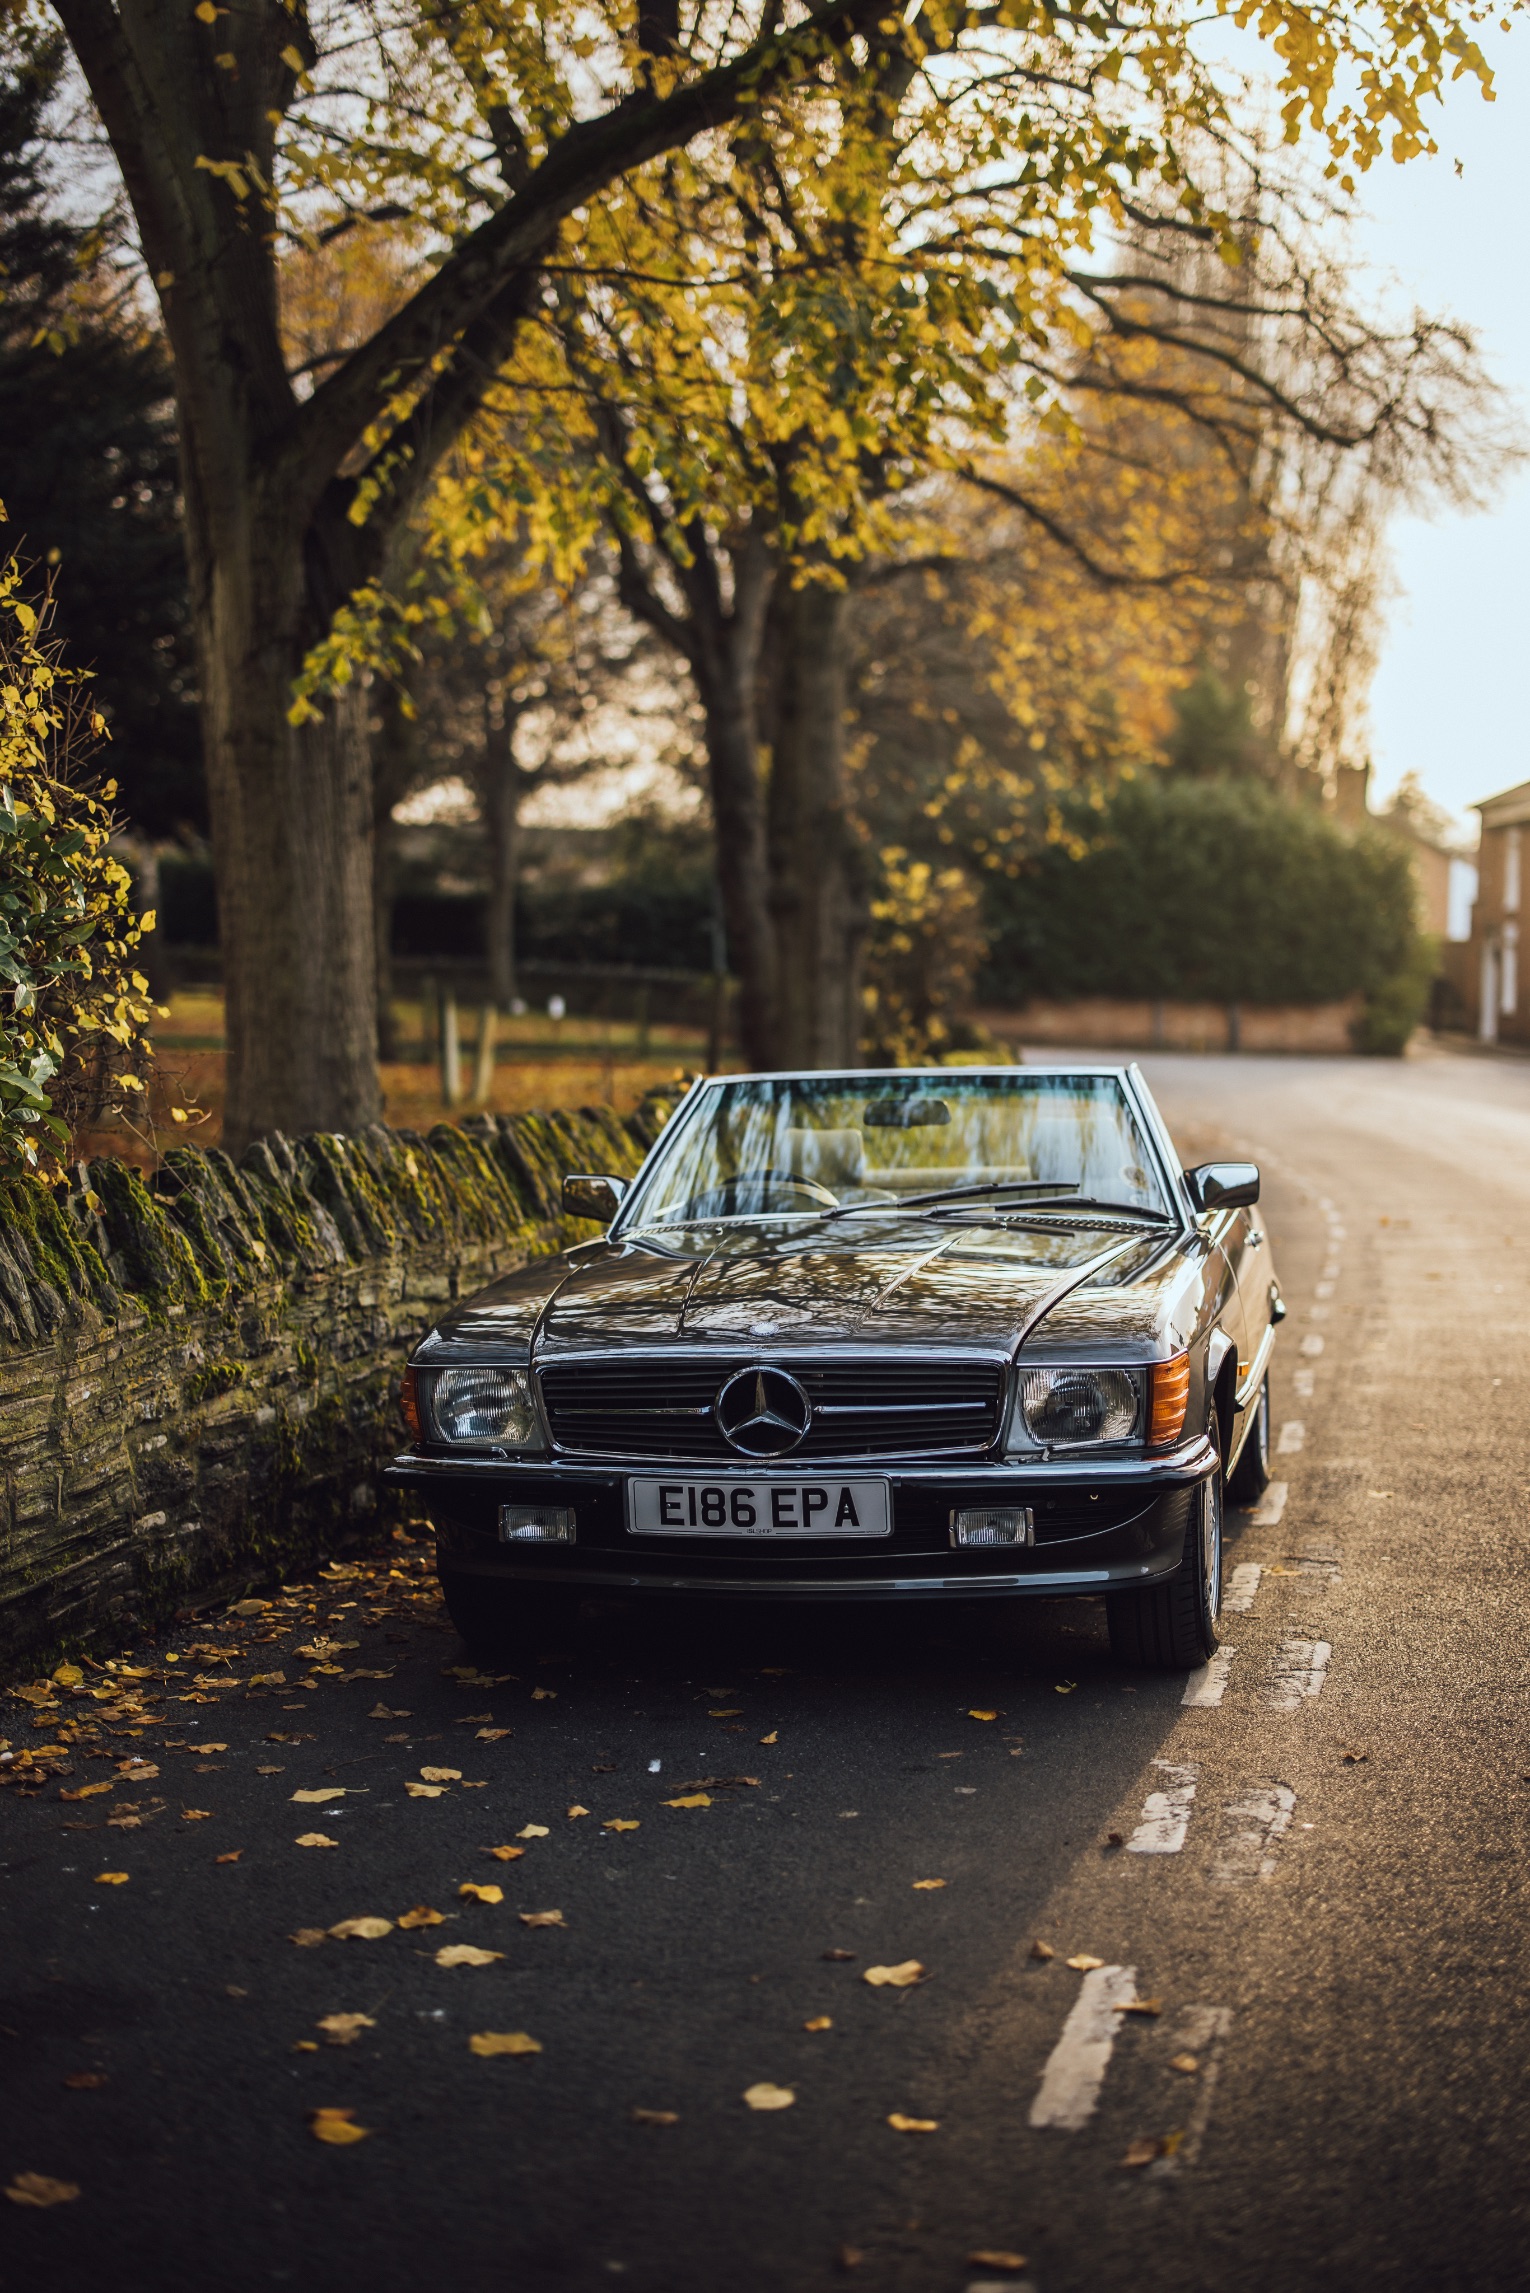
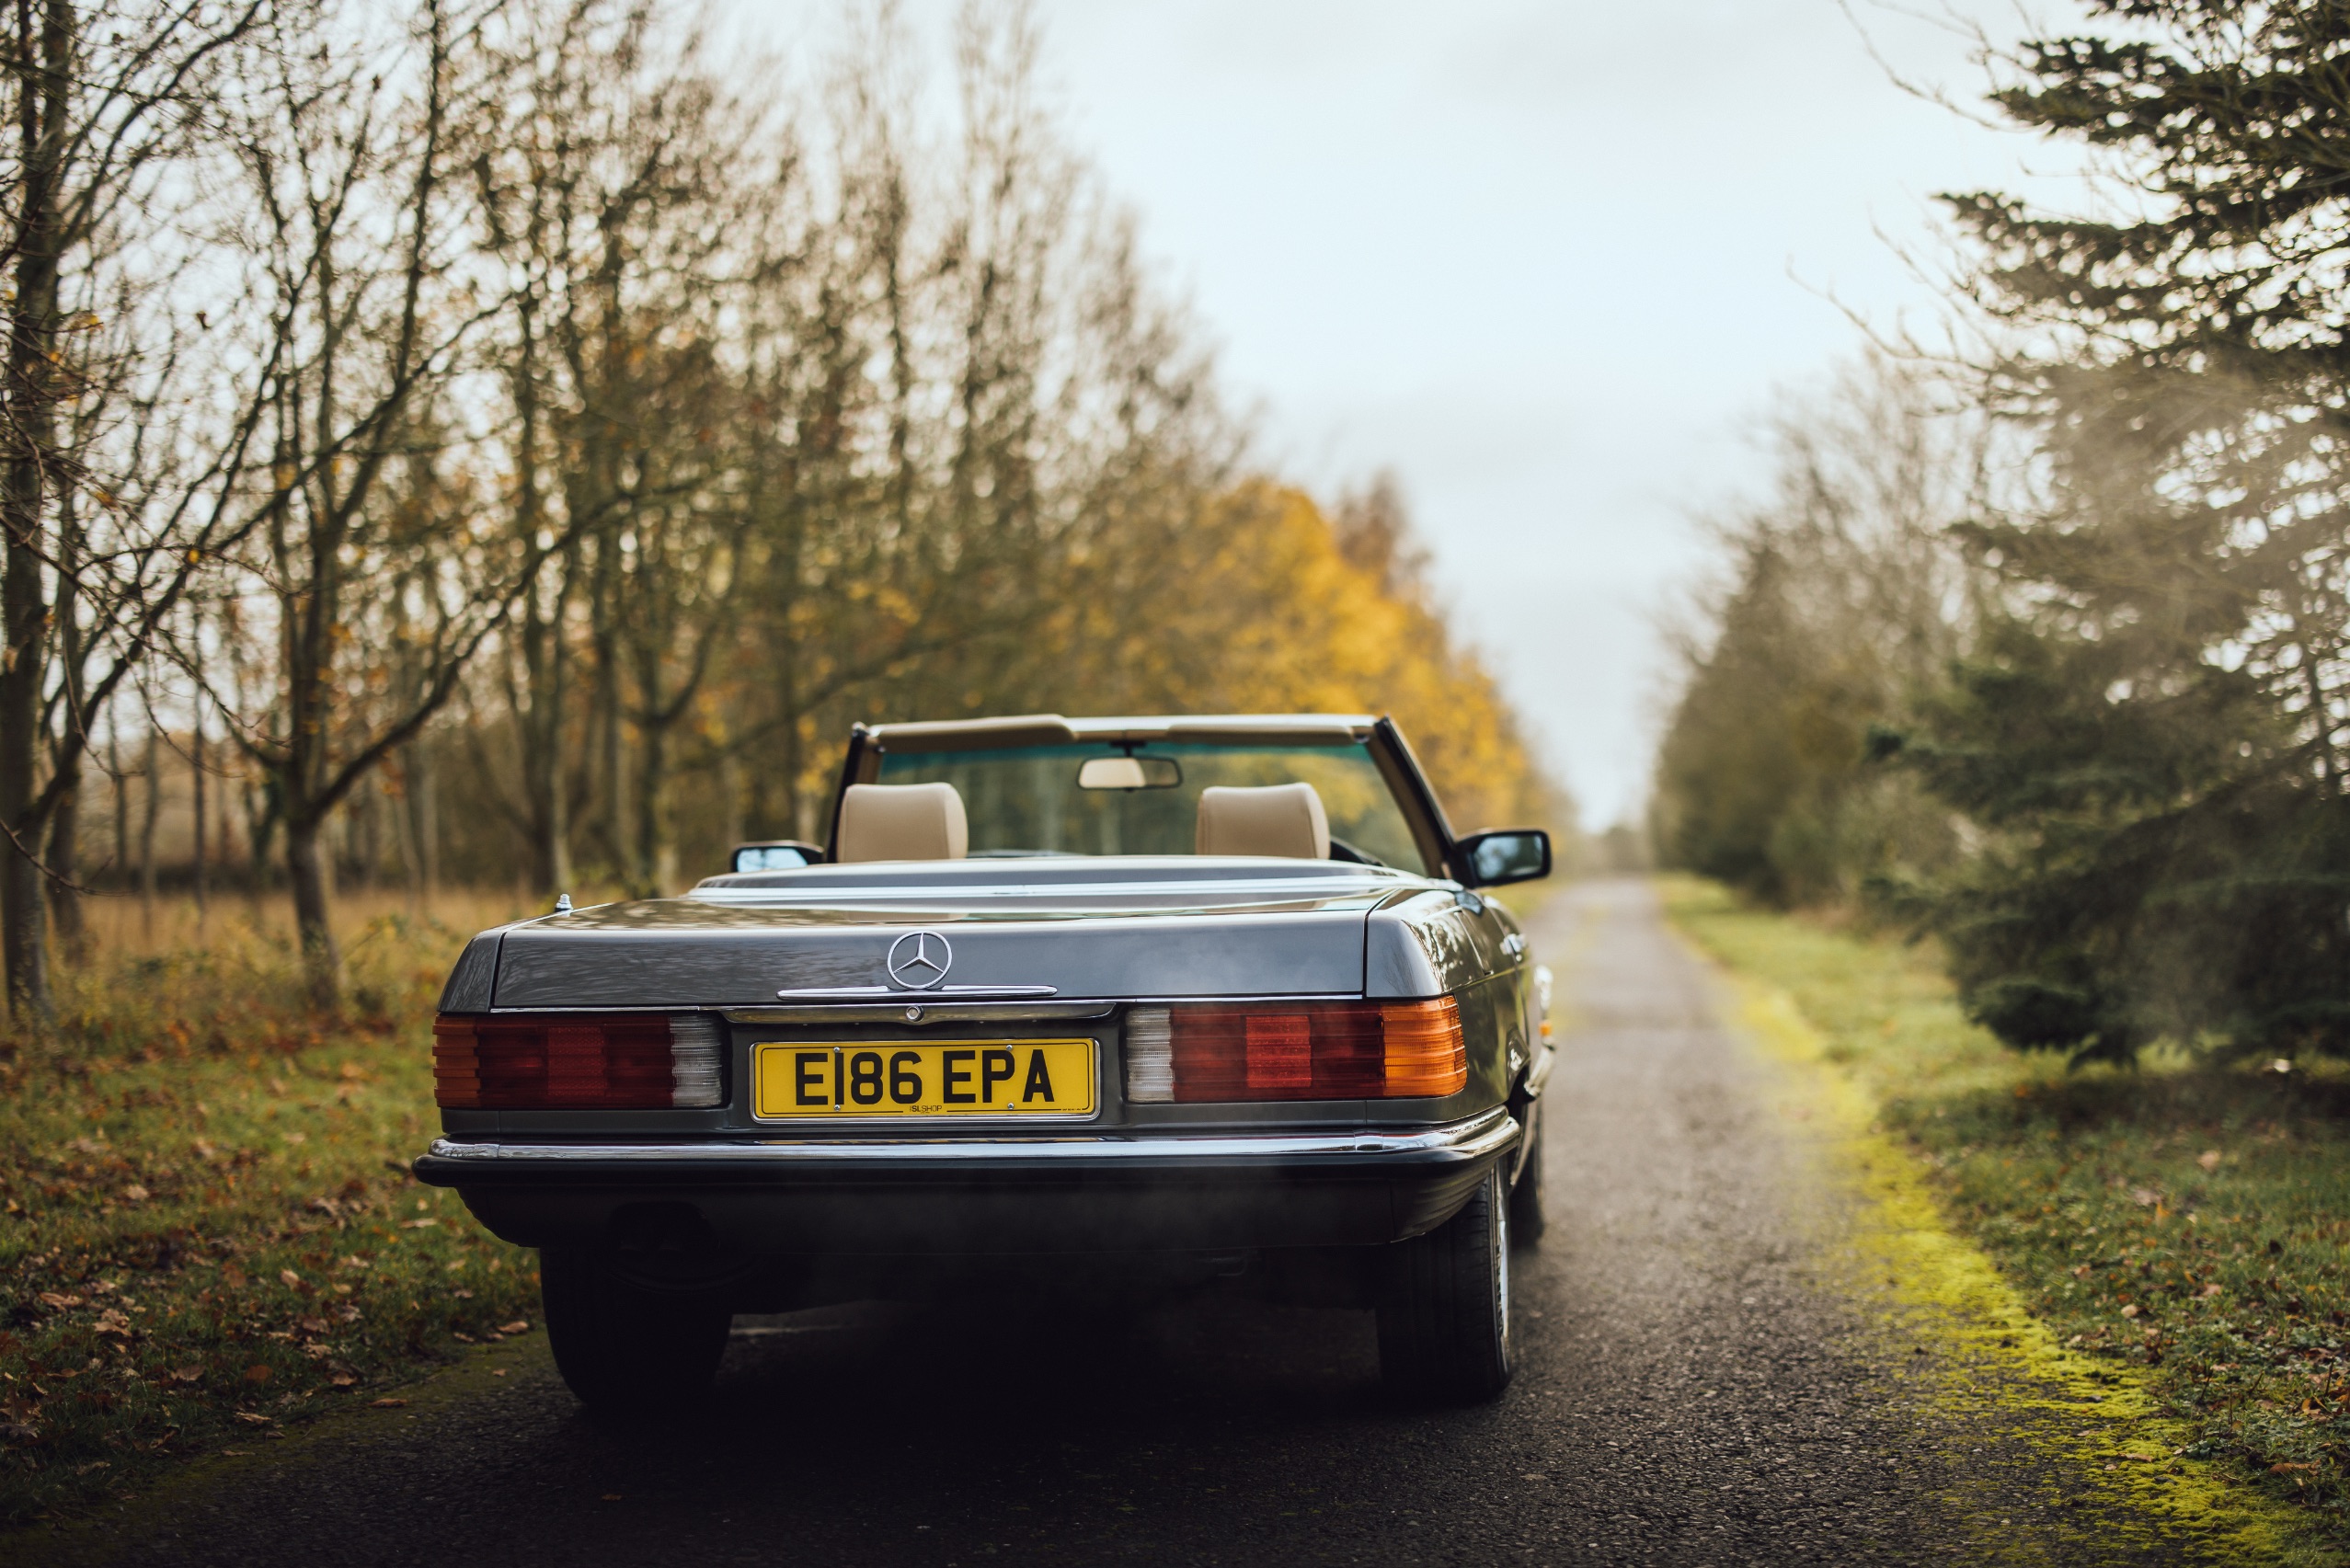
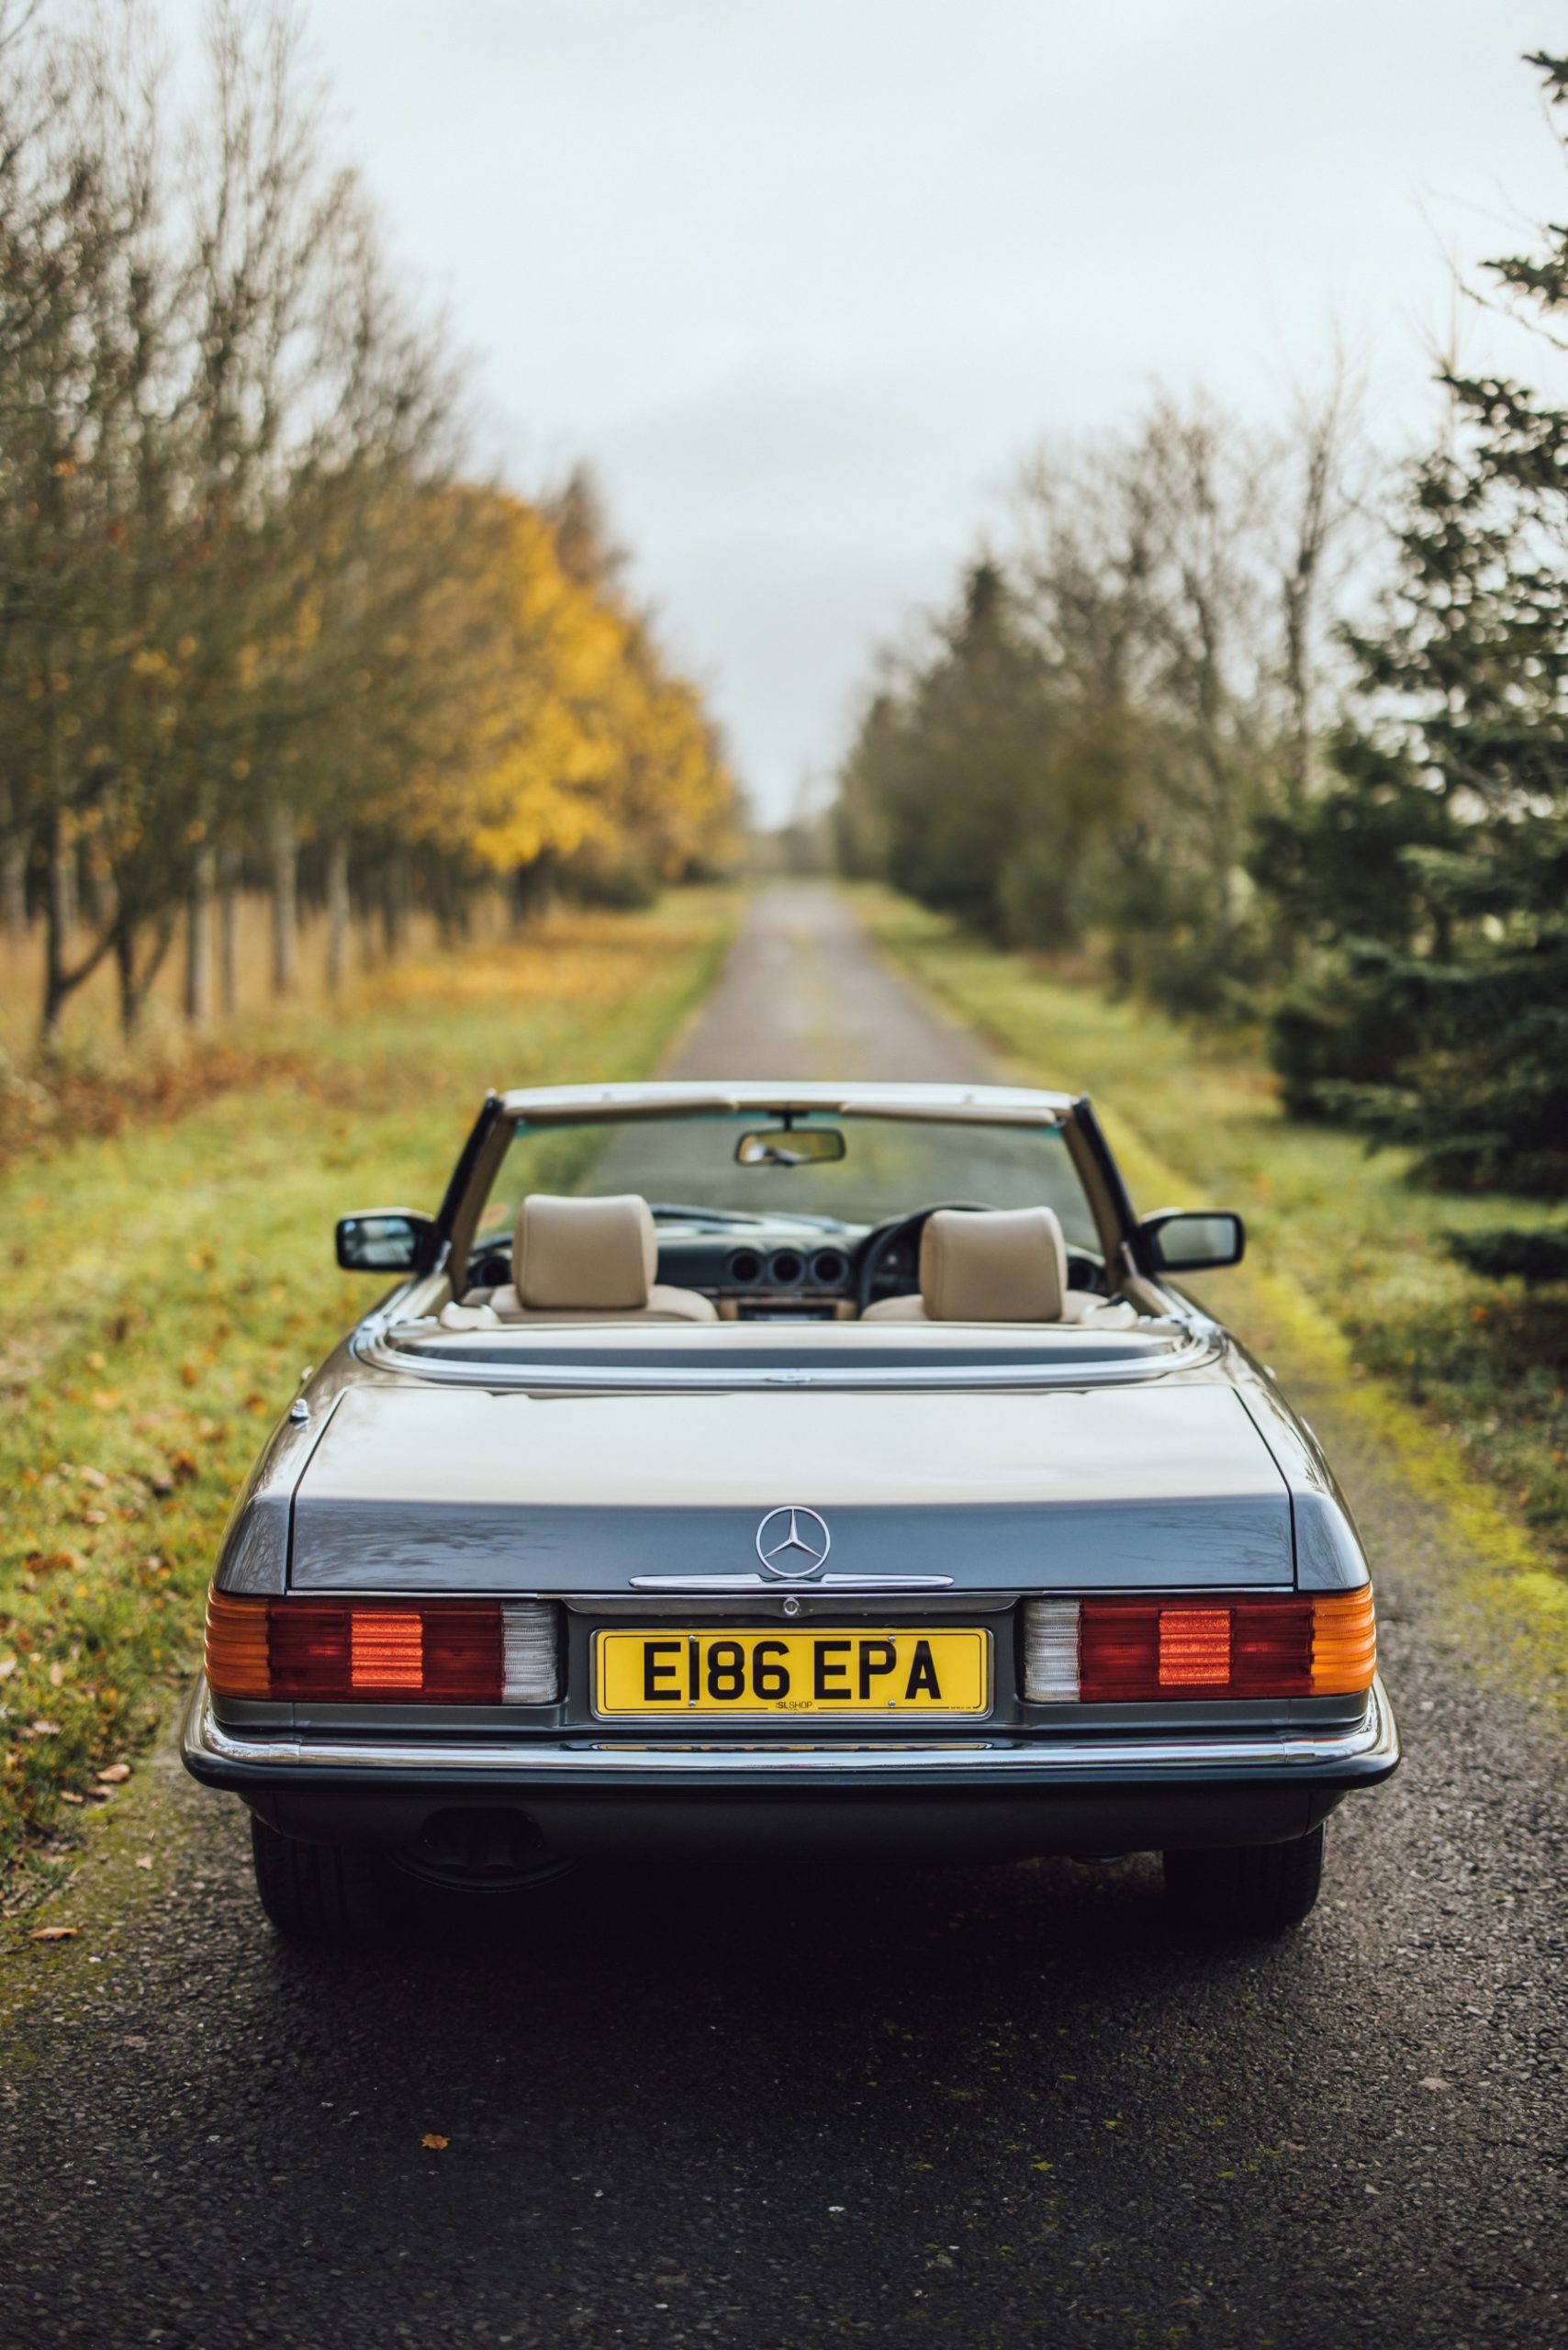
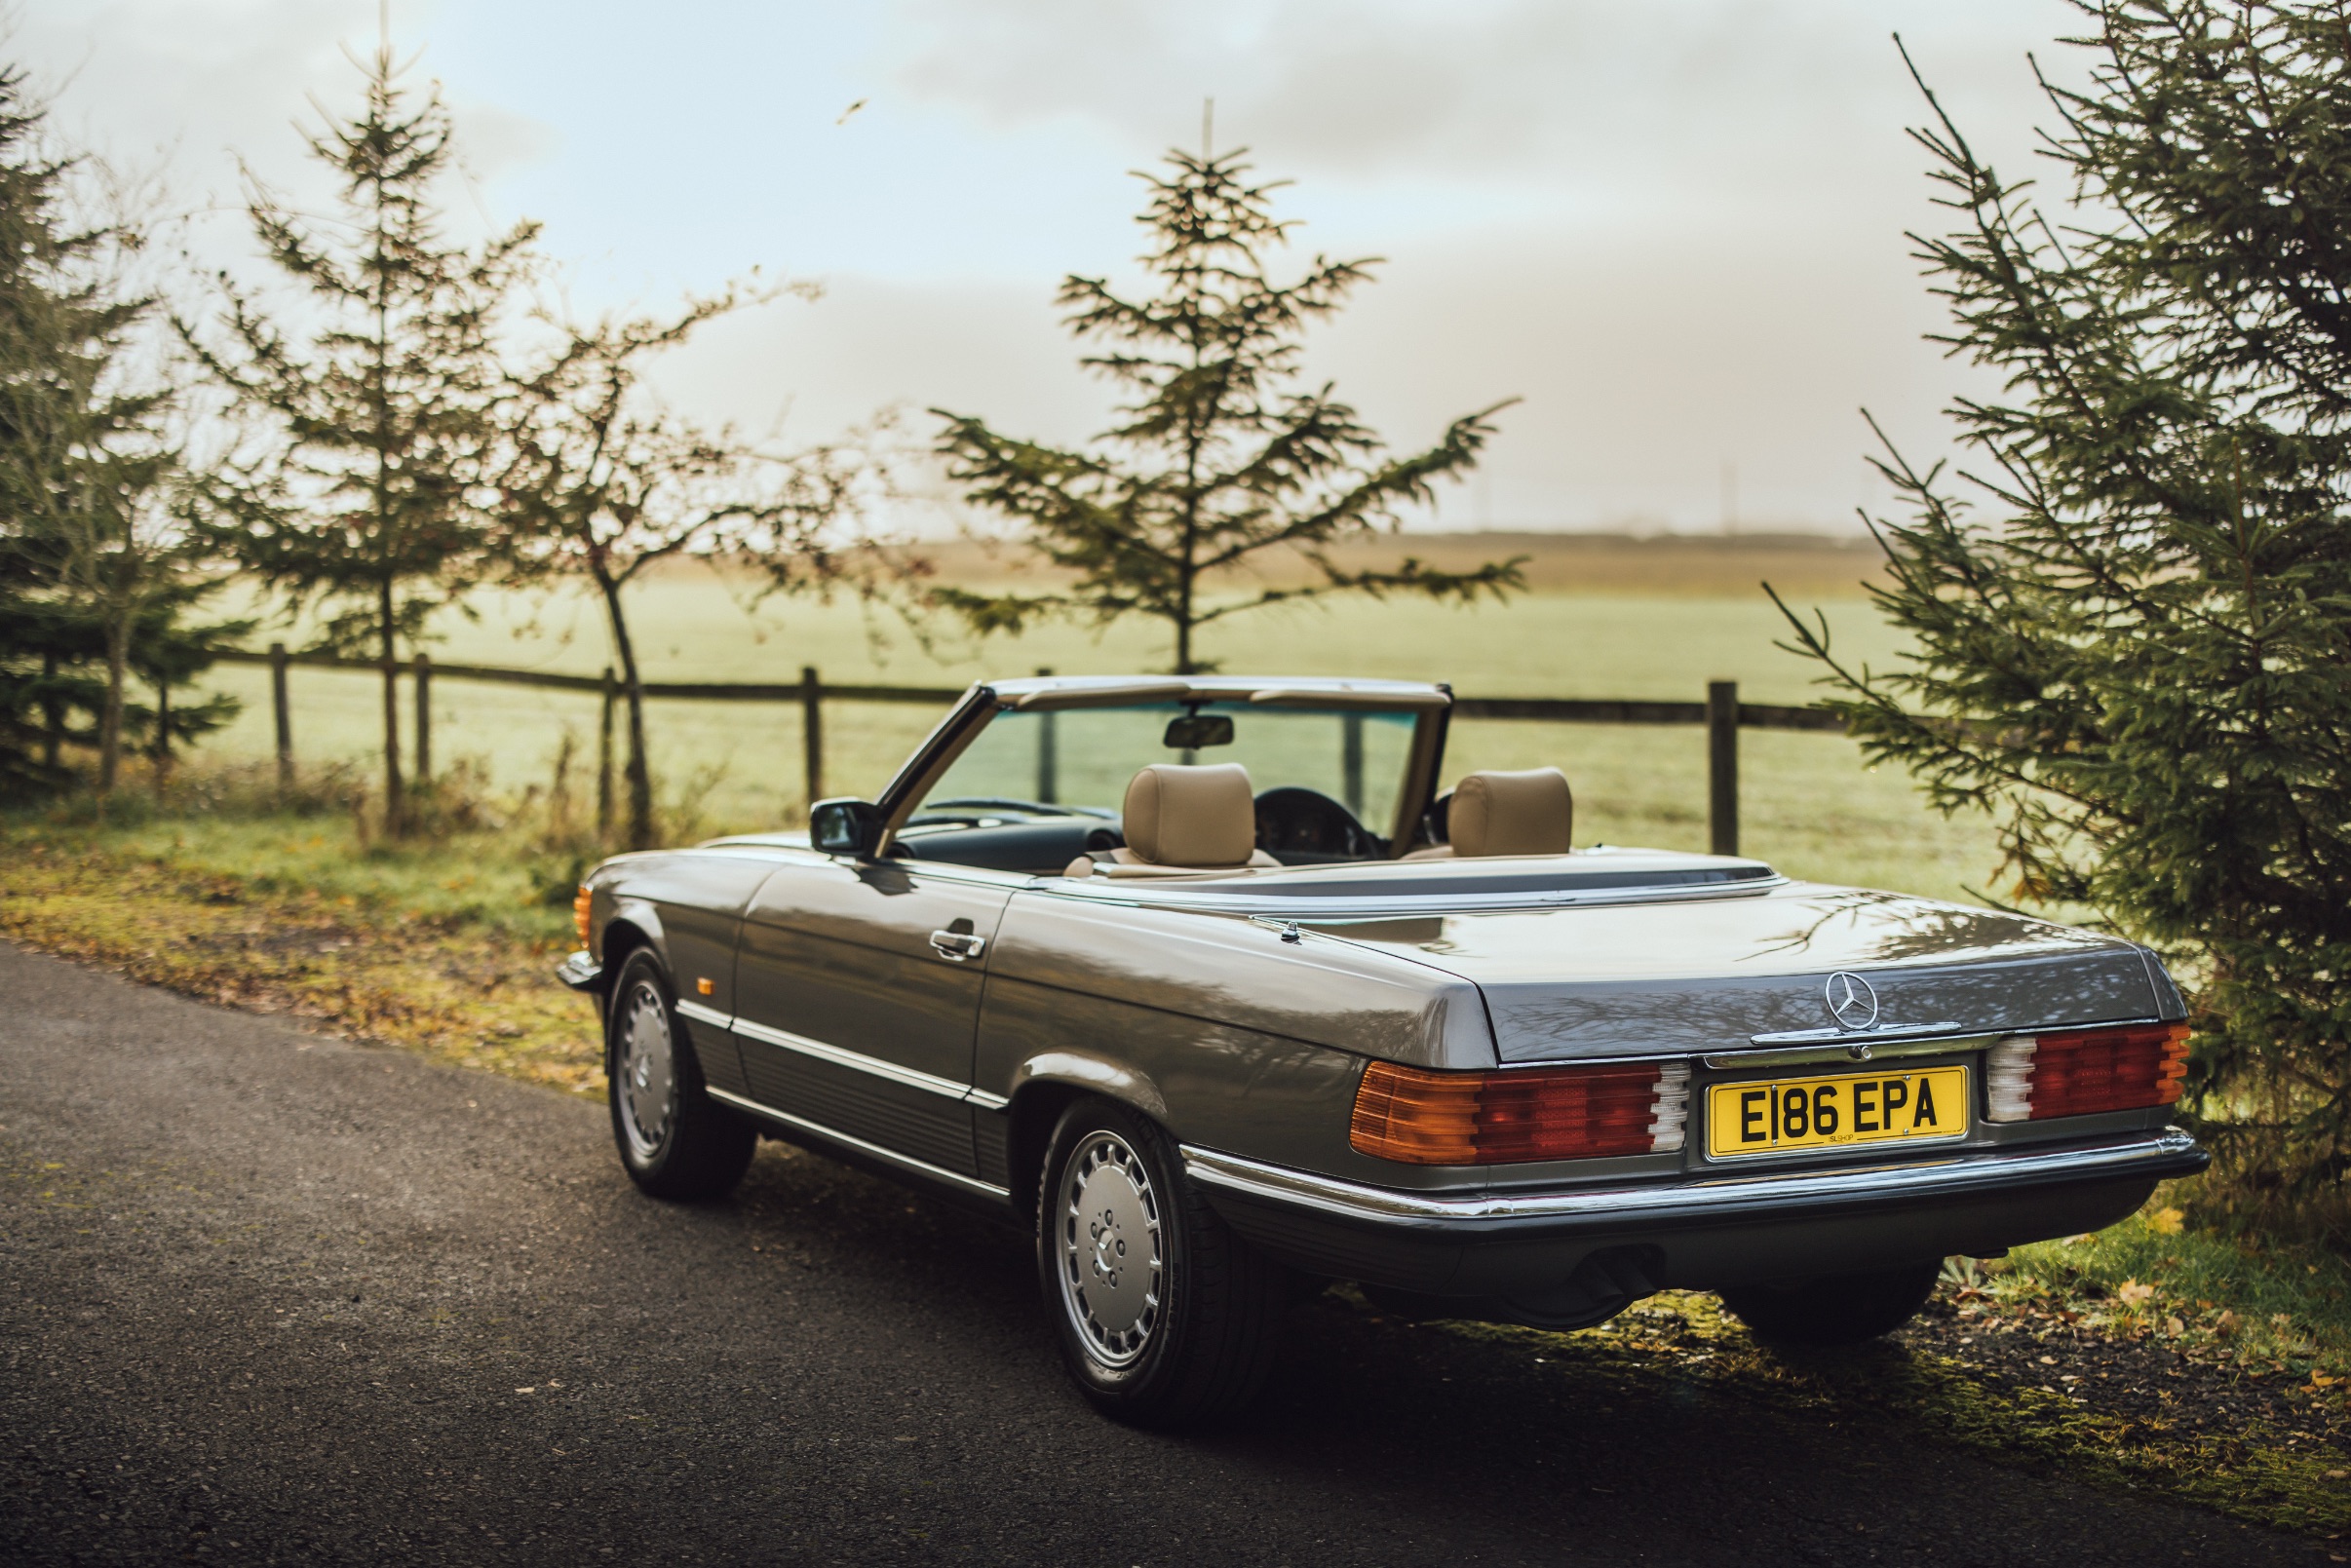
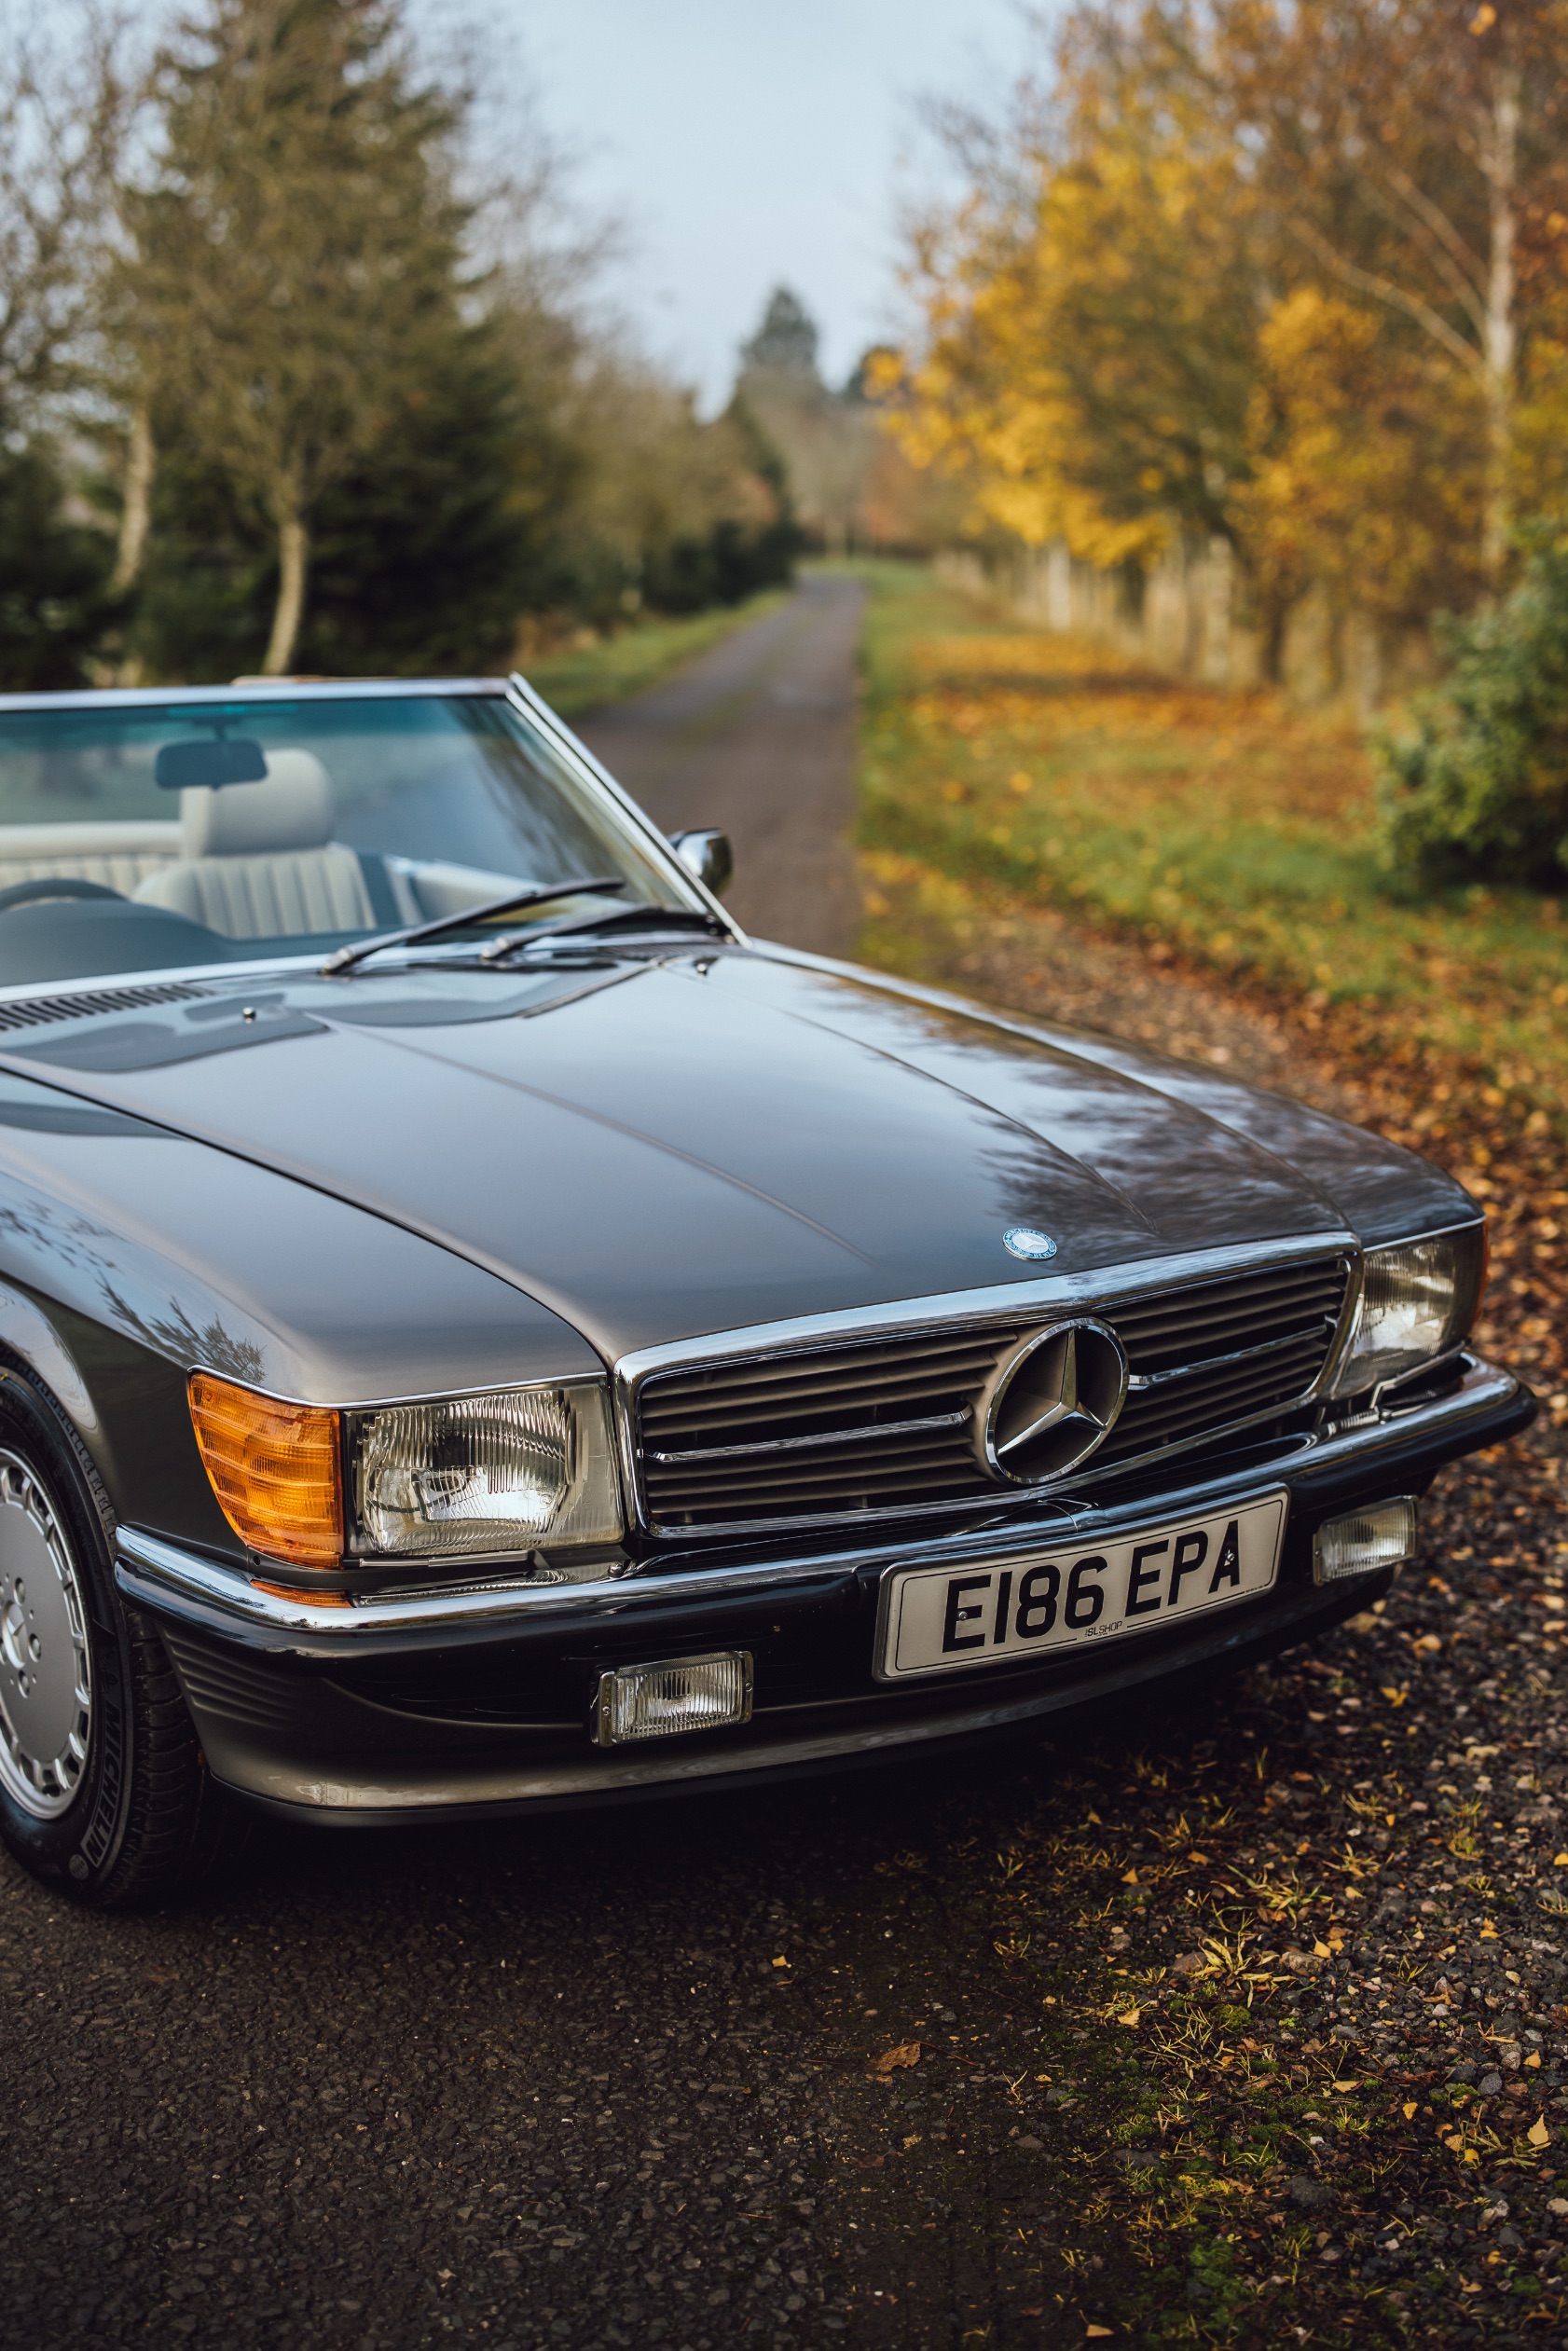
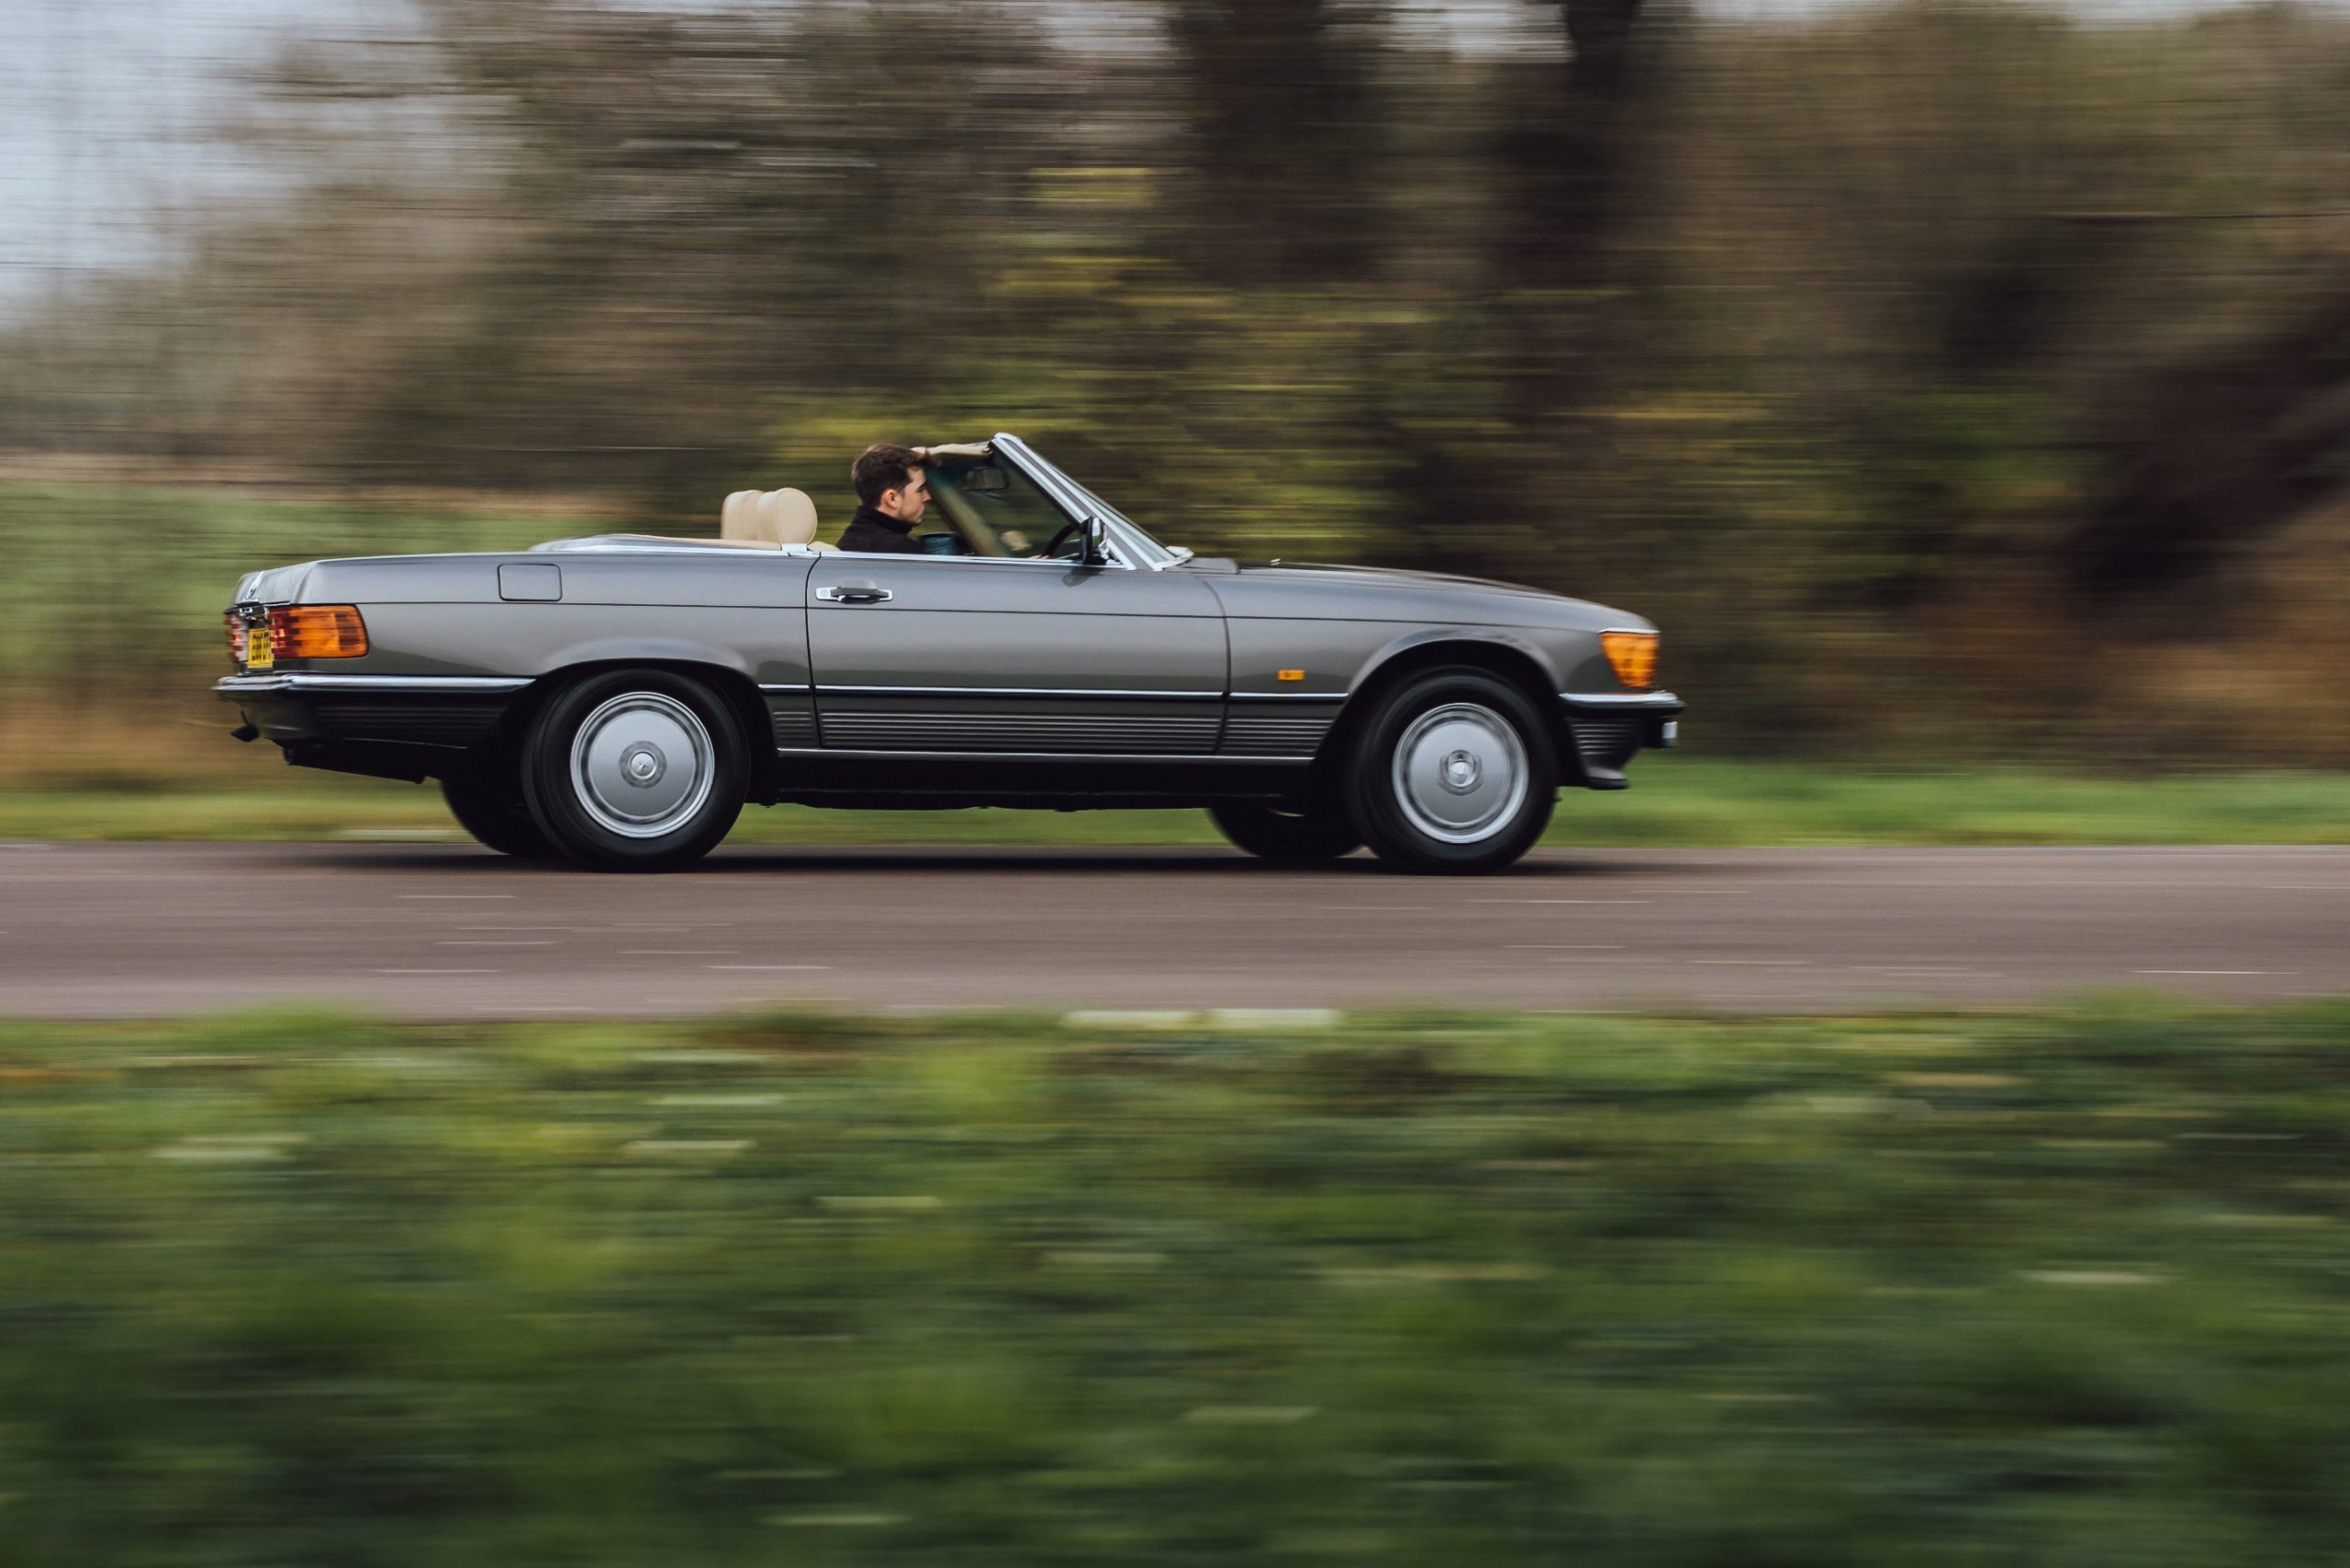
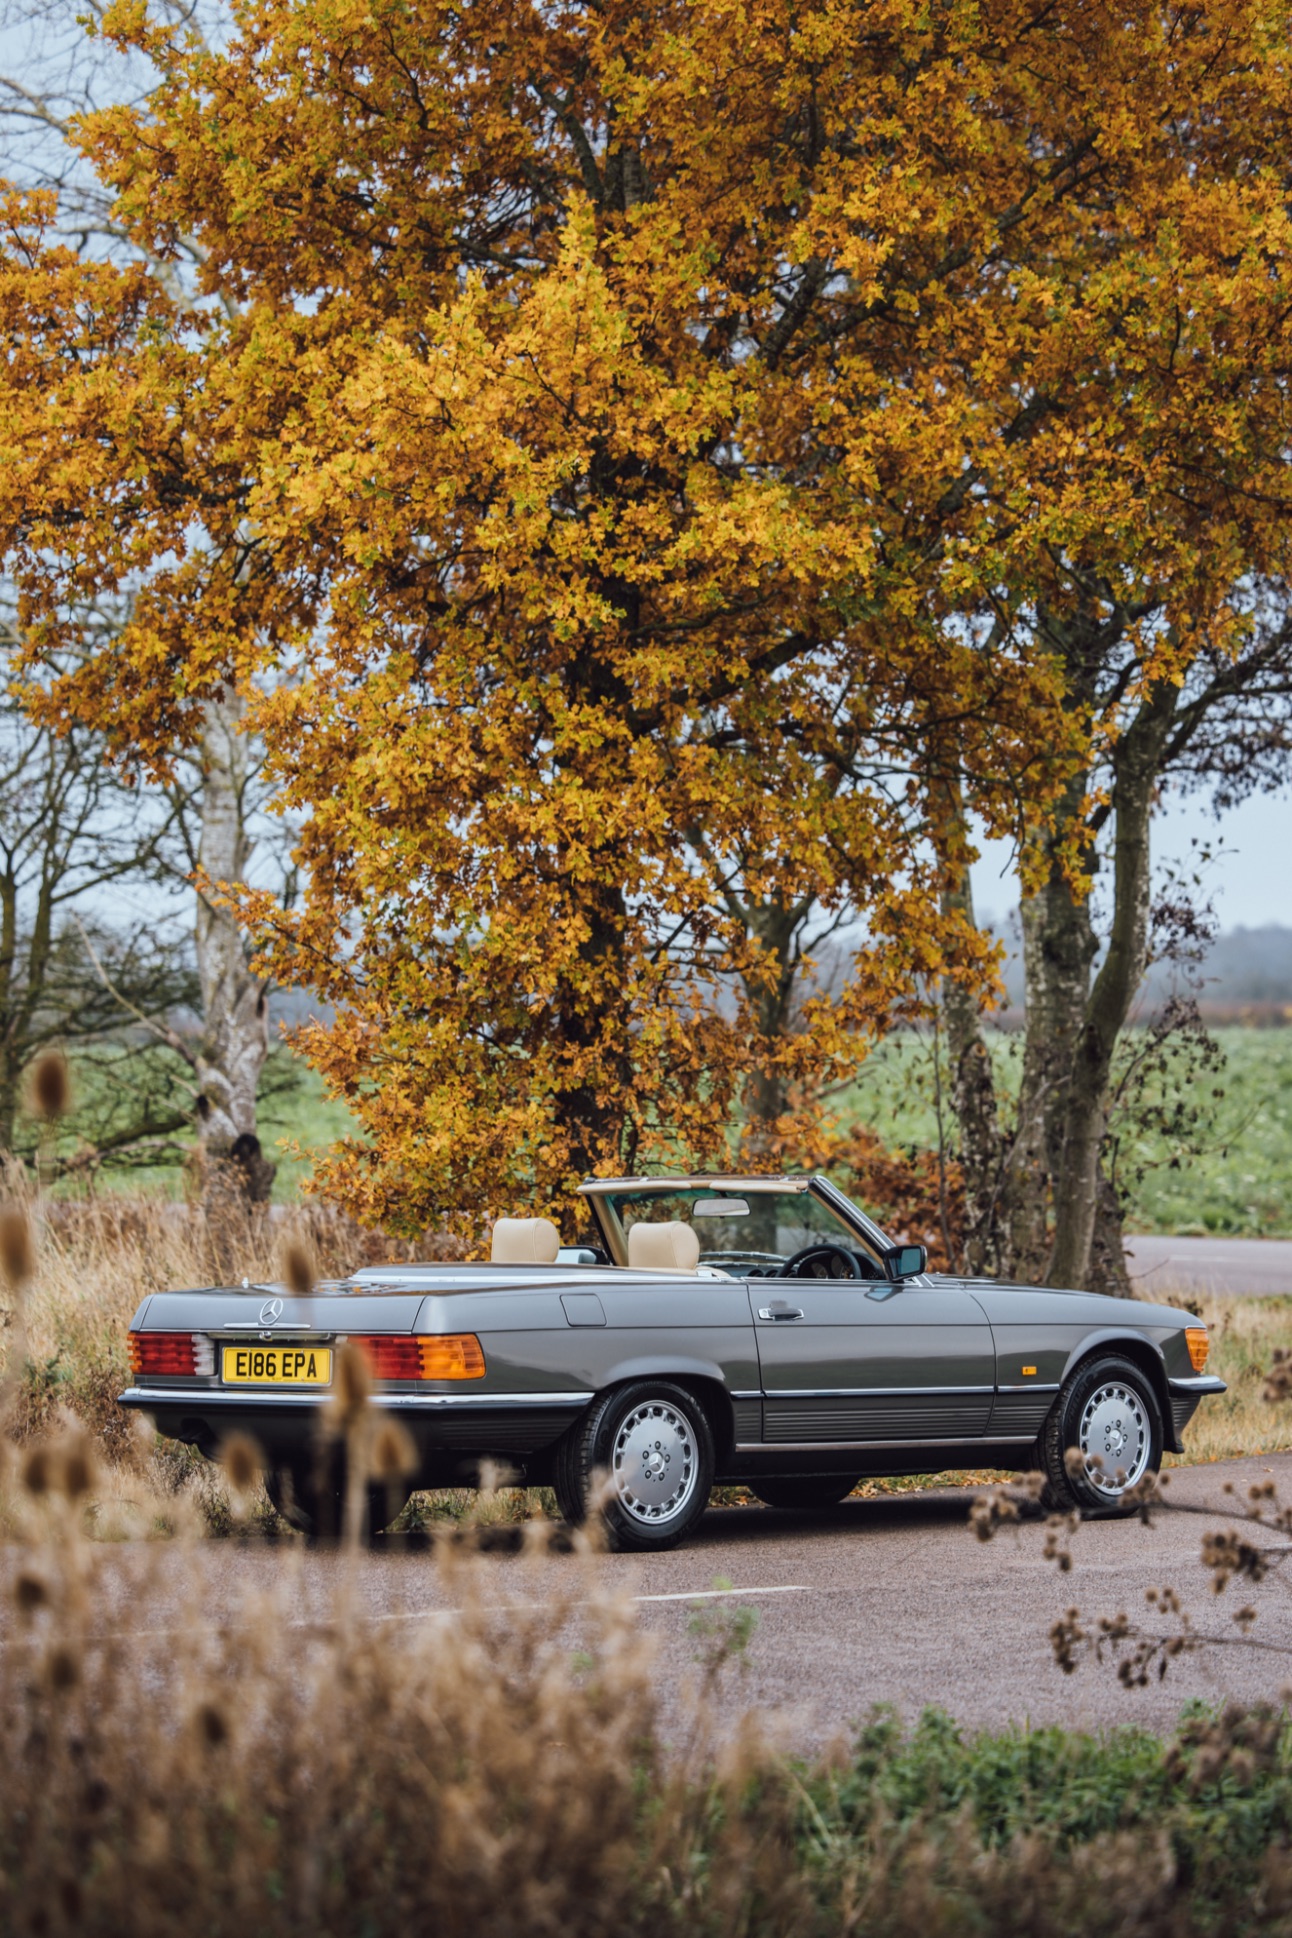
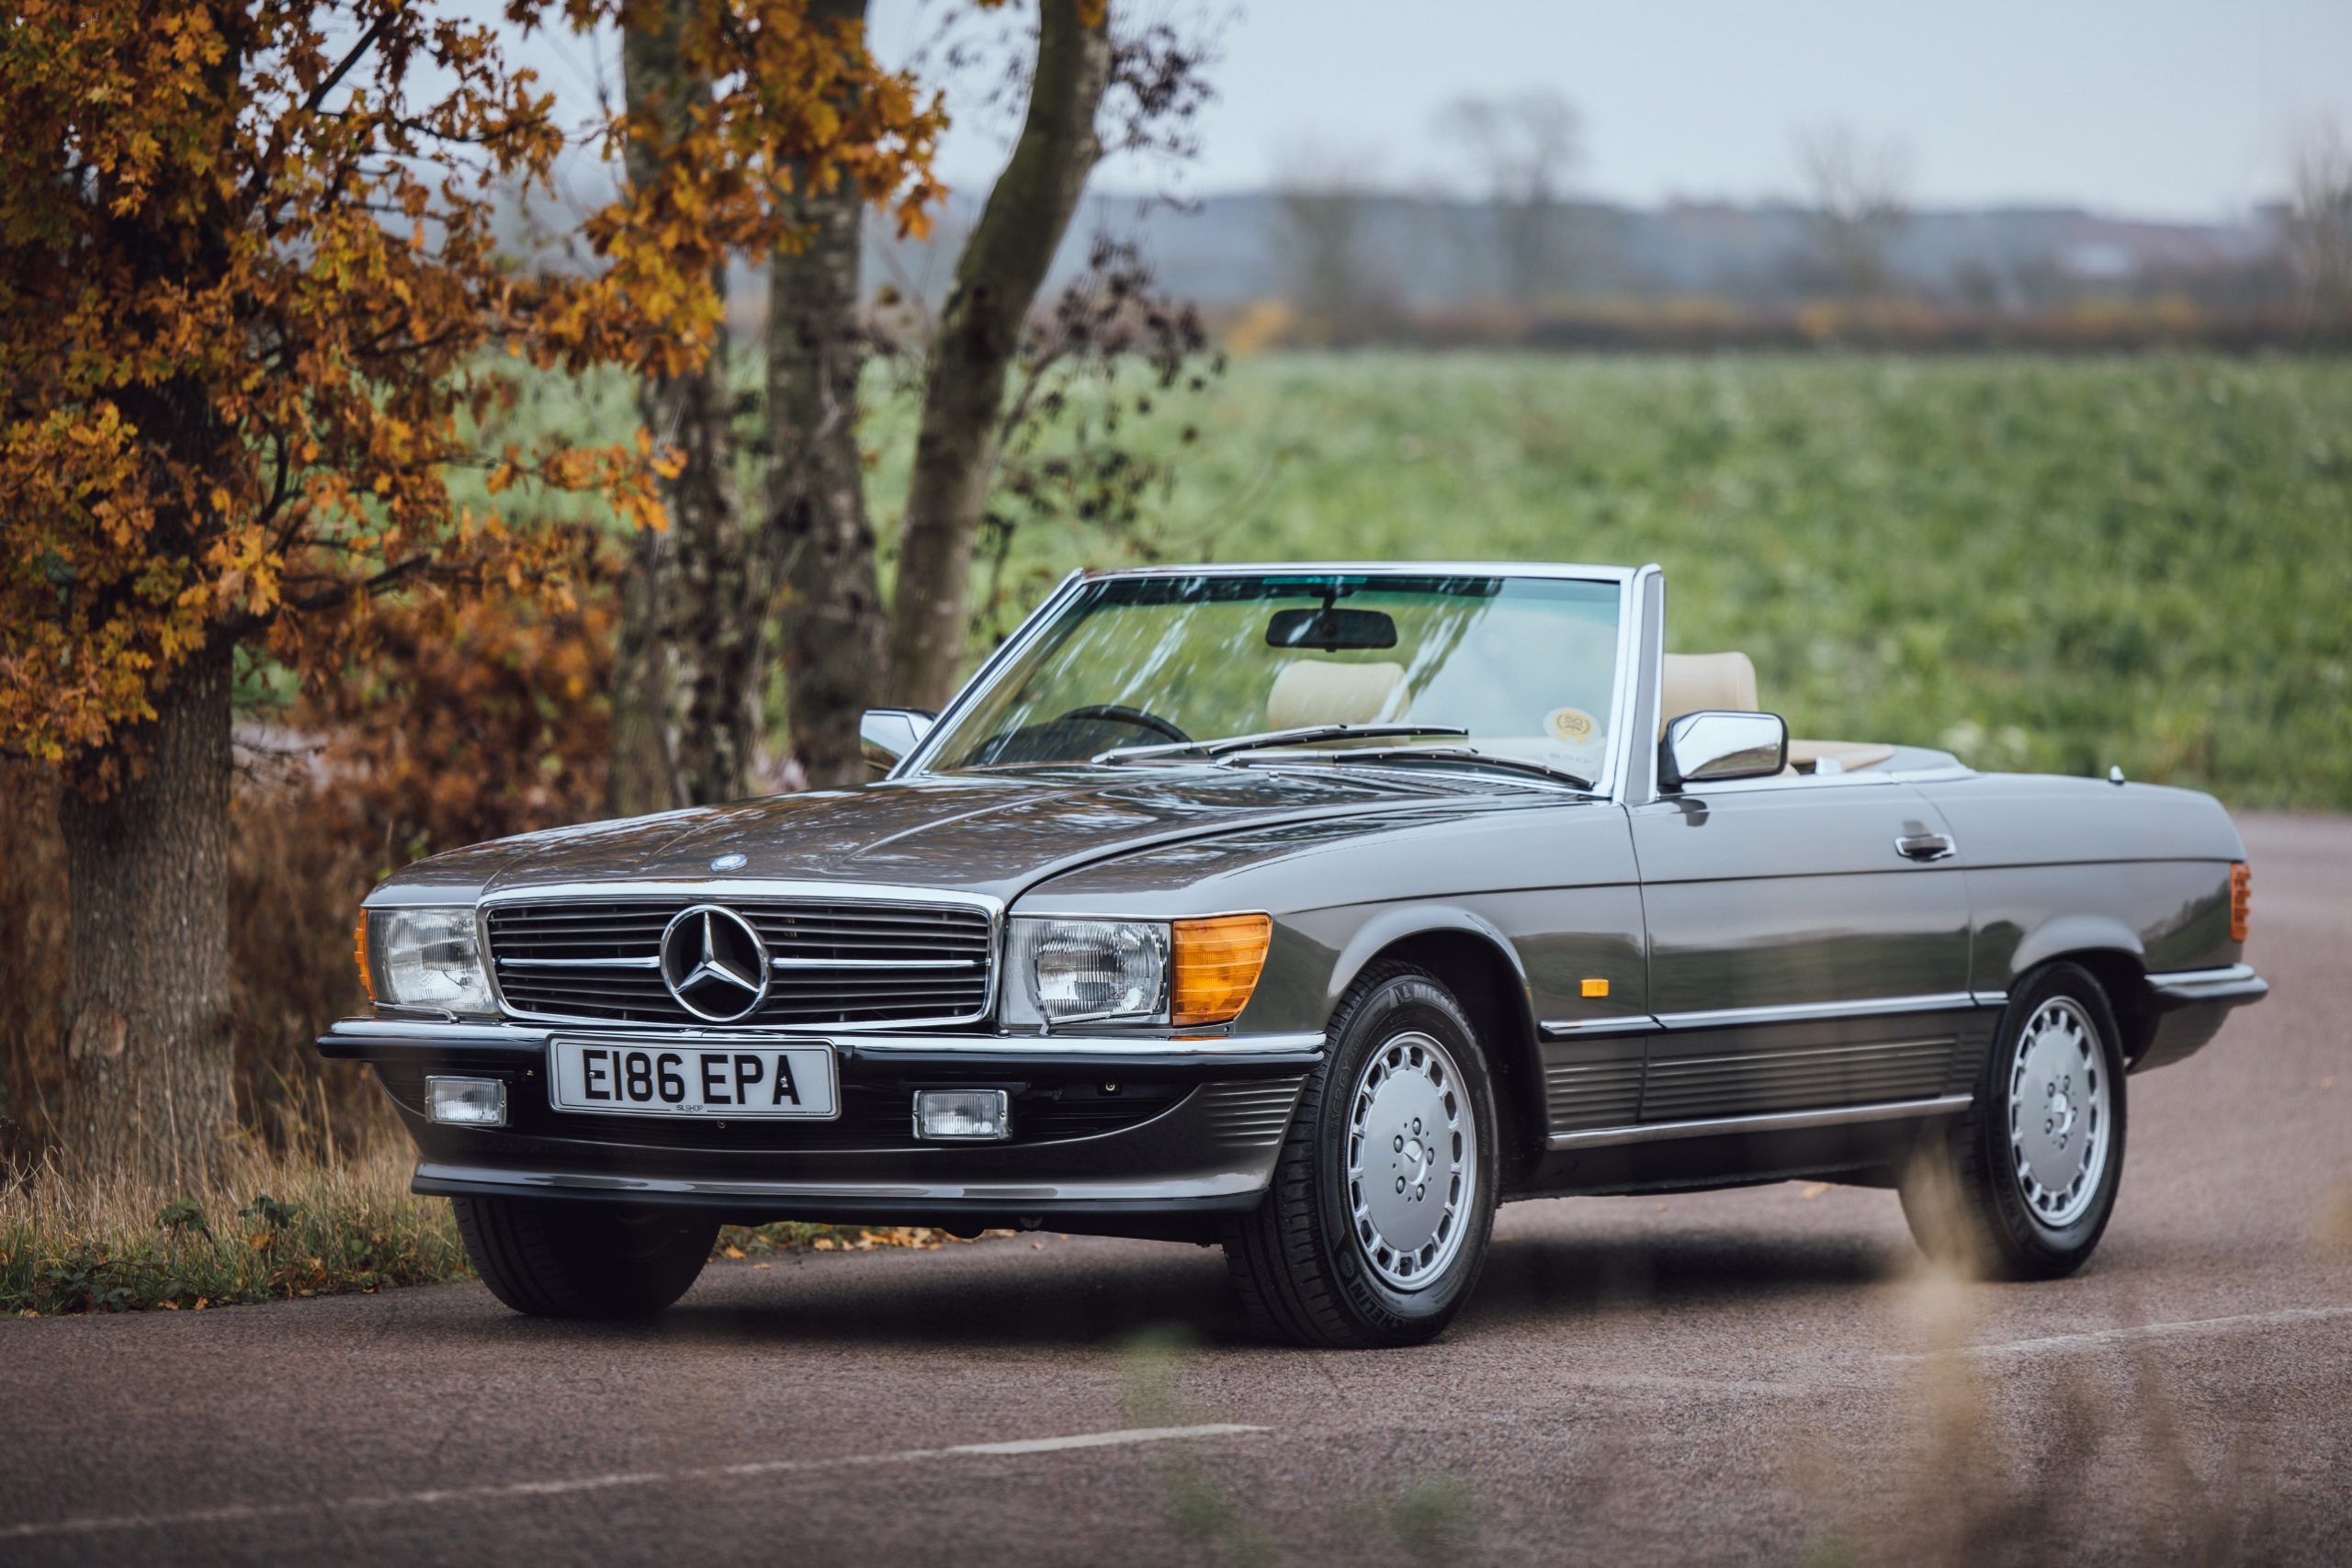
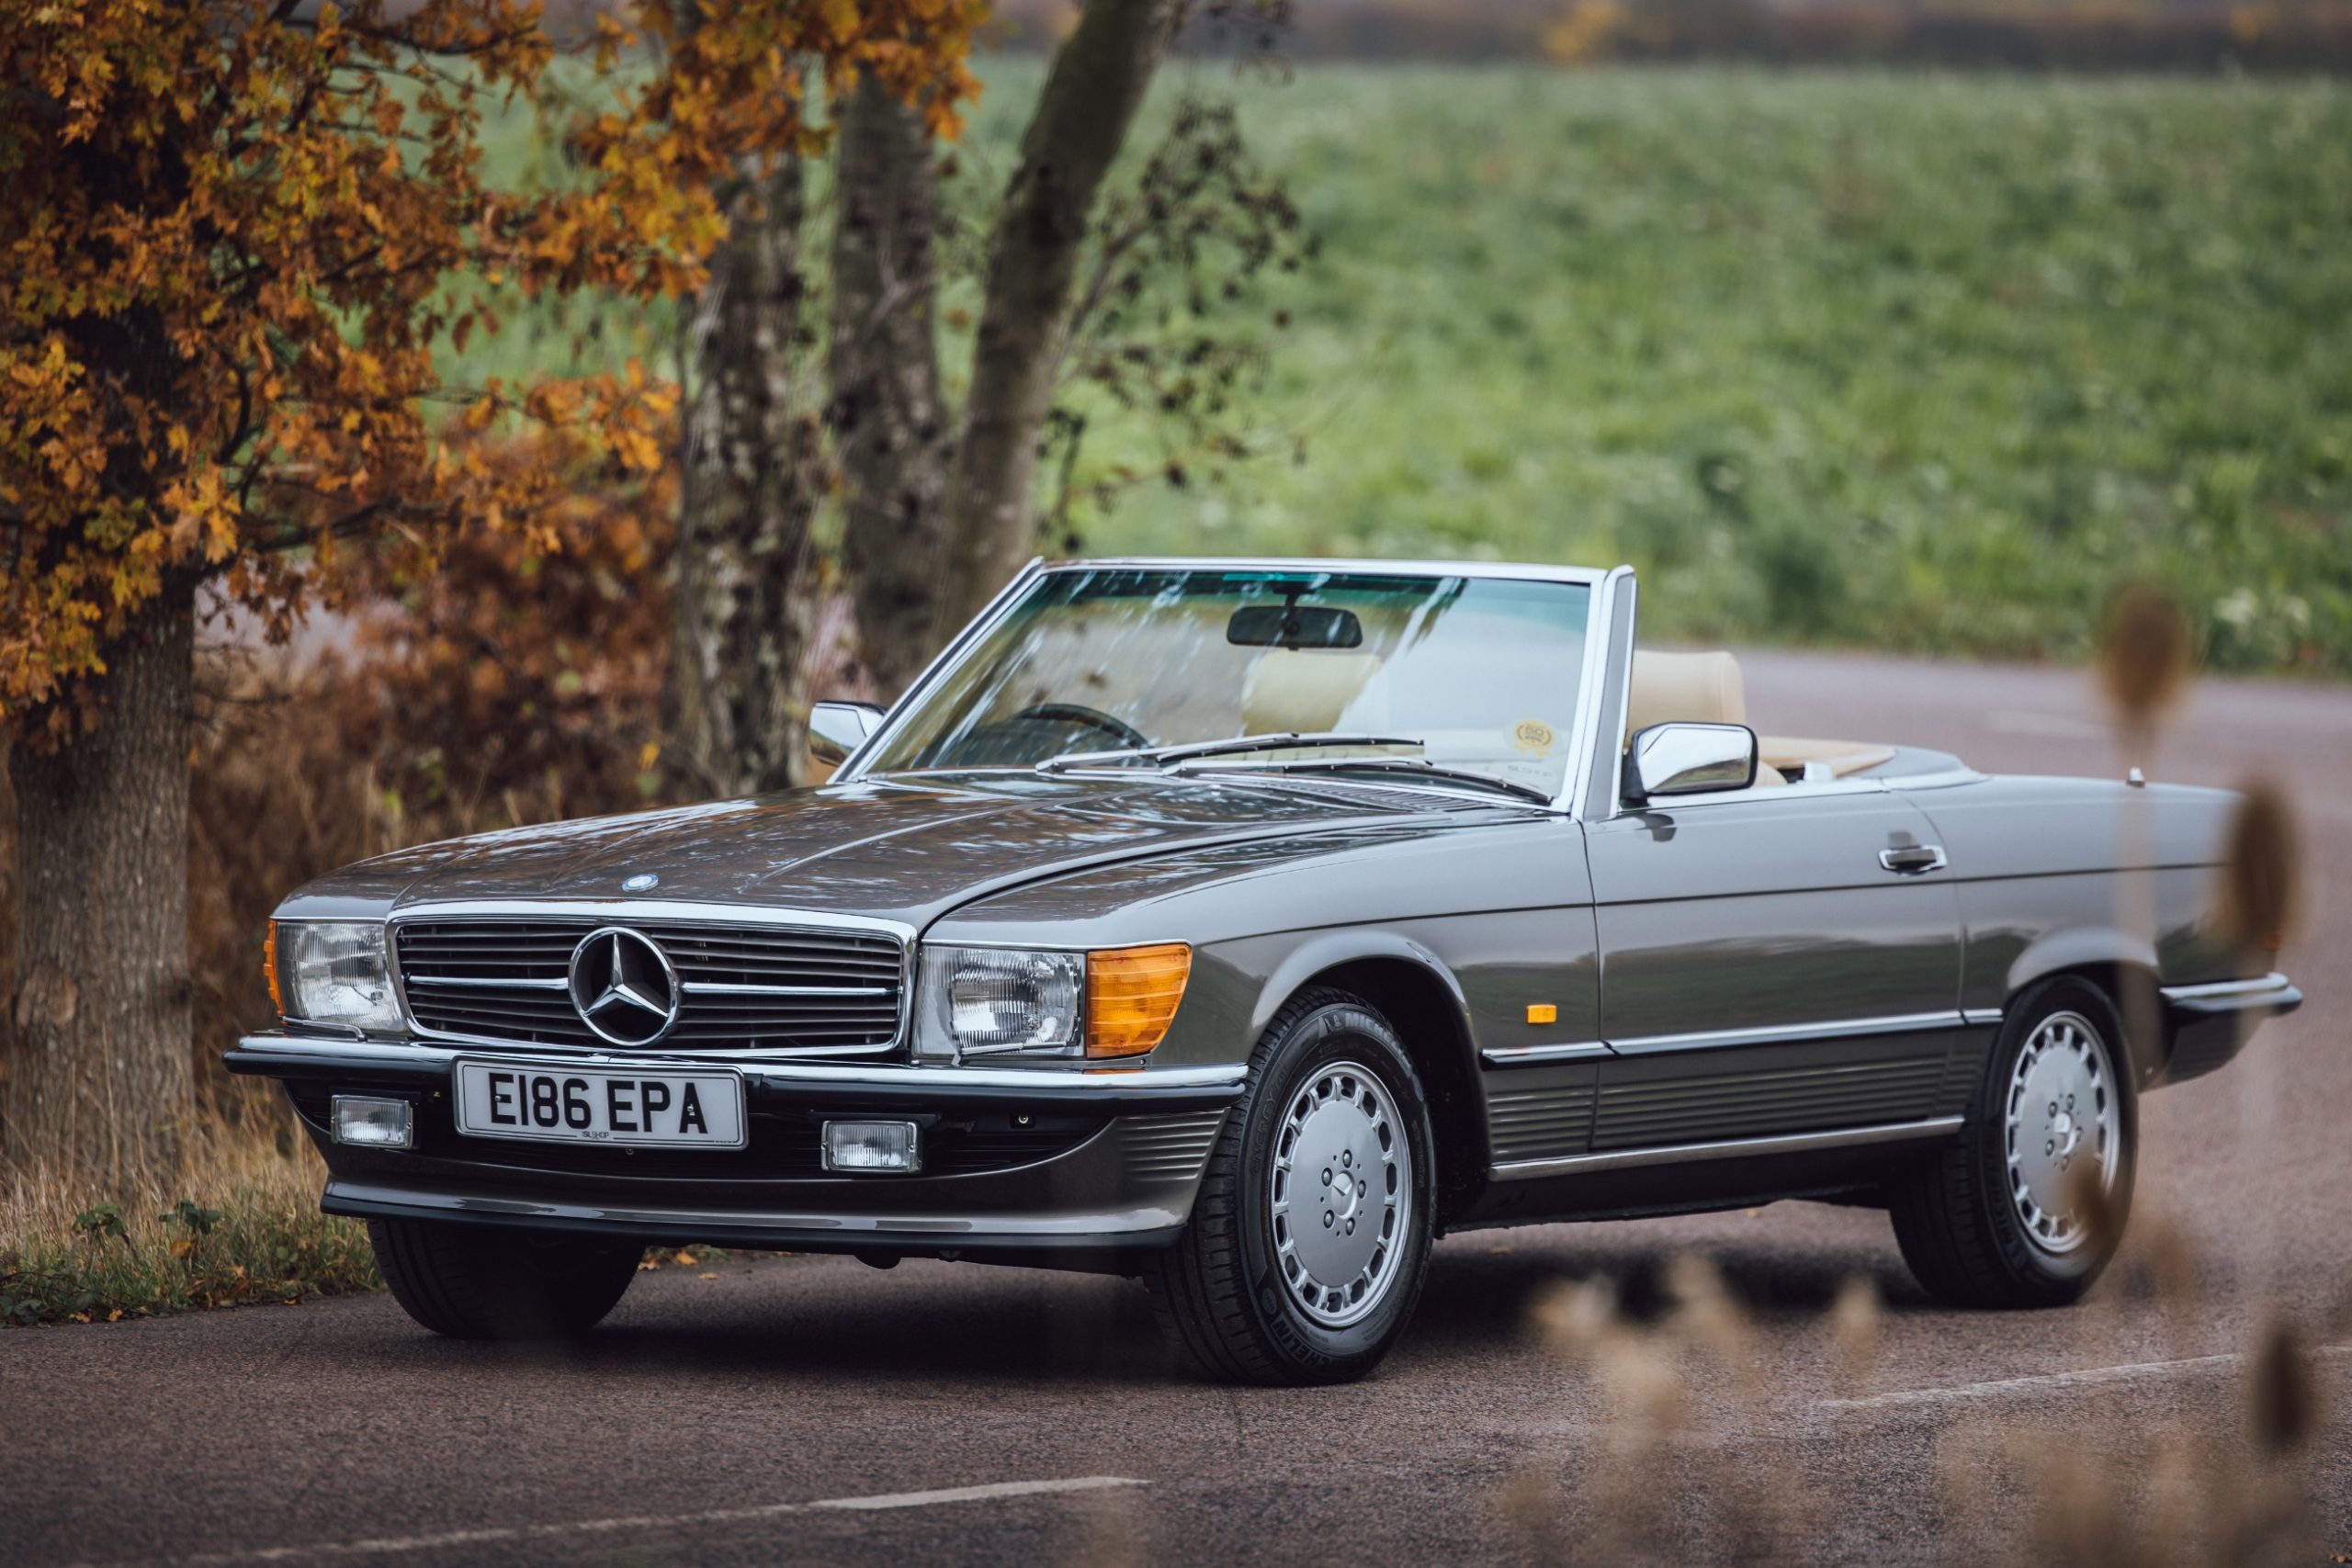
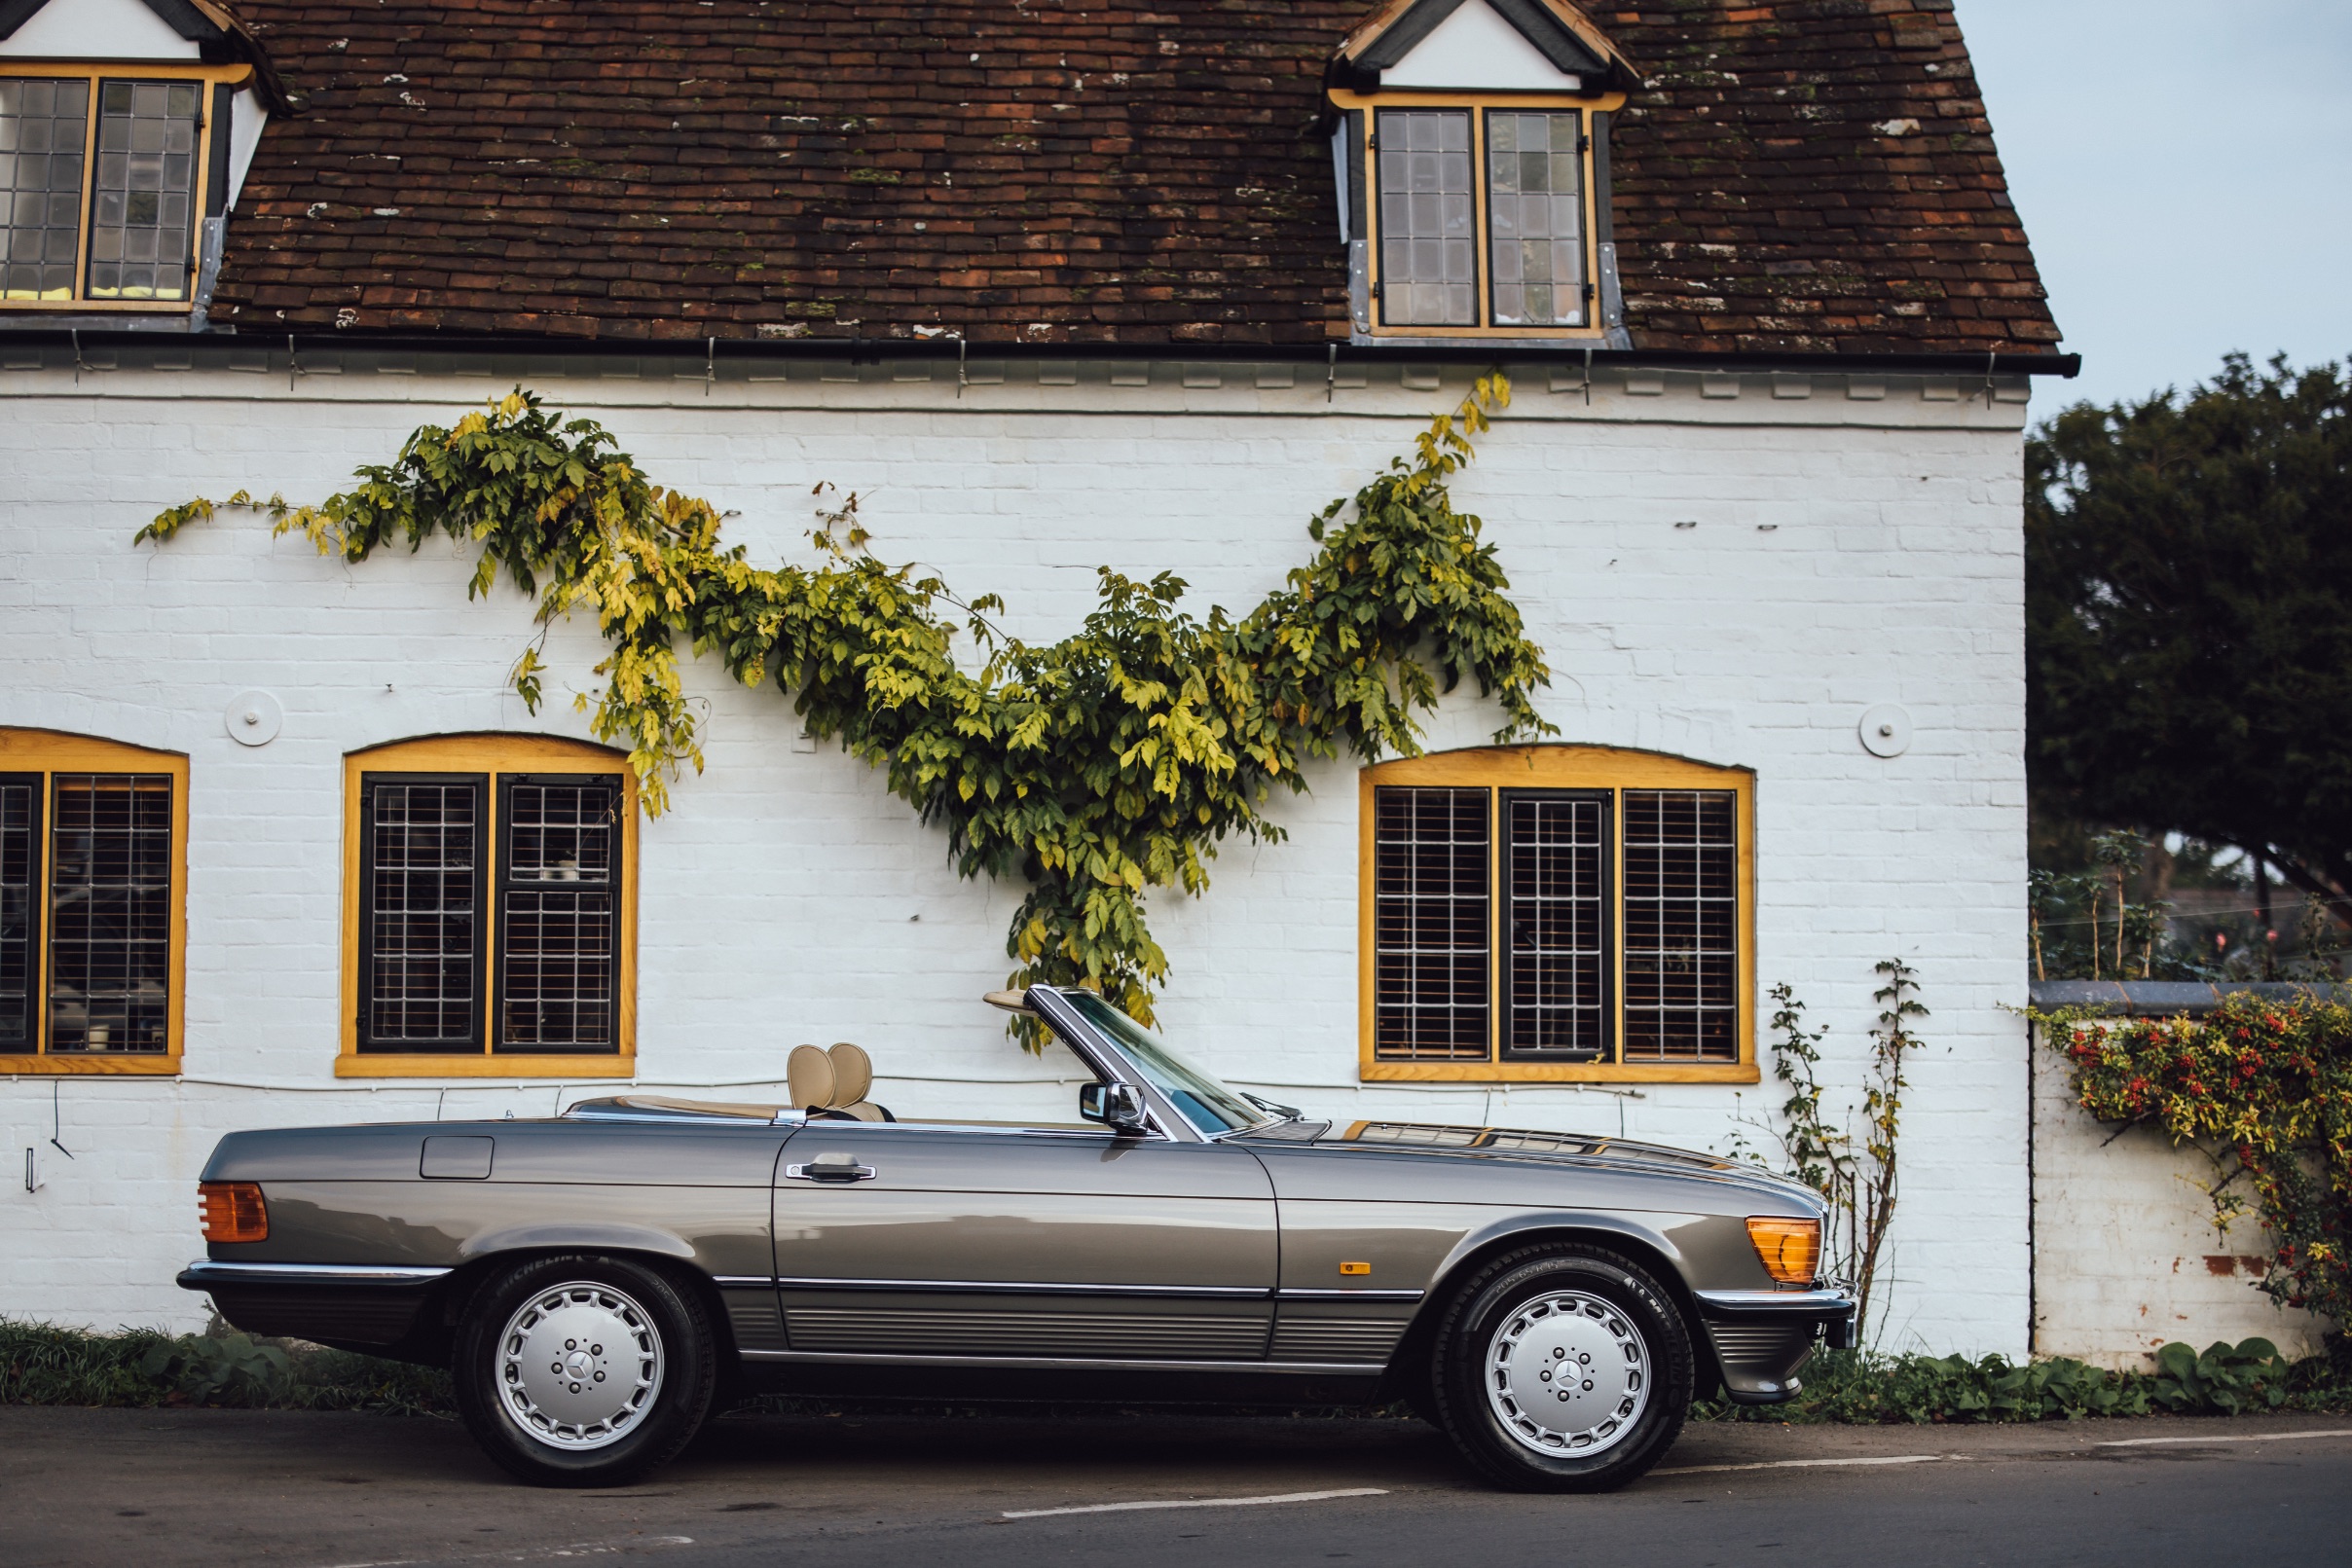
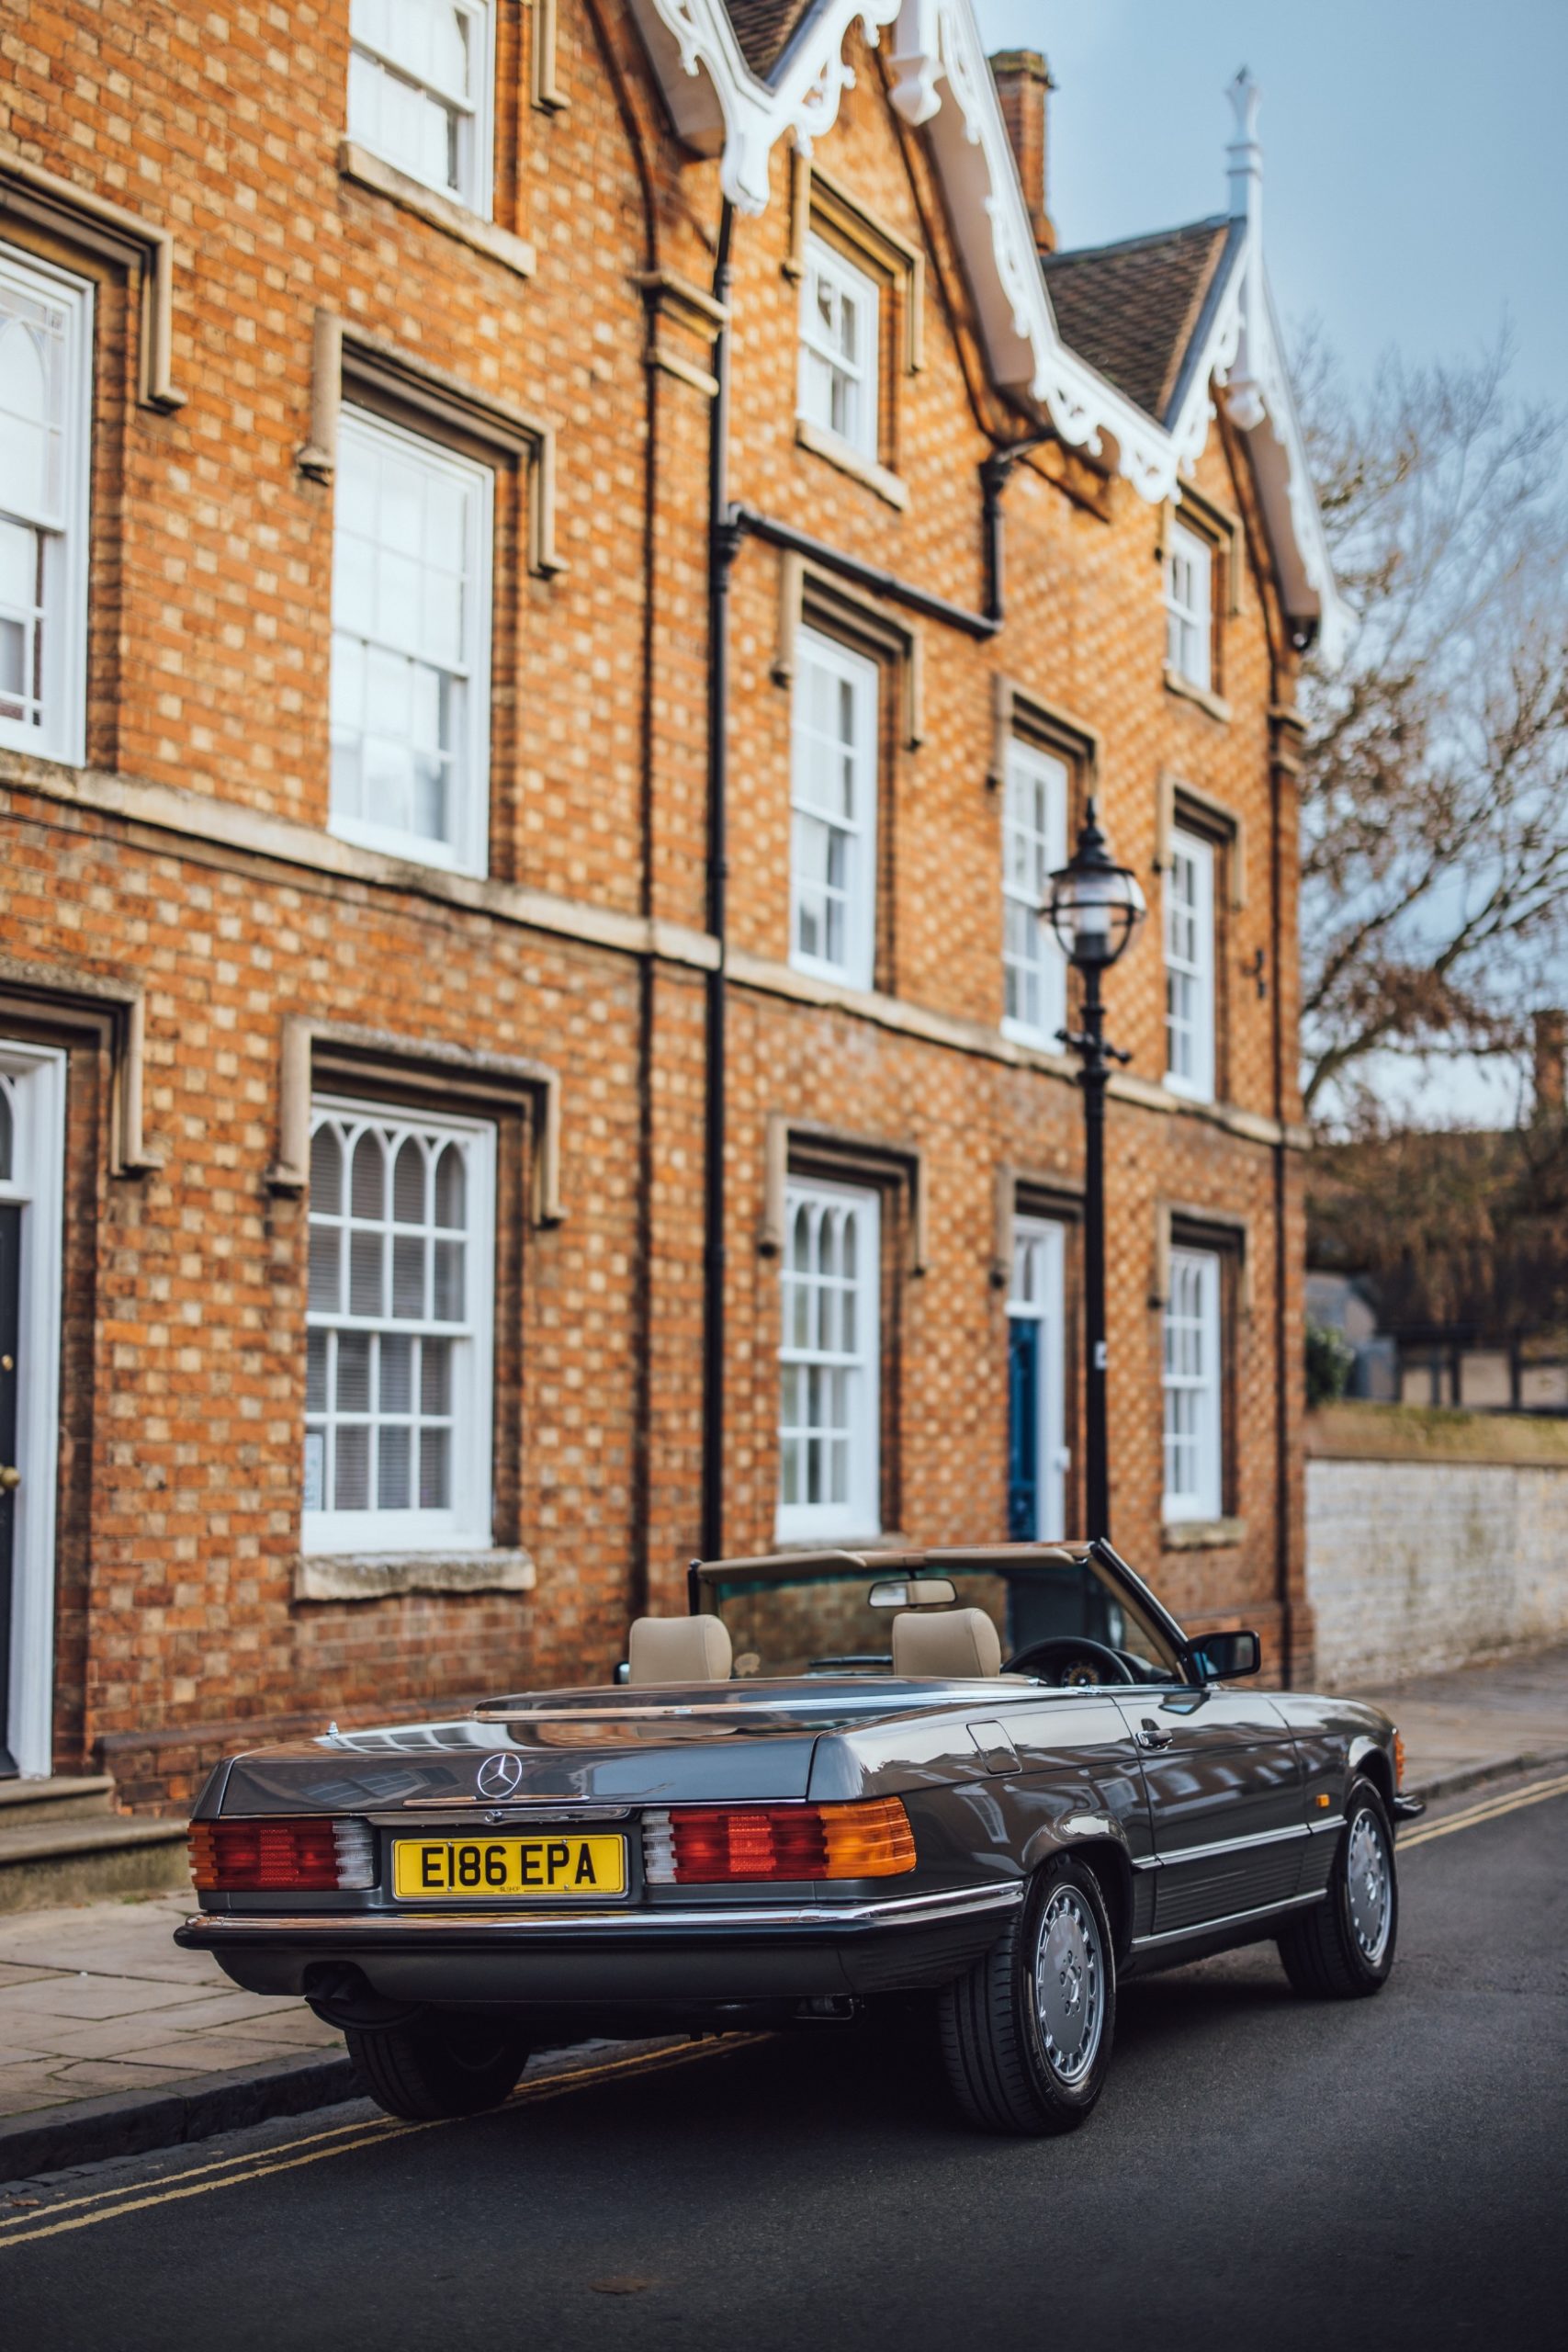
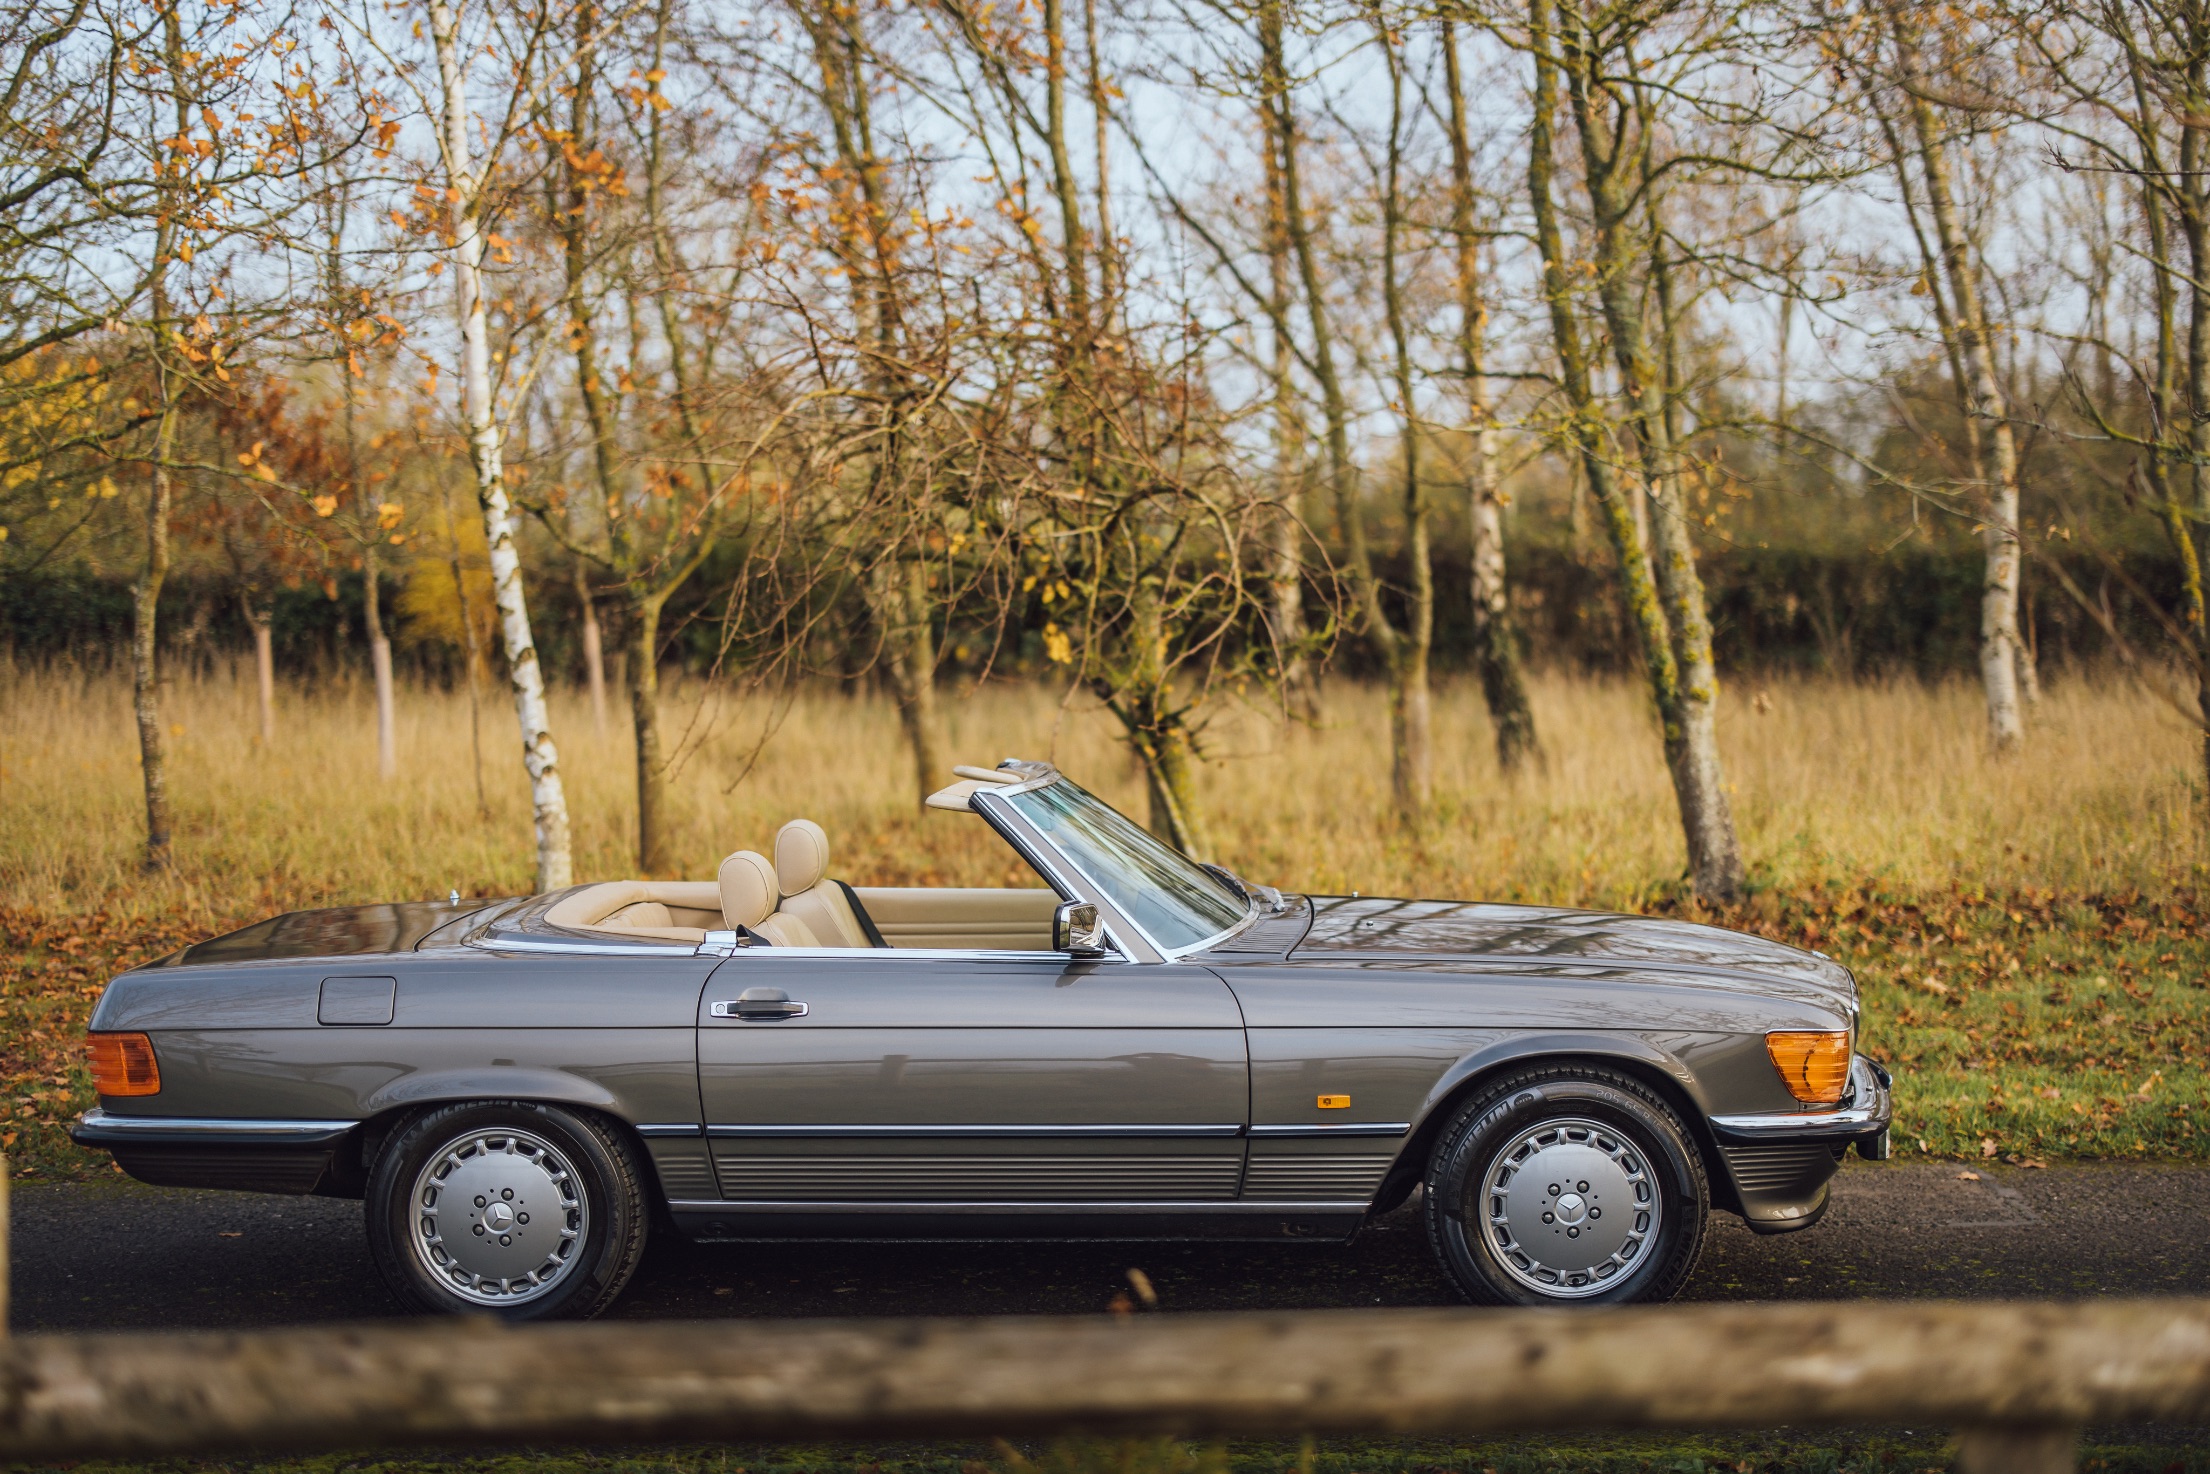
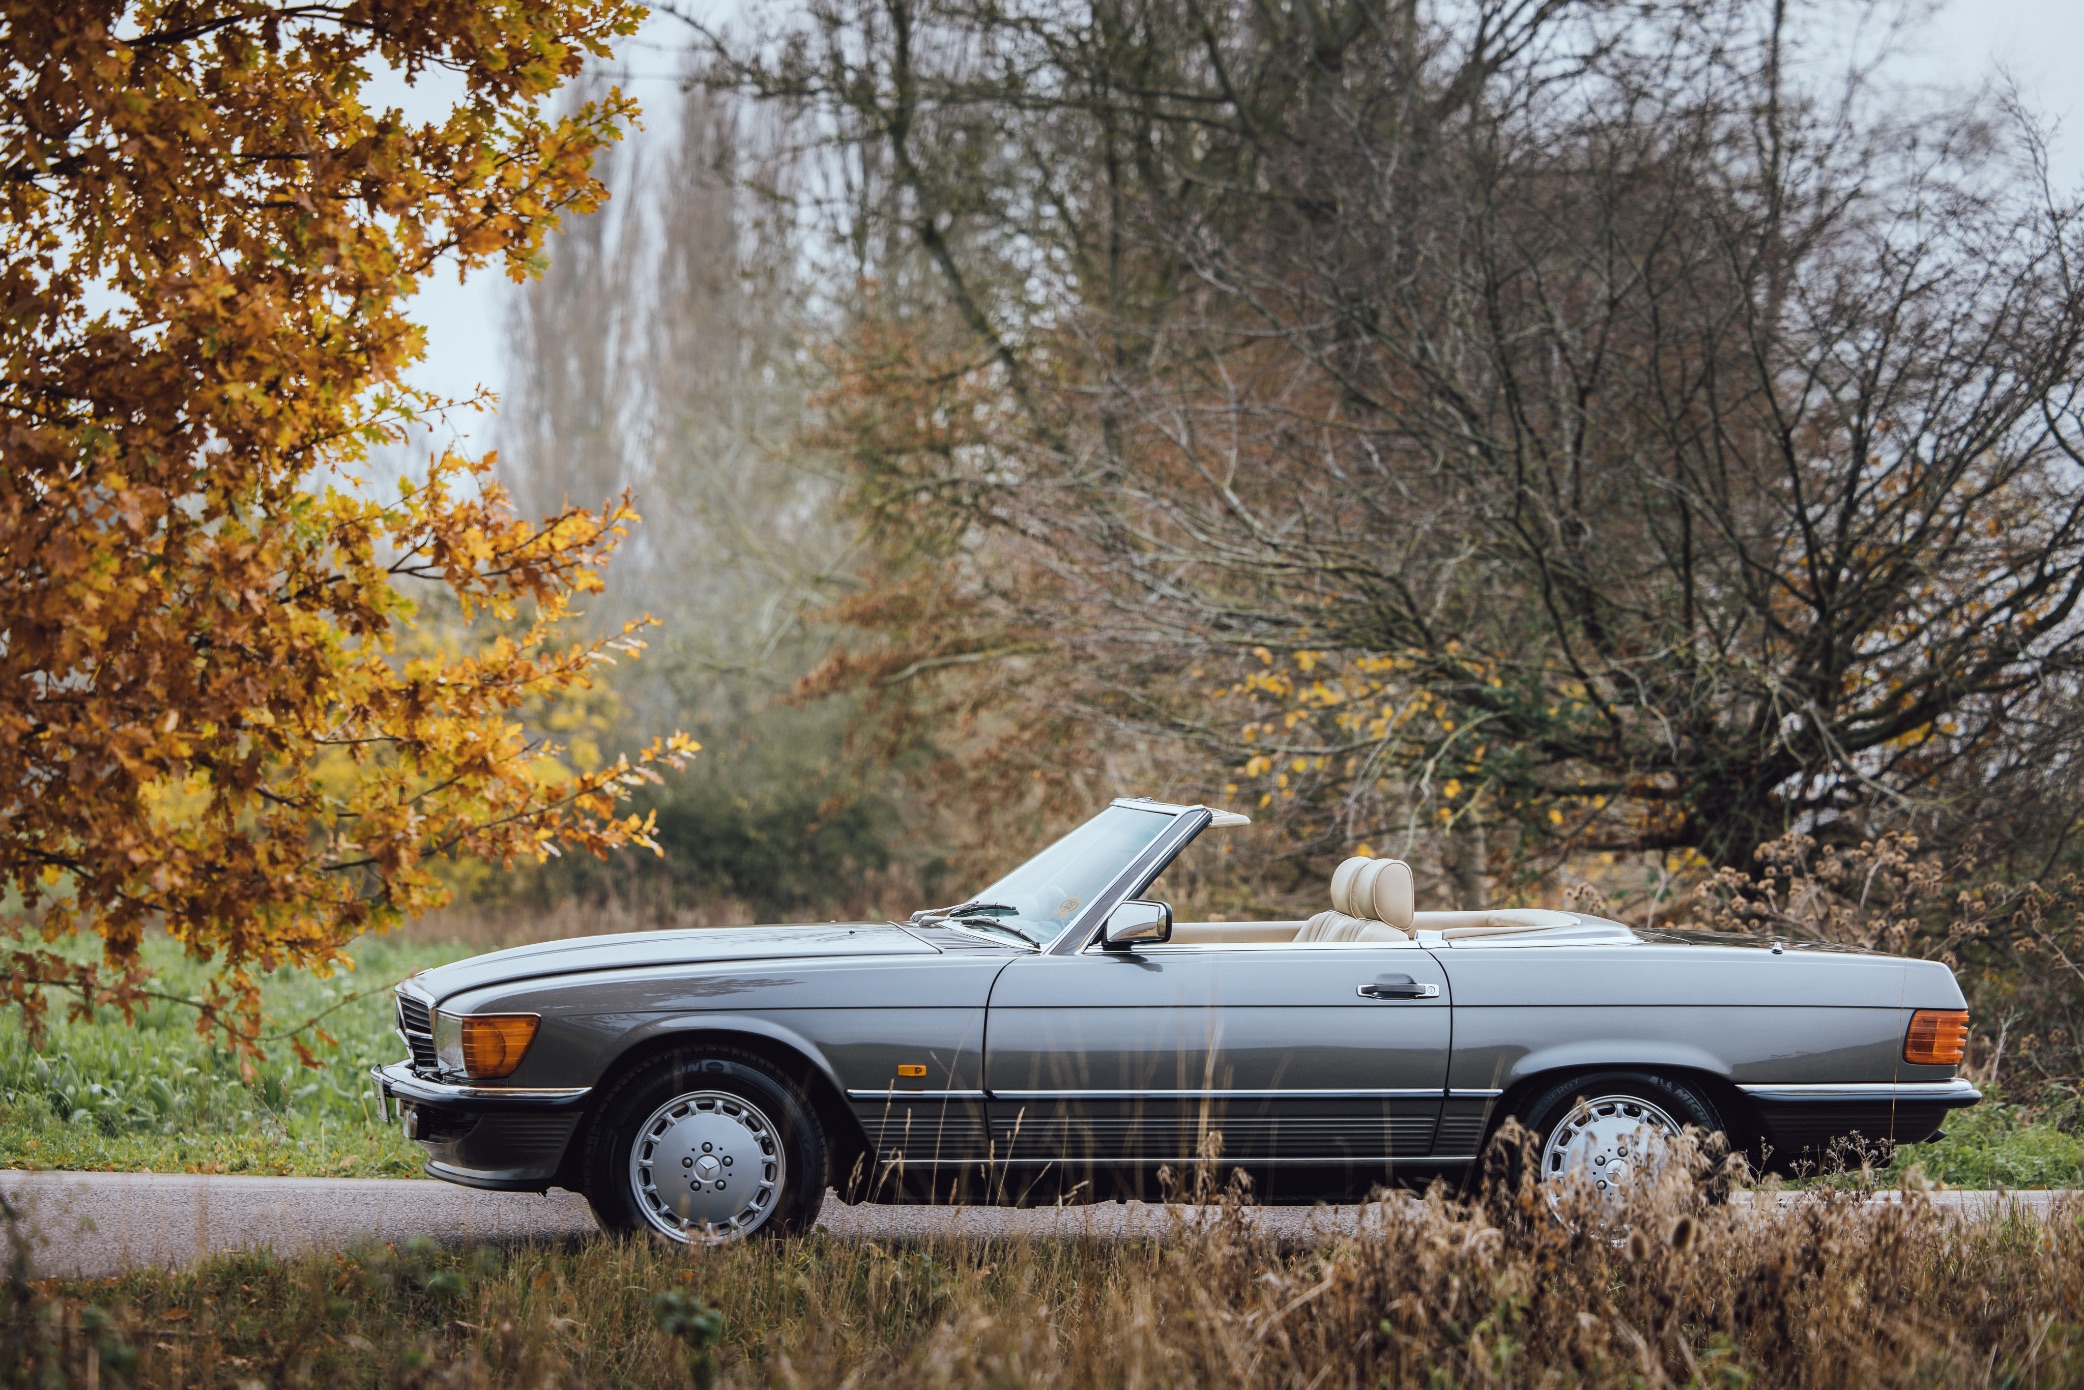
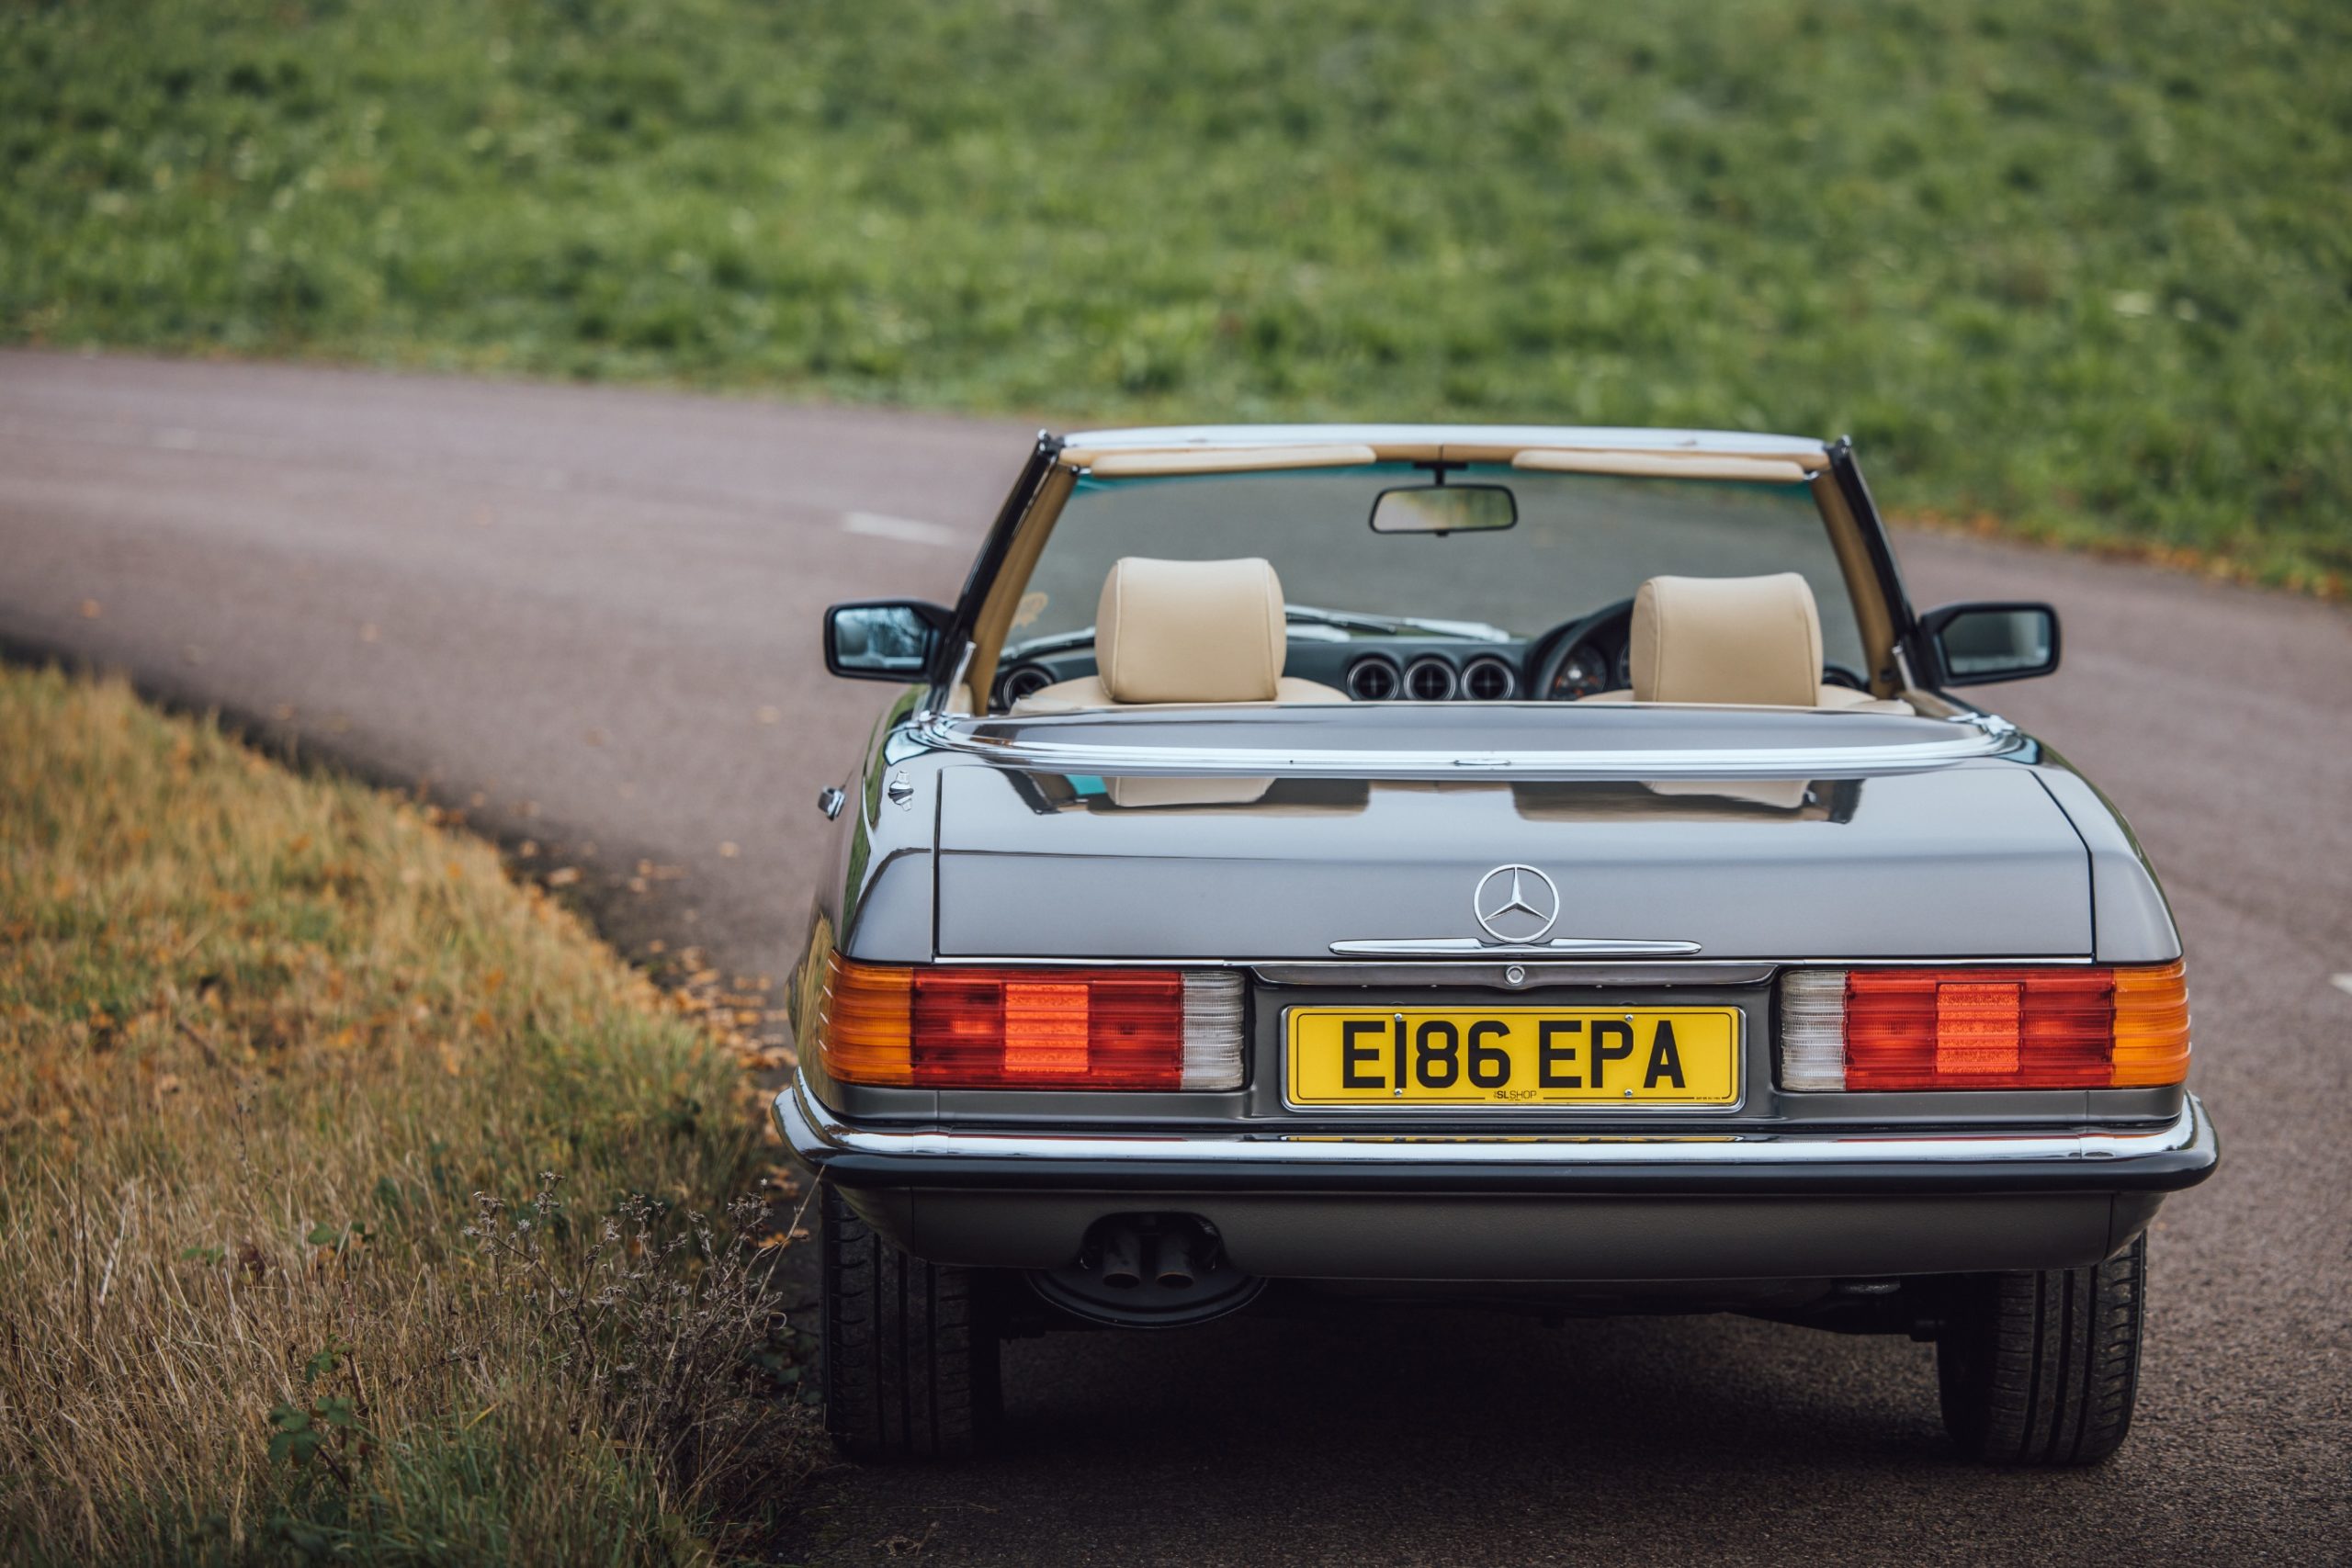
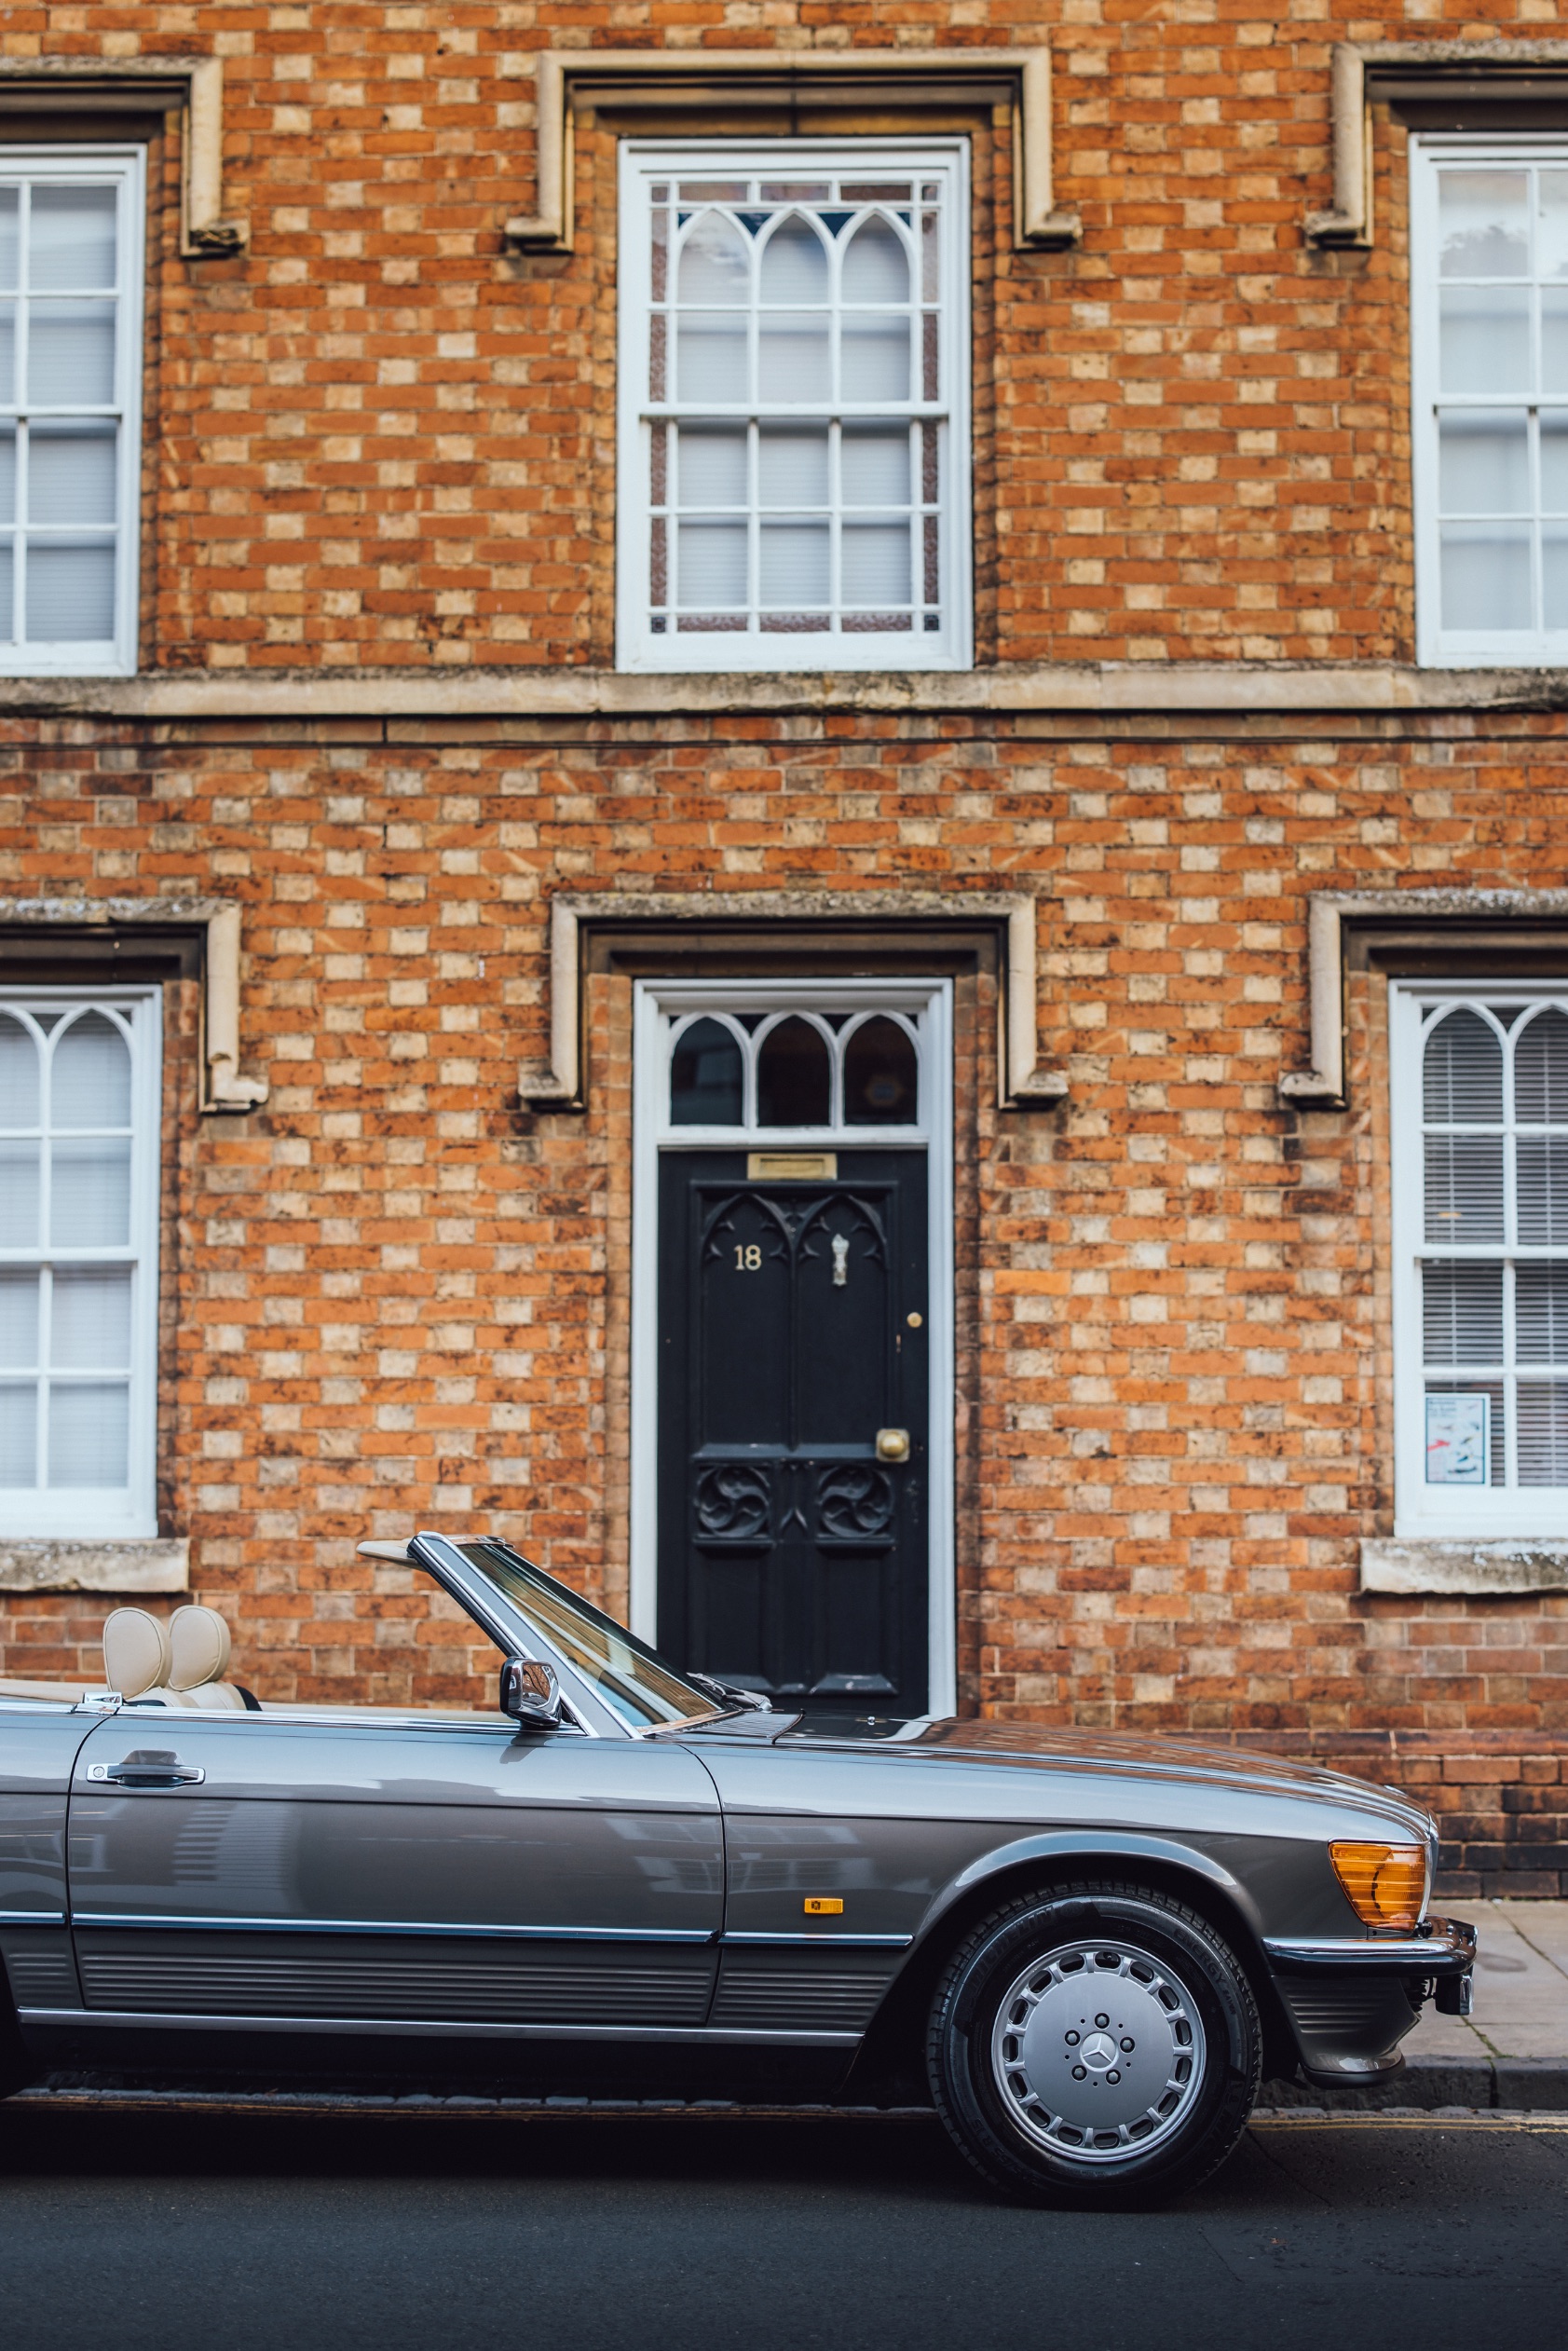
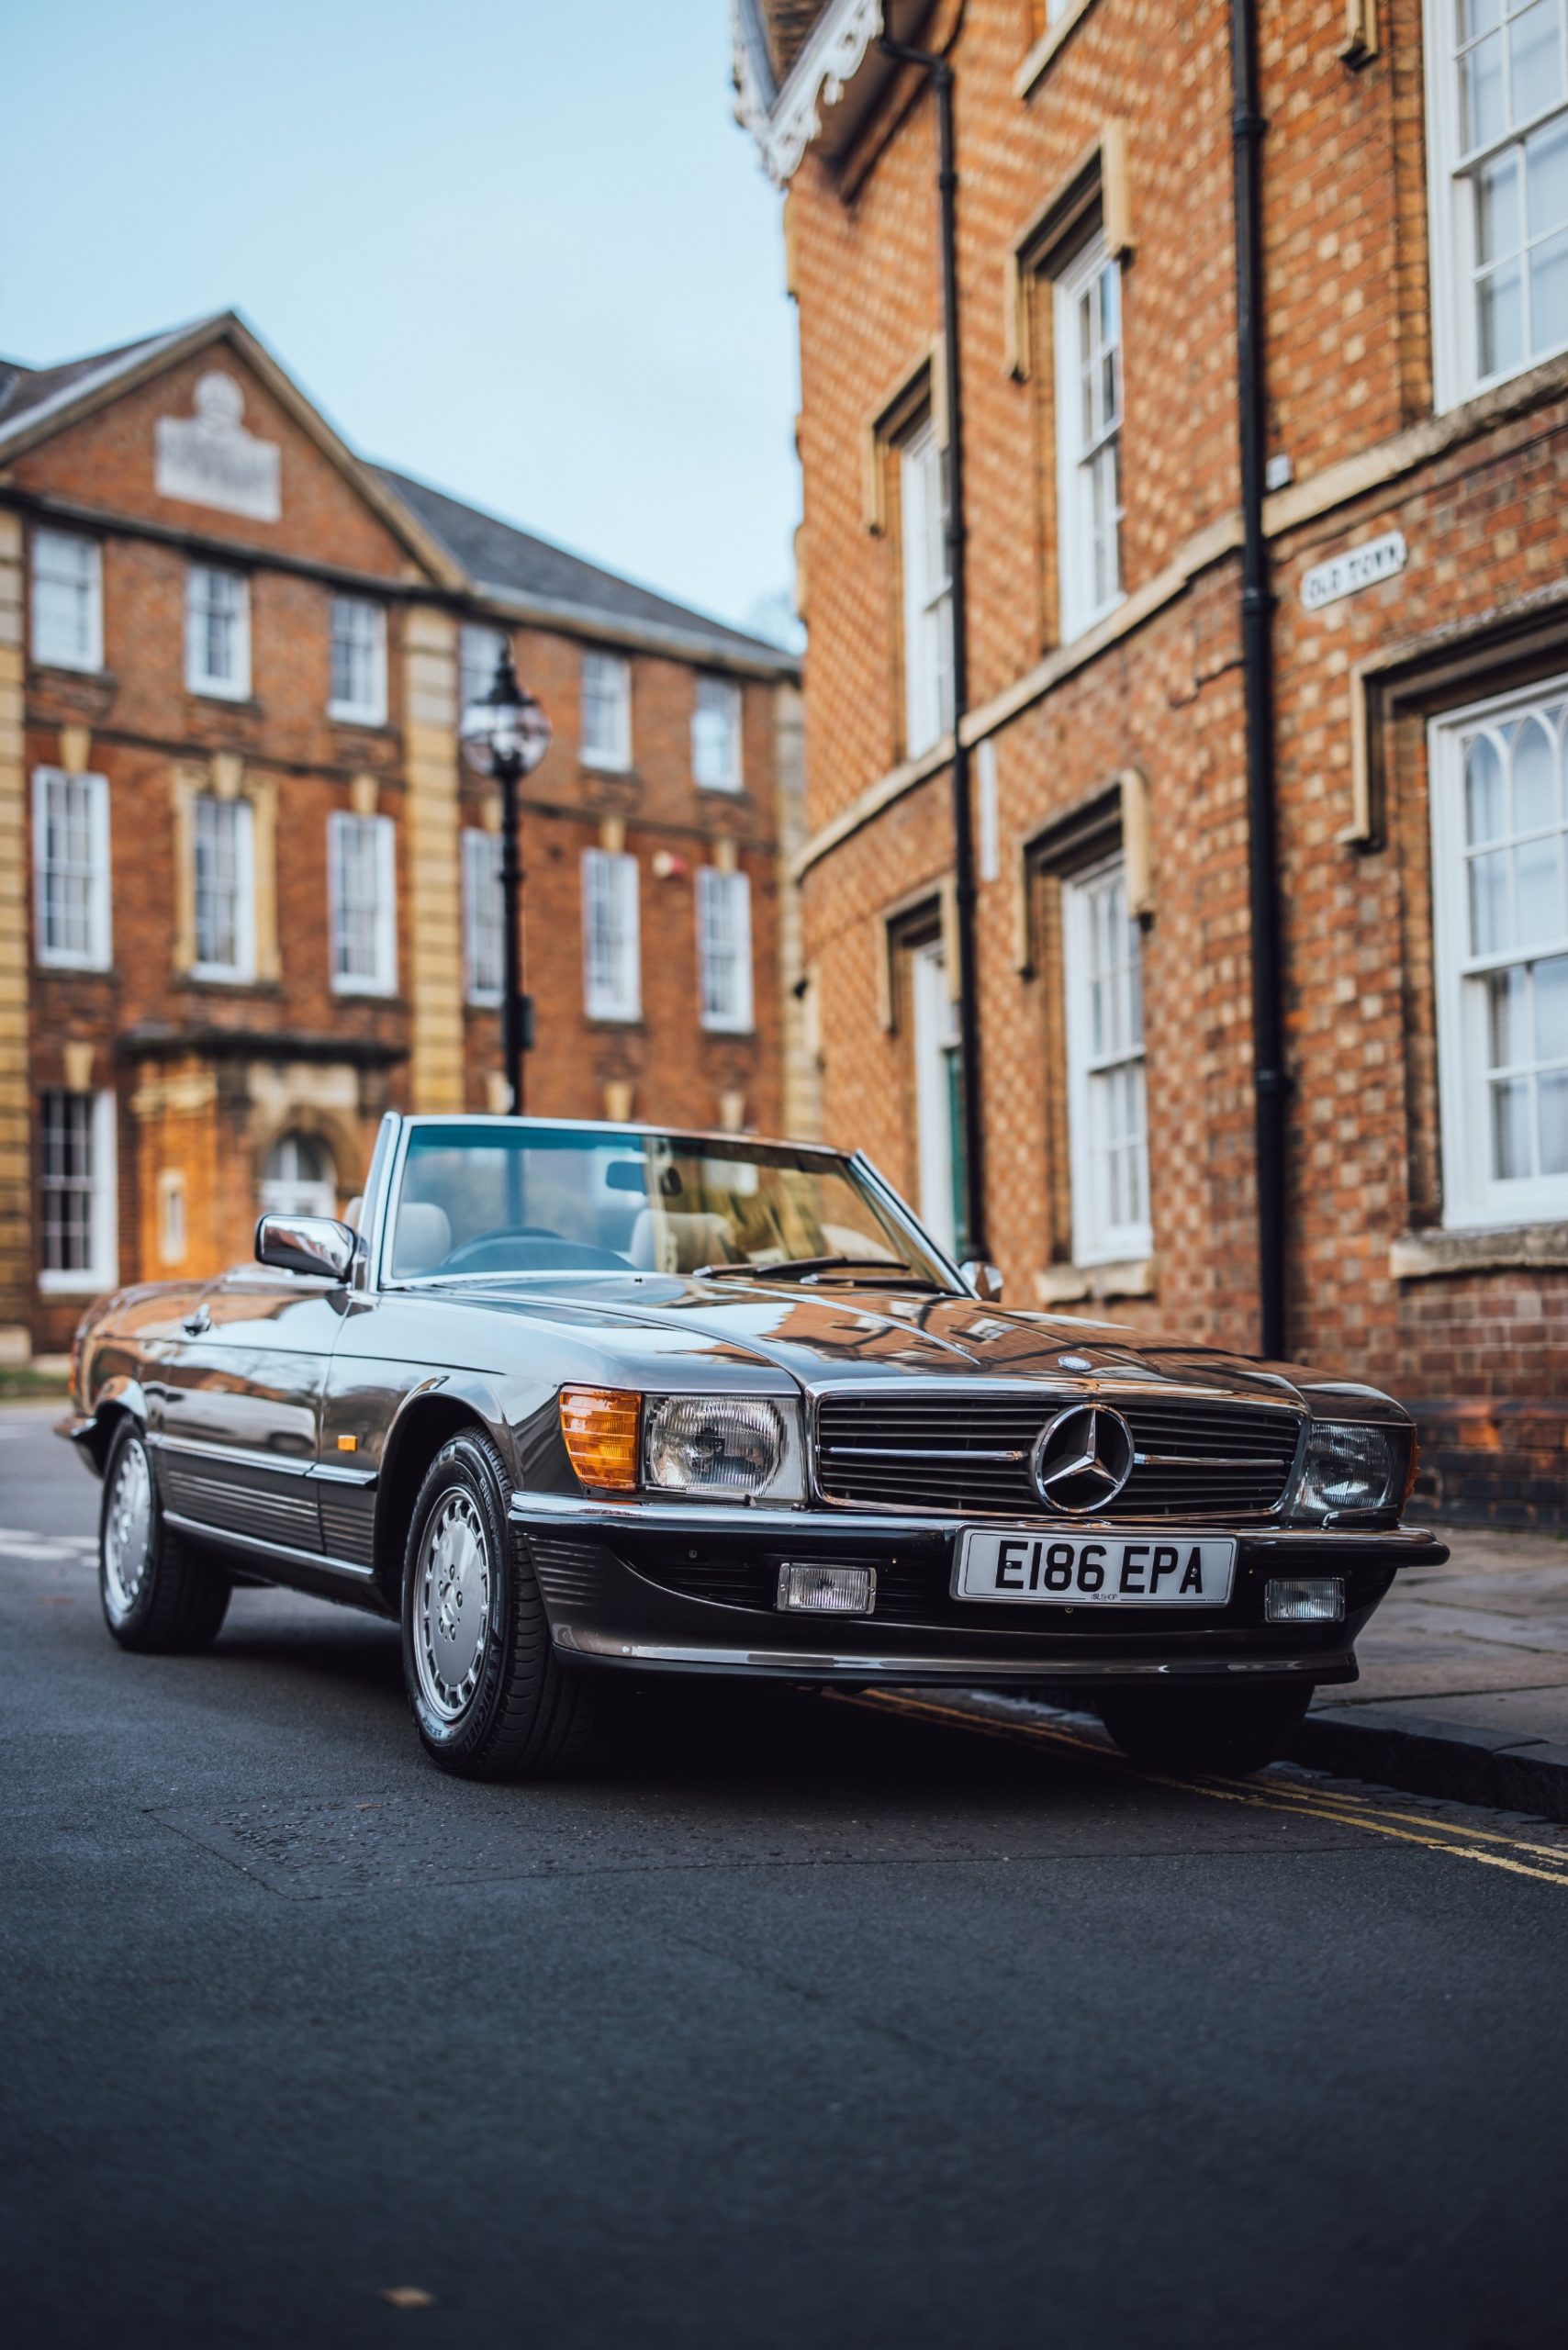
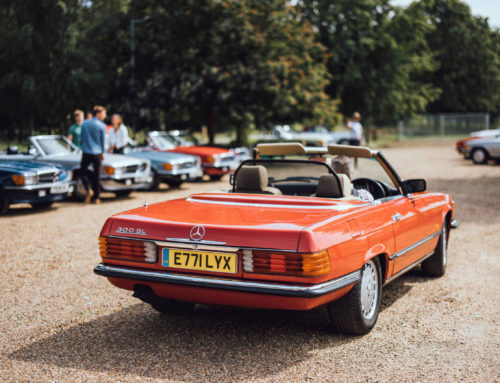
The car’s original colour was 568 Signal Red but Sam Bailey and managing director Bruce Greetham opted for a more understated hue – 172 Anthracite, another period option for the model, and one that complements the interior particularly well.
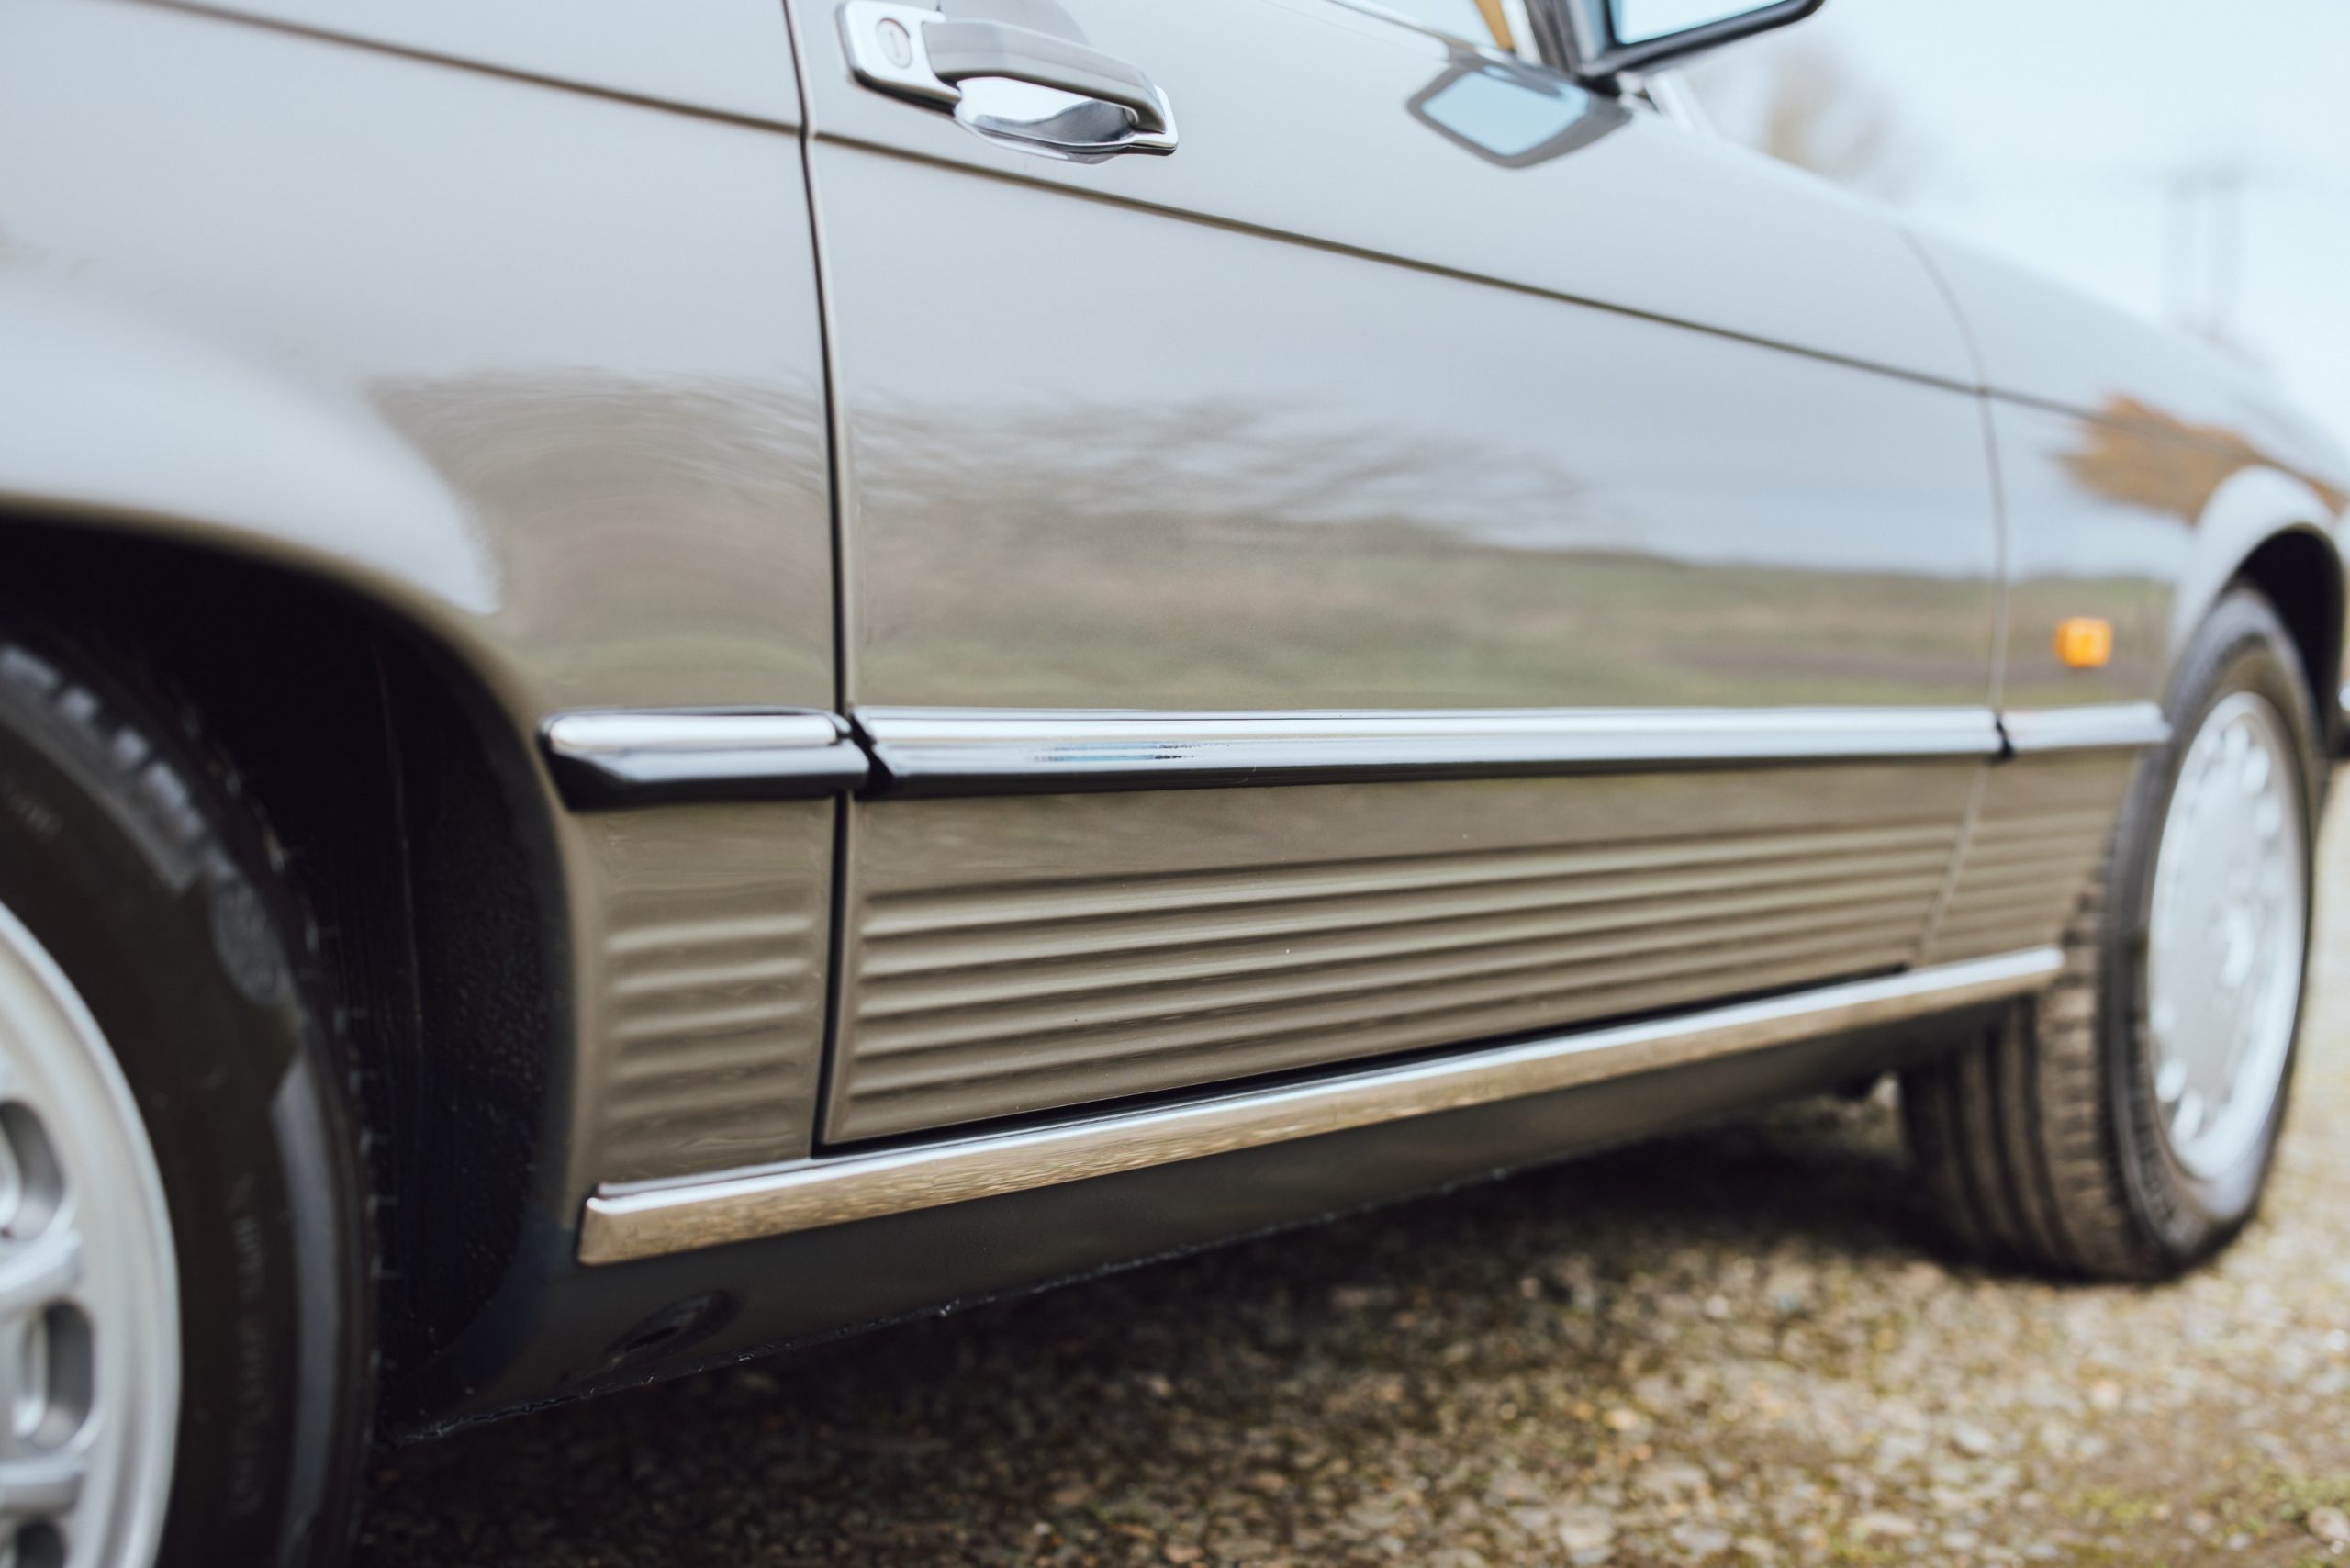
Stuart Bryant explains the paint shop’s procedure for replicating and even improving on the Mercedes factory finish. ‘Believe it or not, the first thing we did is strip it to bare metal – again. That protective etch primer came off and we got the levels and lines perfect with a polyester spray-putty called Plastomax made by Max Meyer, a German firm. We used its products at each step of the process so we could guarantee the work.’
Stuart’s team block-sanded the result by hand with 180-grit abrasives before using a 2K high-build primer and more handsanding at 320 and finally 500-grit to prepare for the base coat.
‘Every stage was done in a low-bake oven,’ continues Stuart. ‘Each new coat rested at 60°C for 40 minutes before we worked on it. We used three coats of lacquer to allow us to dig in hard and flat it back with 1500-grit right up to 4000 and then begin polishing, which still leaves plenty of material for many more years of polishing by the owner.’
With the SL’S bodyshell resplendent in its new shade, work to the cabin could commence. It had, in fact, already begun with the restoration and re-covering of the car’s seats. Sam Bailey reveals some of his more arcane knowledge of Mercedes trim specification as he recounts the process.
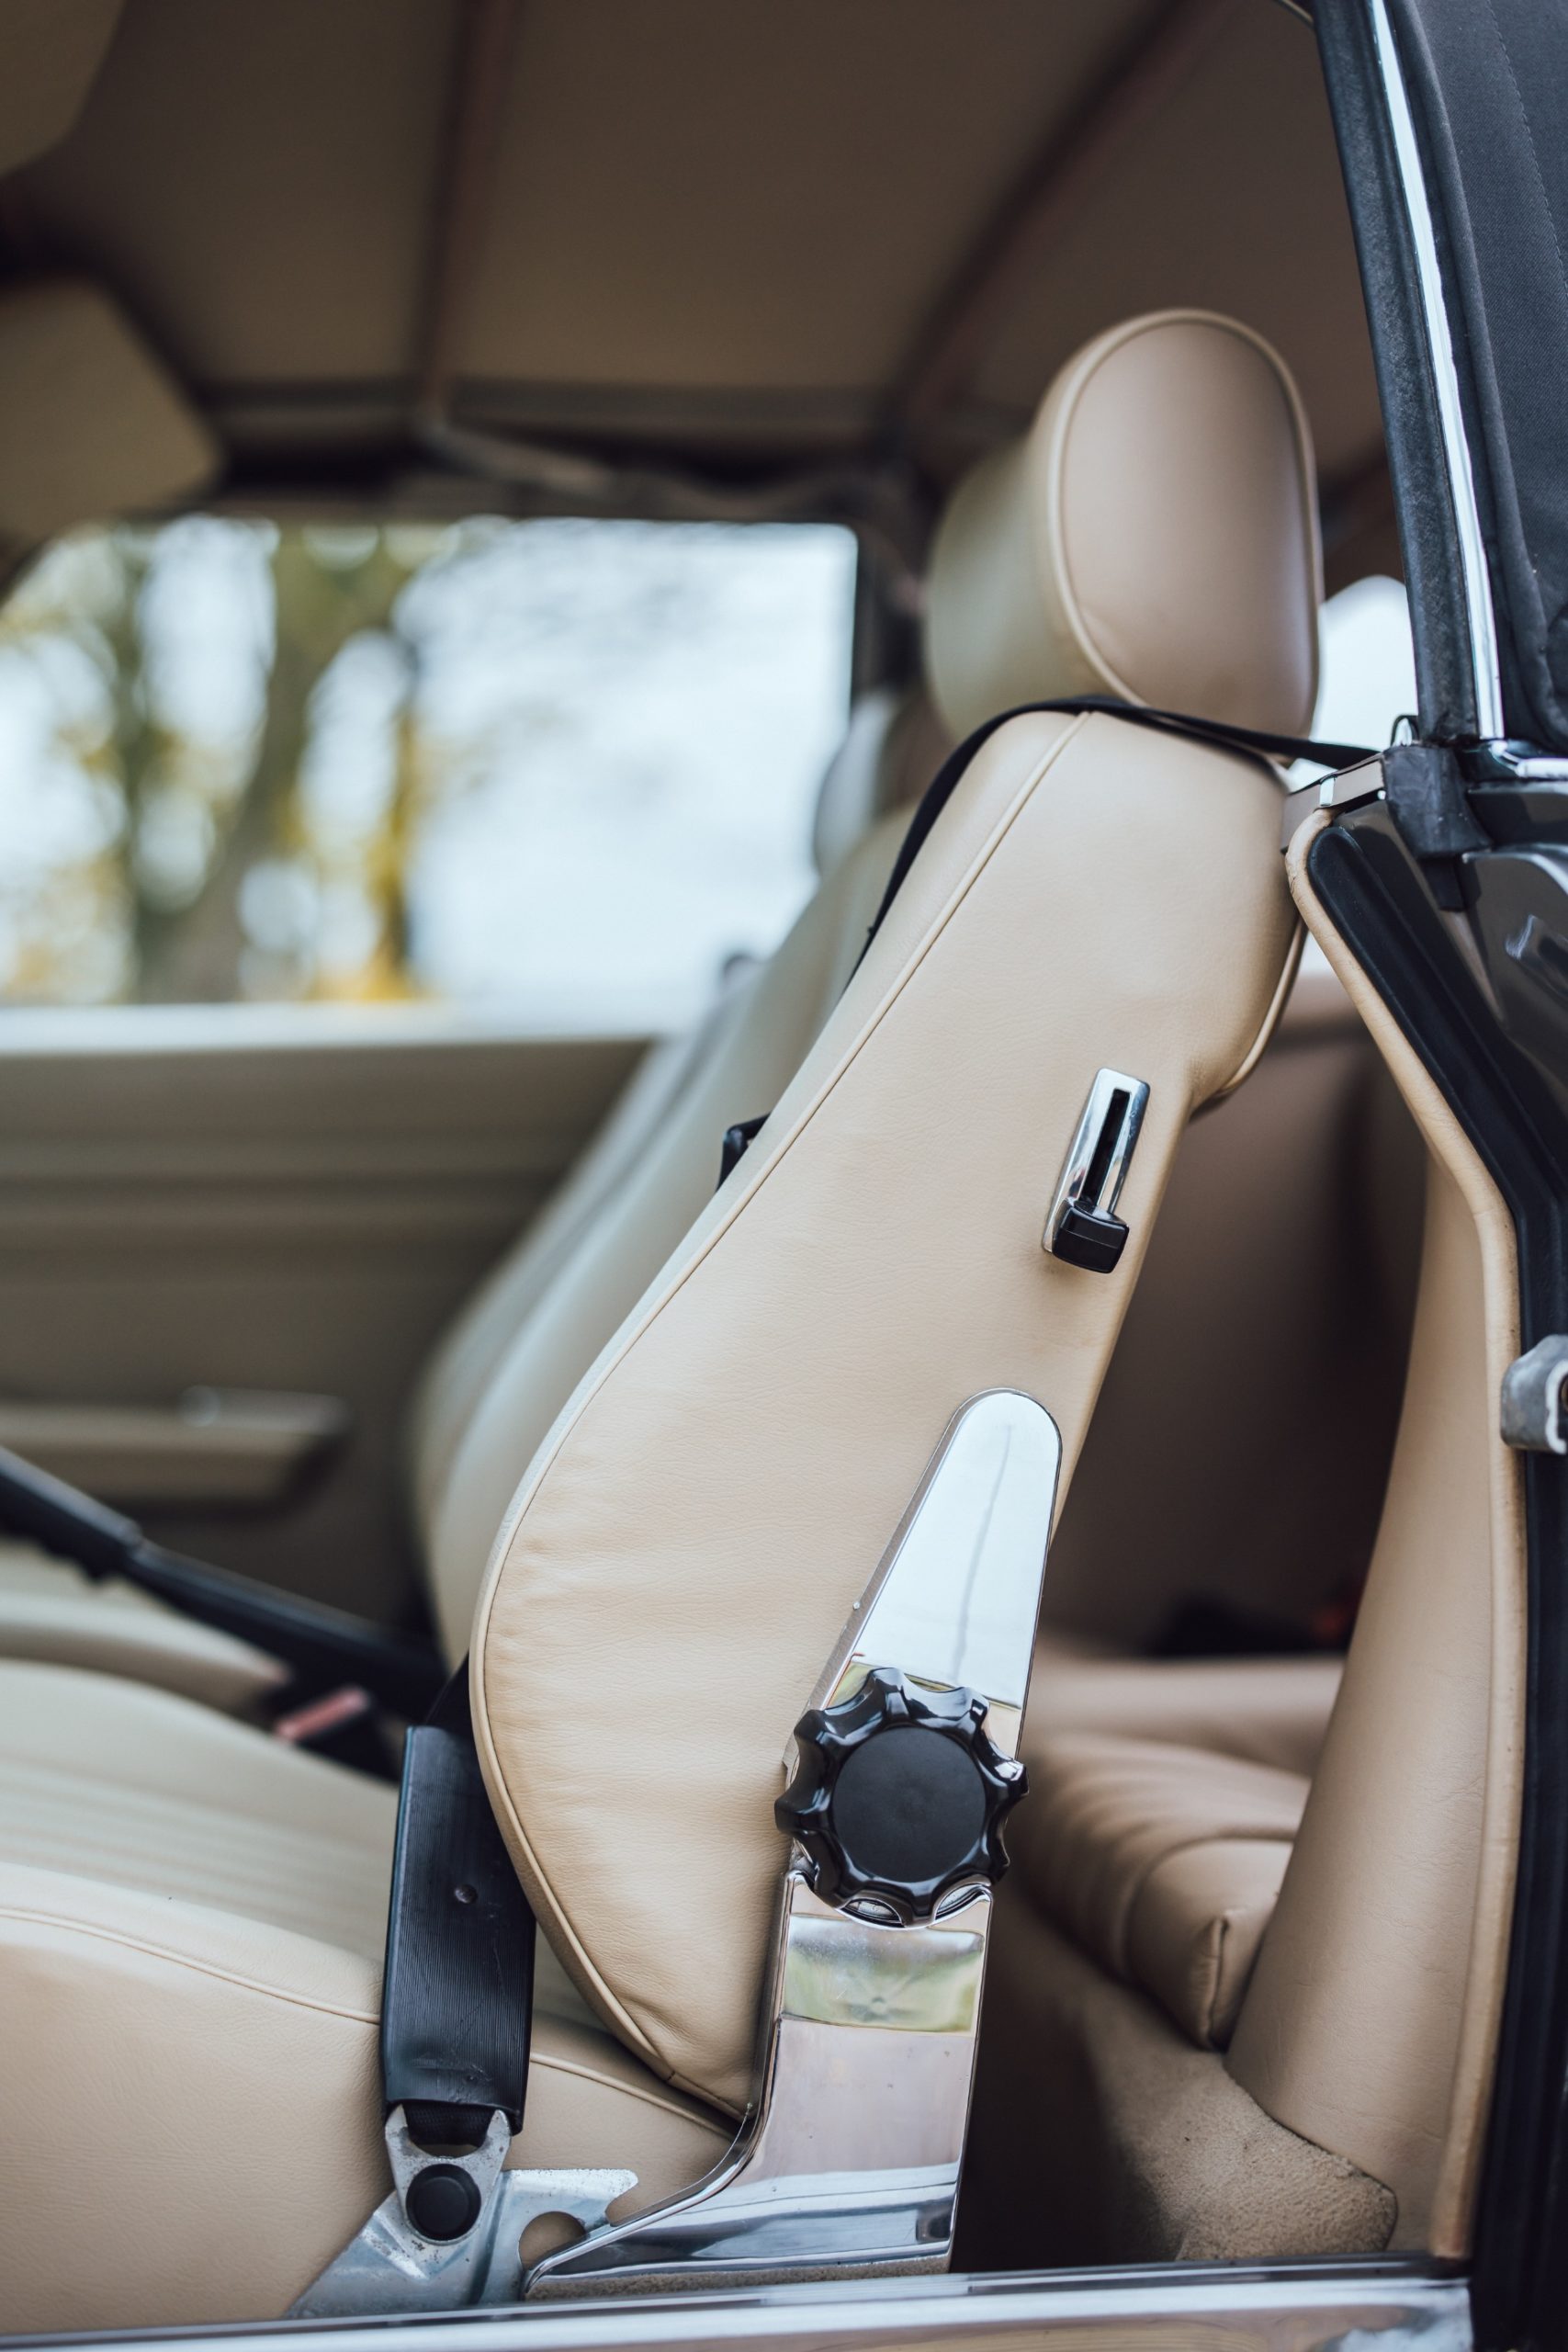
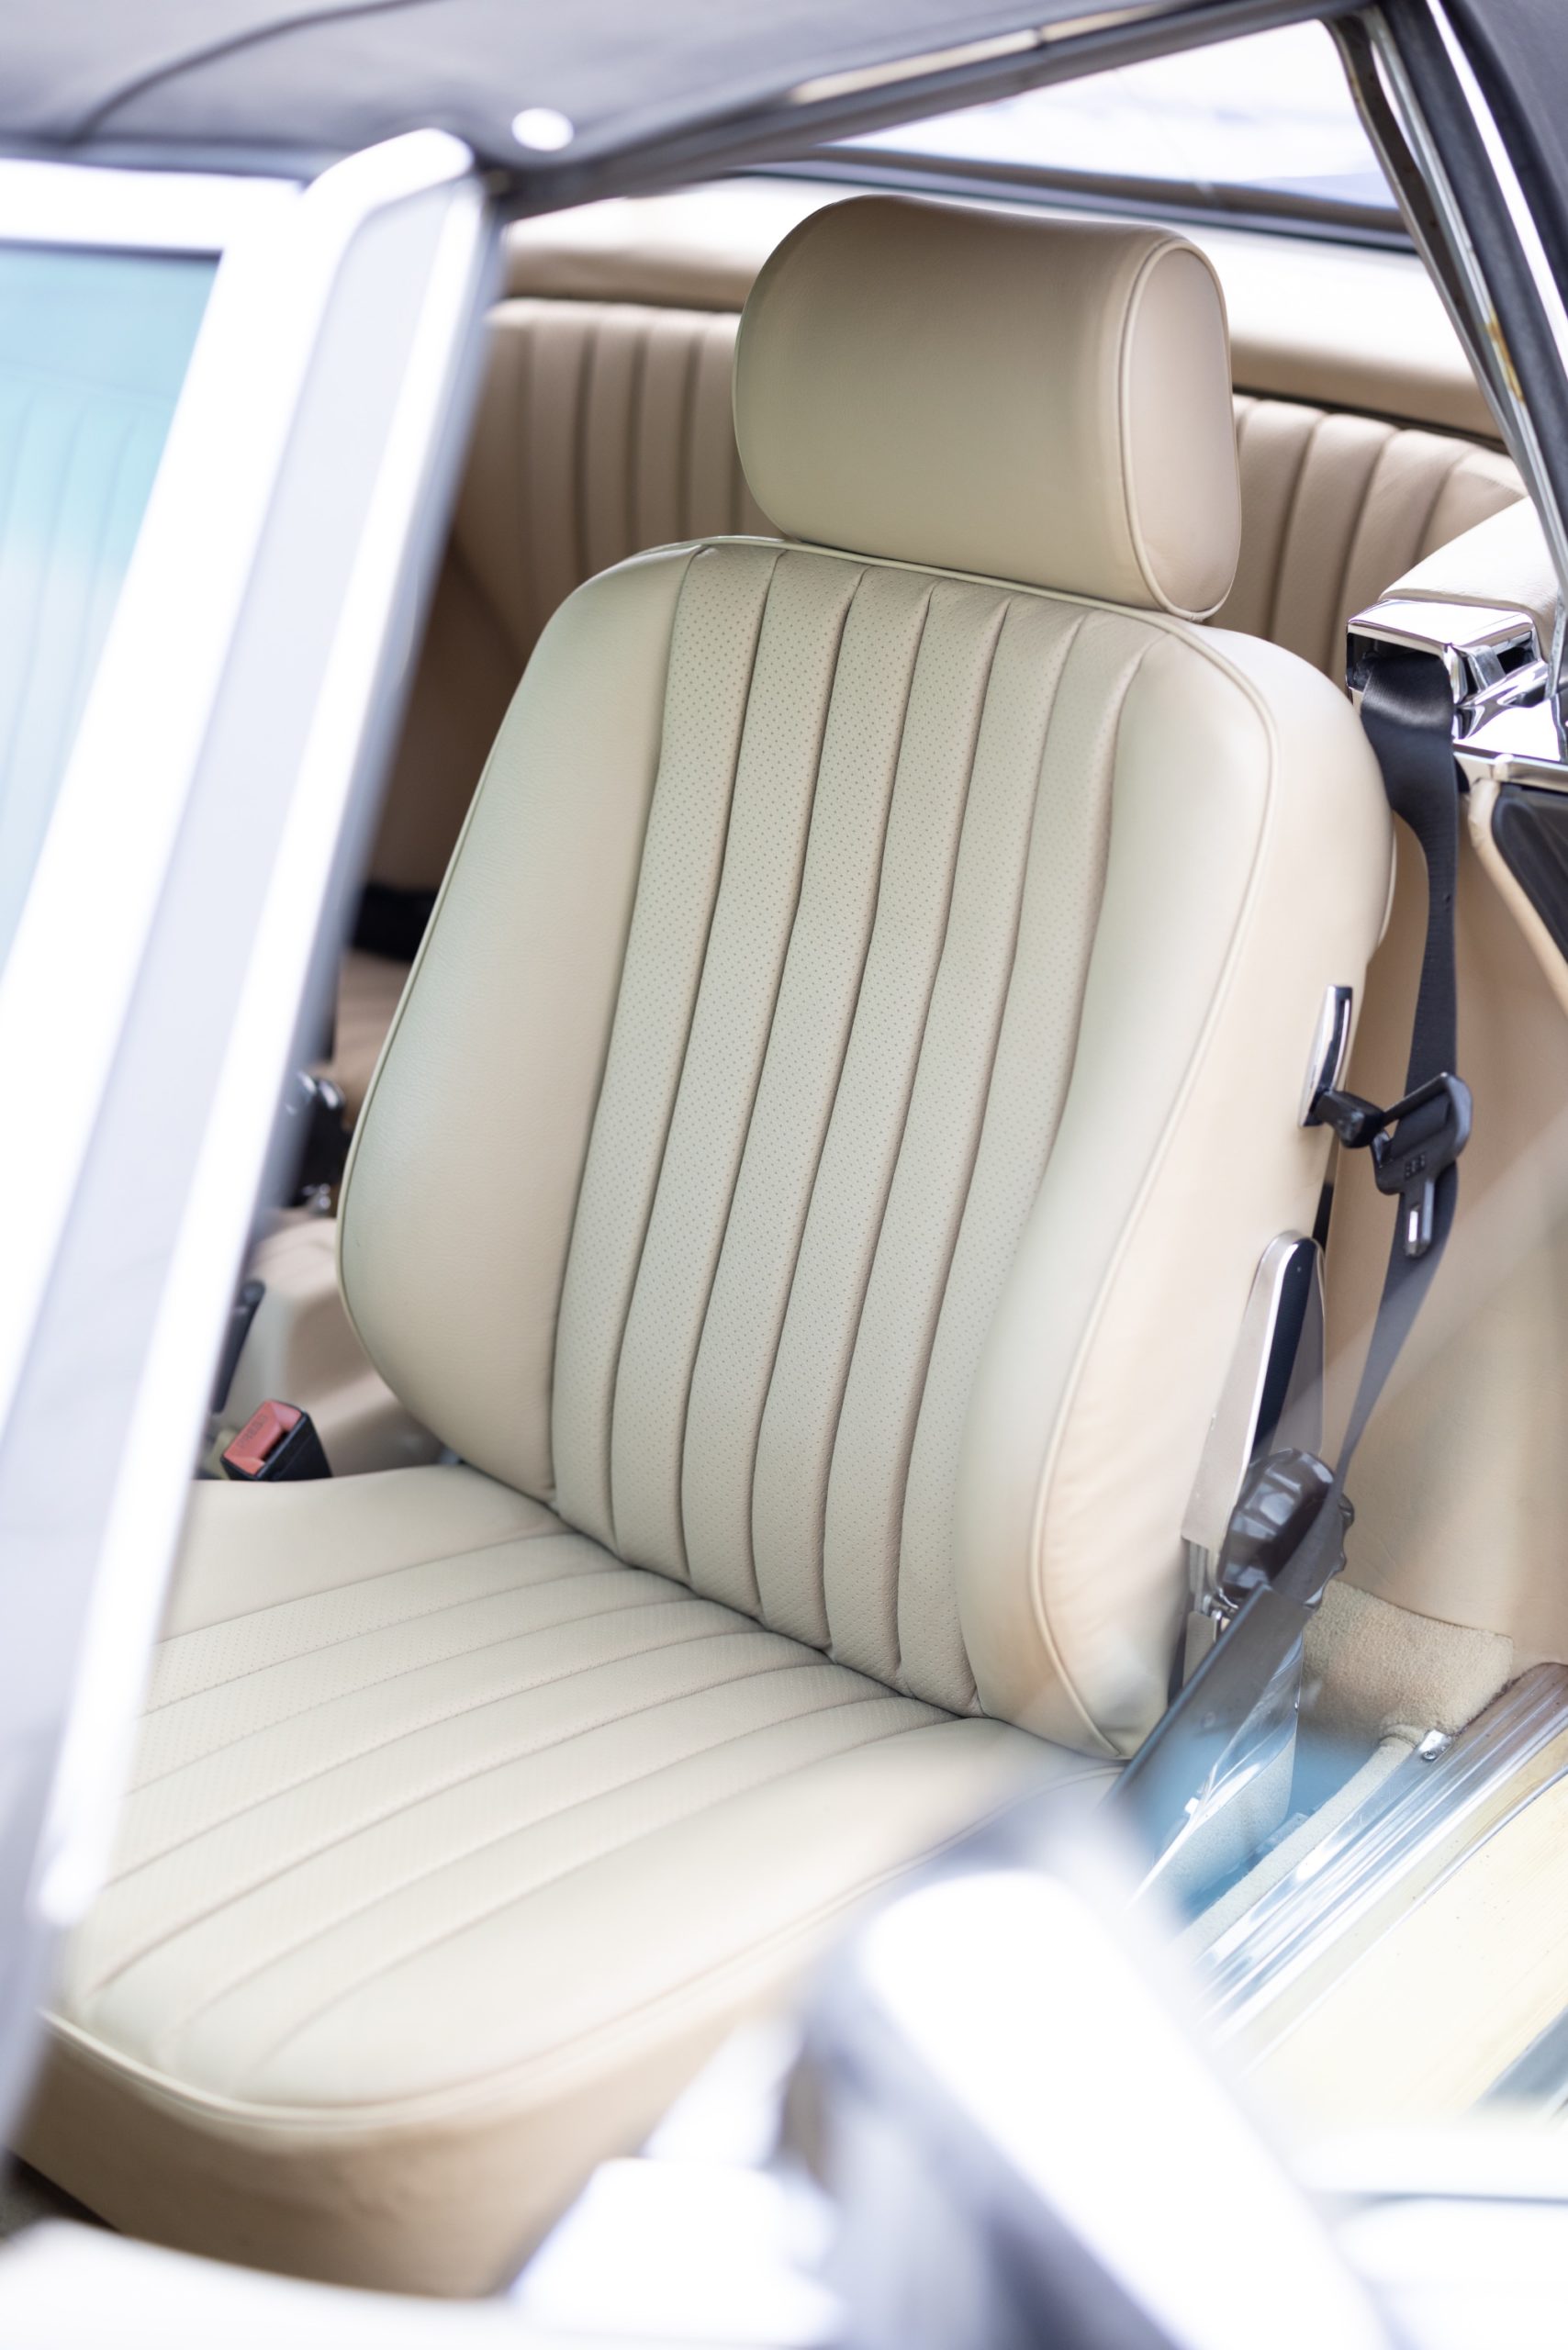
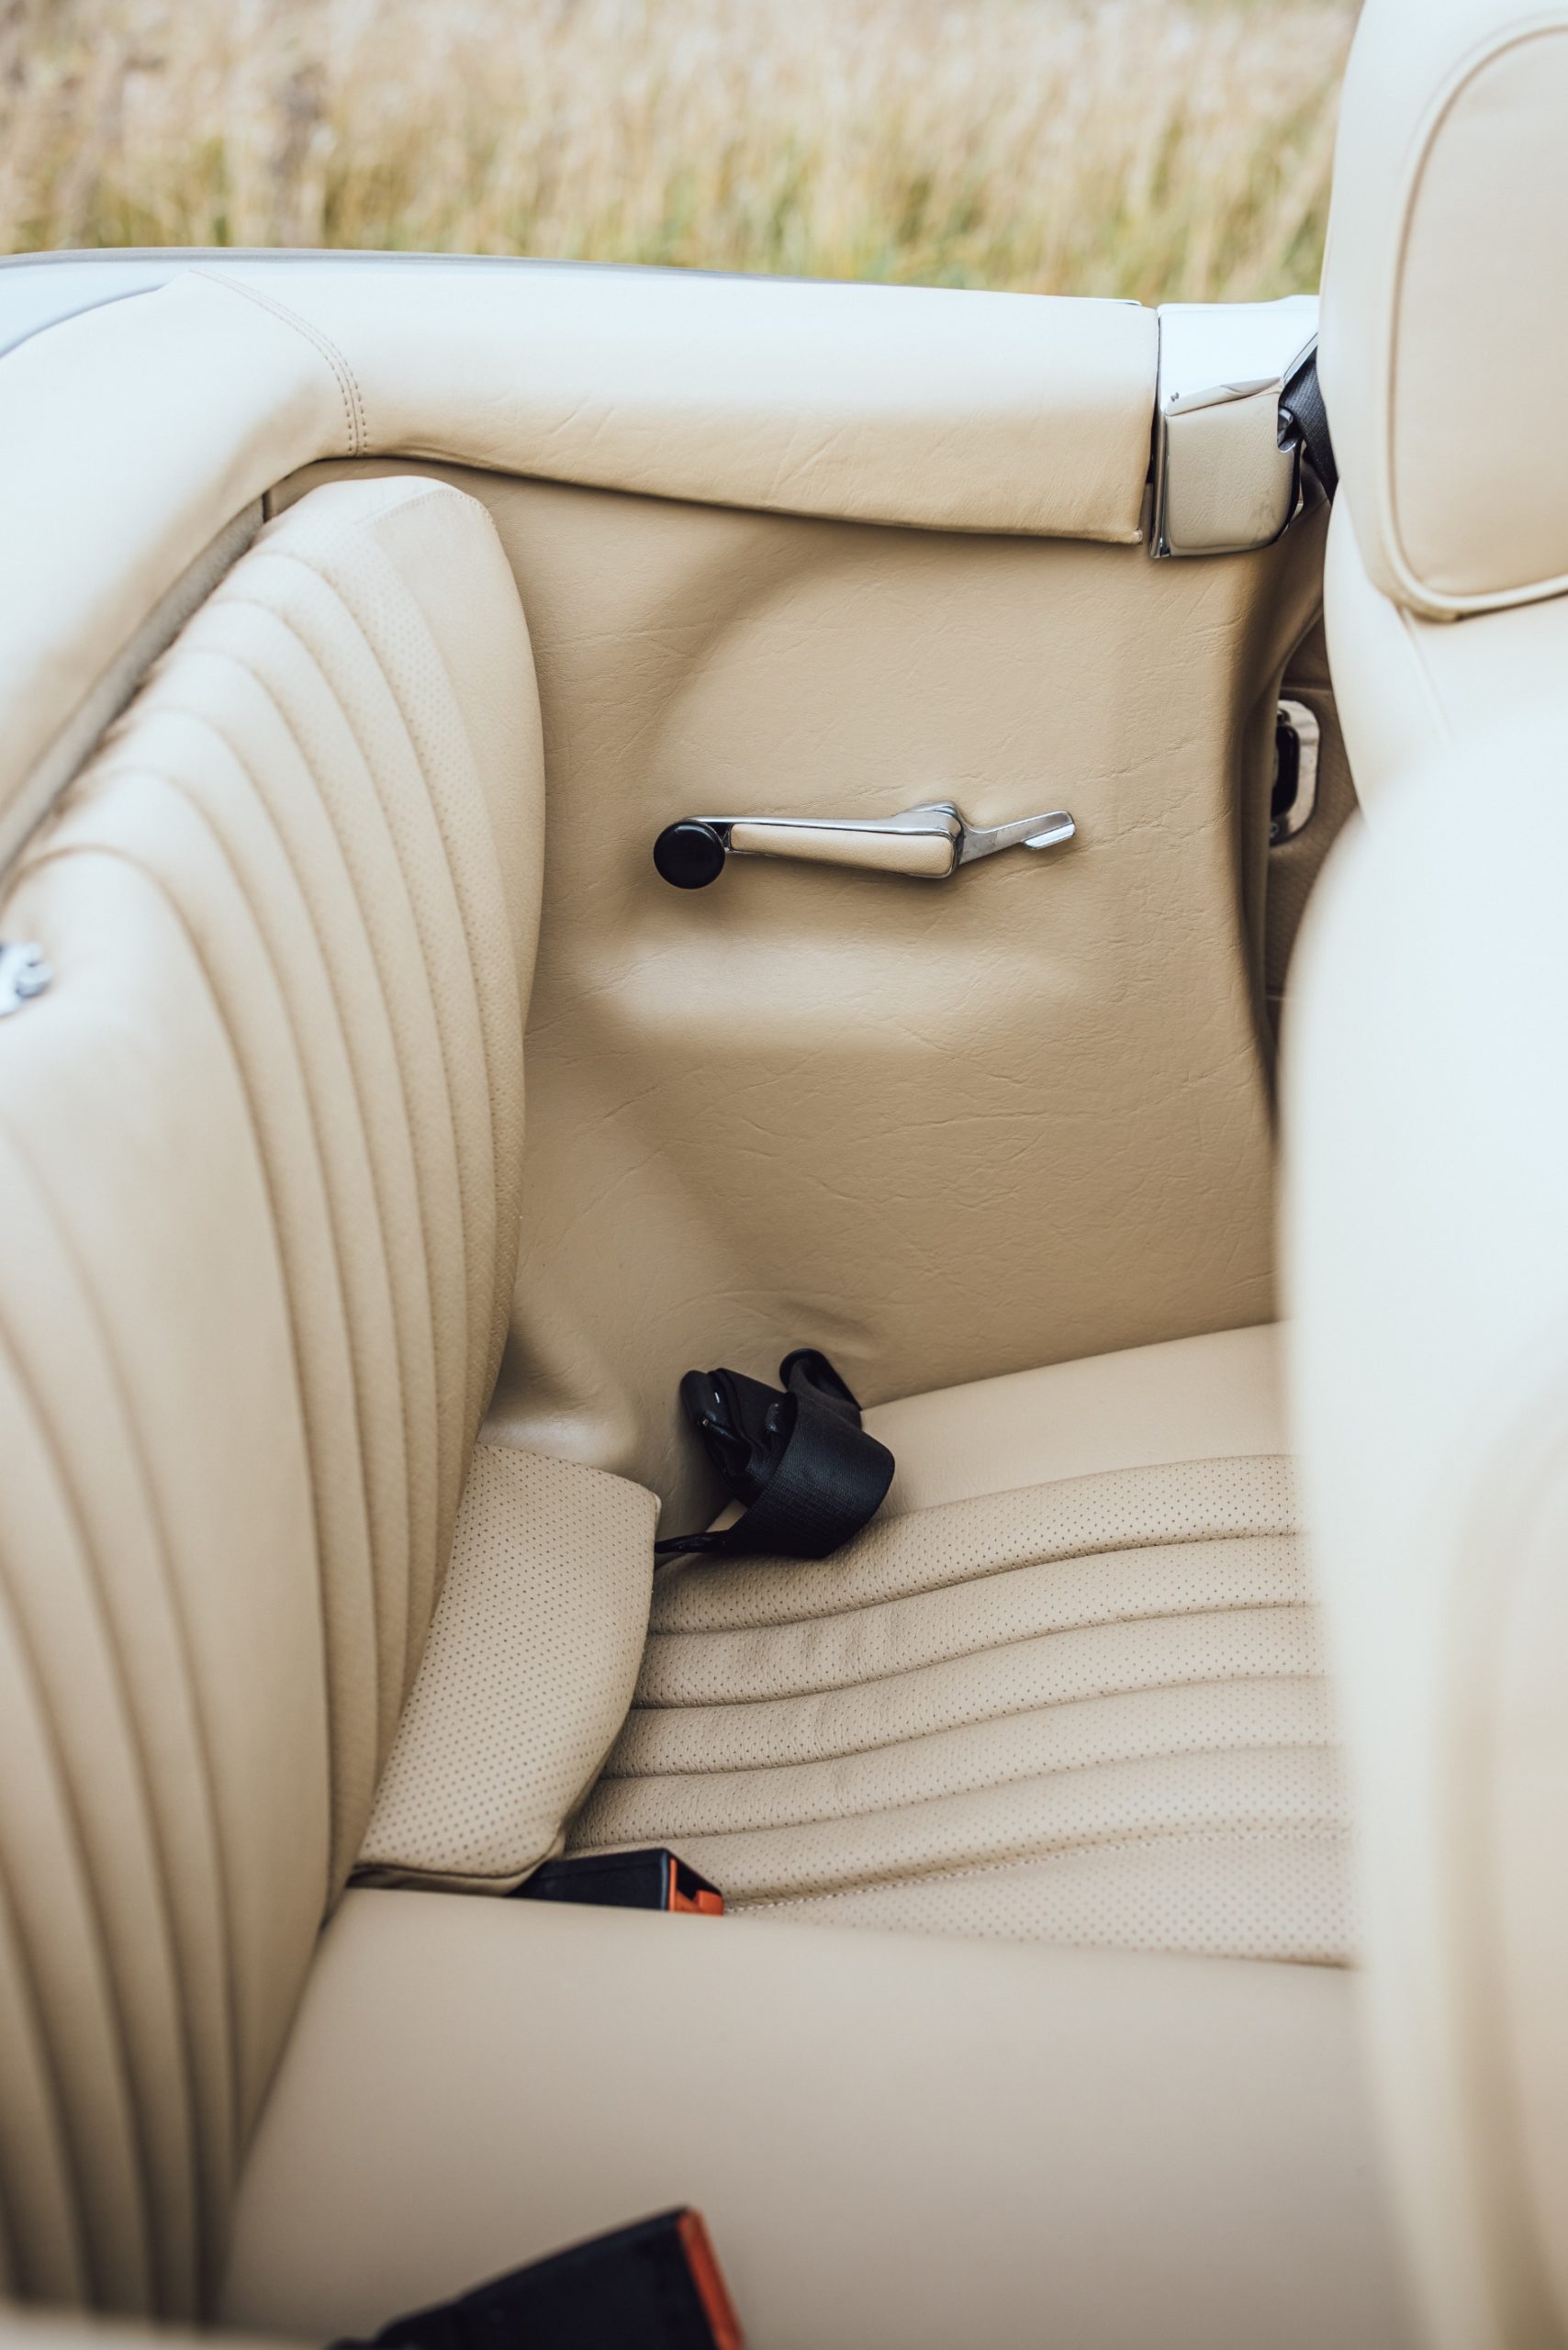
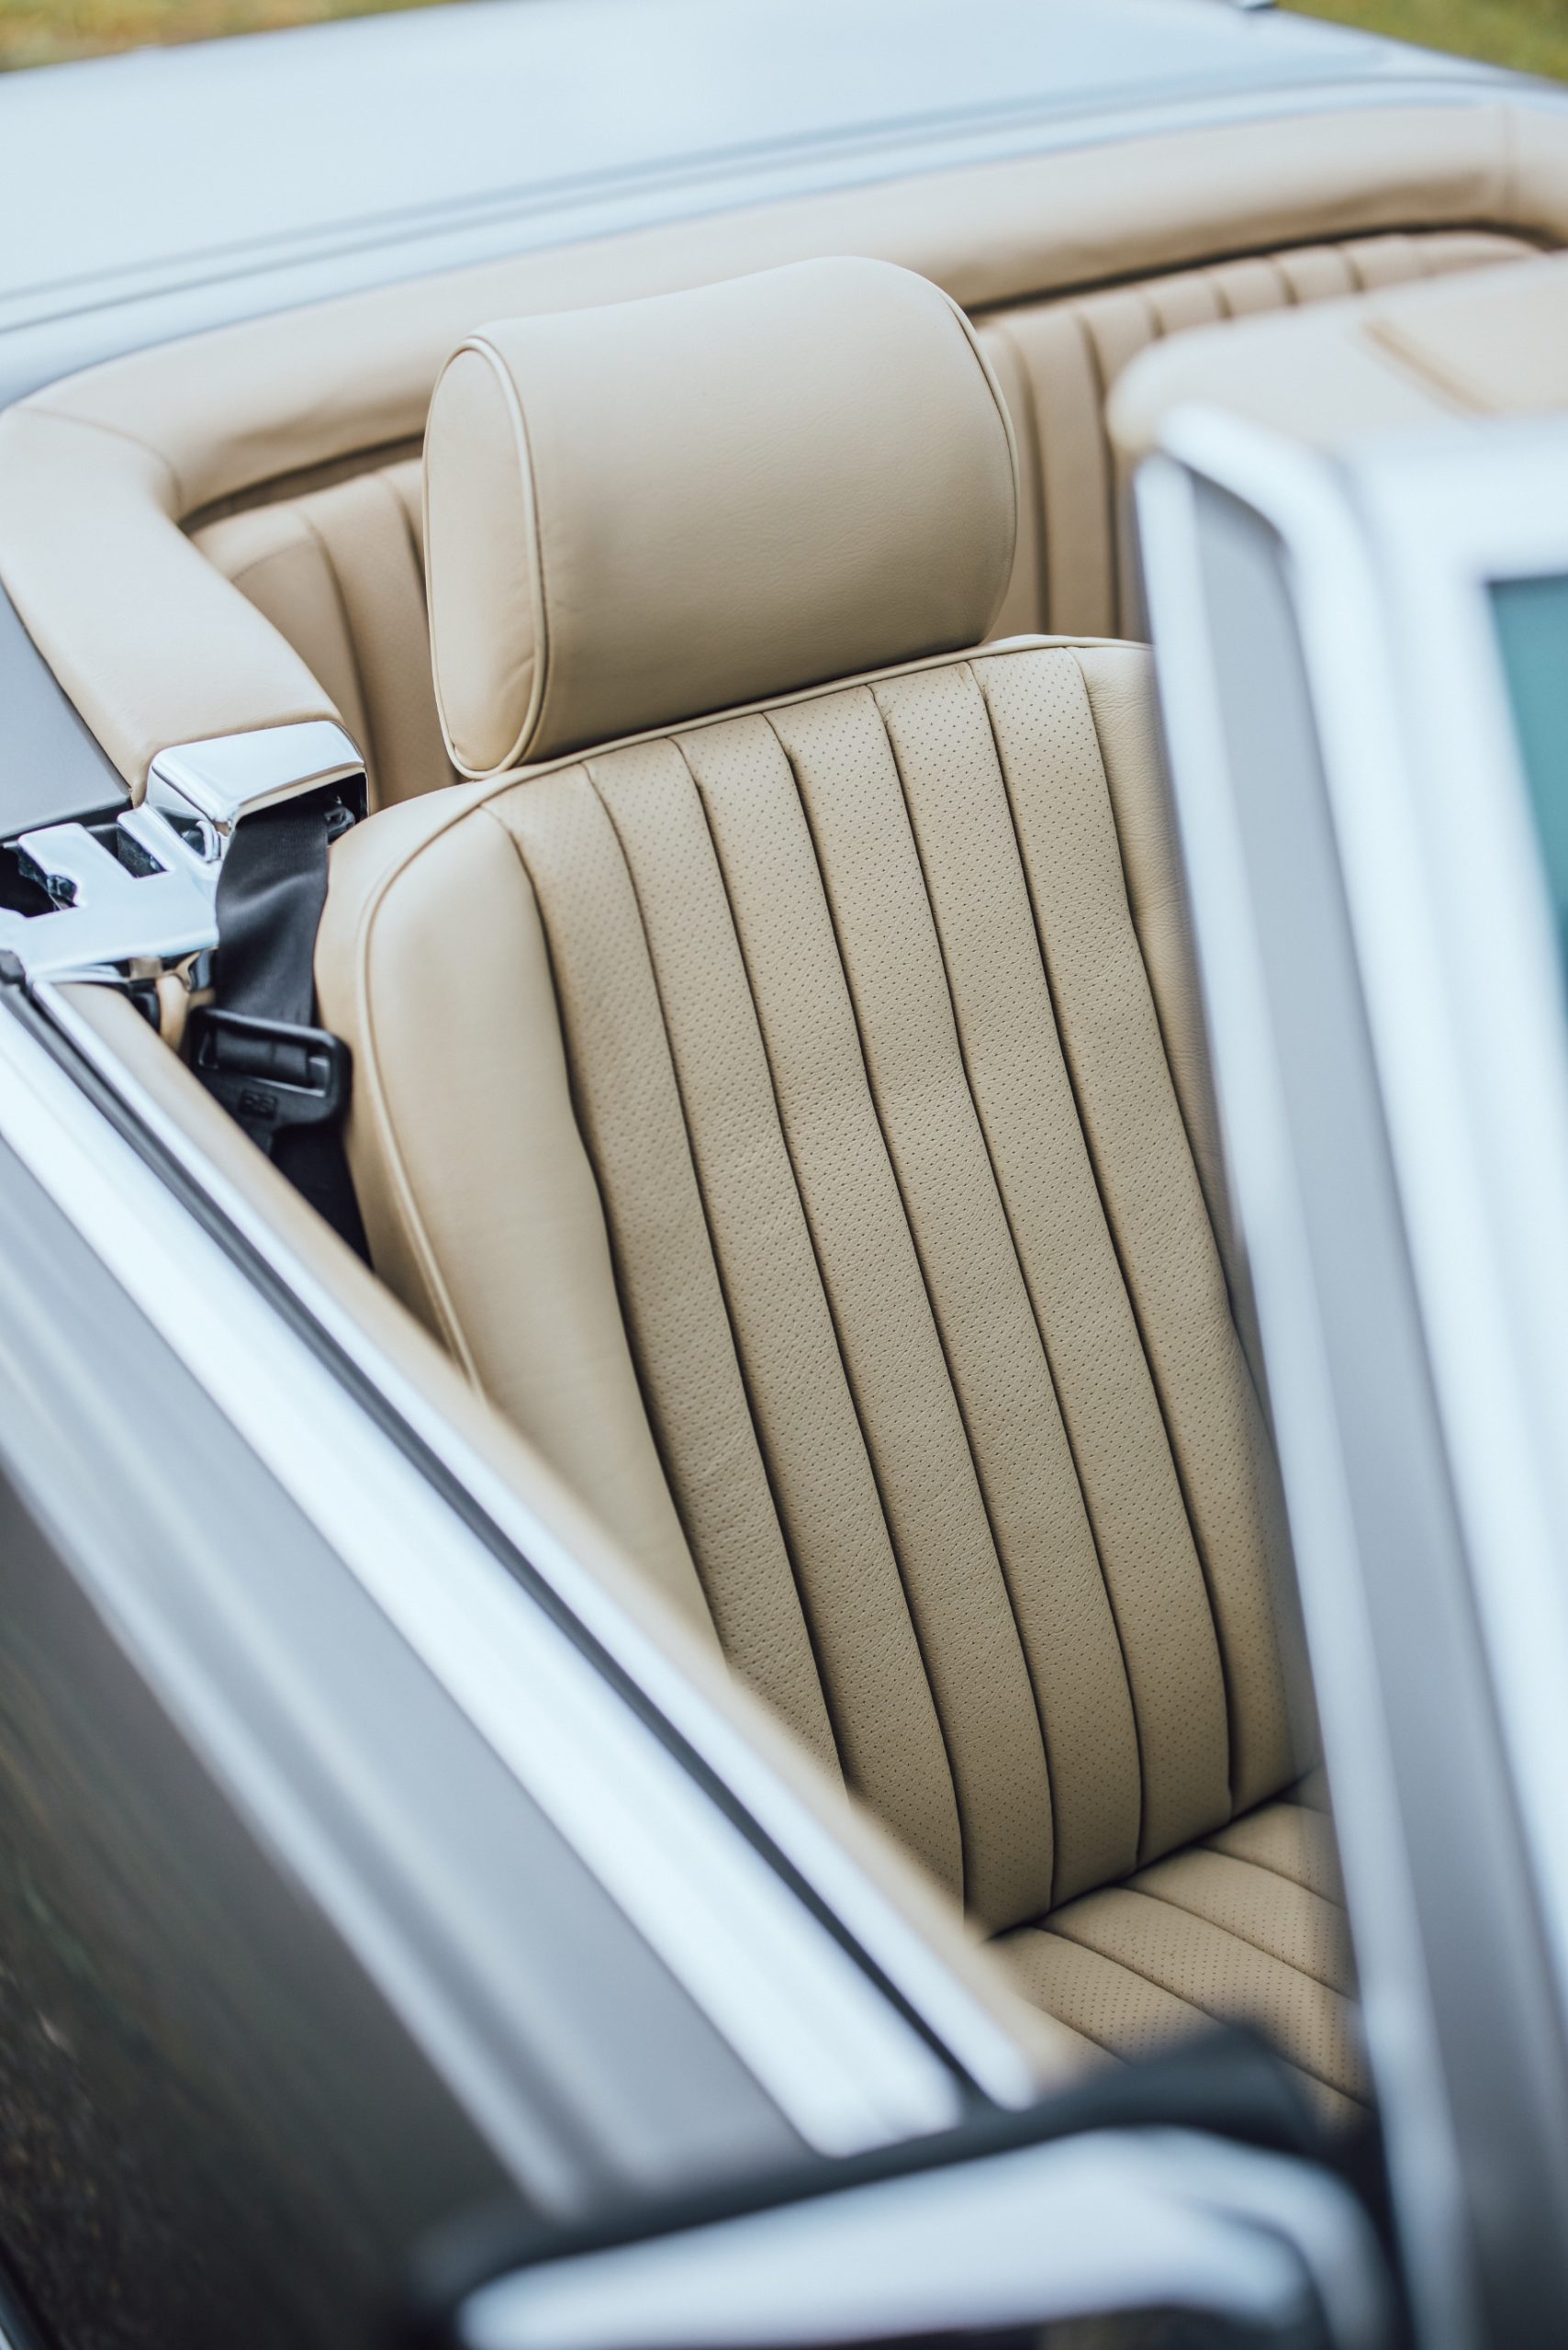
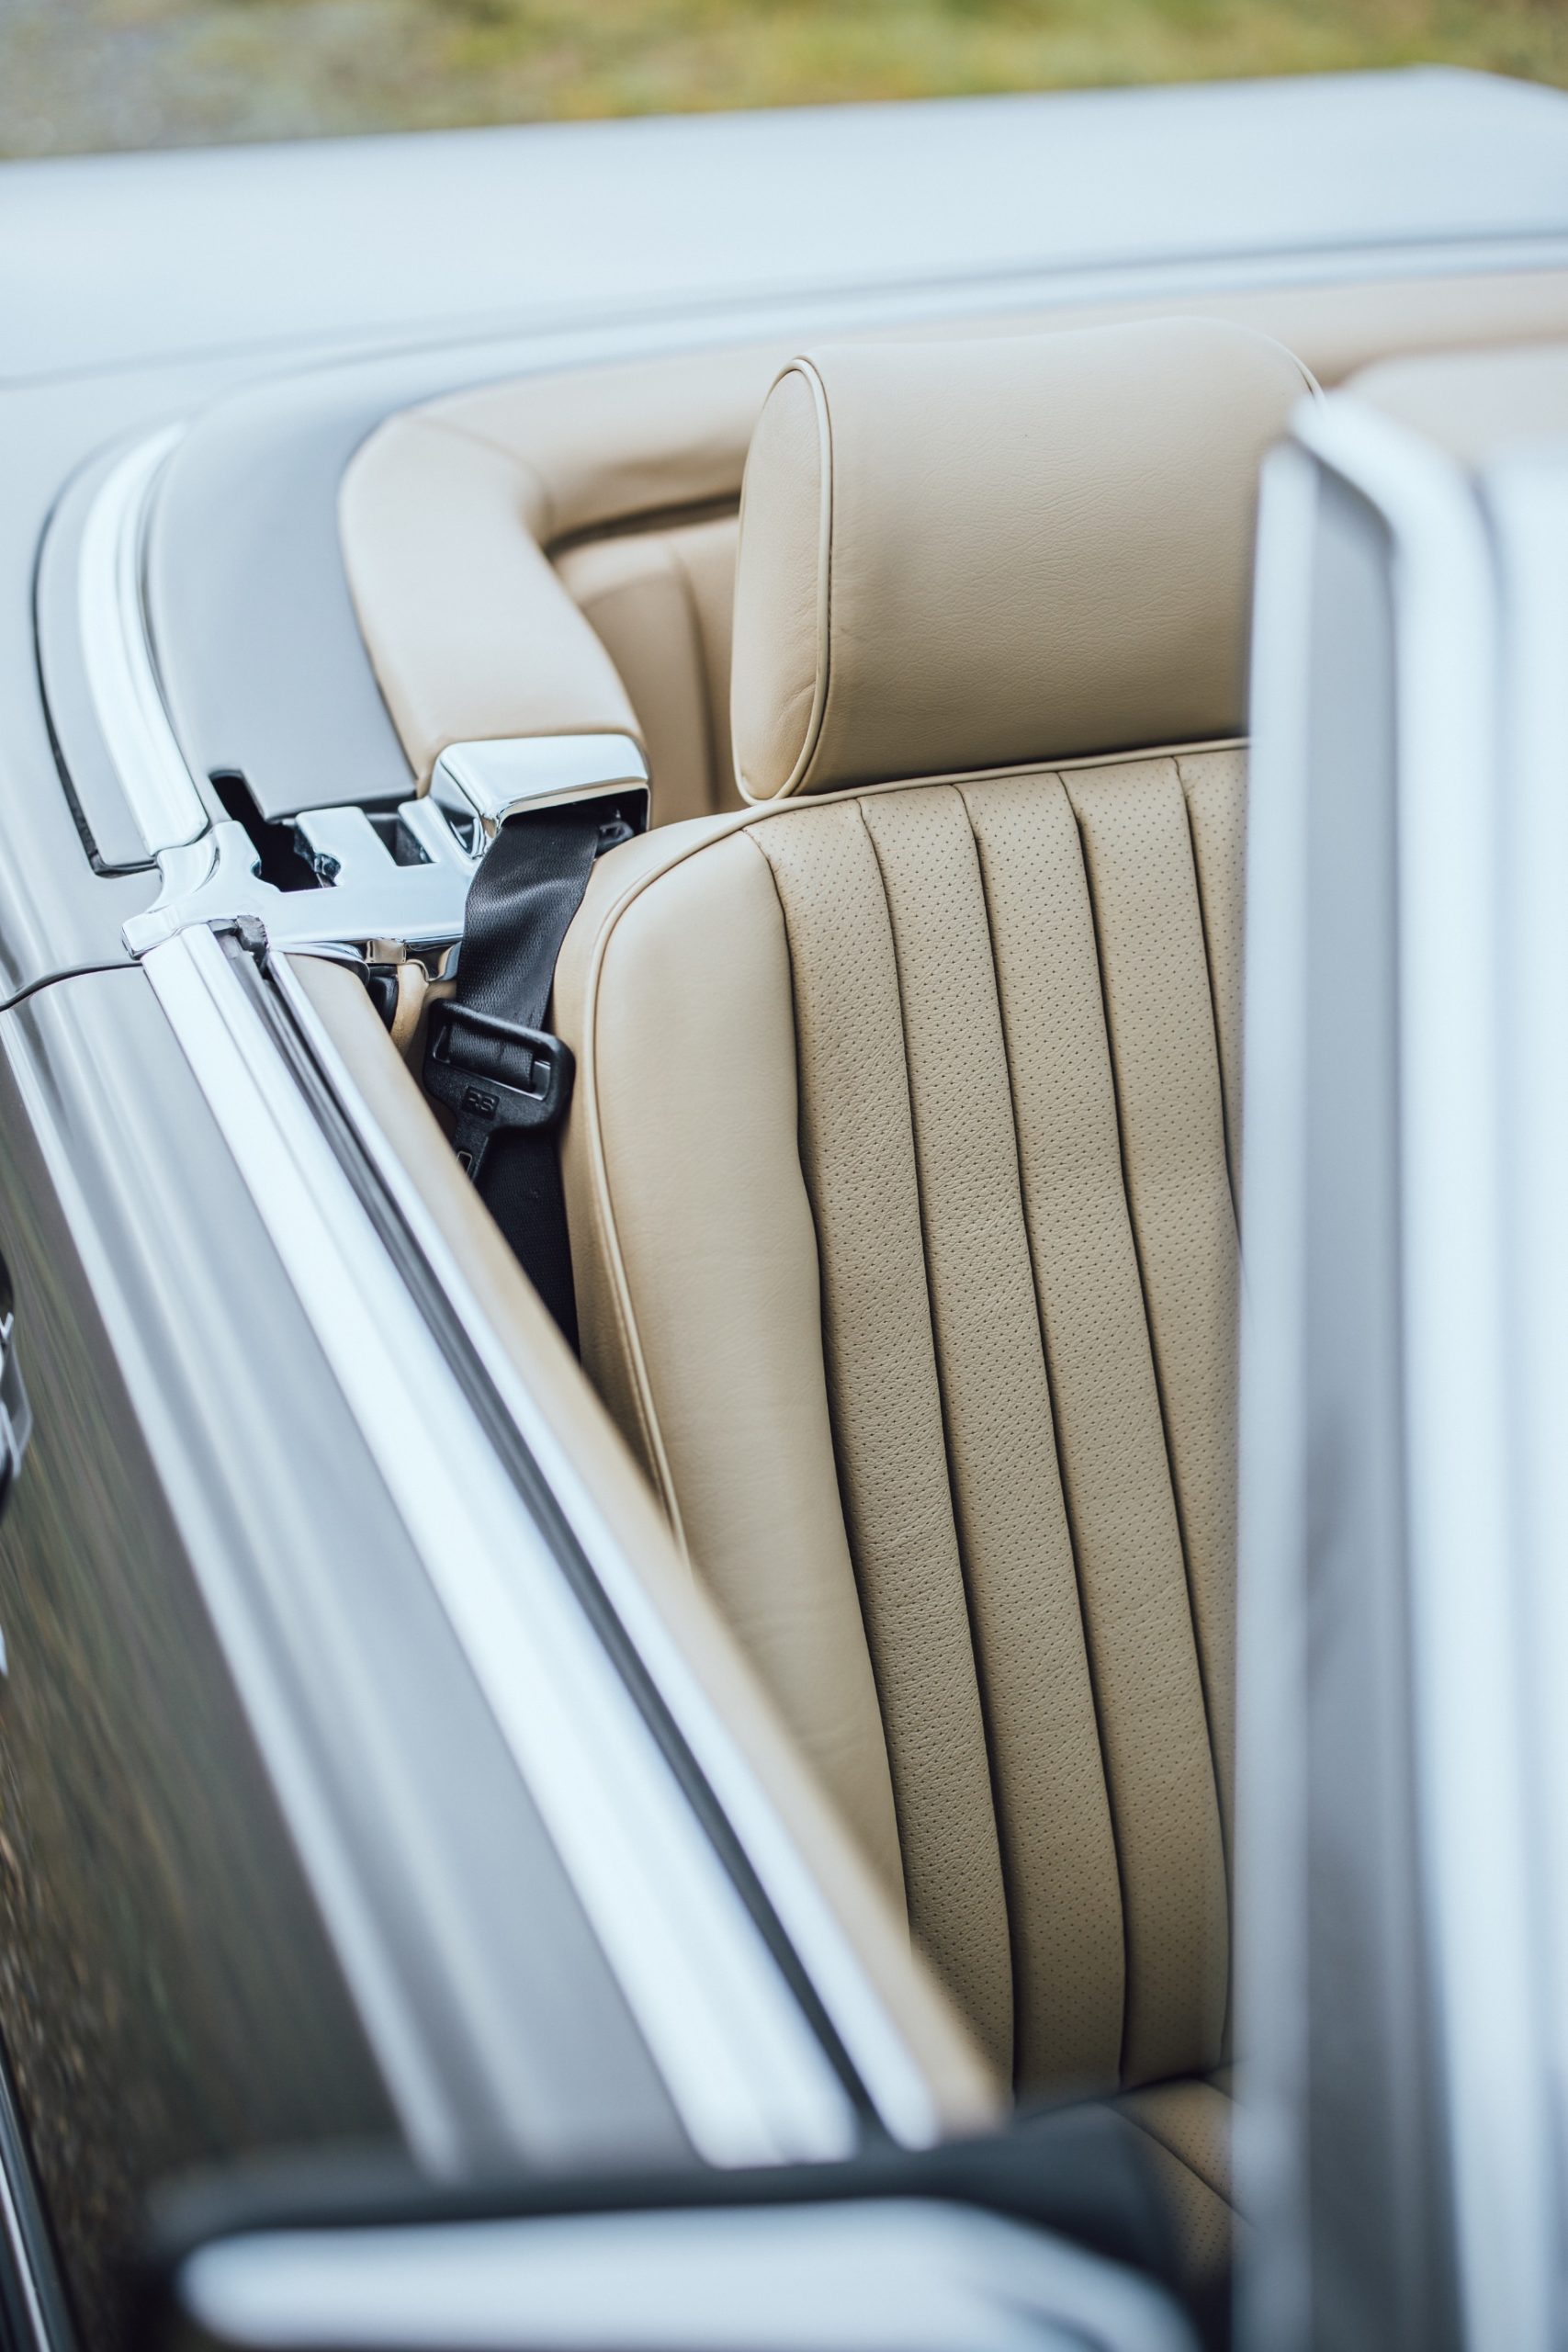
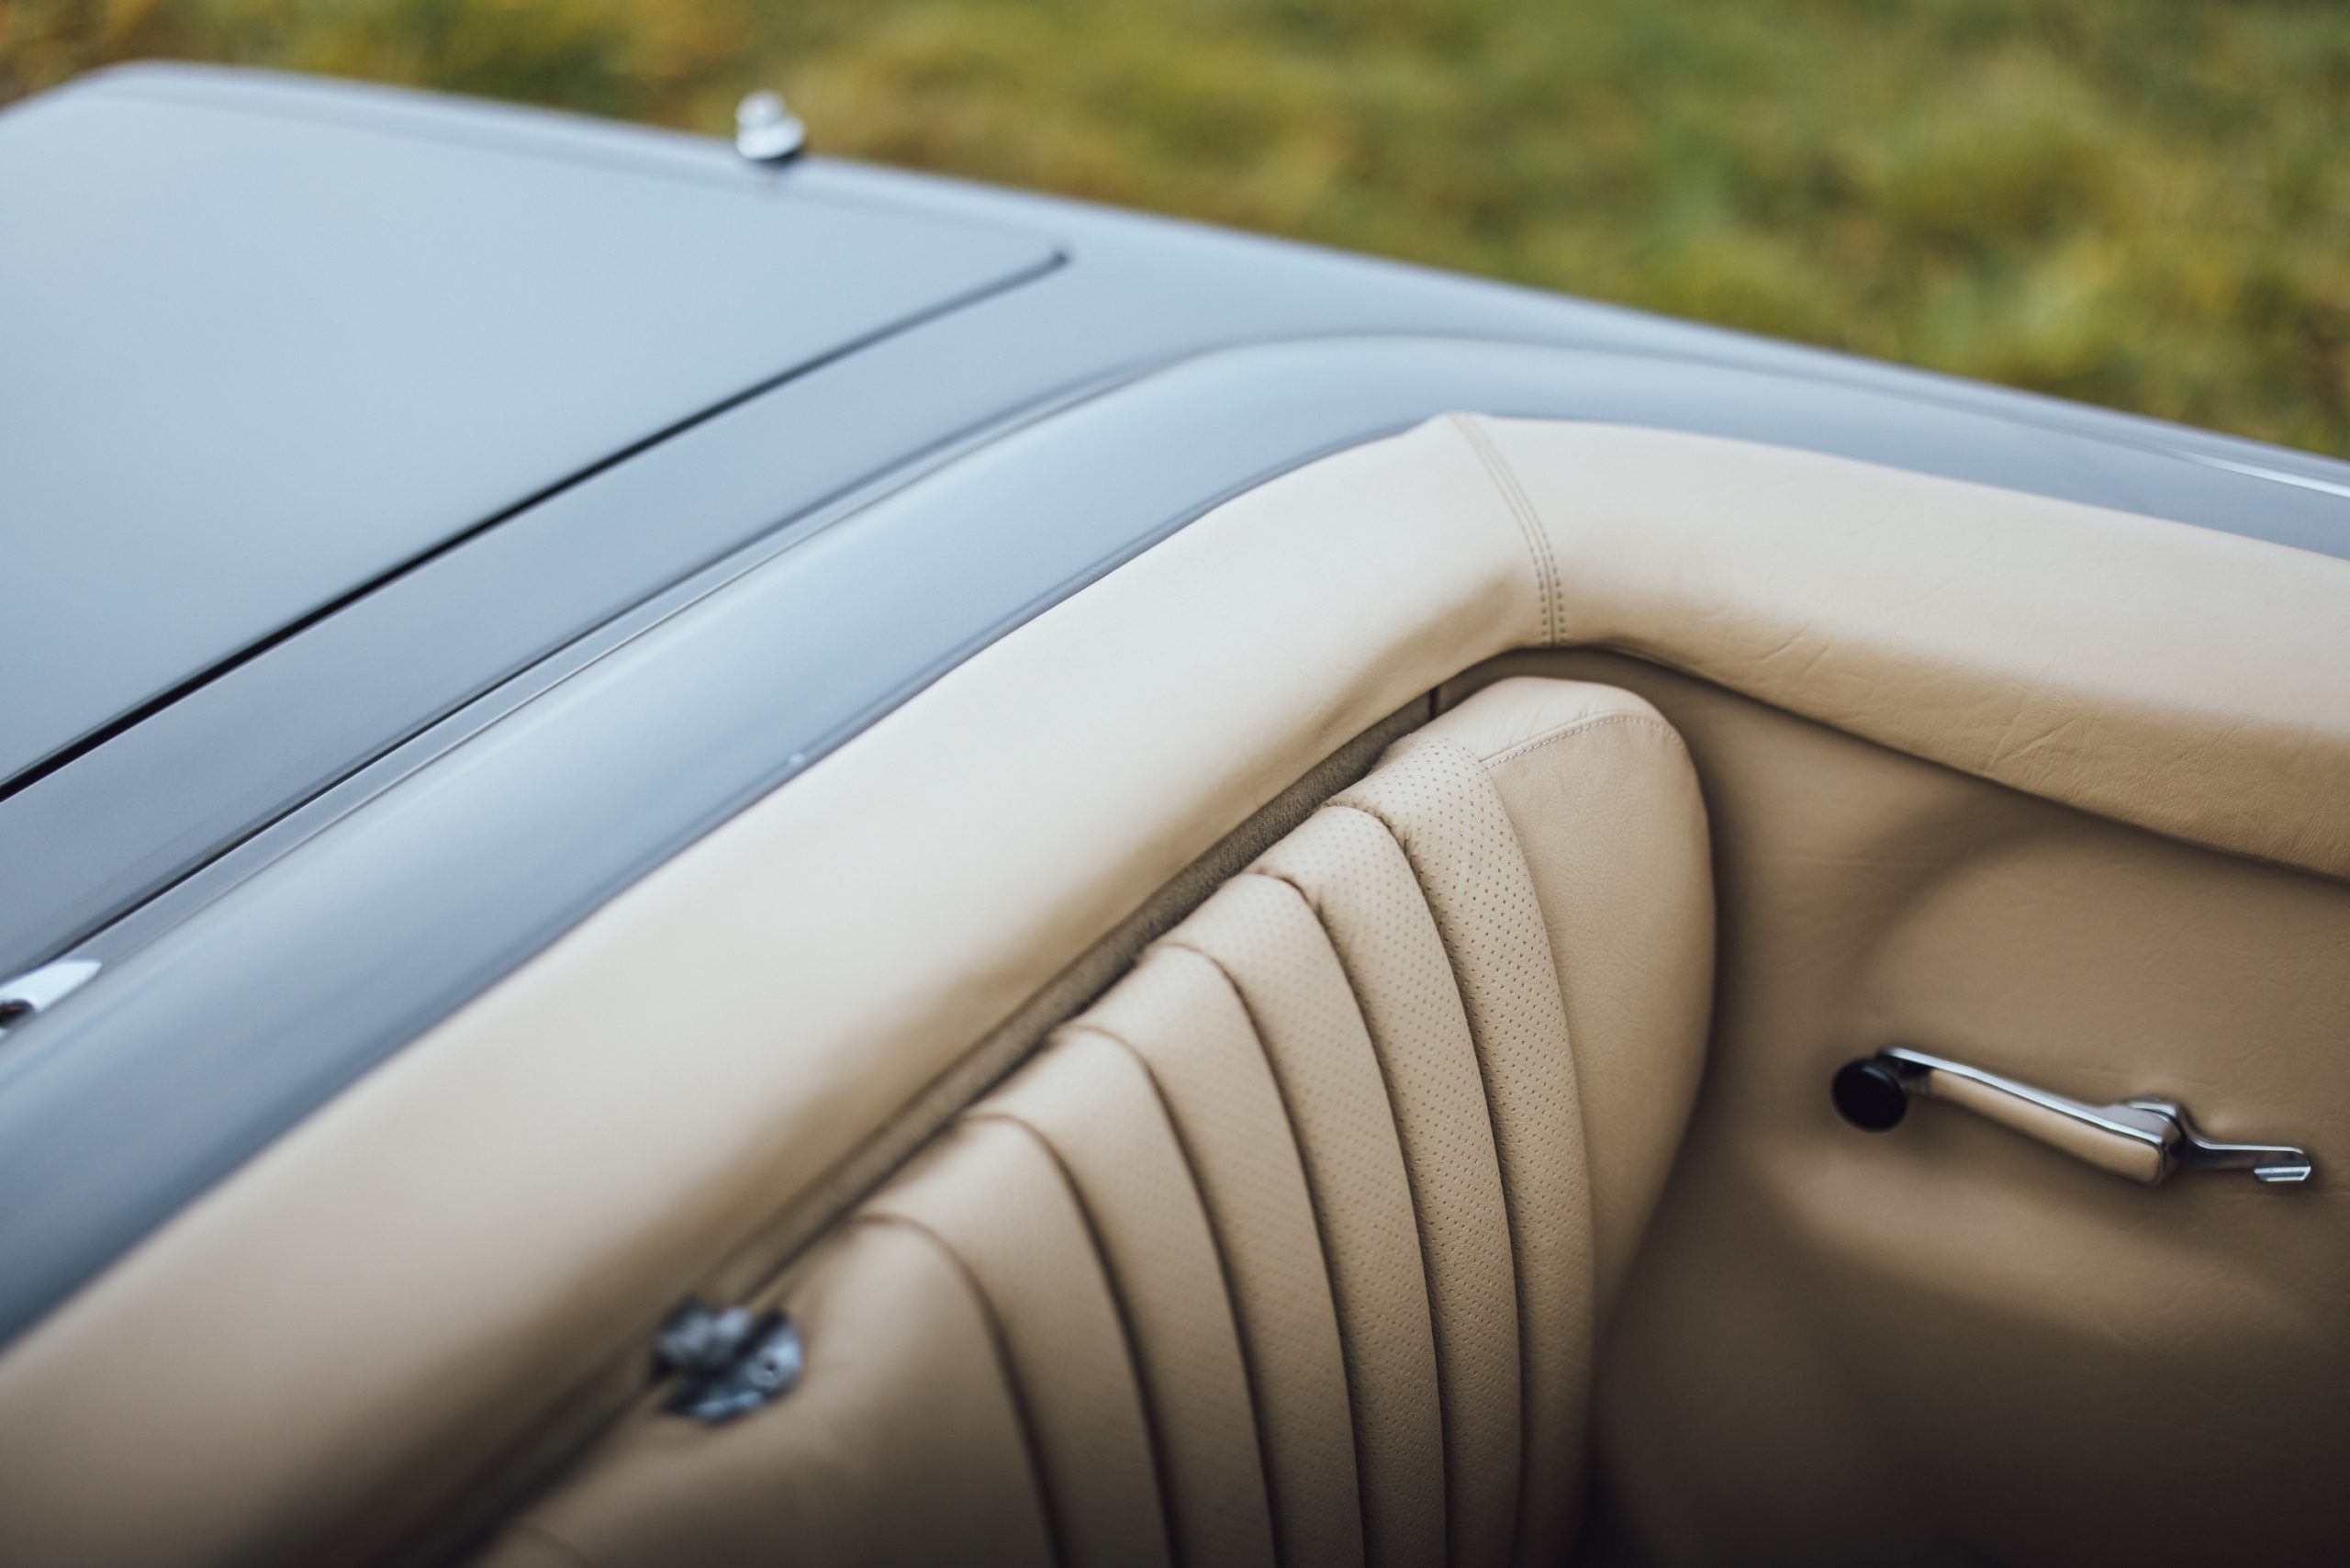
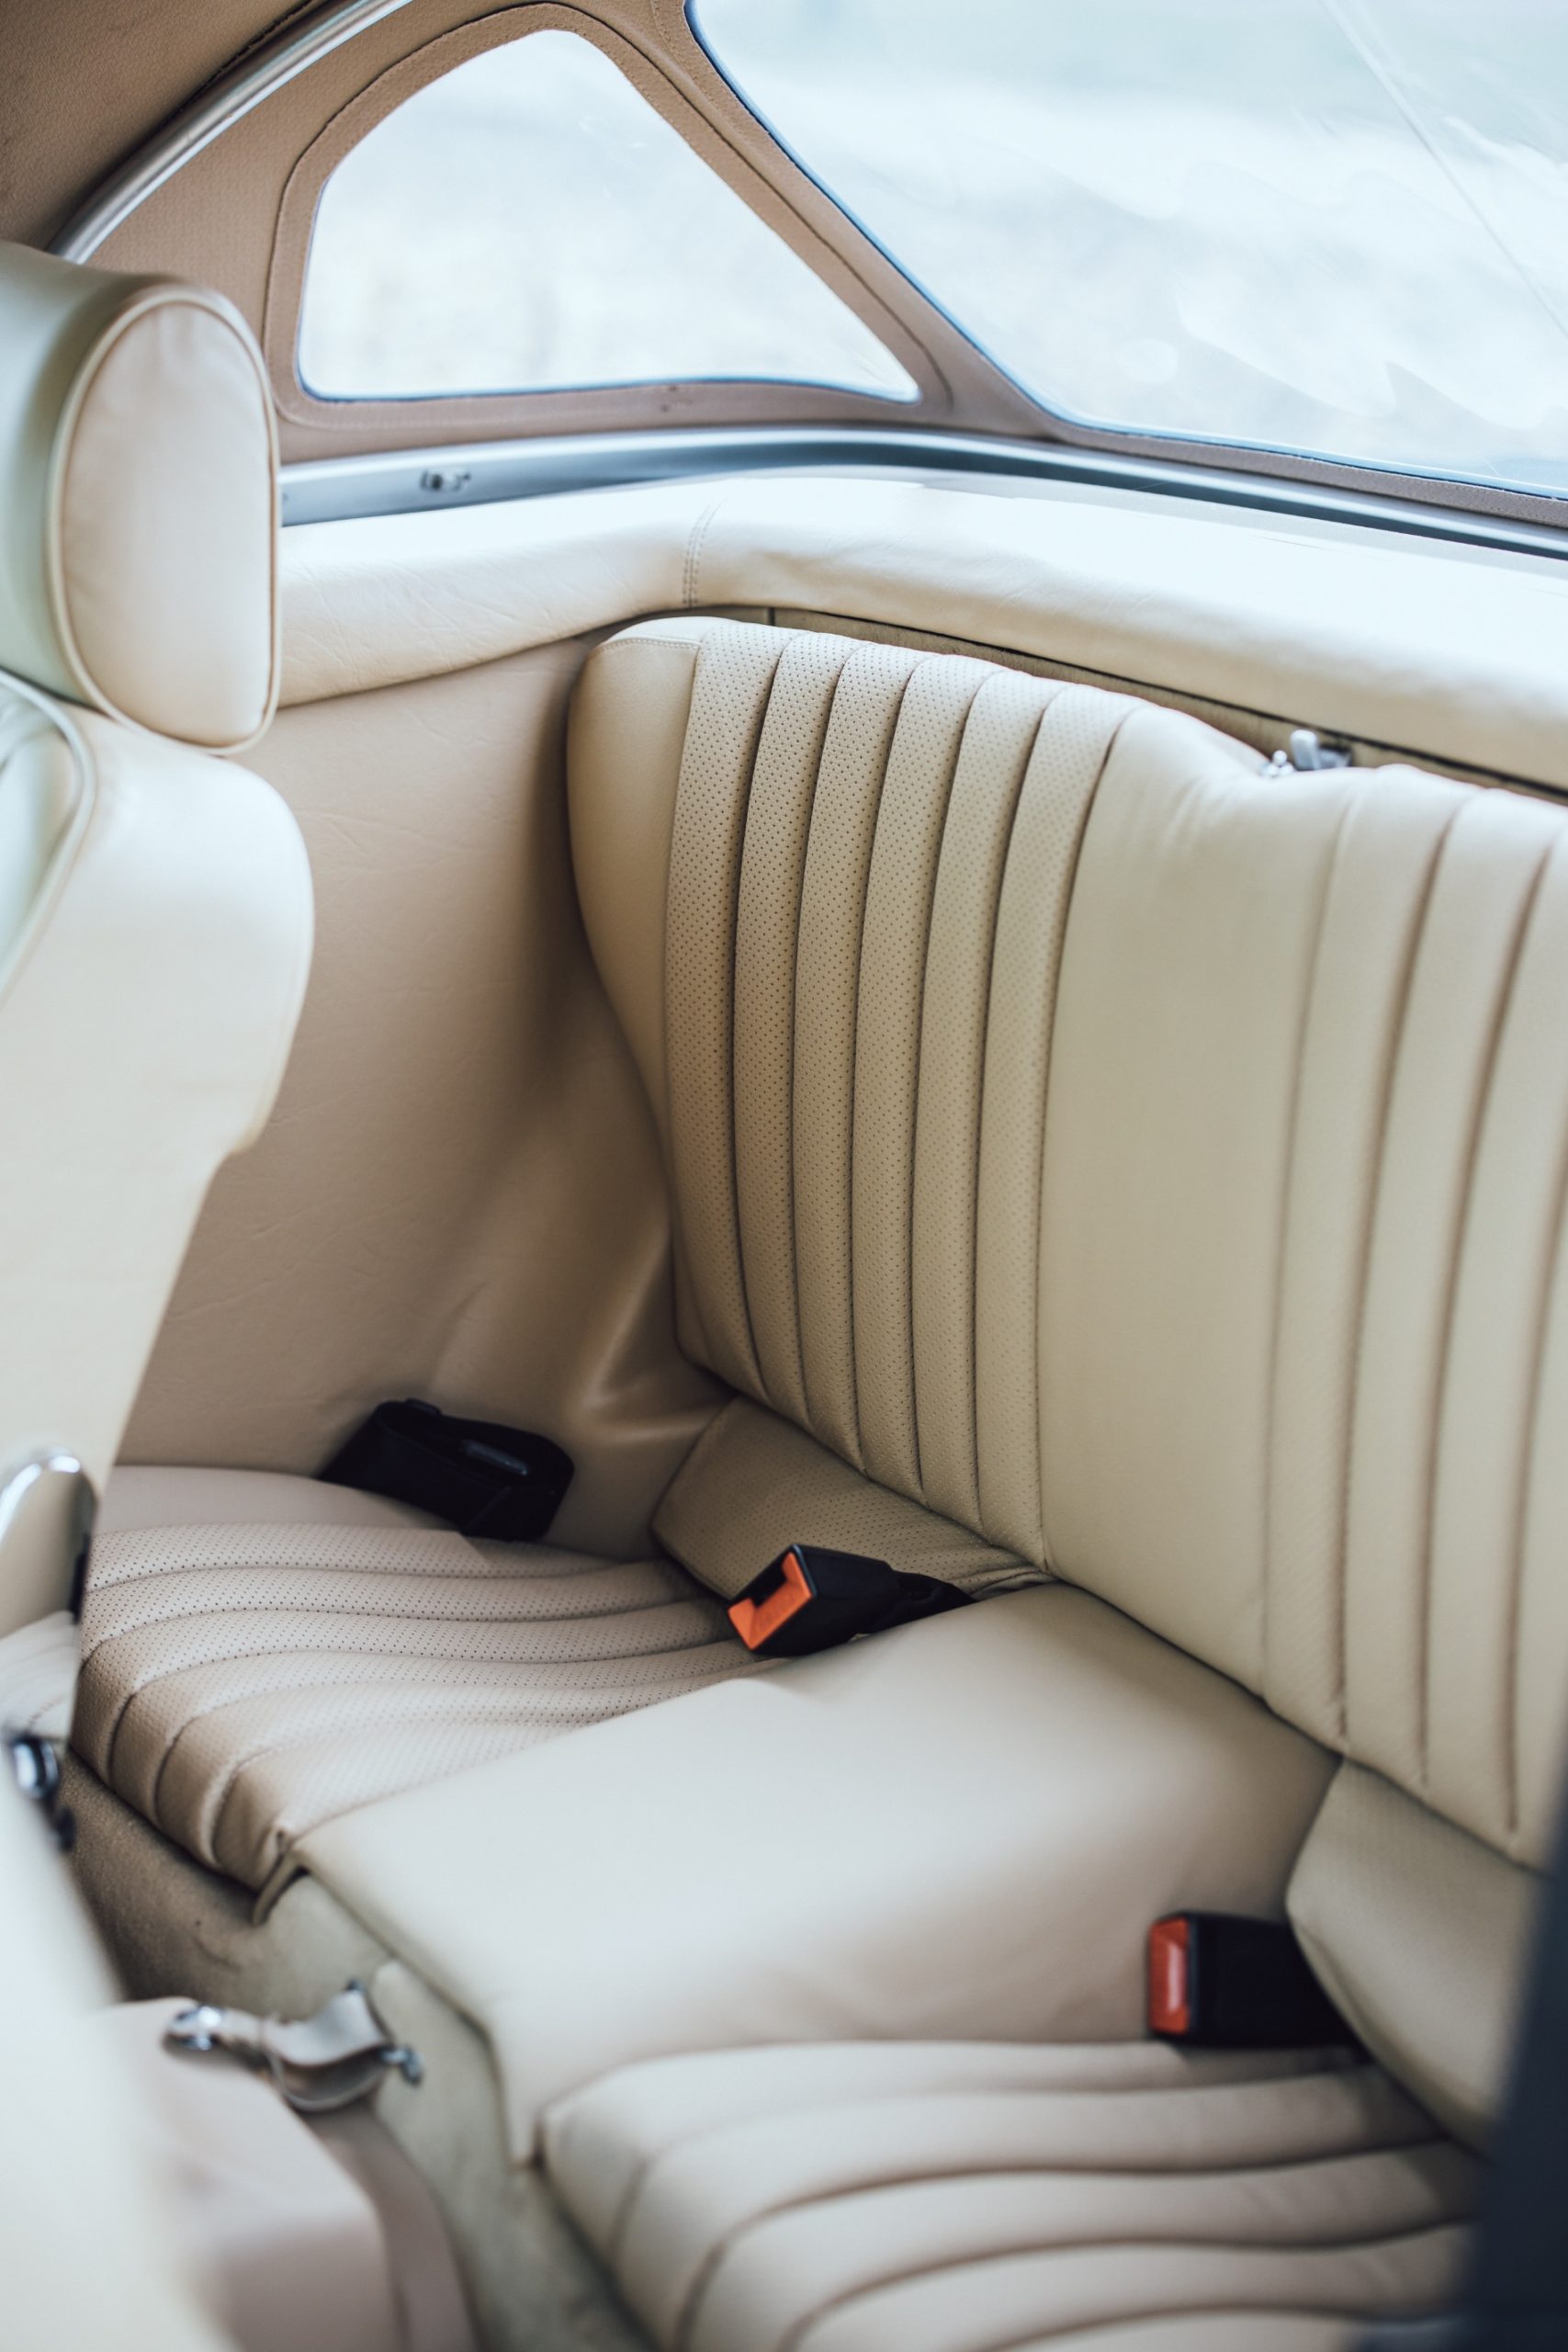
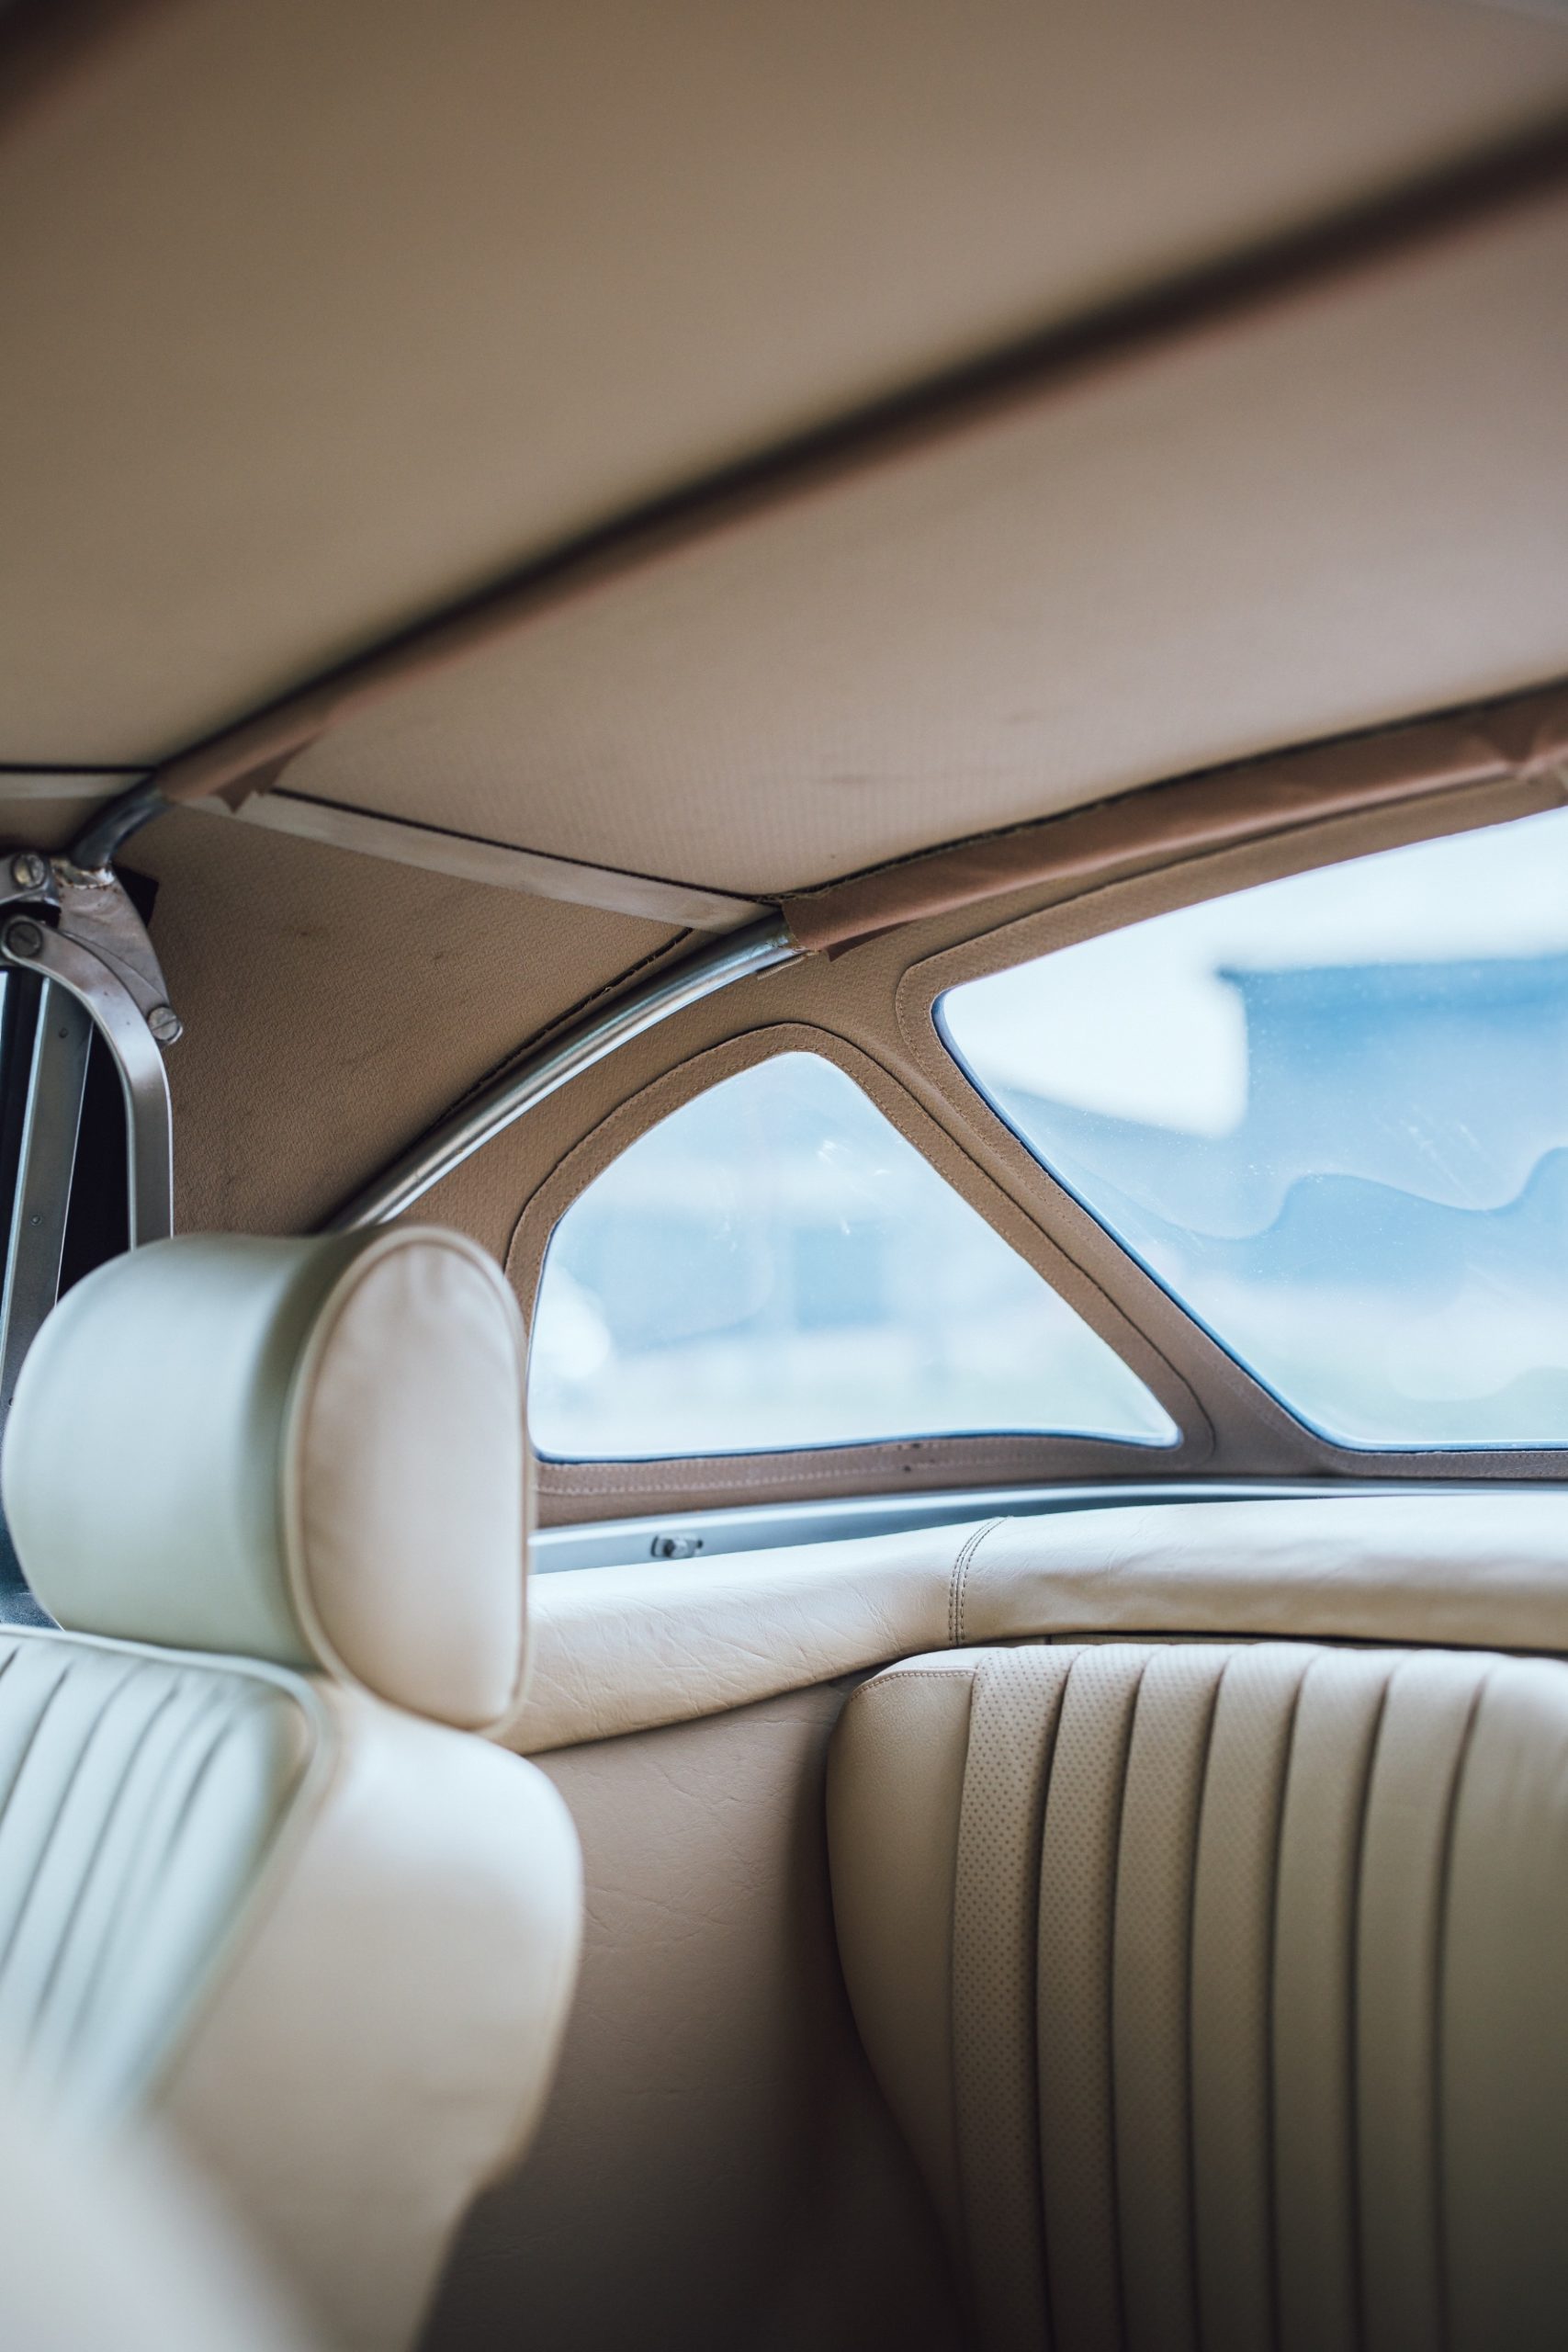
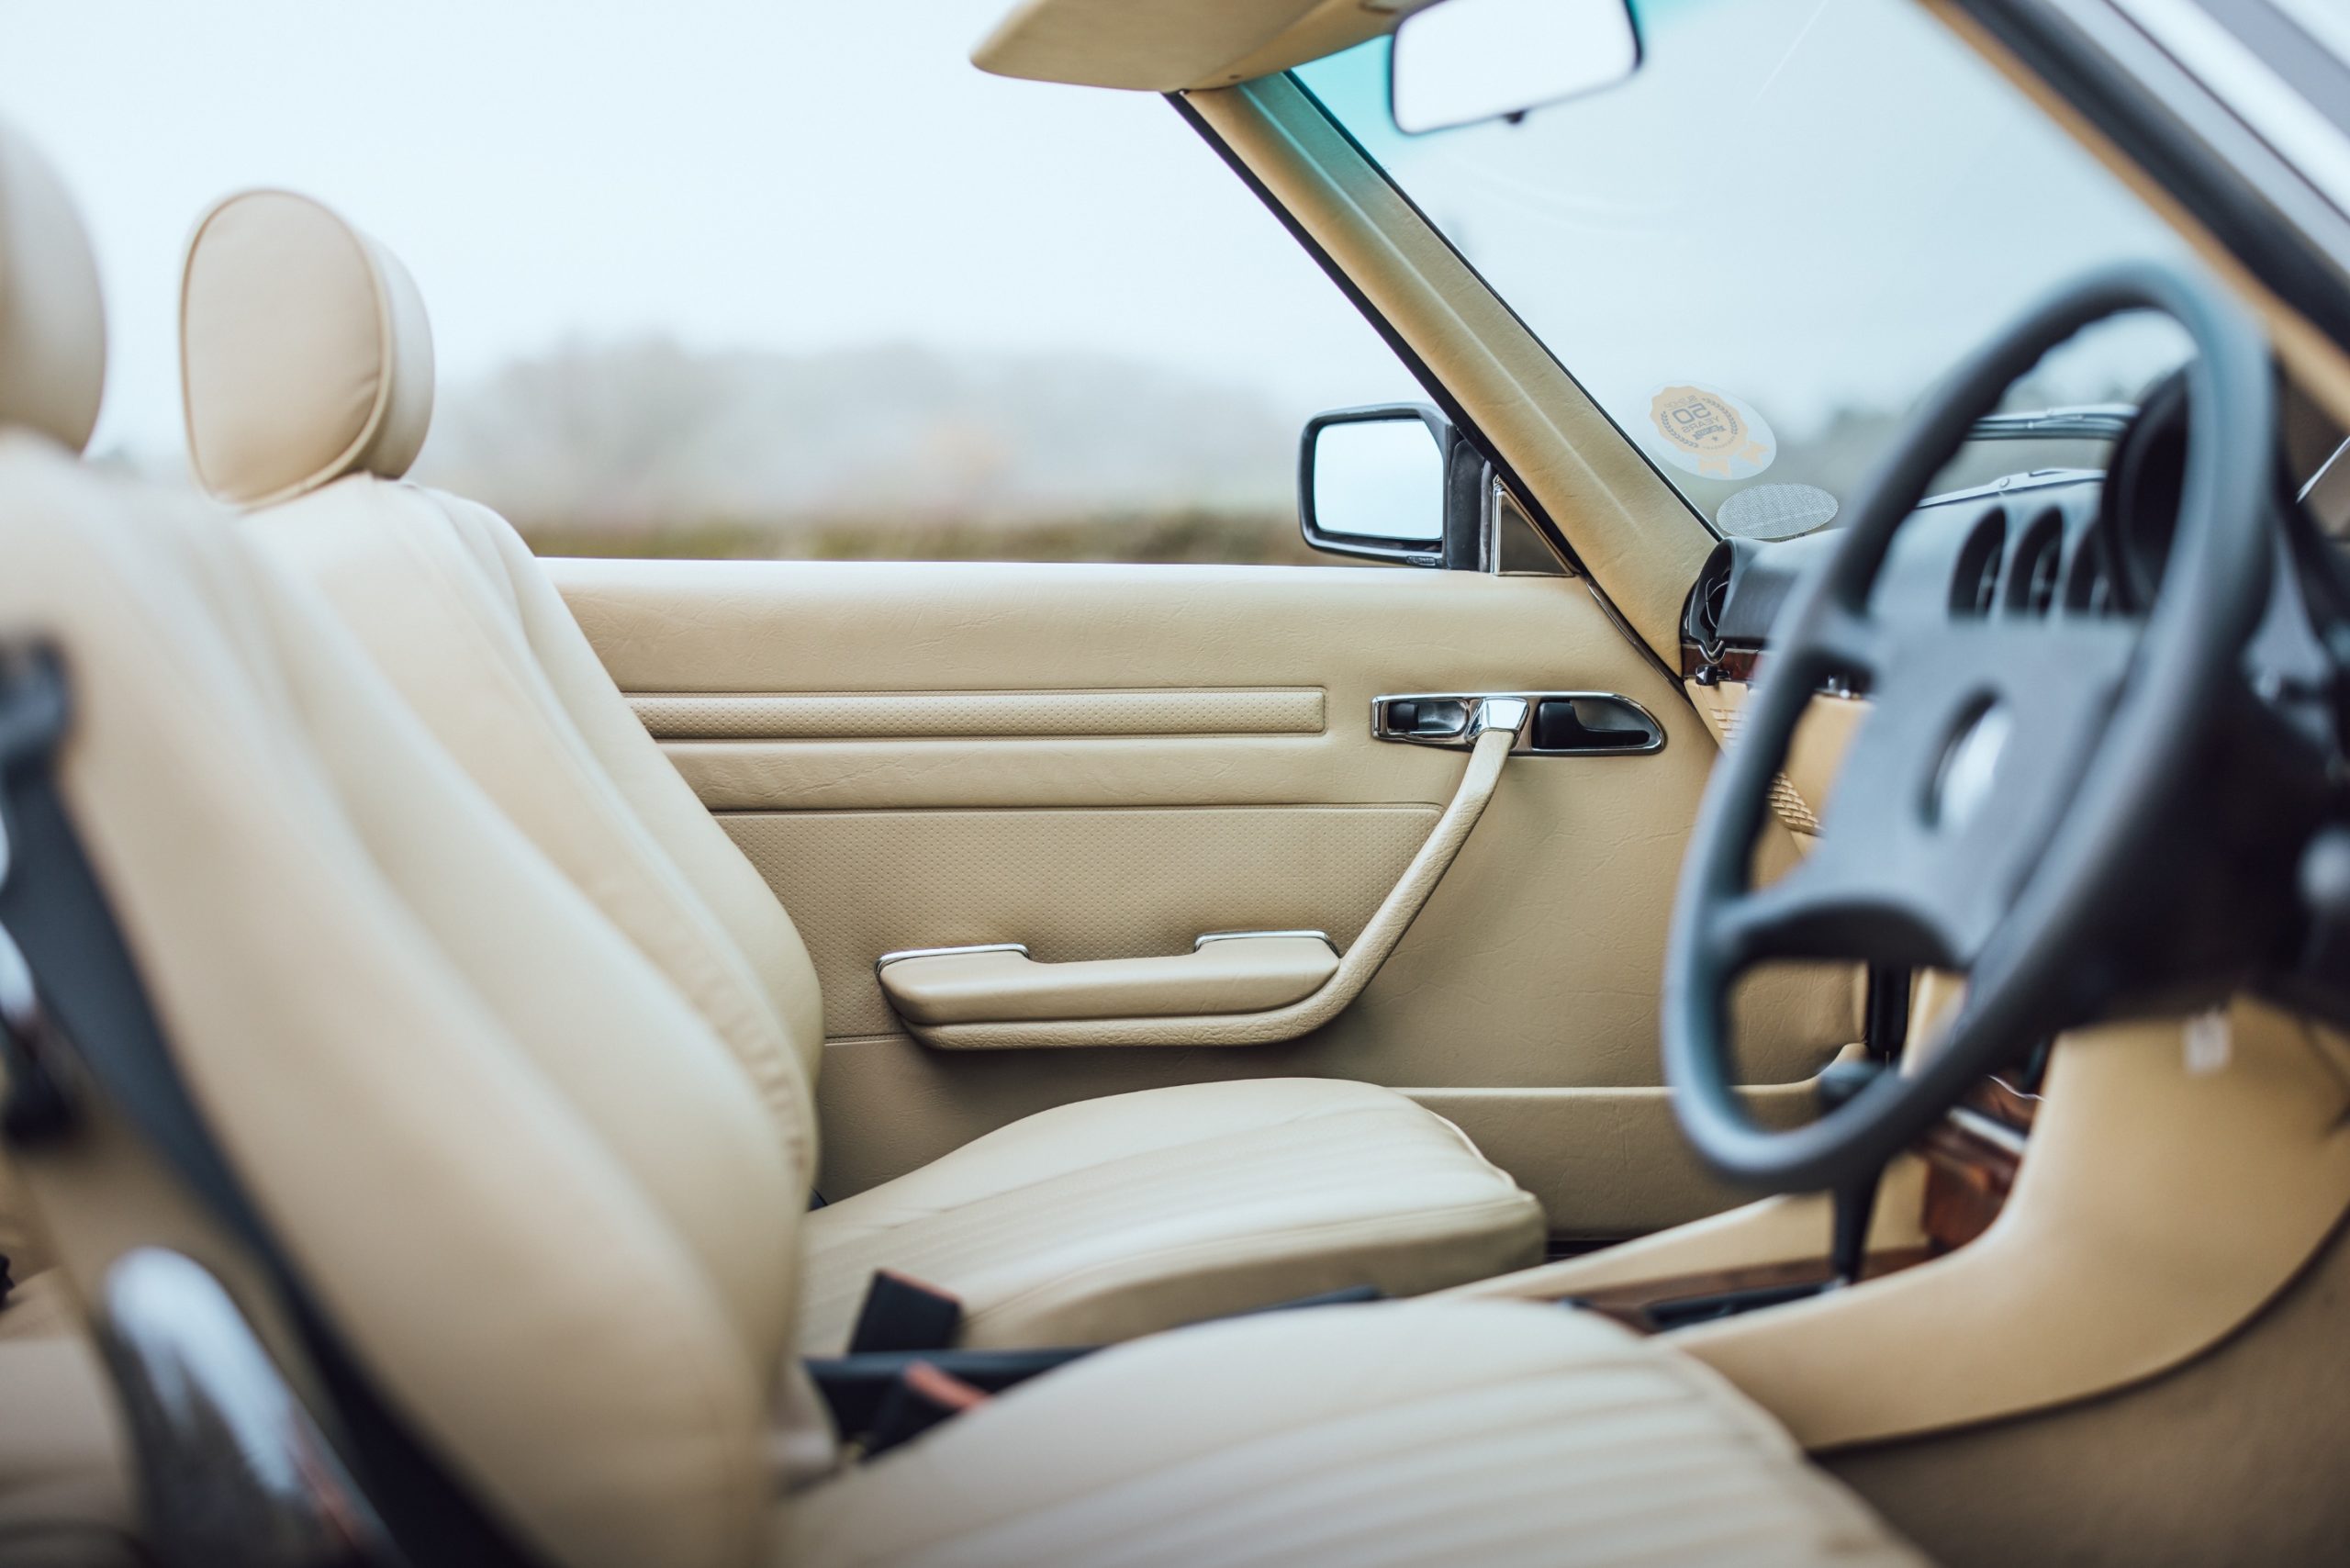
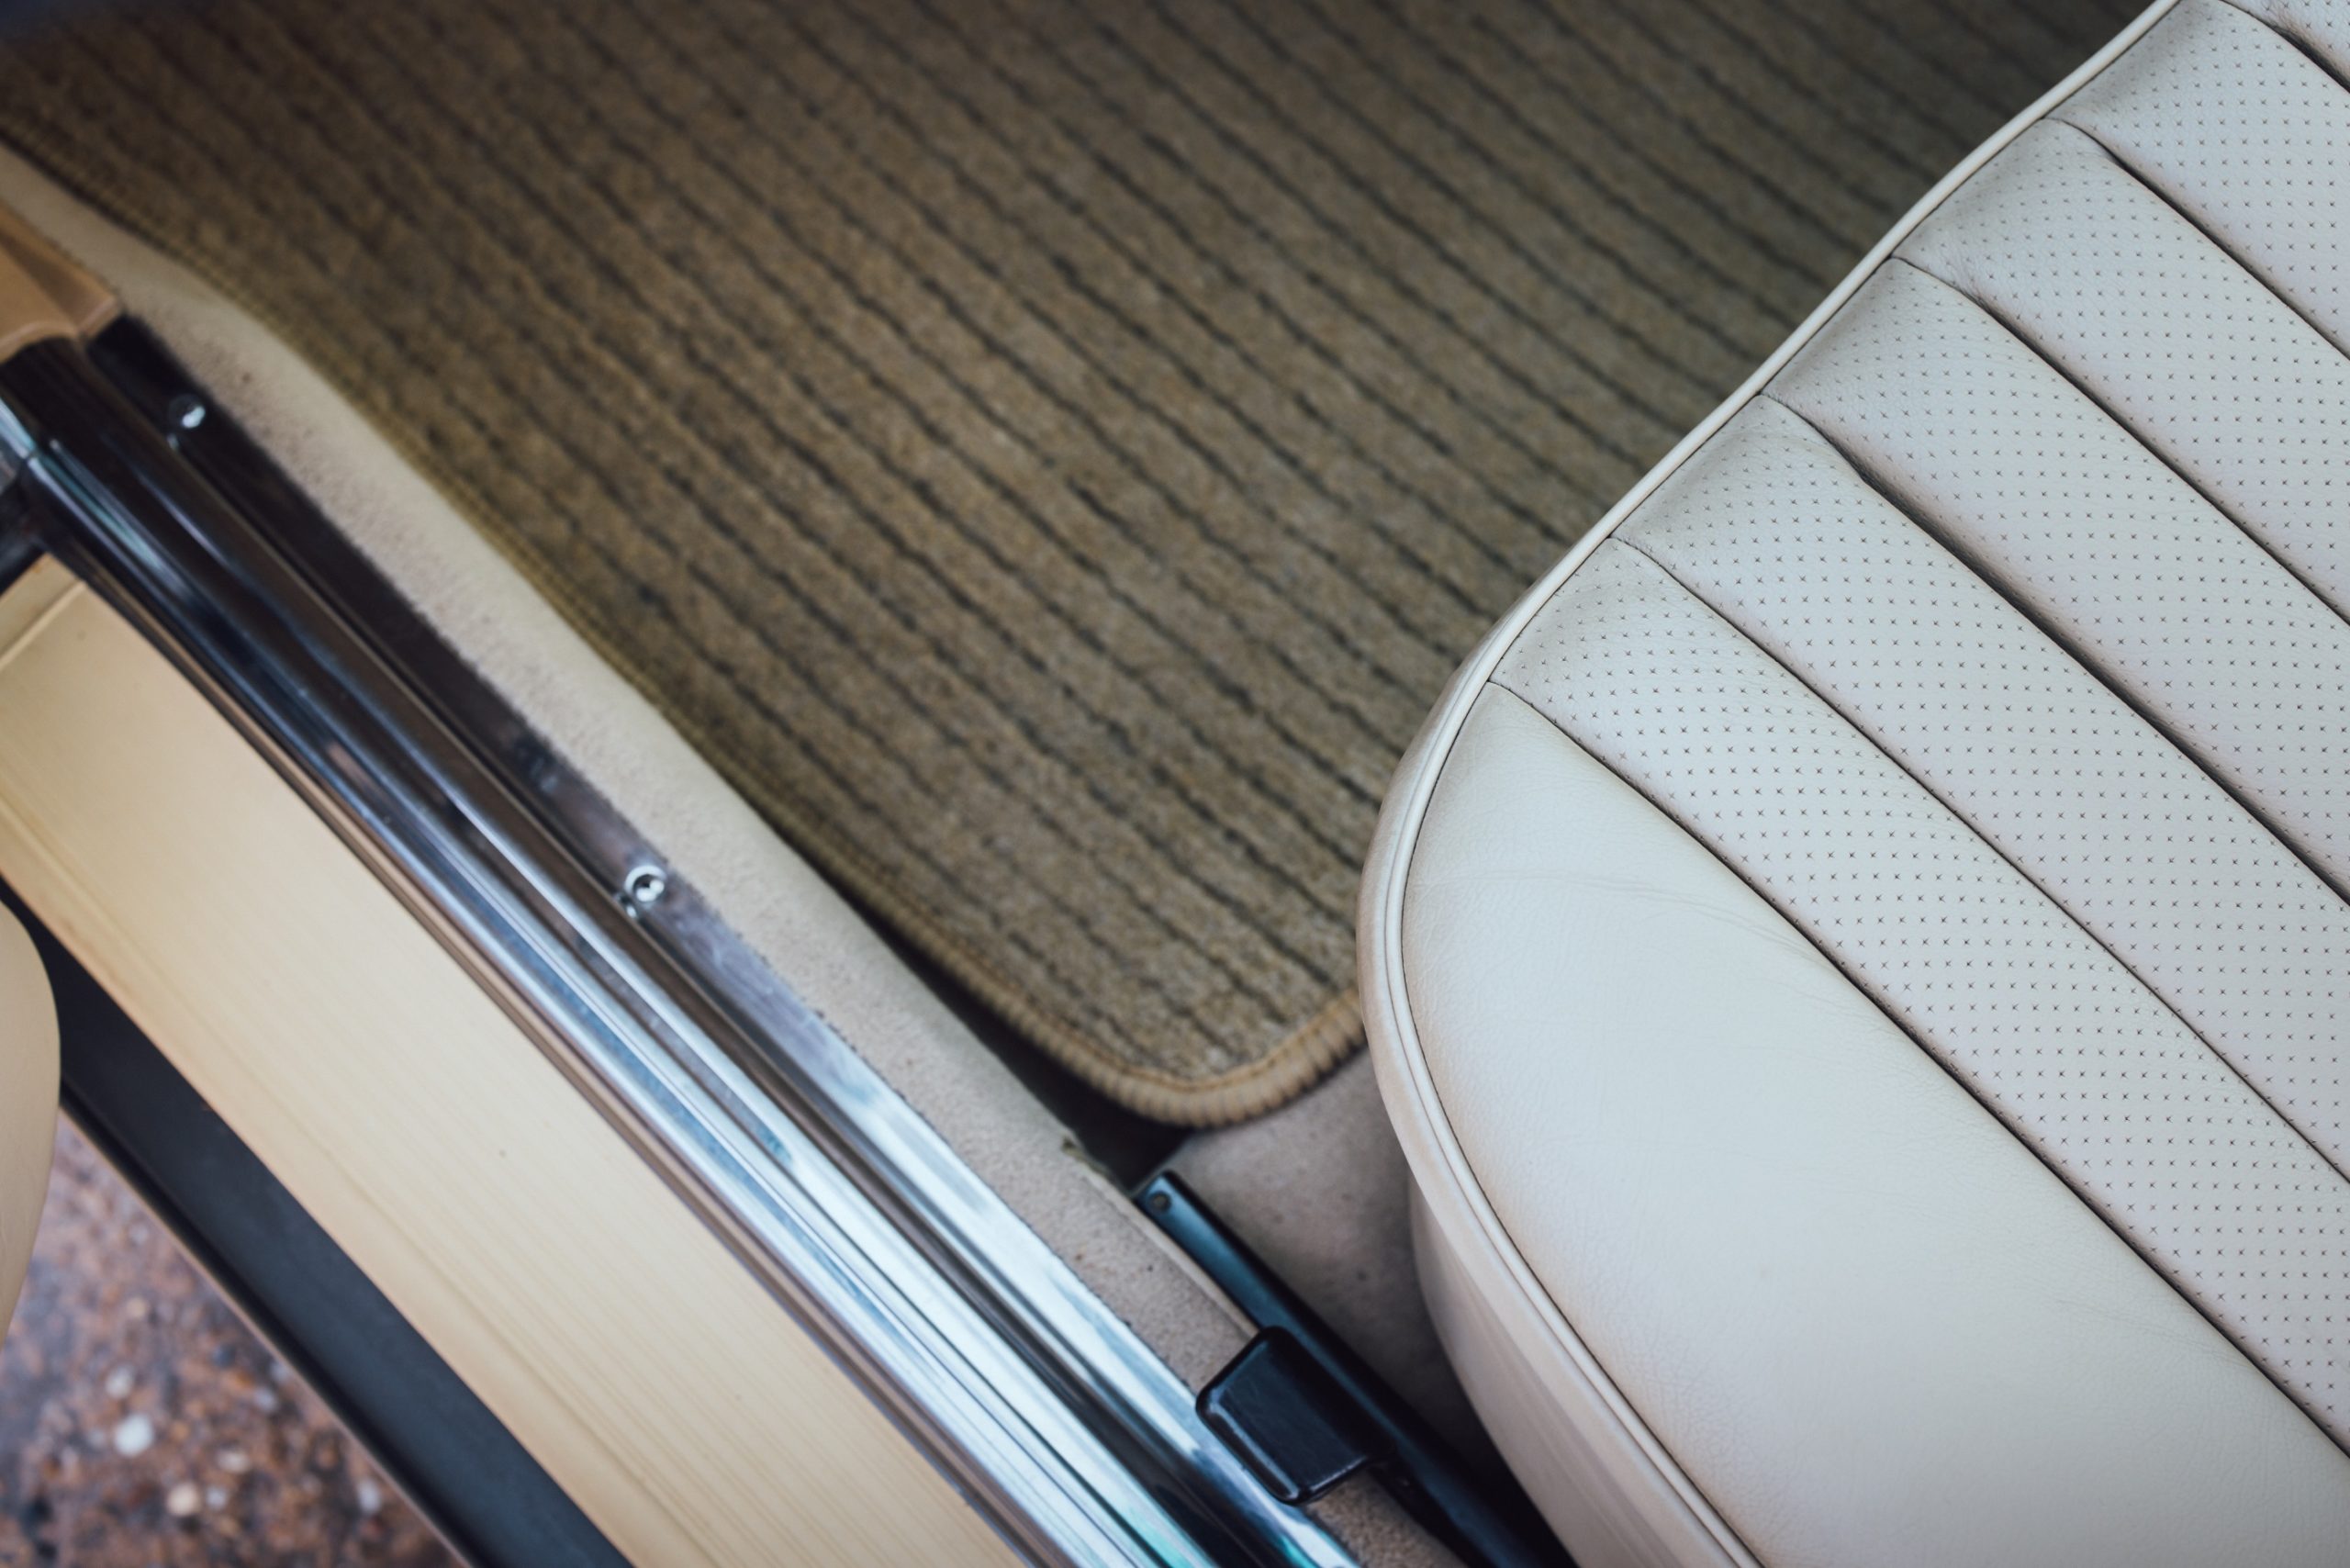
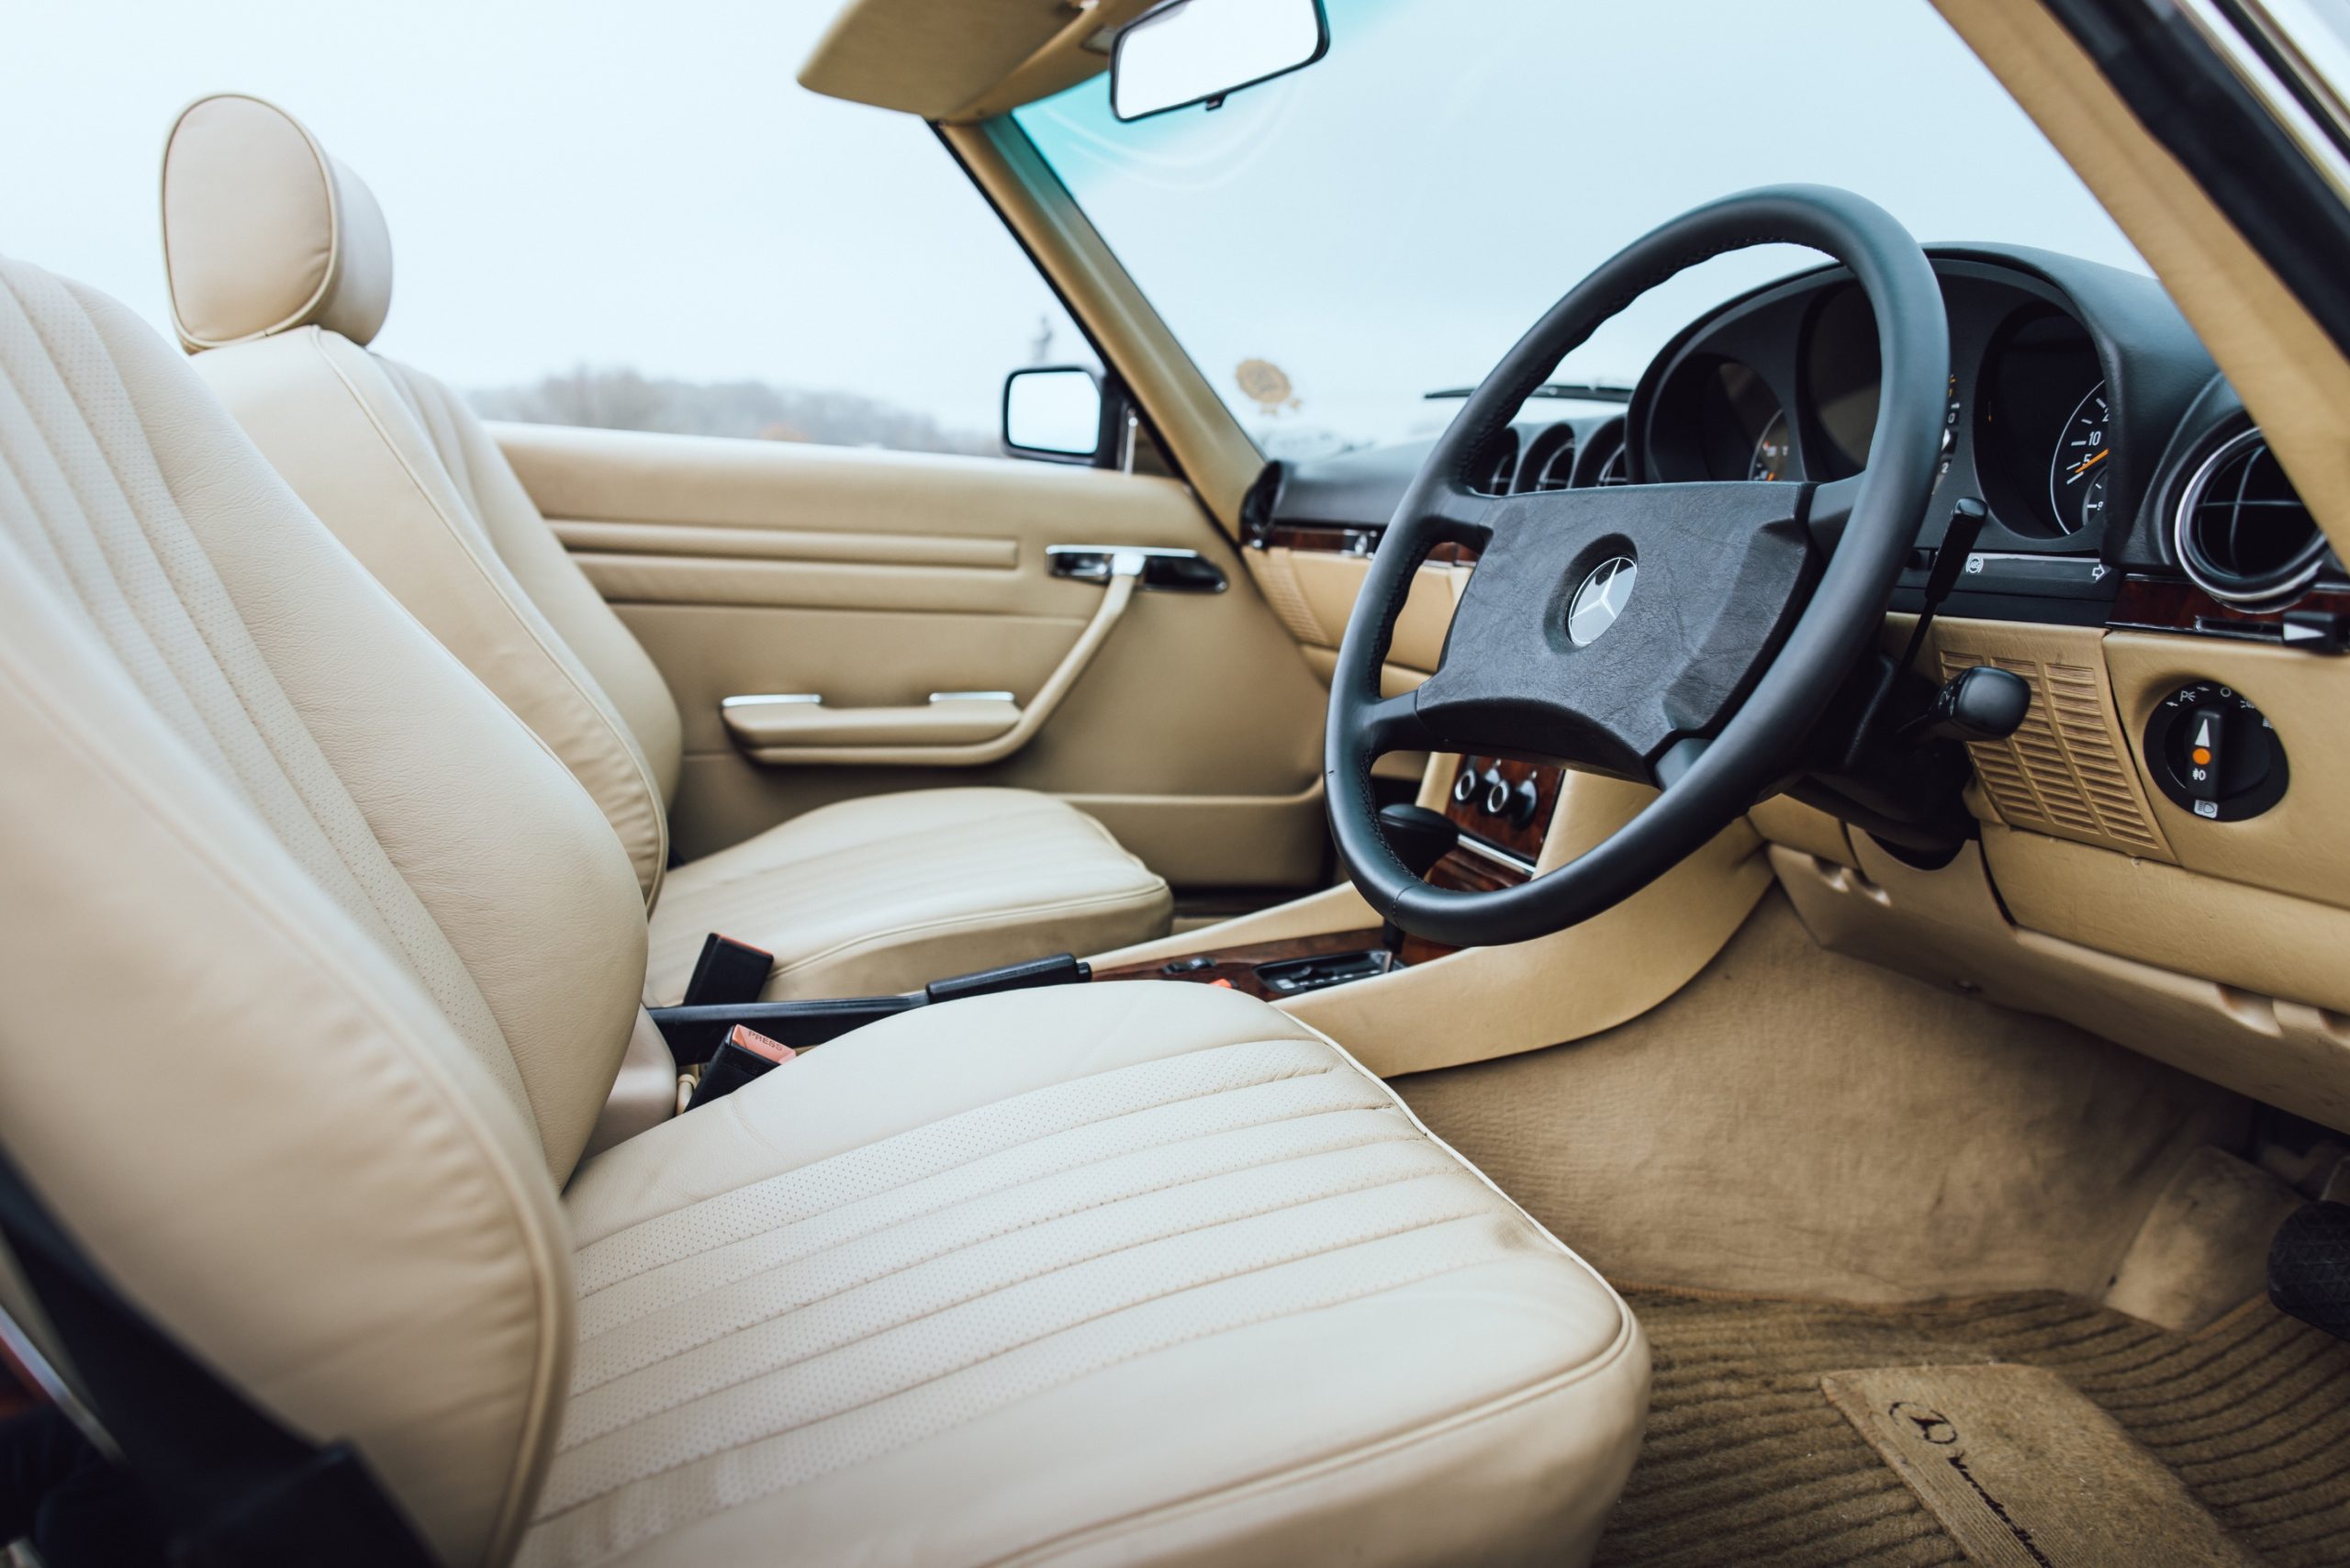
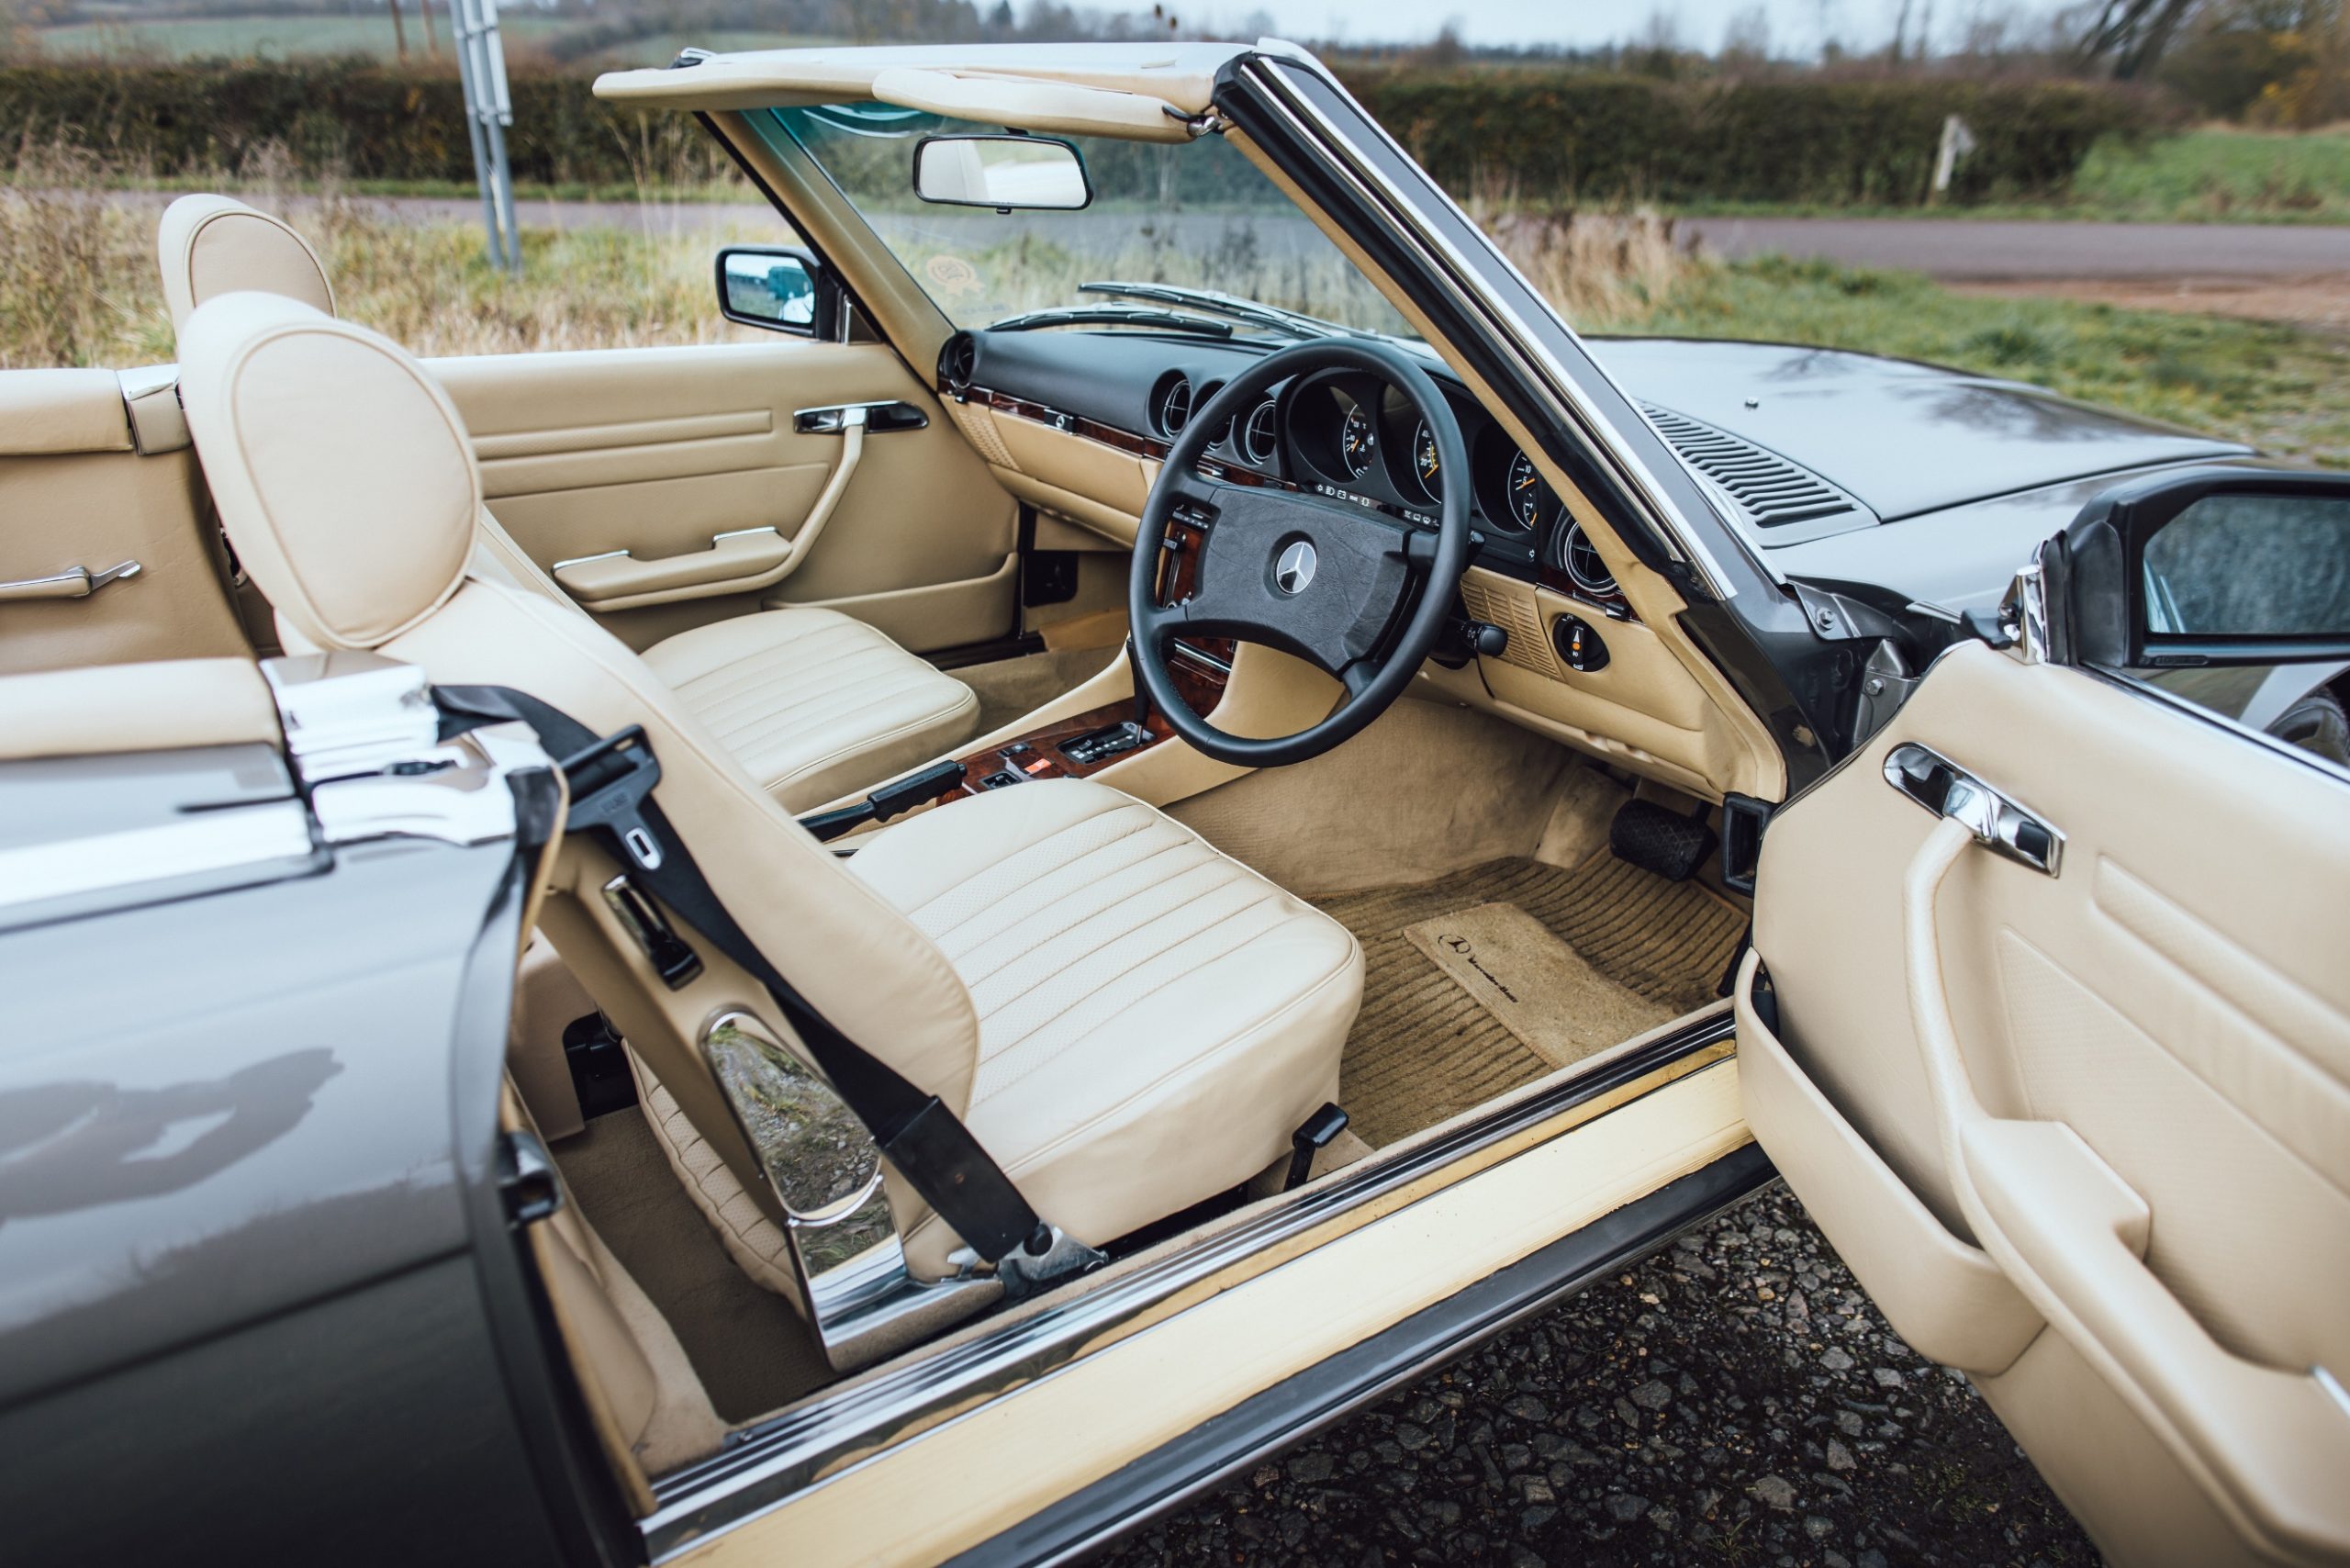
‘There was a change in the shape of the perforations in the seat leather about the time this car was made. It was important to get it right, so we had to establish that the pattern we’d be using was right – we couldn’t necessarily trust that the seats that came with the car were the originals.’
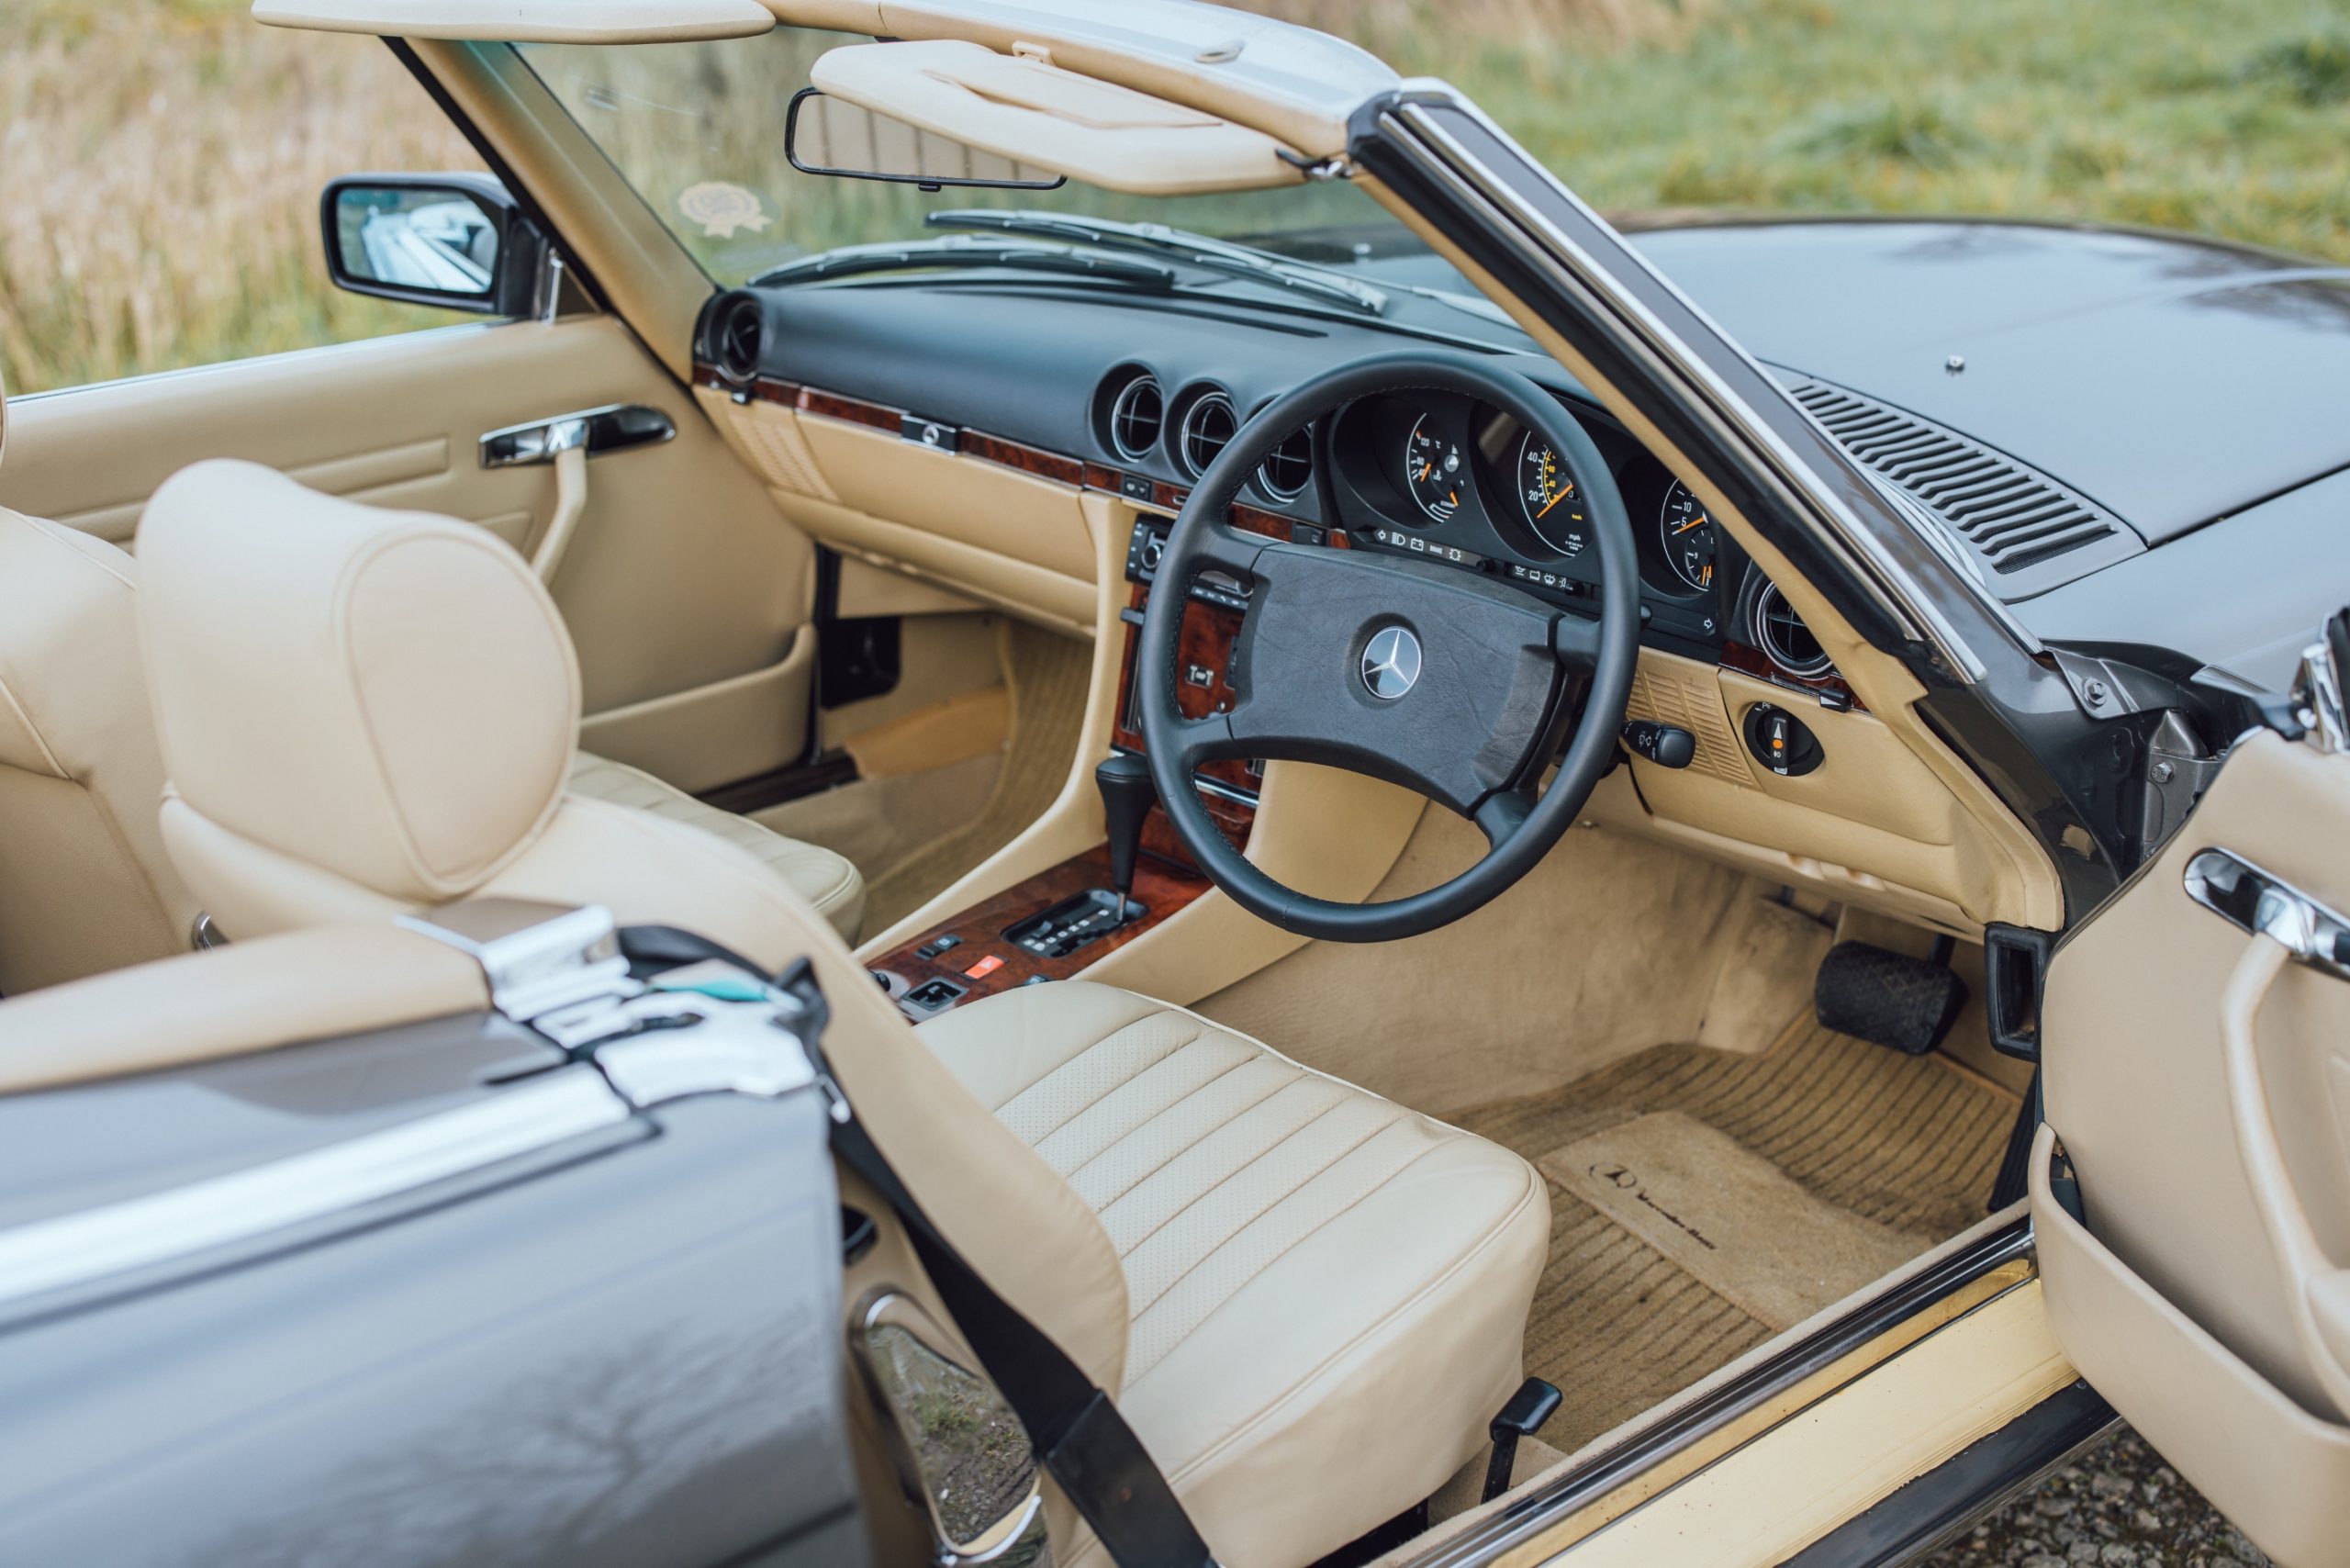
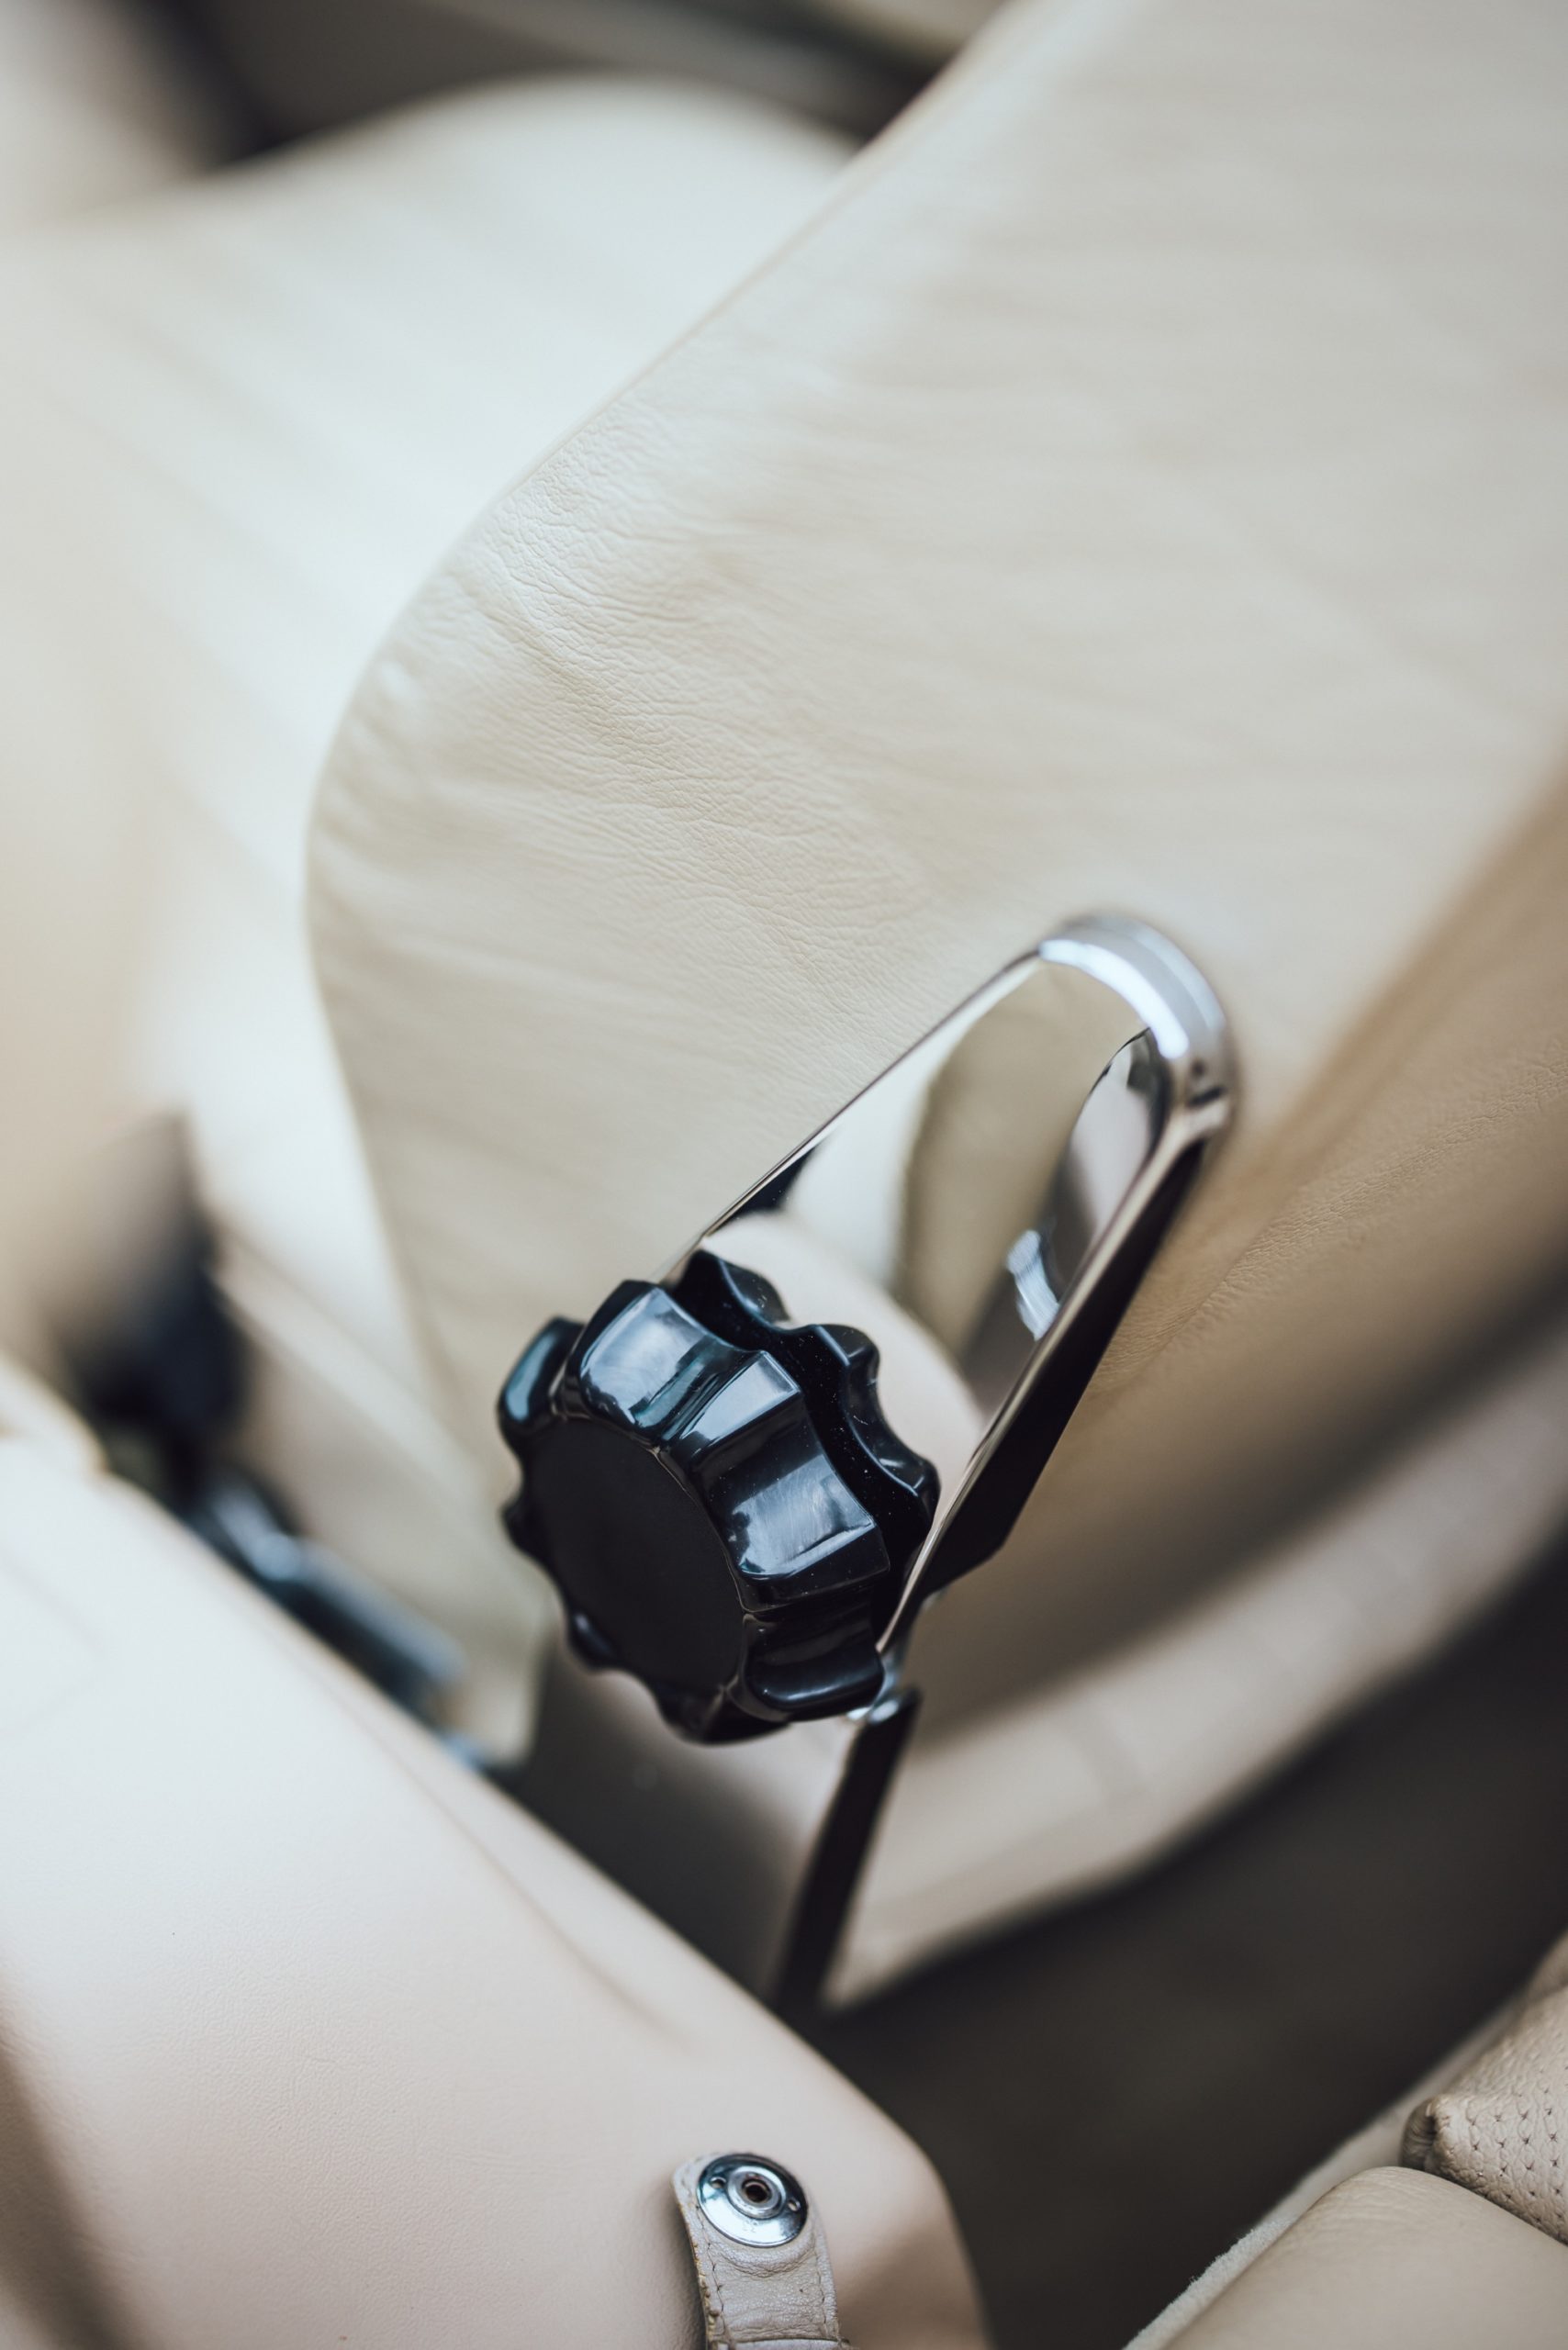
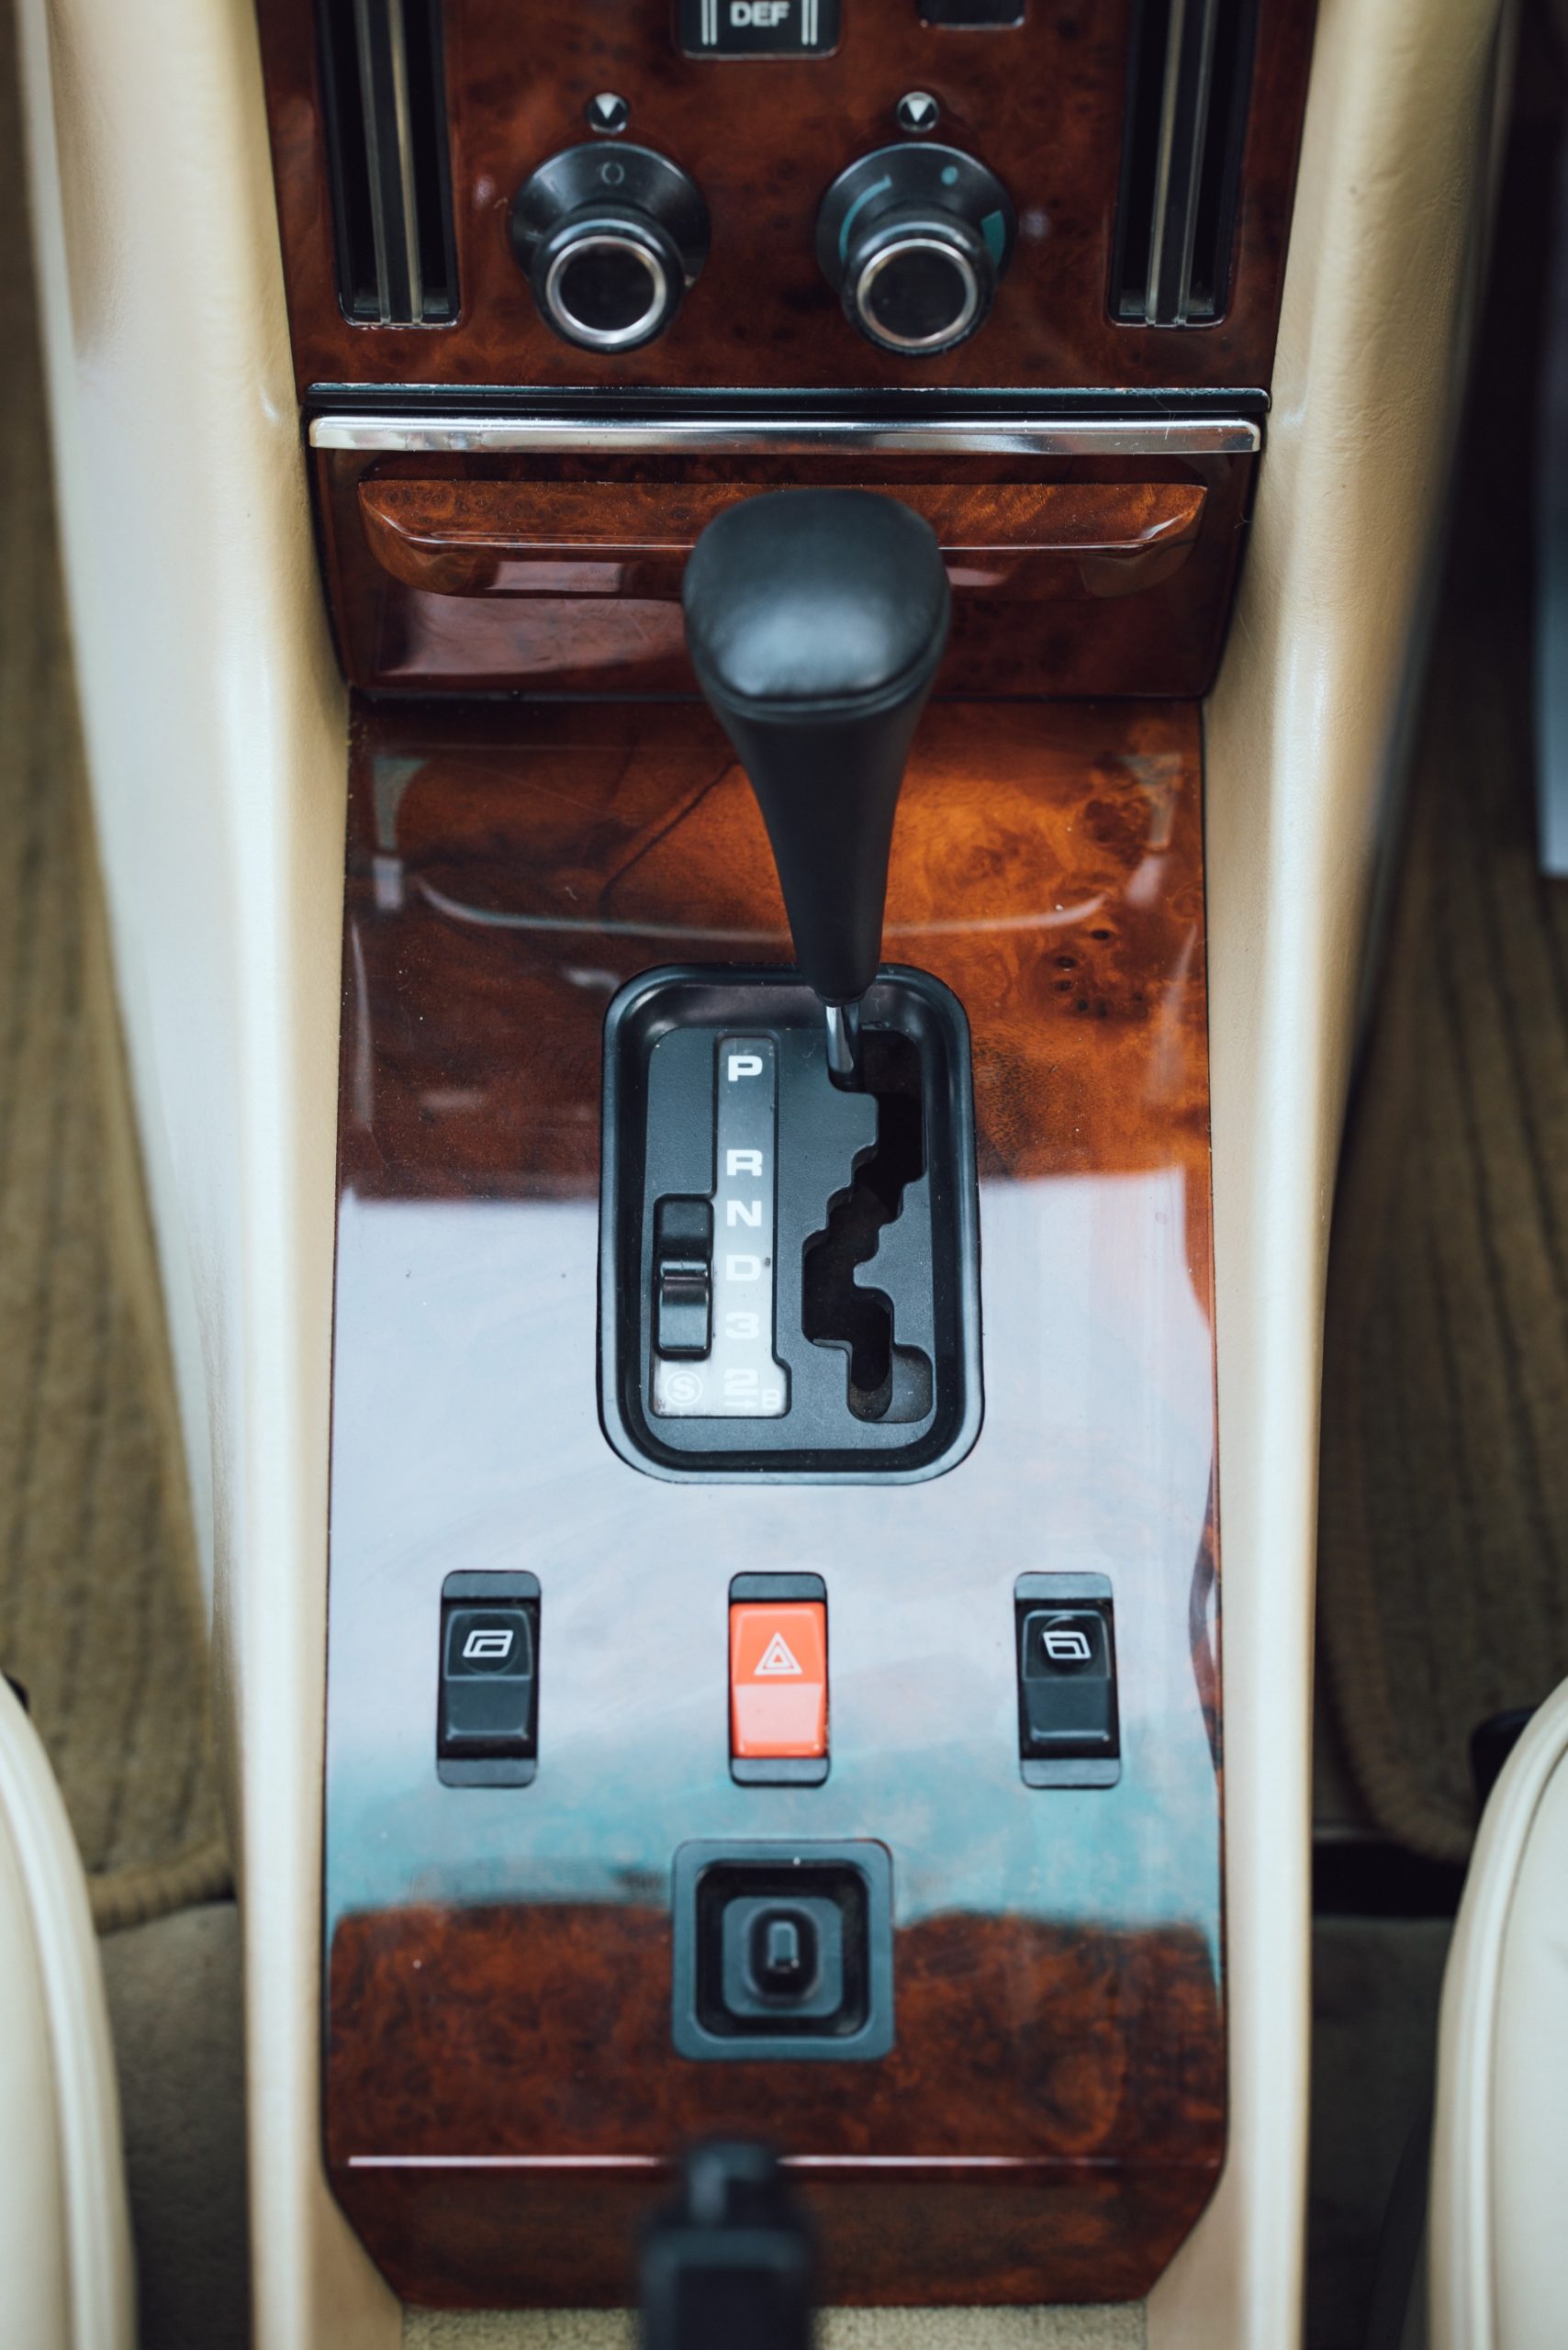
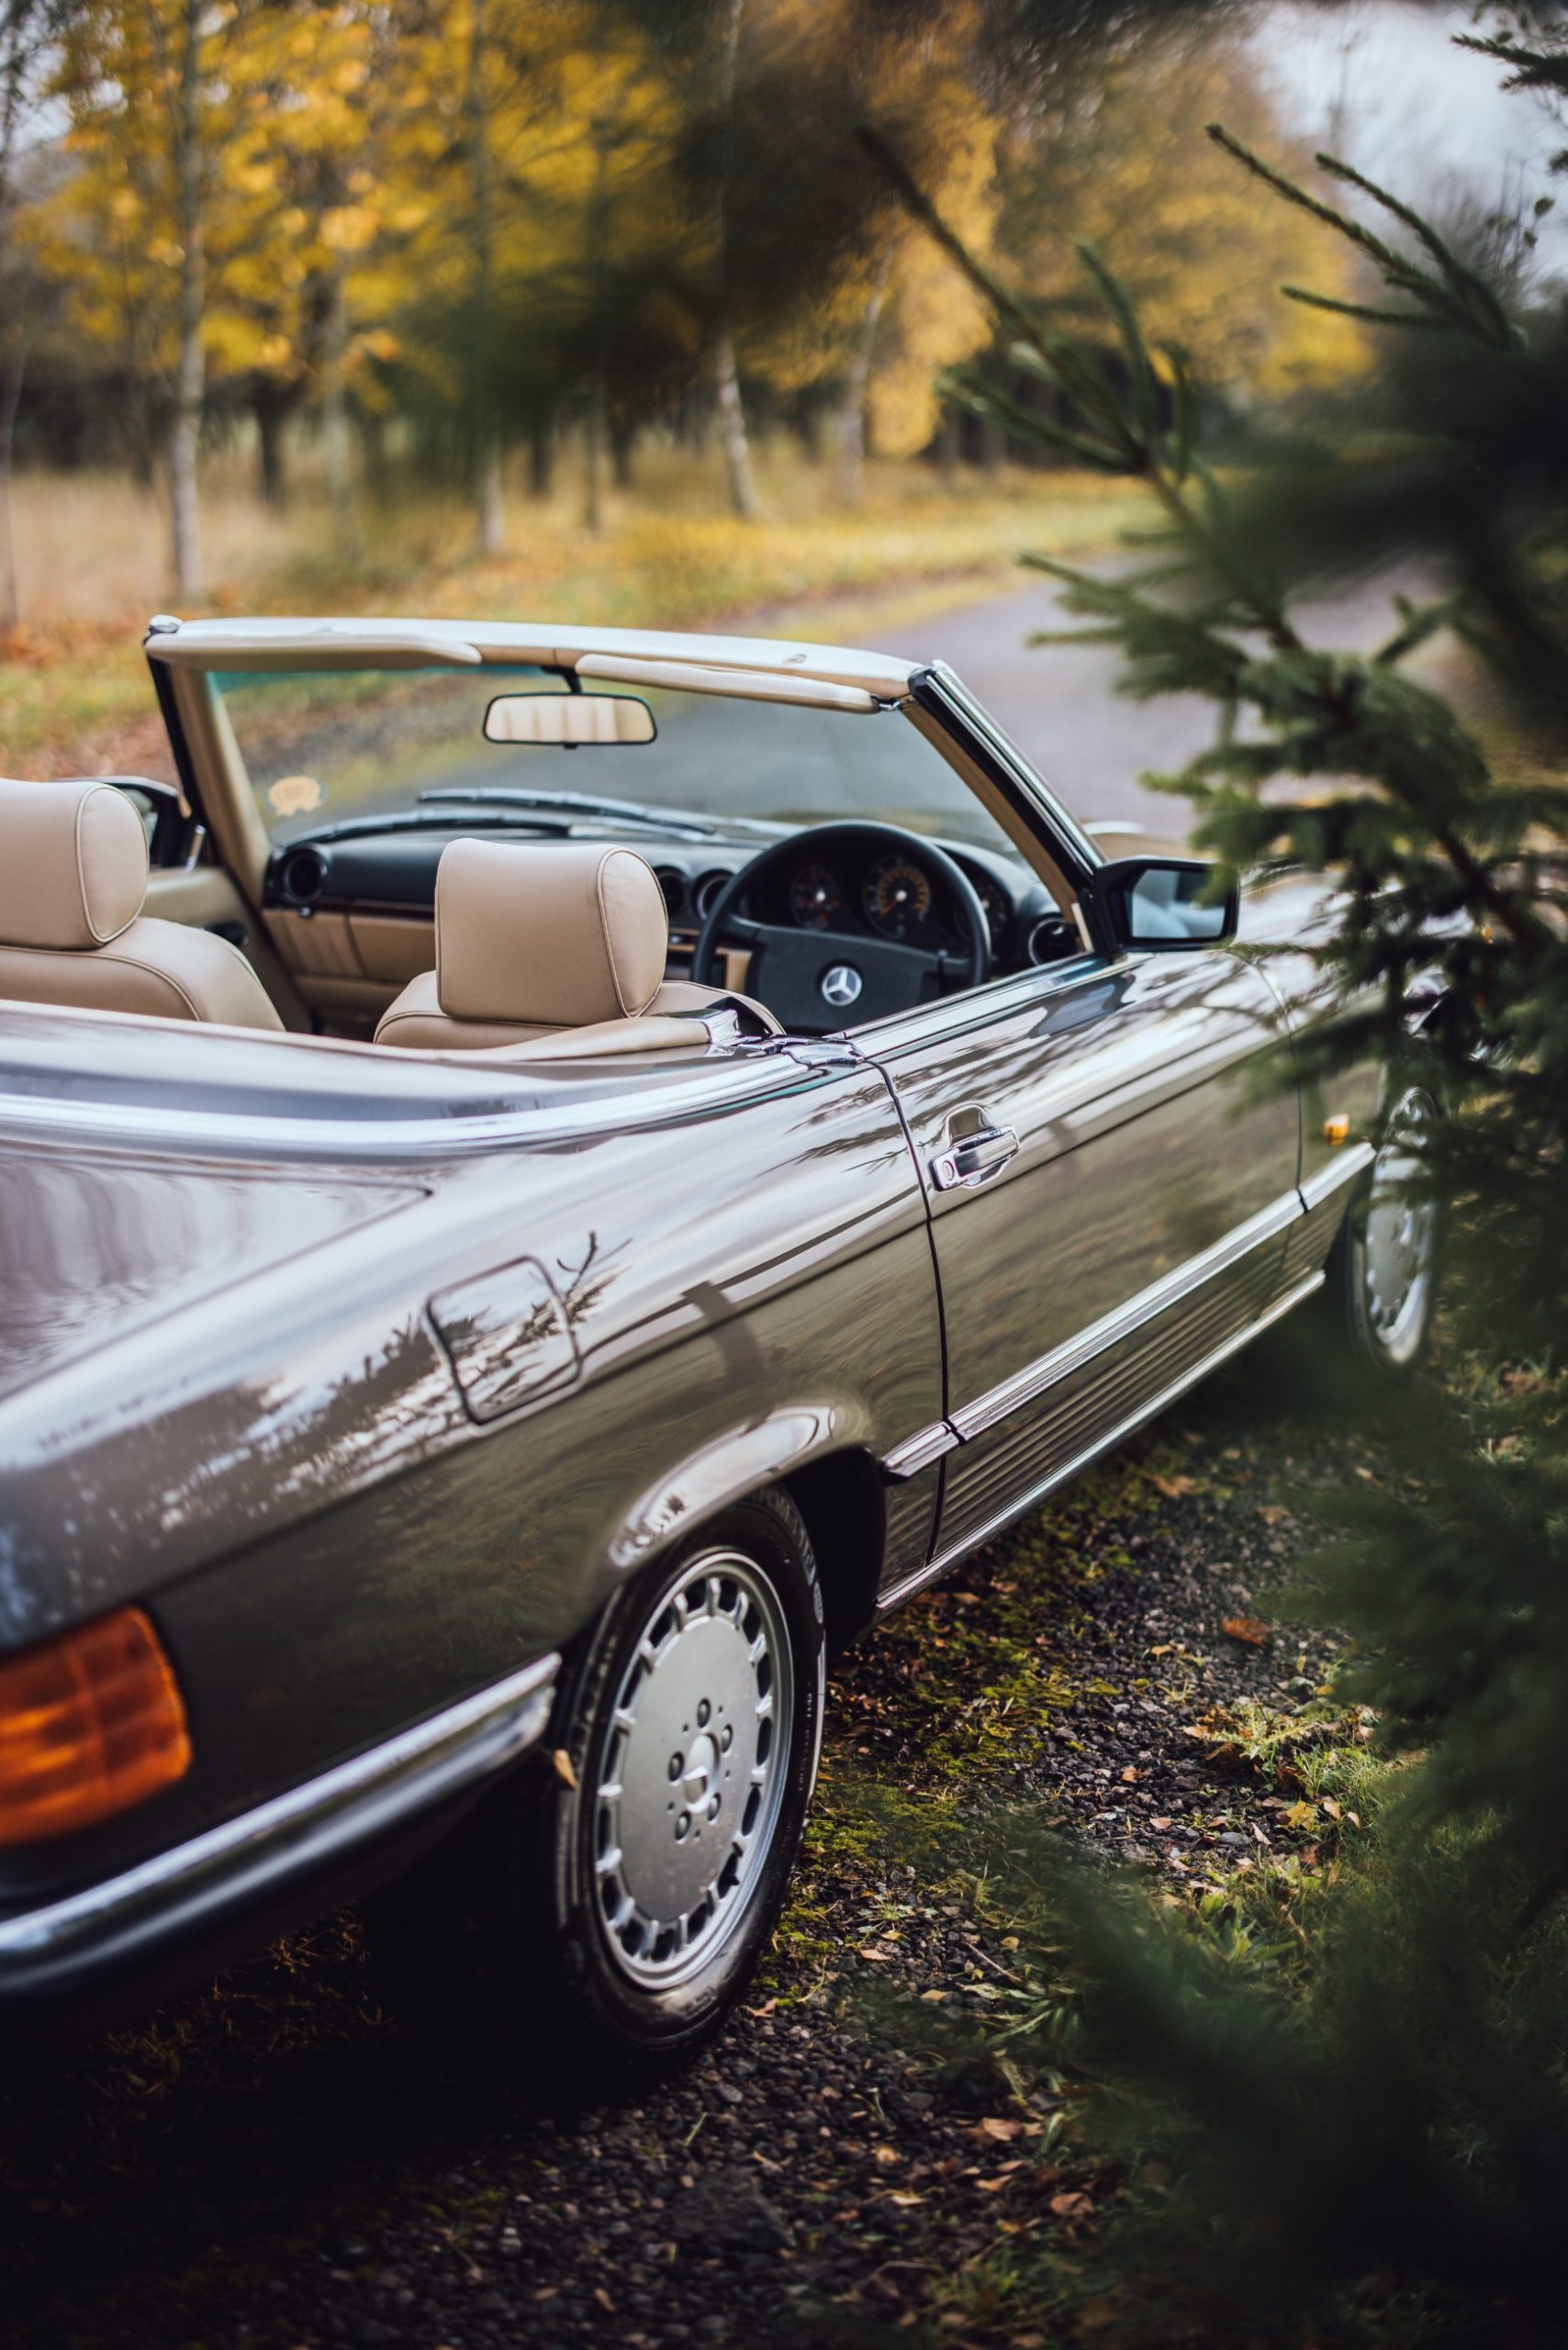
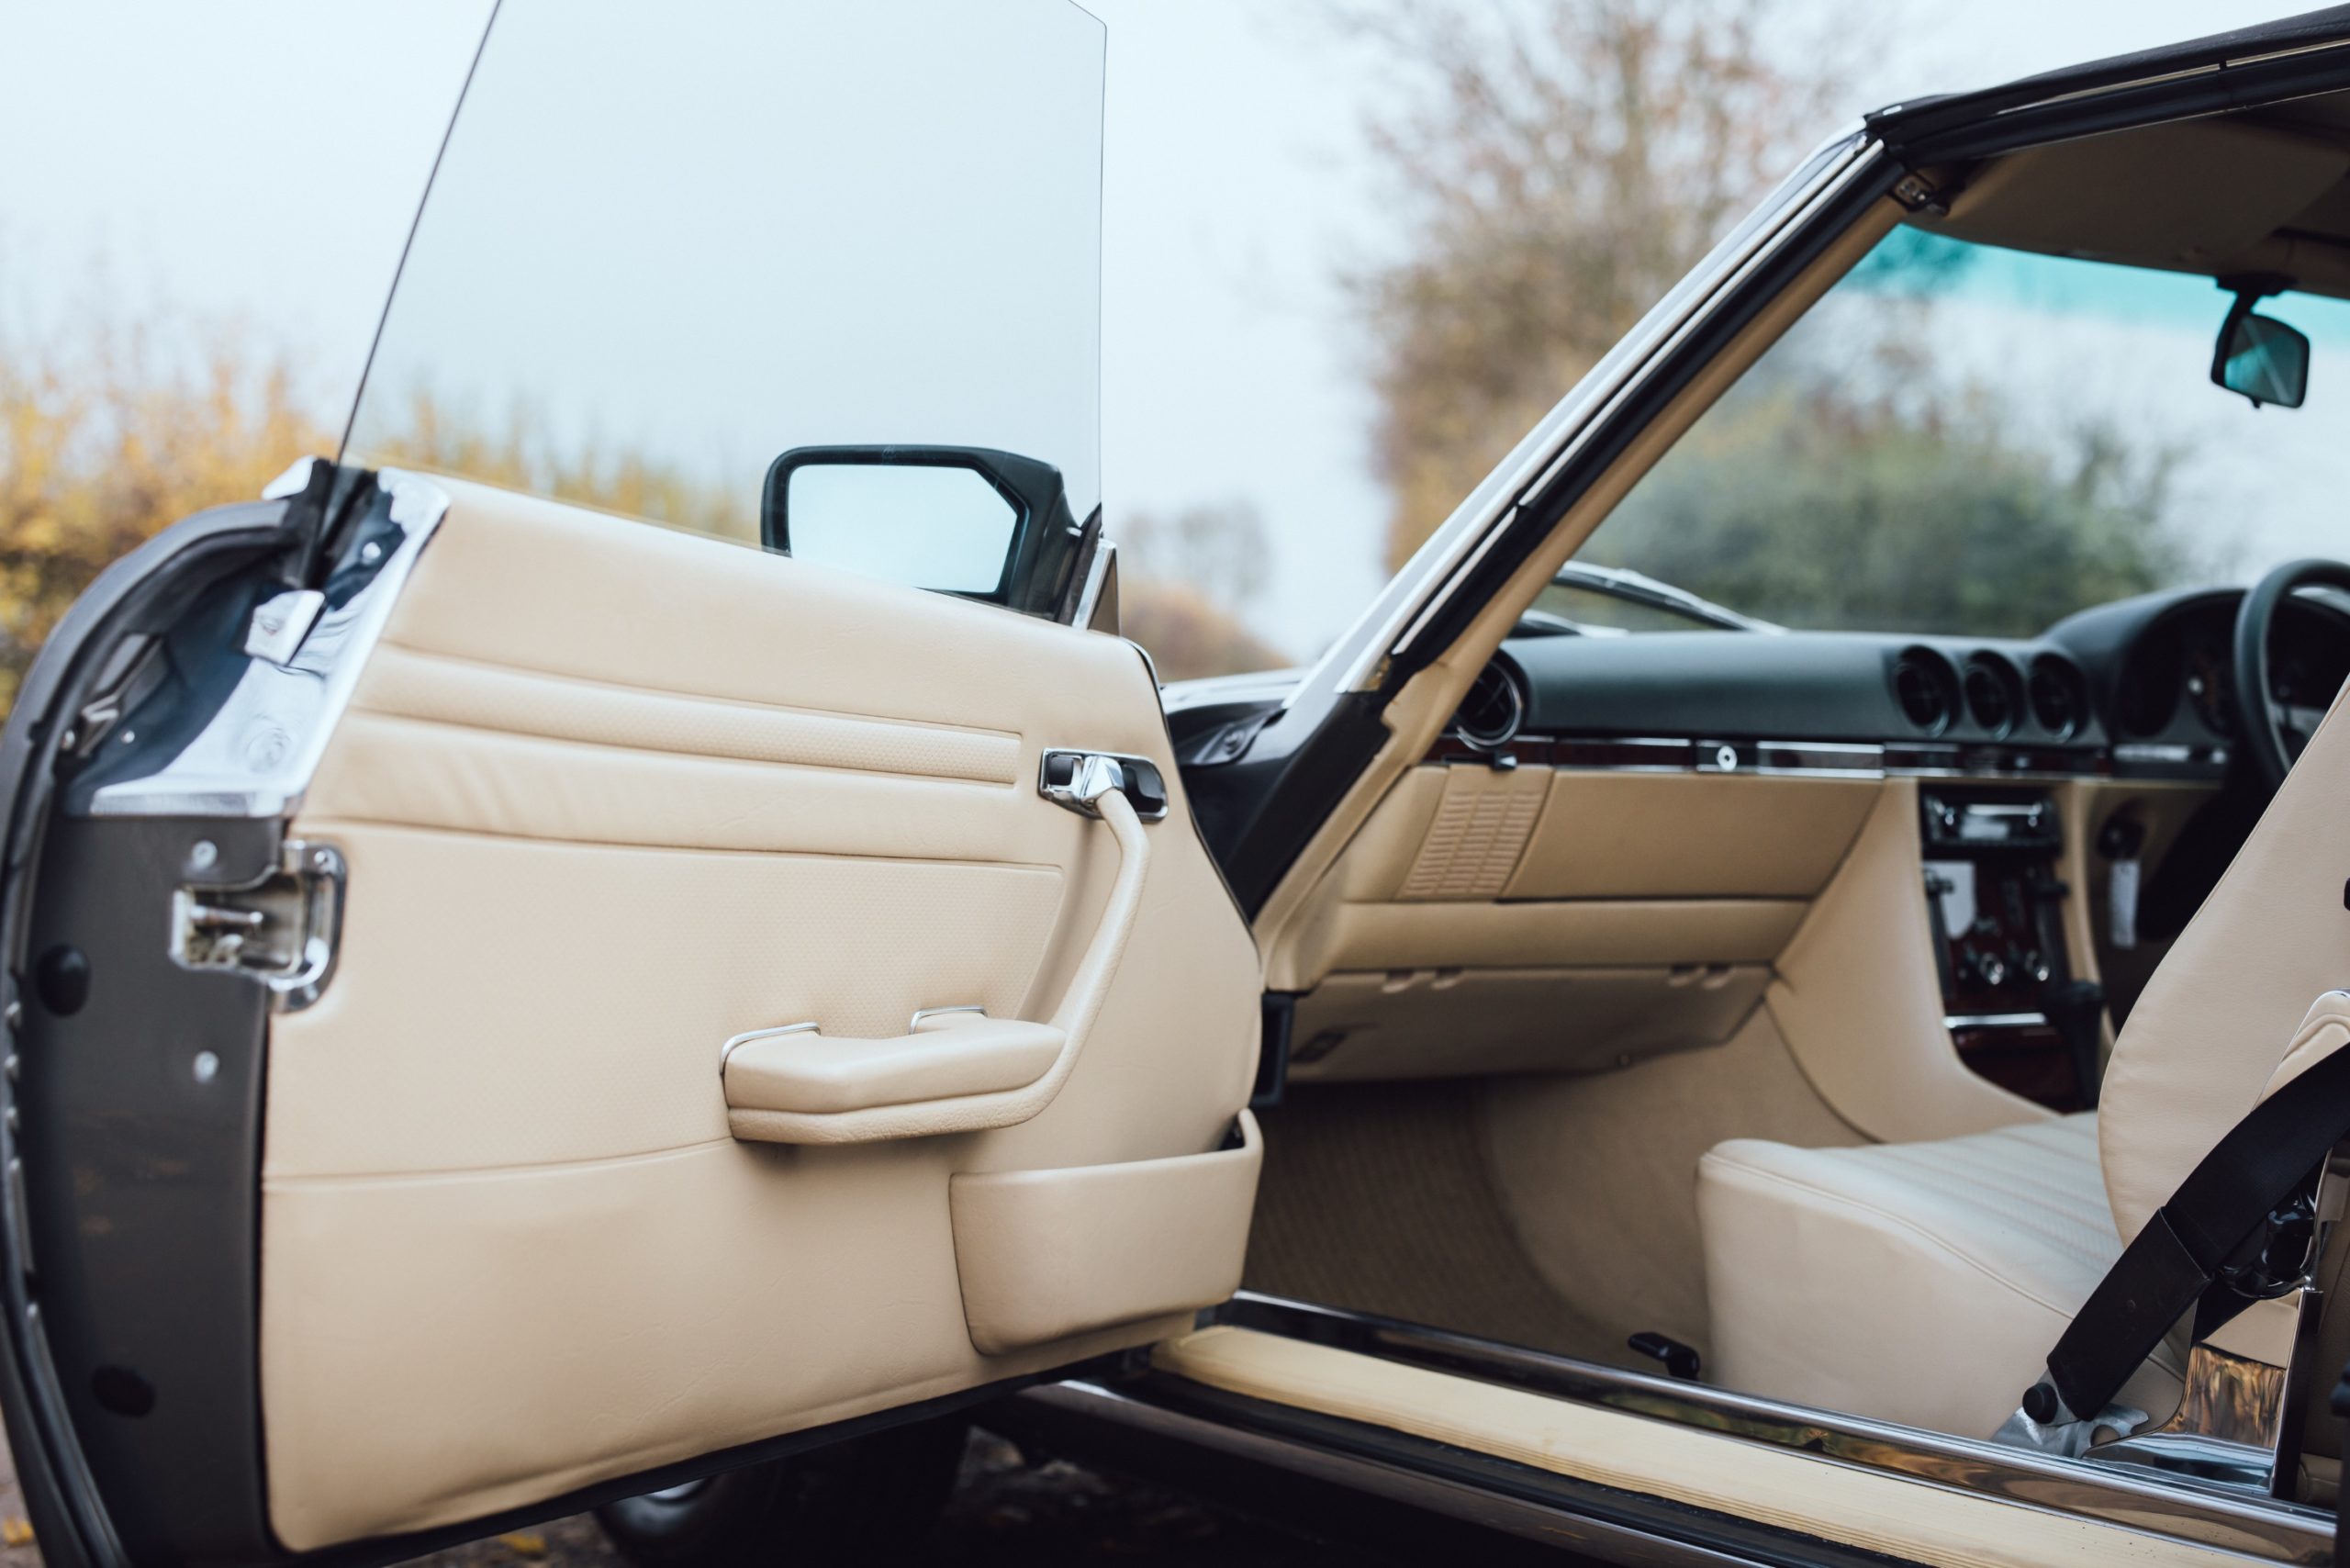
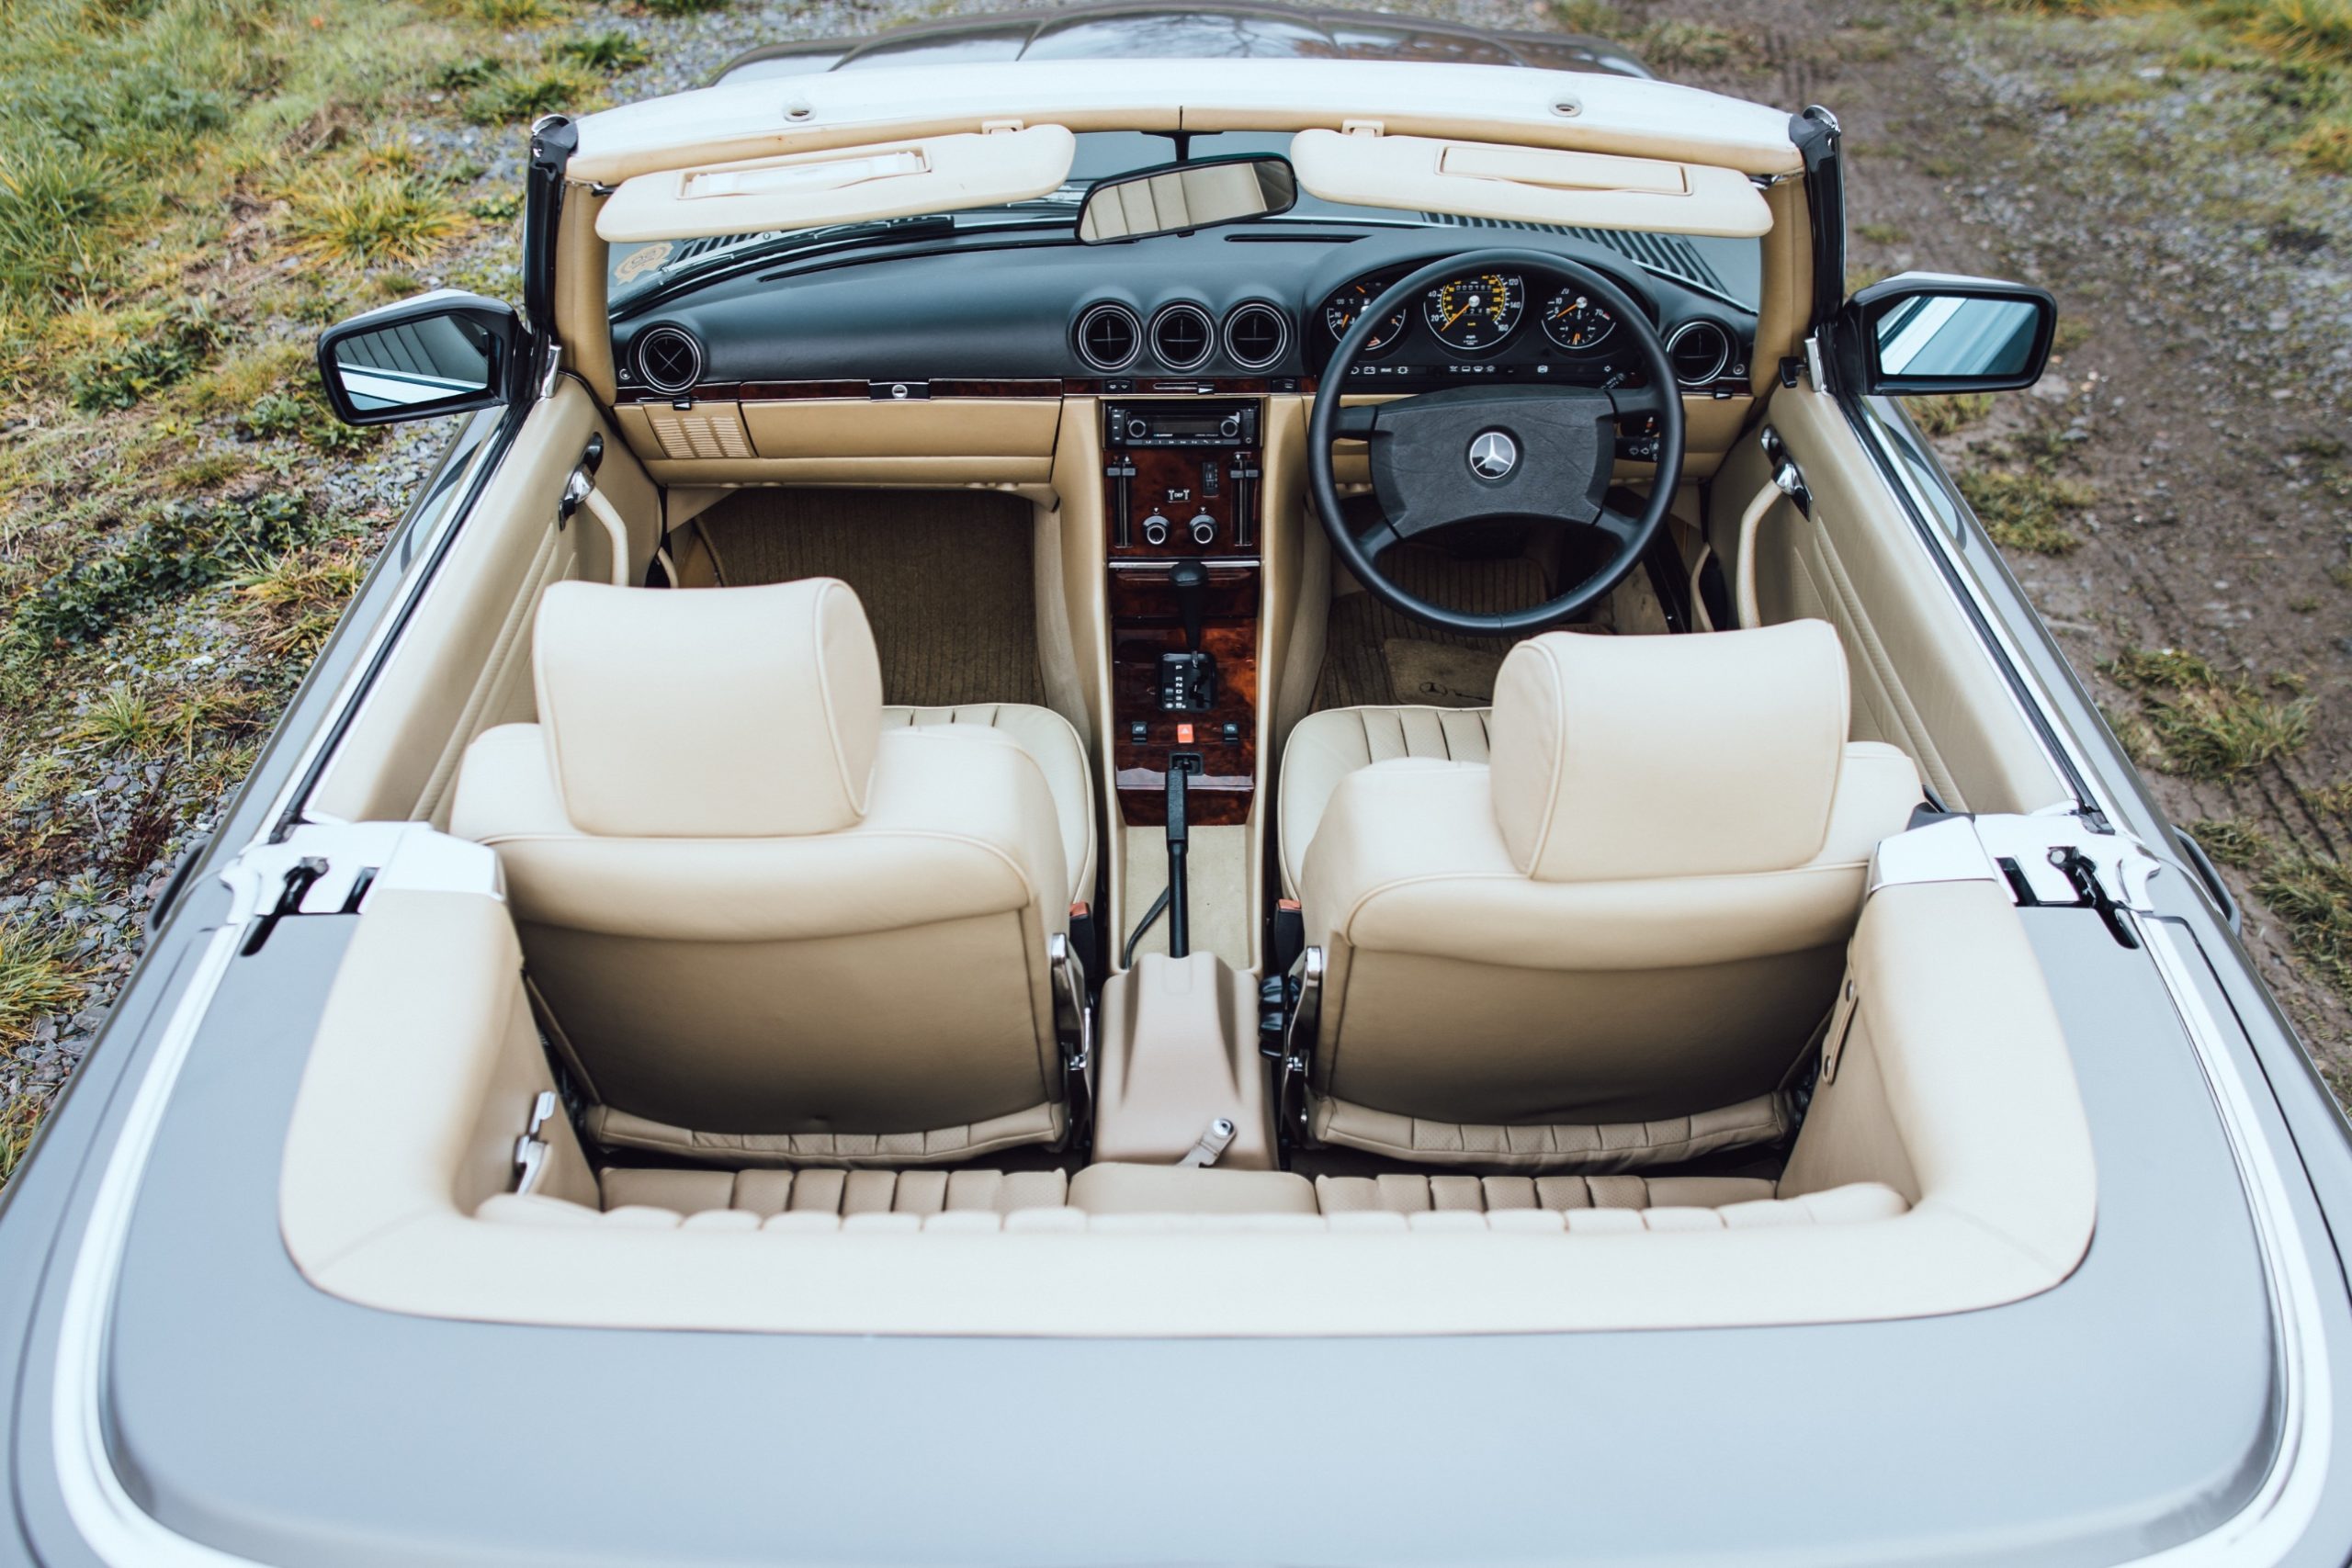
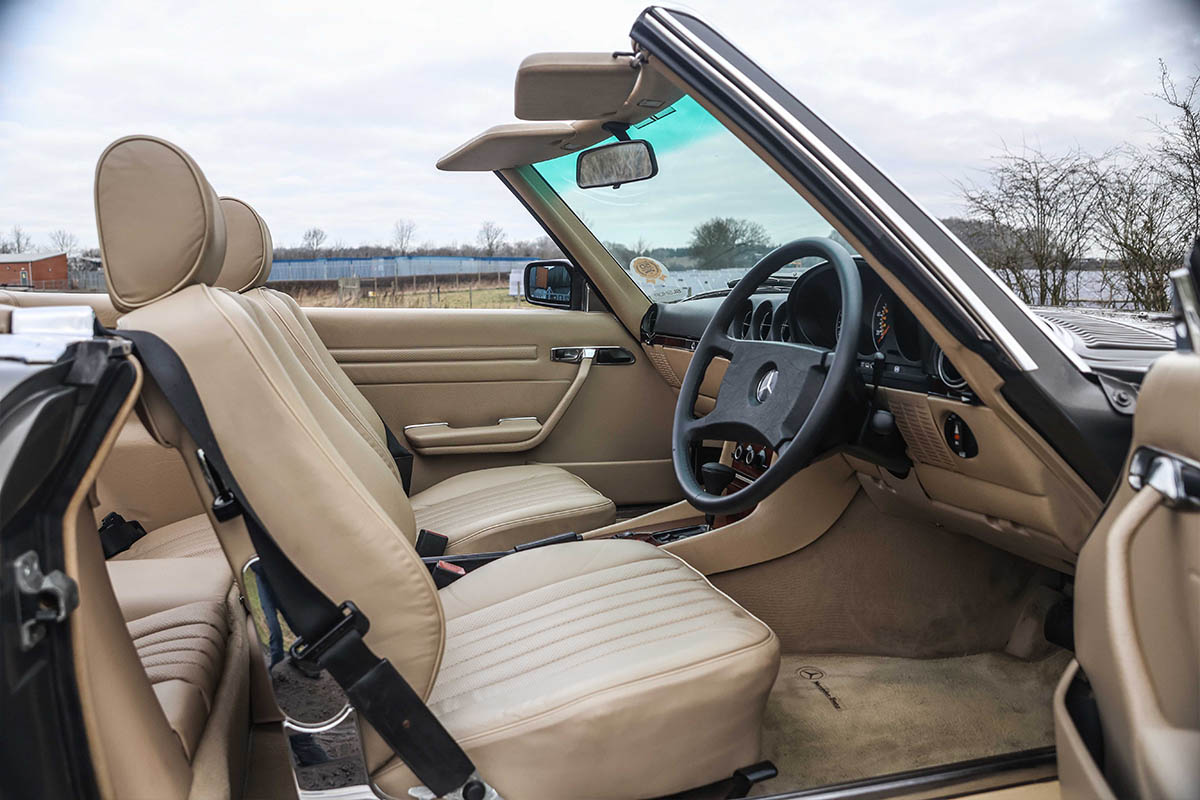
At some time in the 1985 or 1986 model year, the perforations changed from circular to diamond-shaped, a feature that probably coincided with seats that had larger bolsters and height adjustment. Sure enough, the later type was correct for this car. ‘We commissioned new covers of this pattern from a supplier in Germany so we could get exactly what we needed in Mushroom leather,’ says Sam.
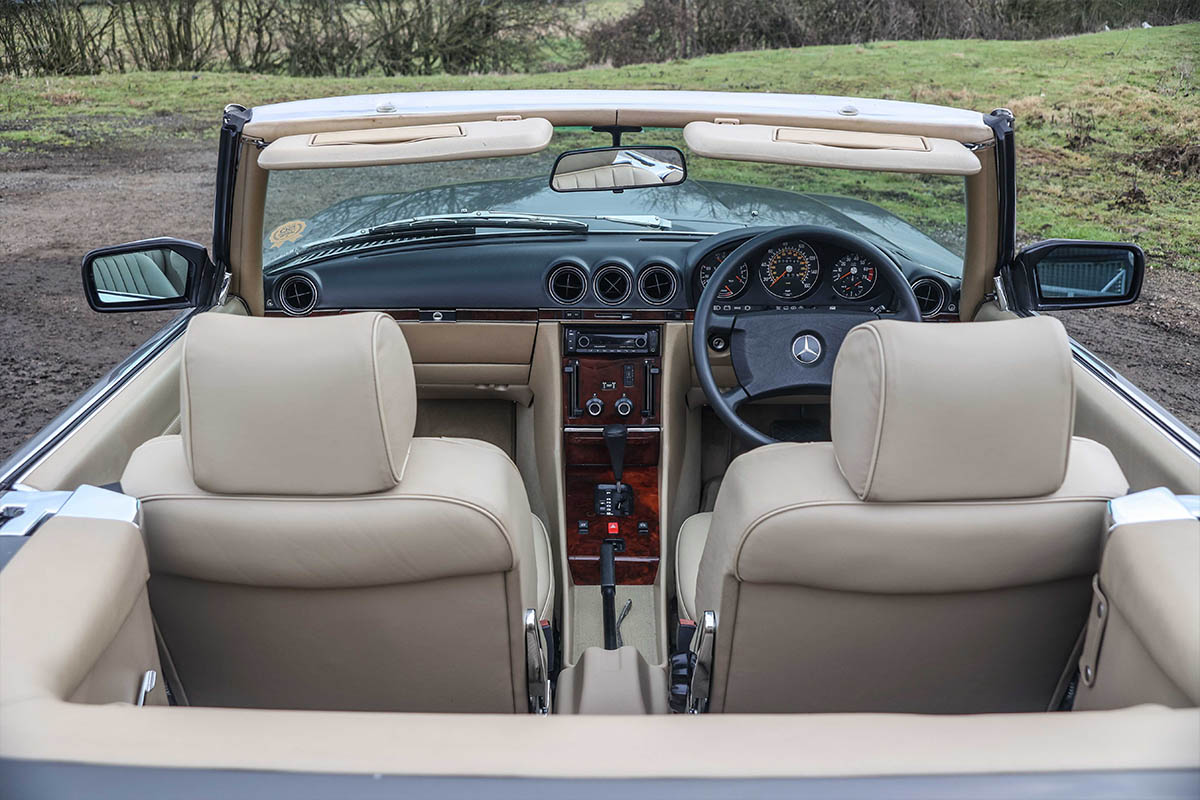
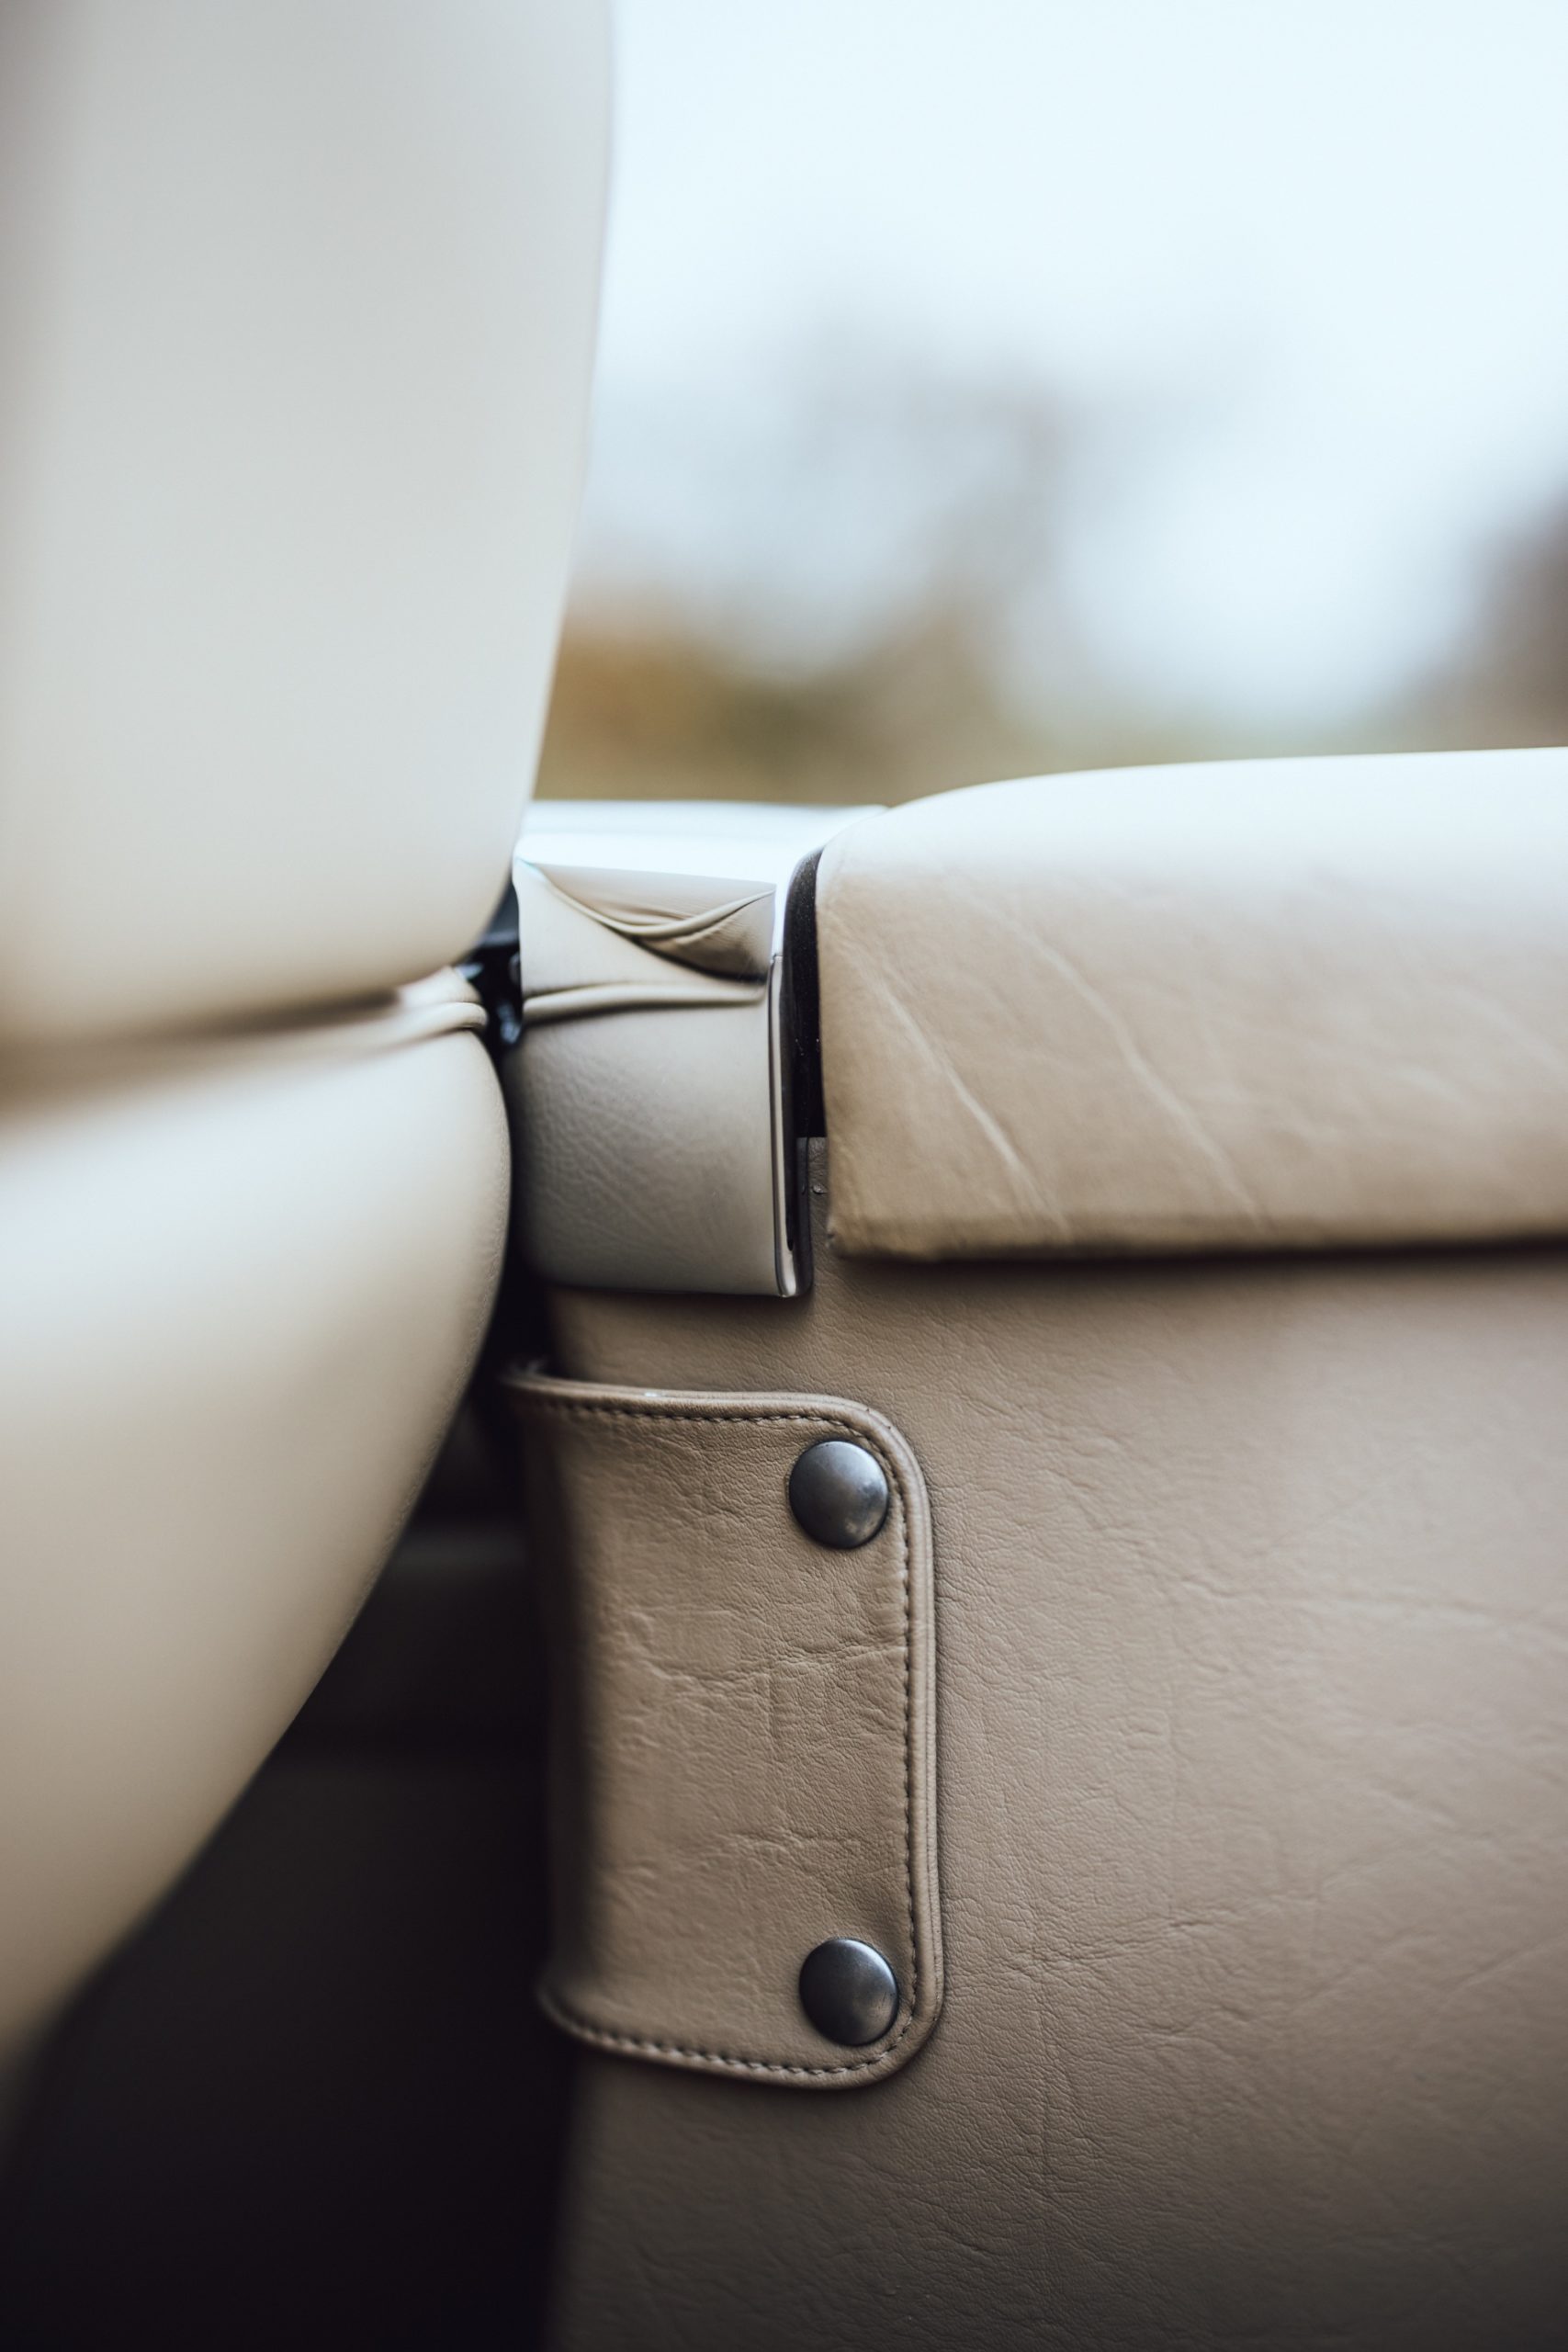
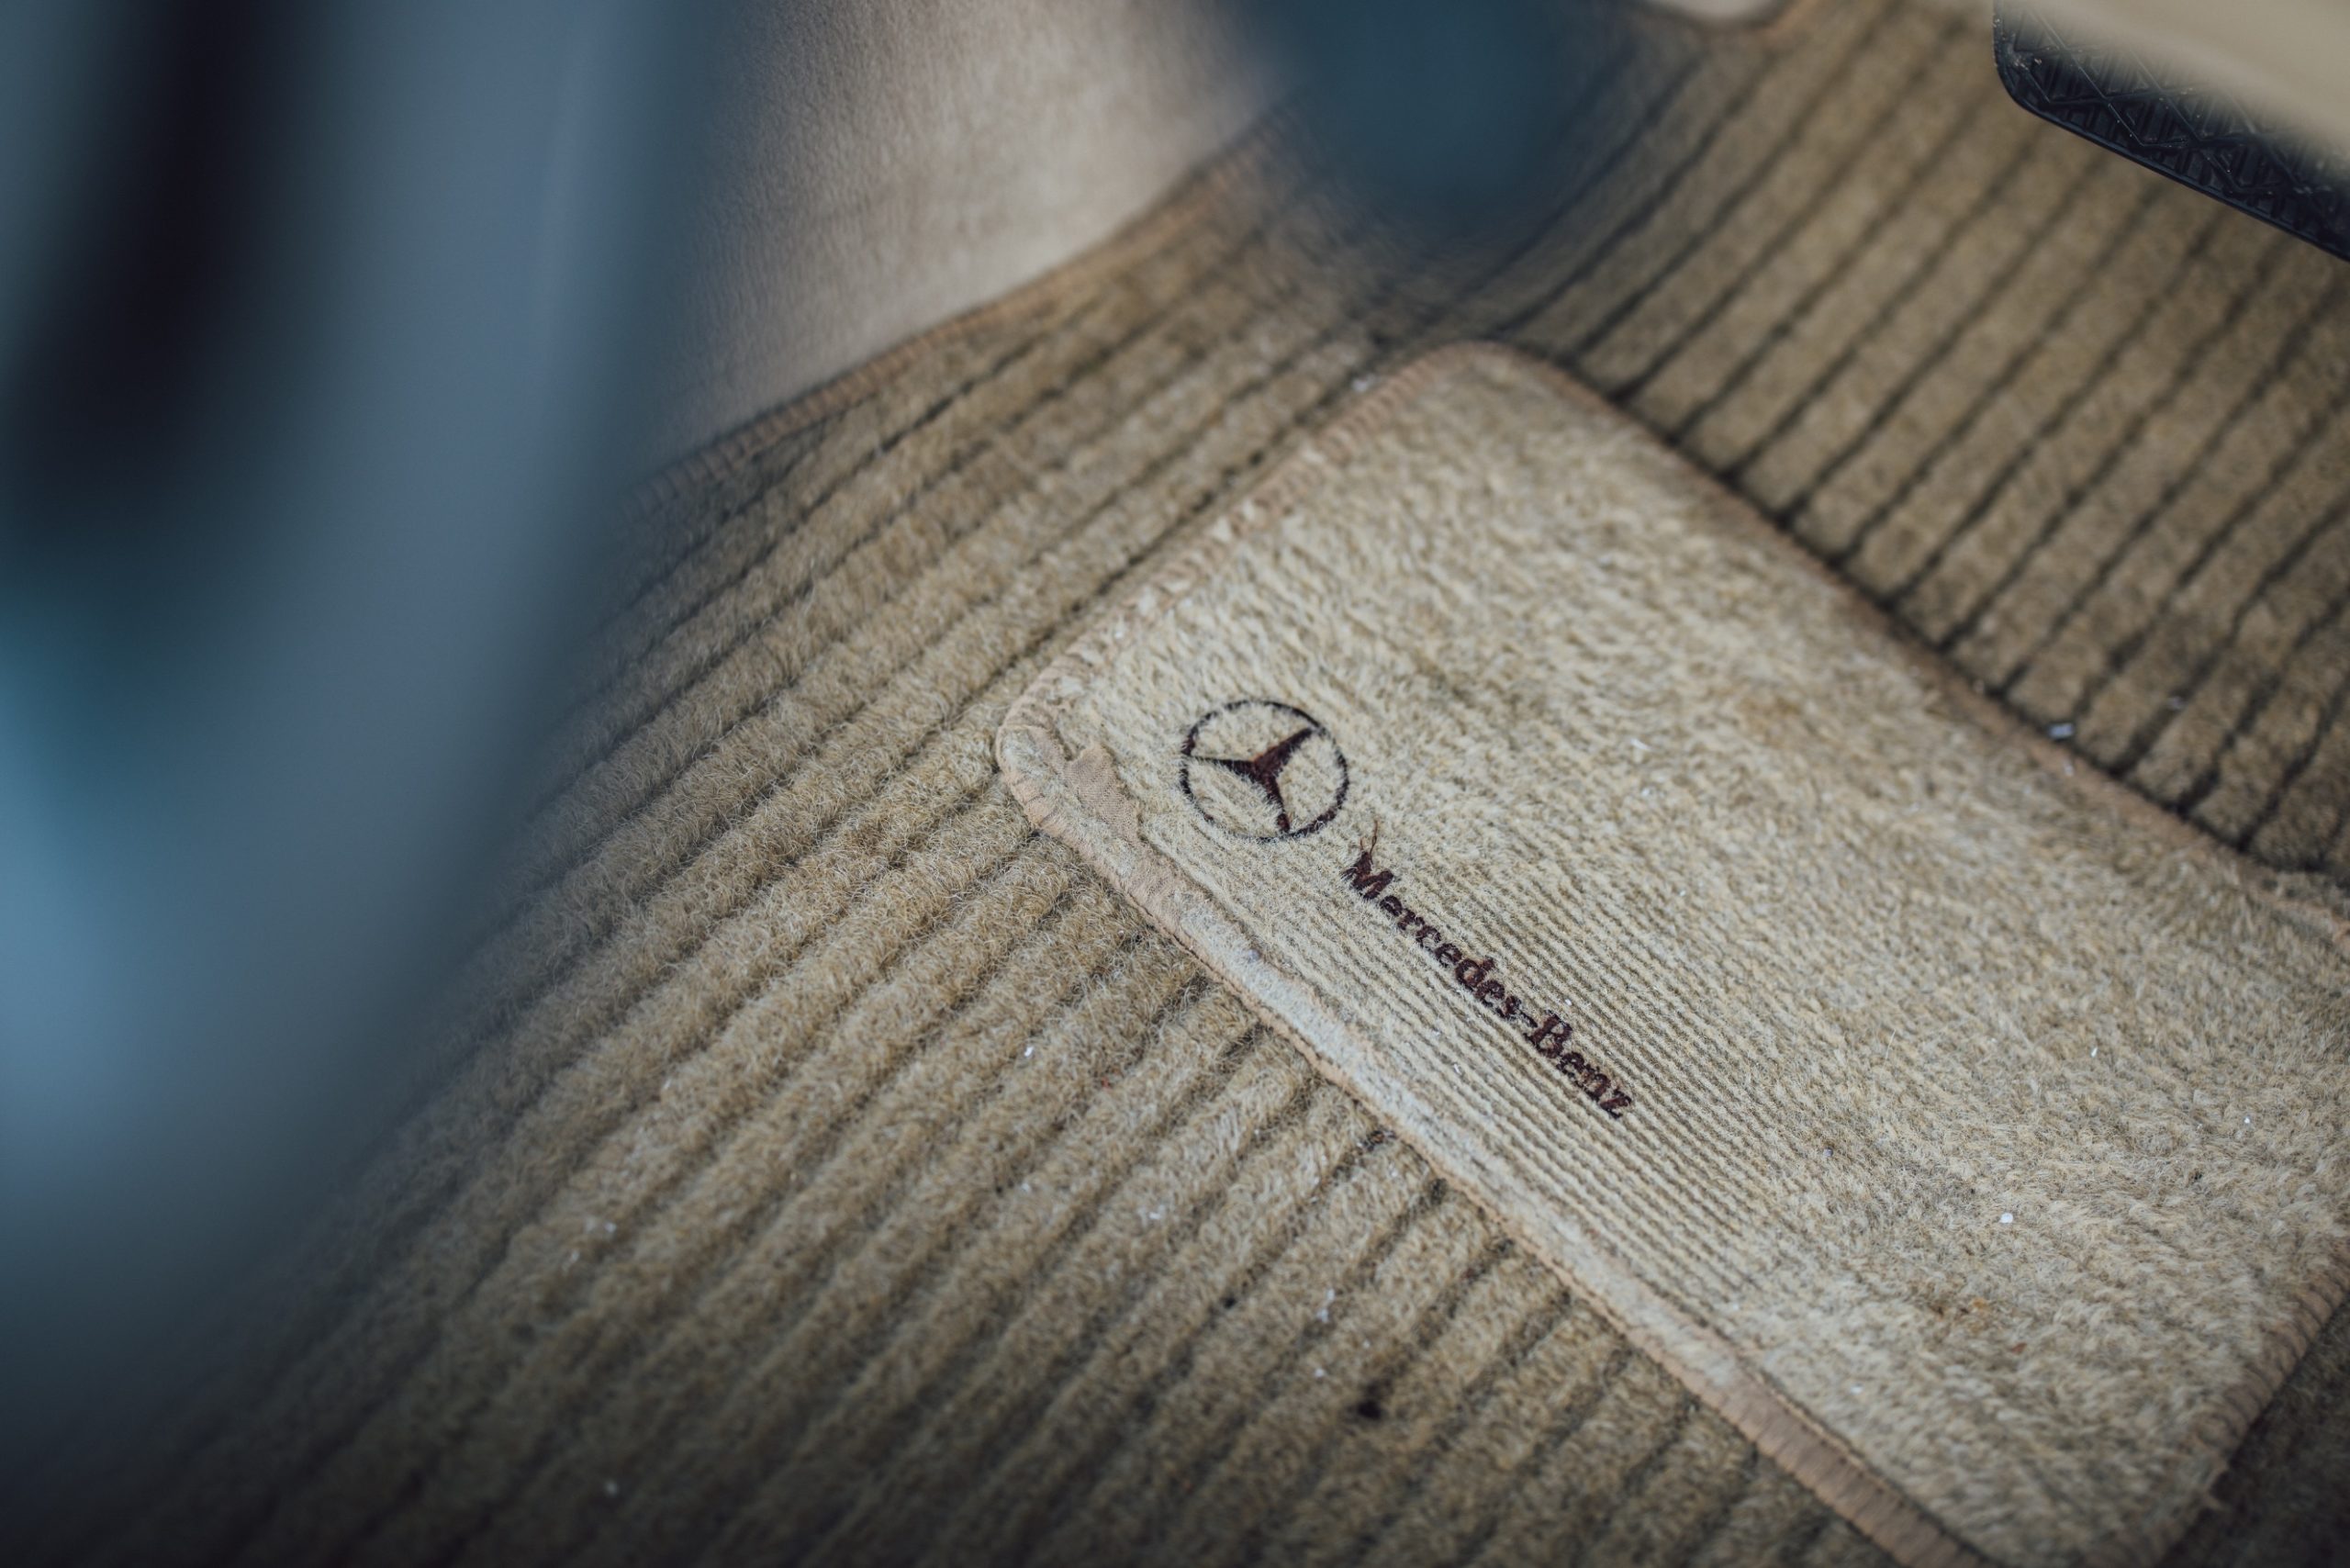
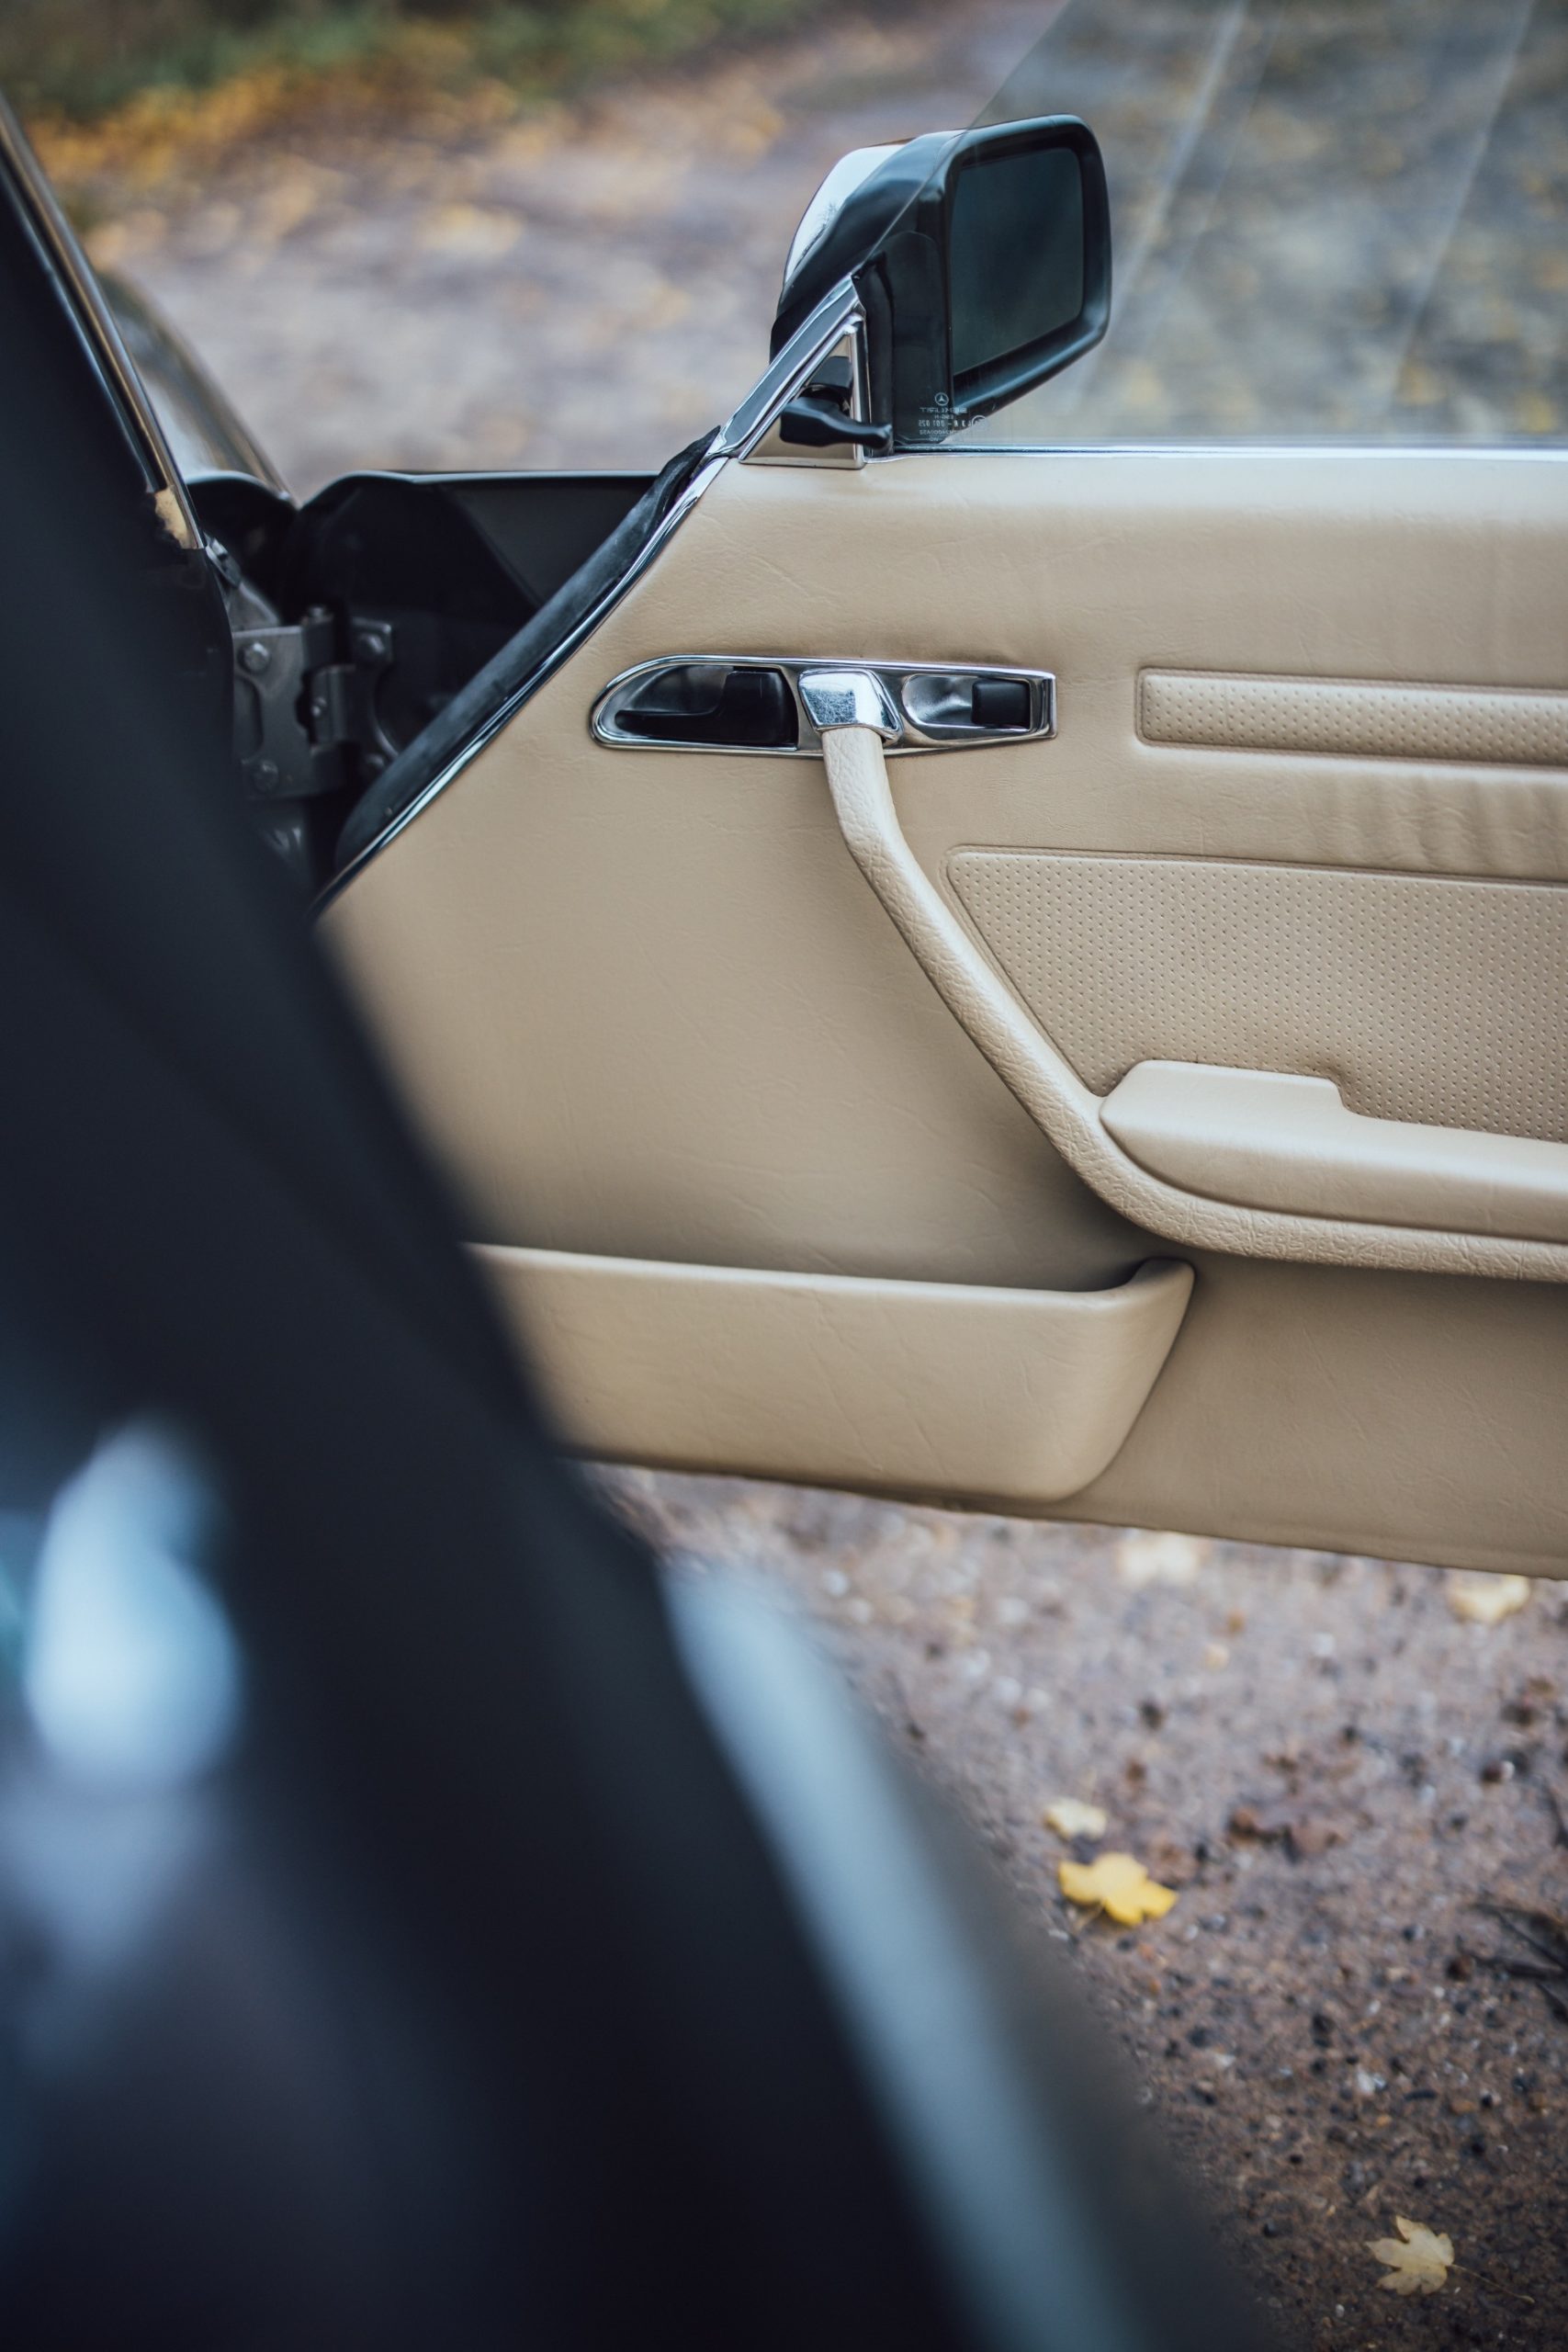
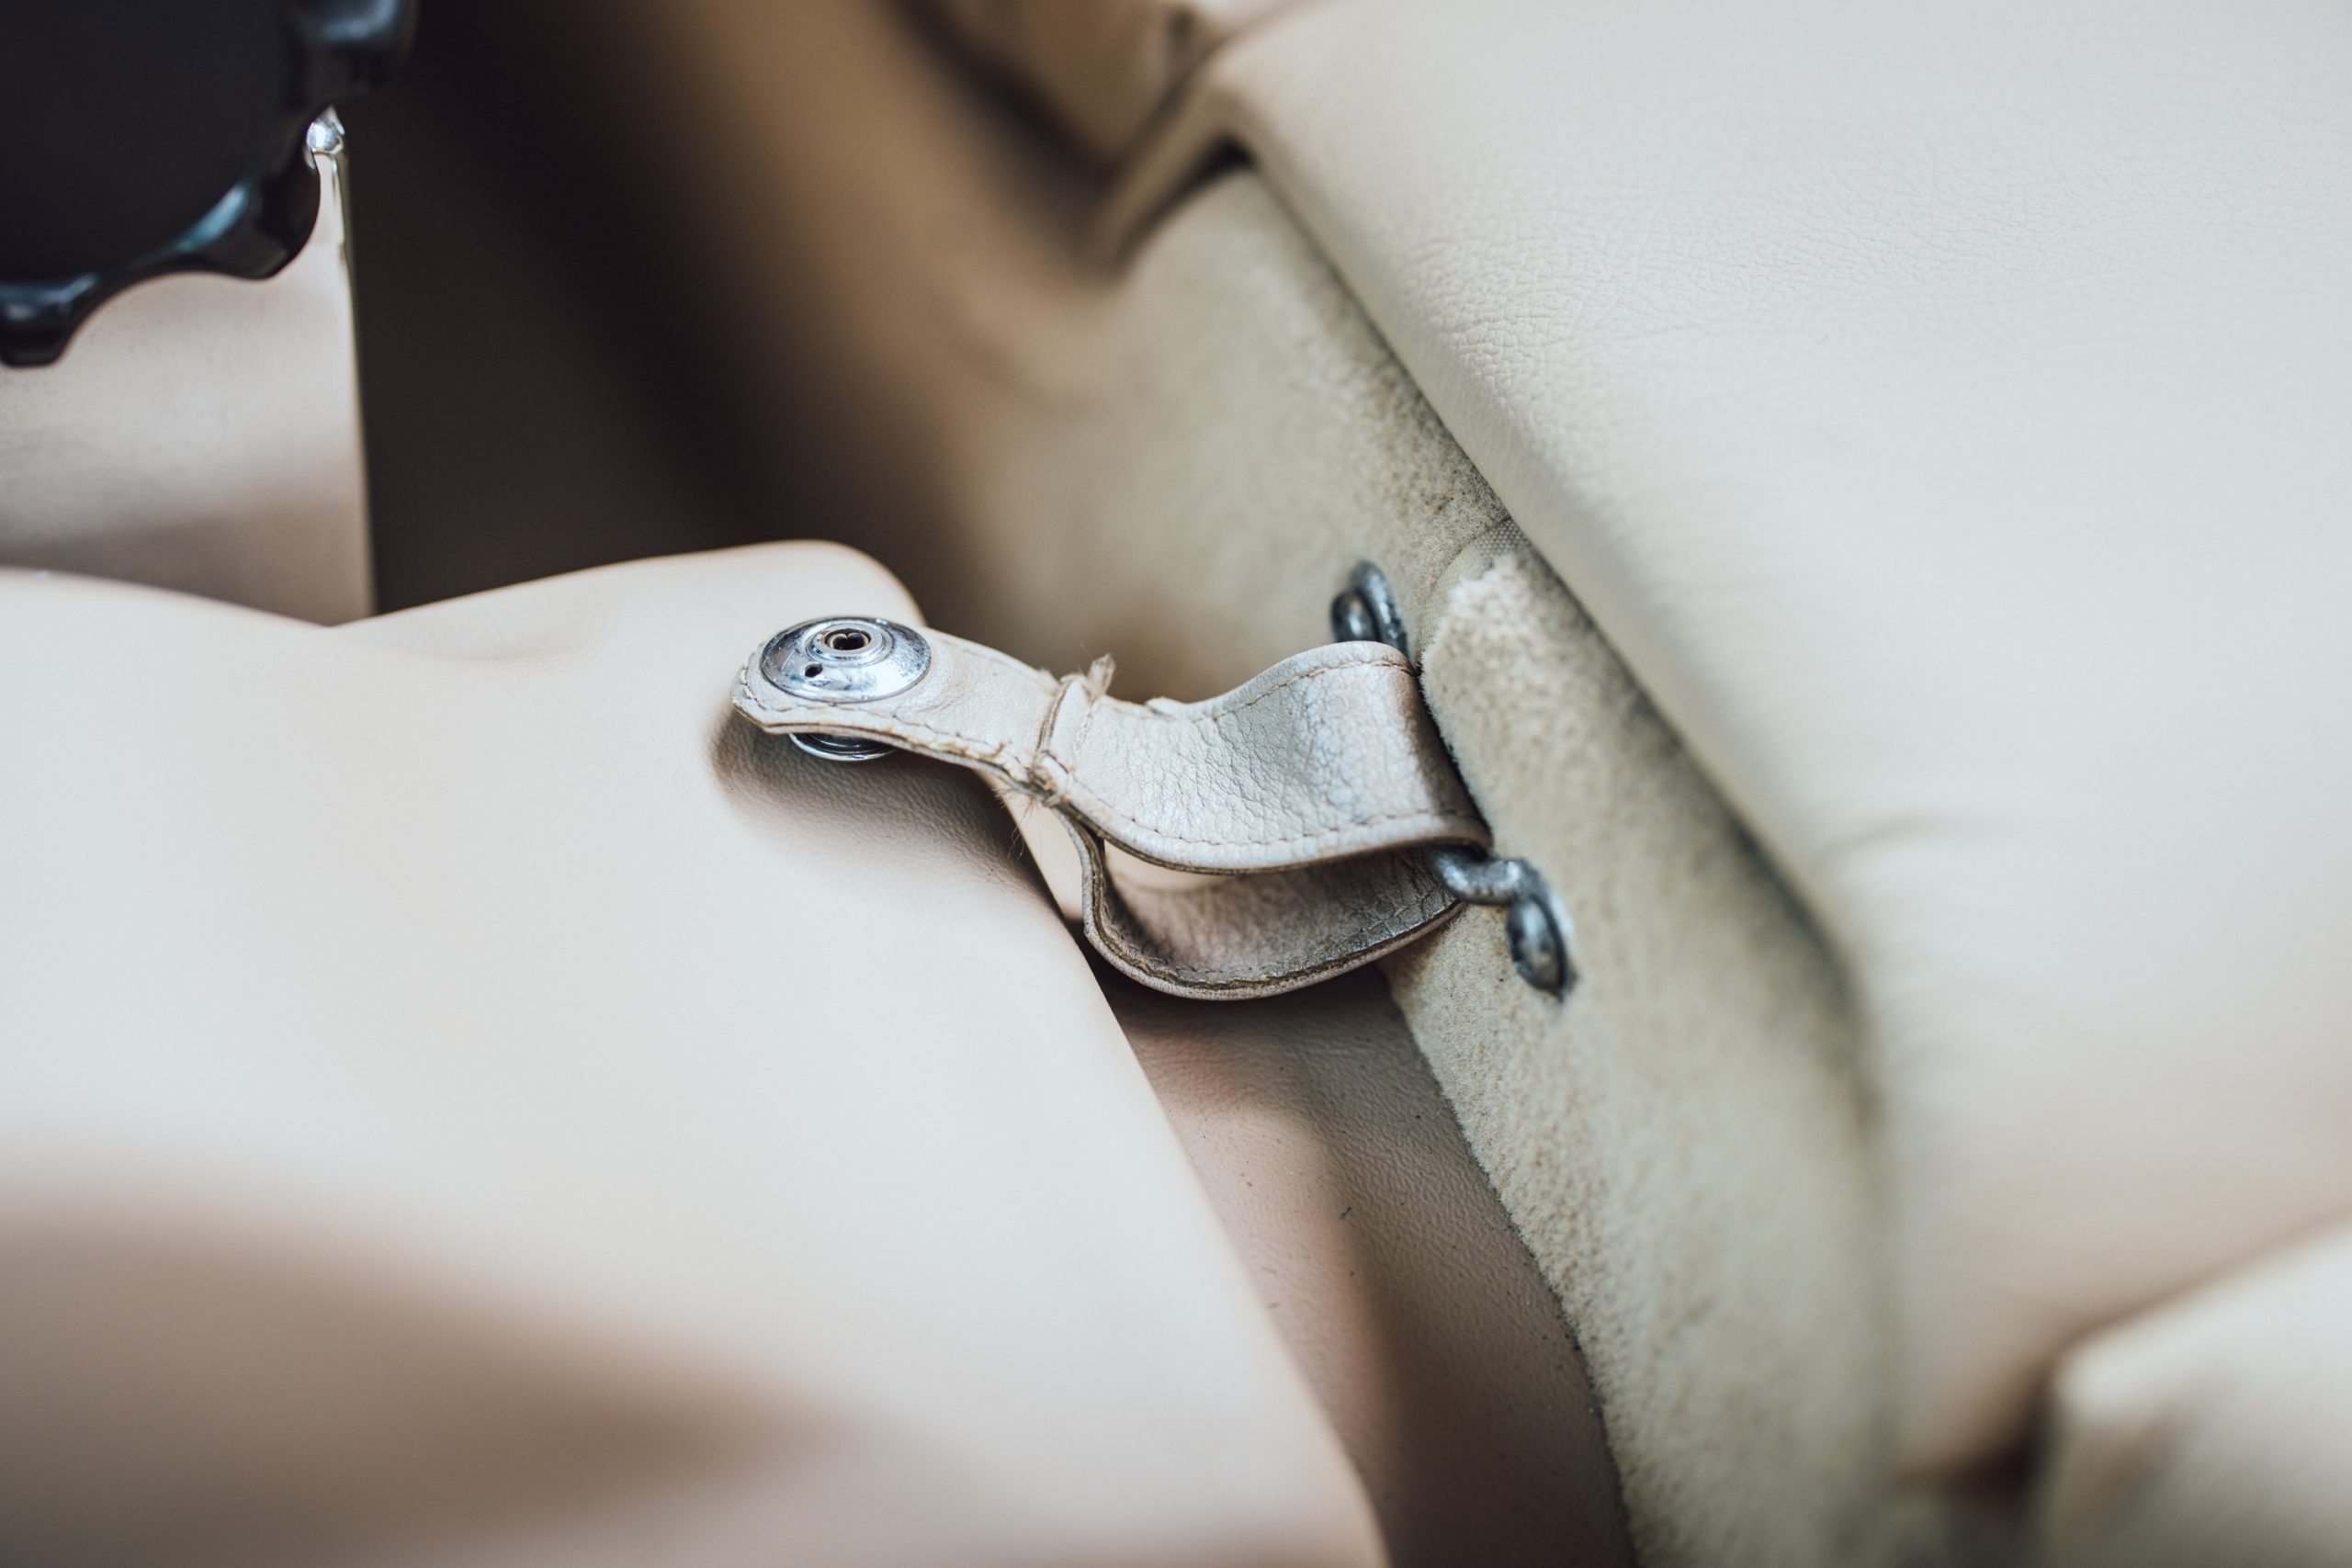
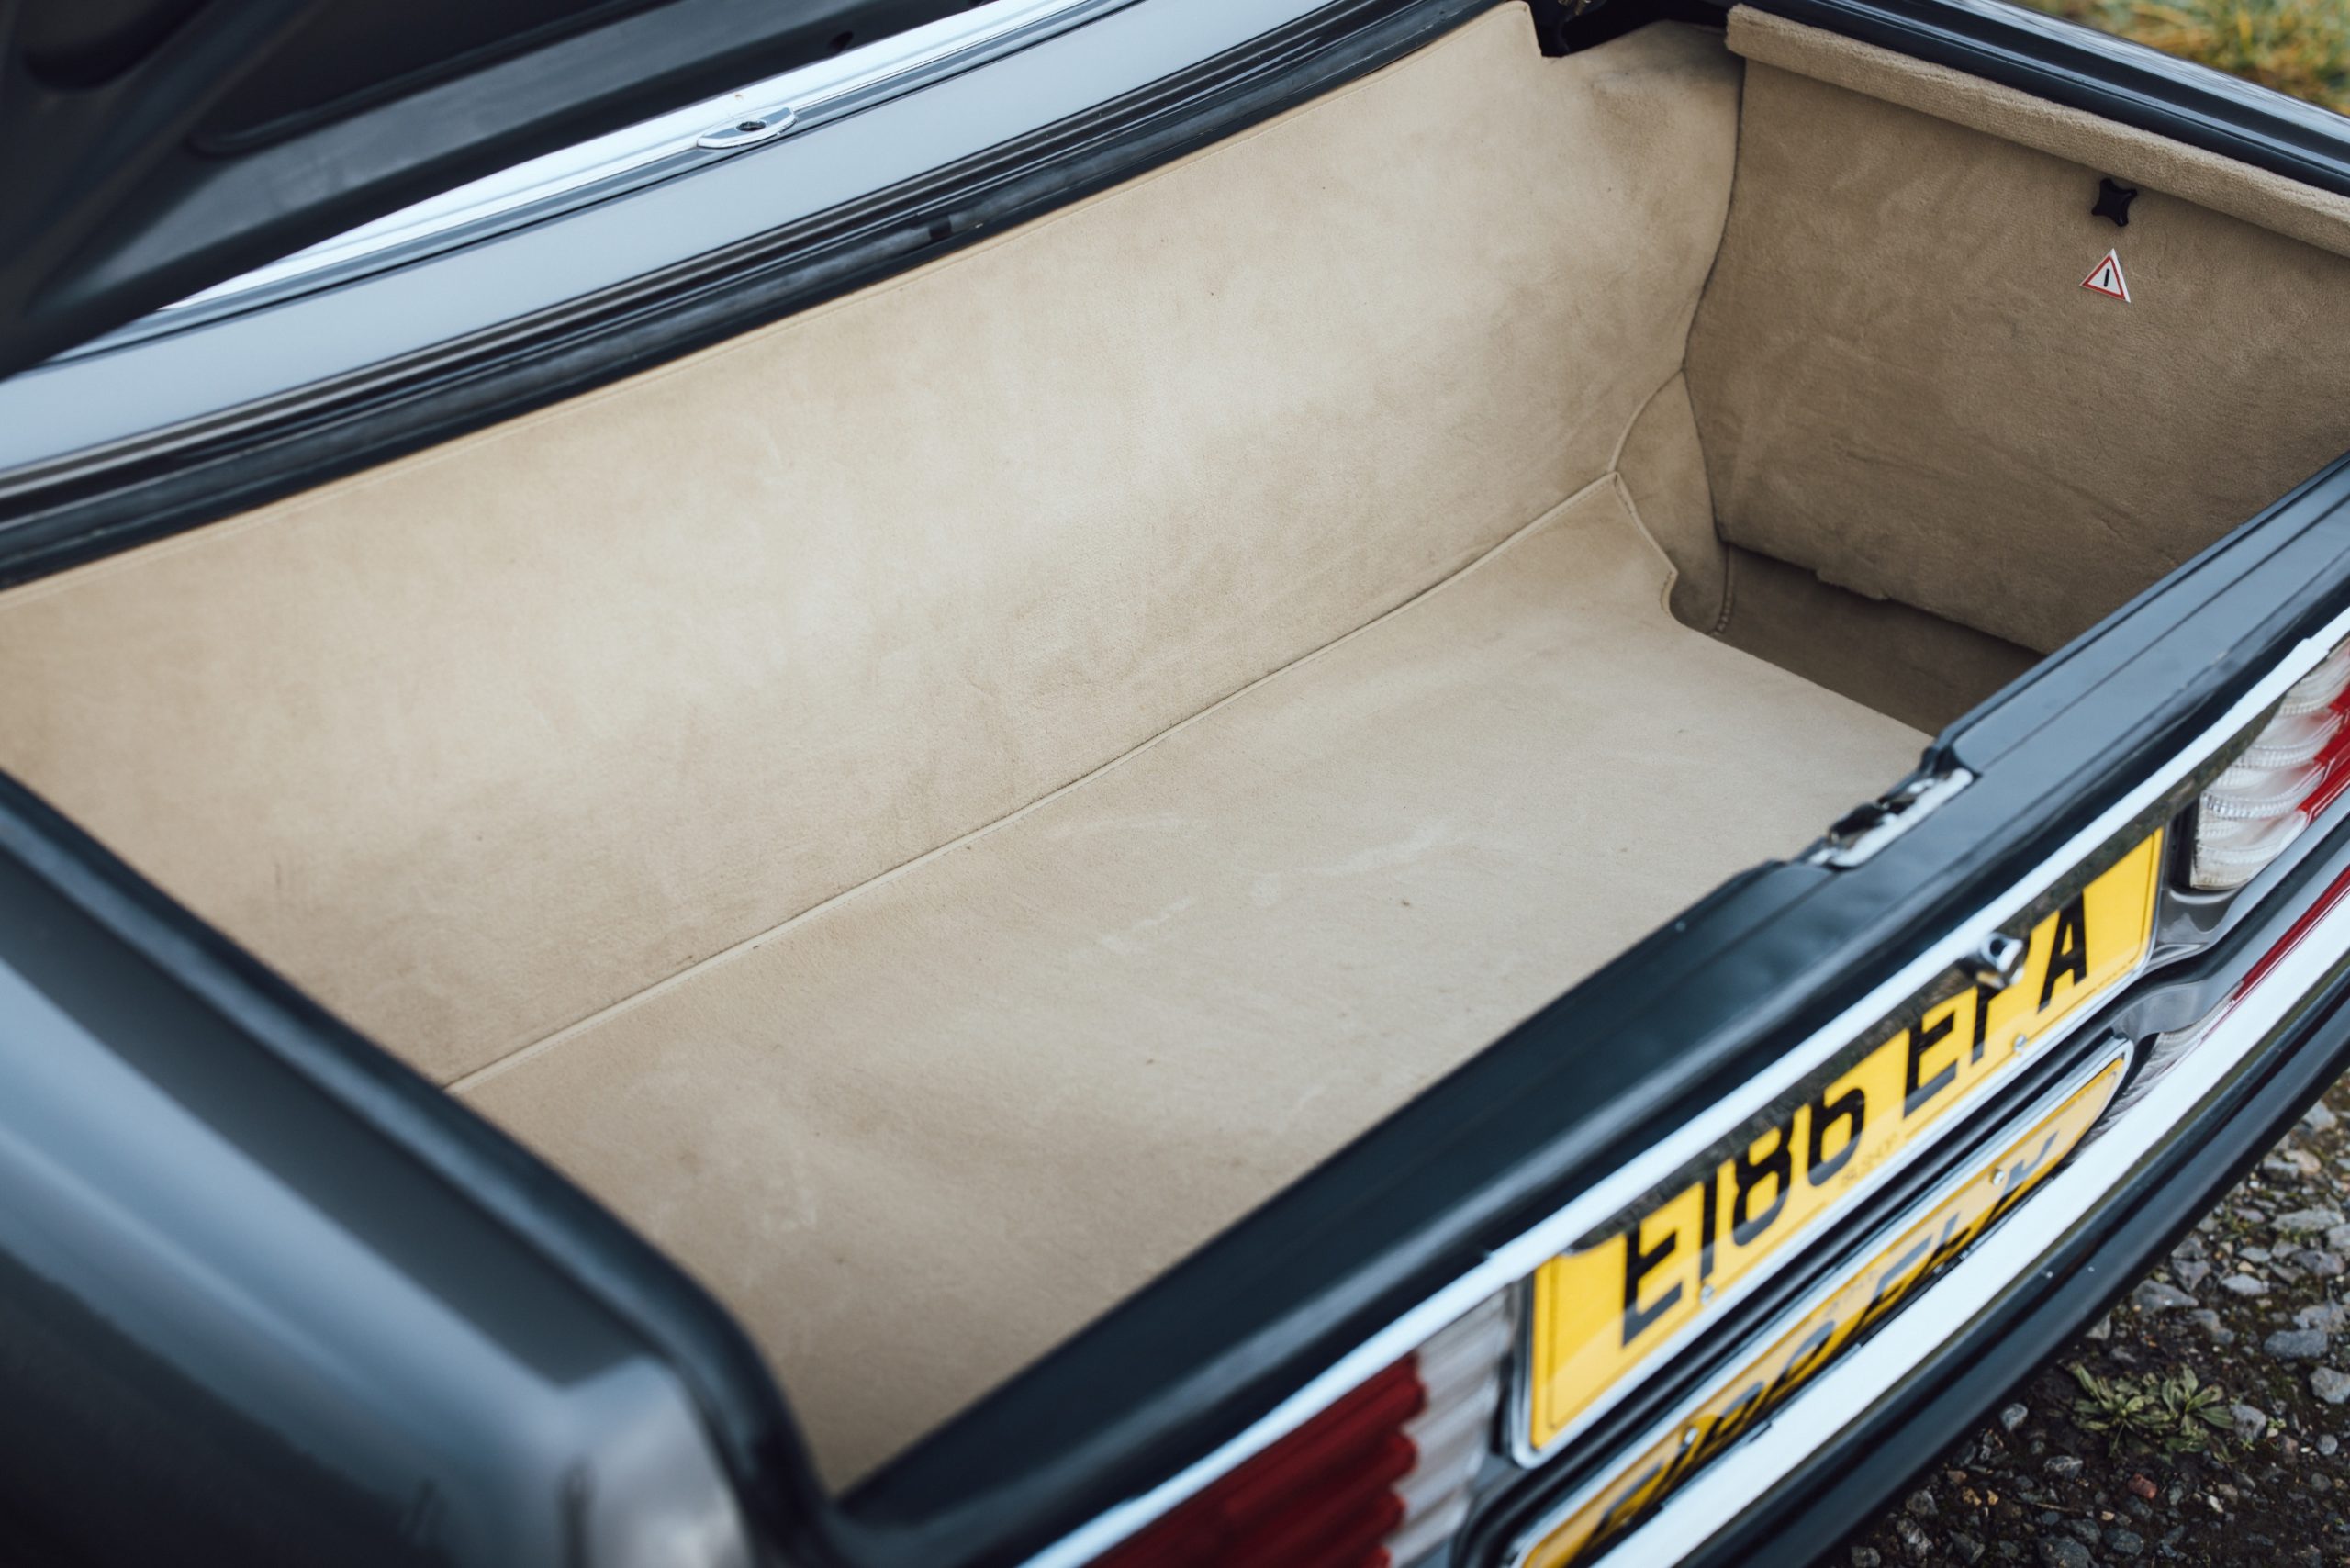
The same went for the diminutive rear seats, one of many options ticked by the first owner. Not all of the cabin is leather though. The doorcards are MB-TEX vinyl, so Sam’s team also had to source cards in the correct tone and perforation pattern. ‘We used carpets commissioned from the same supplier in Germany,’ says Sam. ‘They’re just right for tone and texture as well.’
Sourcing all the items and materials was time-consuming, but the build-up process would be just as painstaking. That phase would have to wait for completion of the mechanical side of the job, where once again the team would make a call on what they could take on trust and what they must do all over again.
High point: ‘Right at the end – putting those final pieces of chrome on and stepping back’, Sam Bailey
Rebuilding the engine, again.
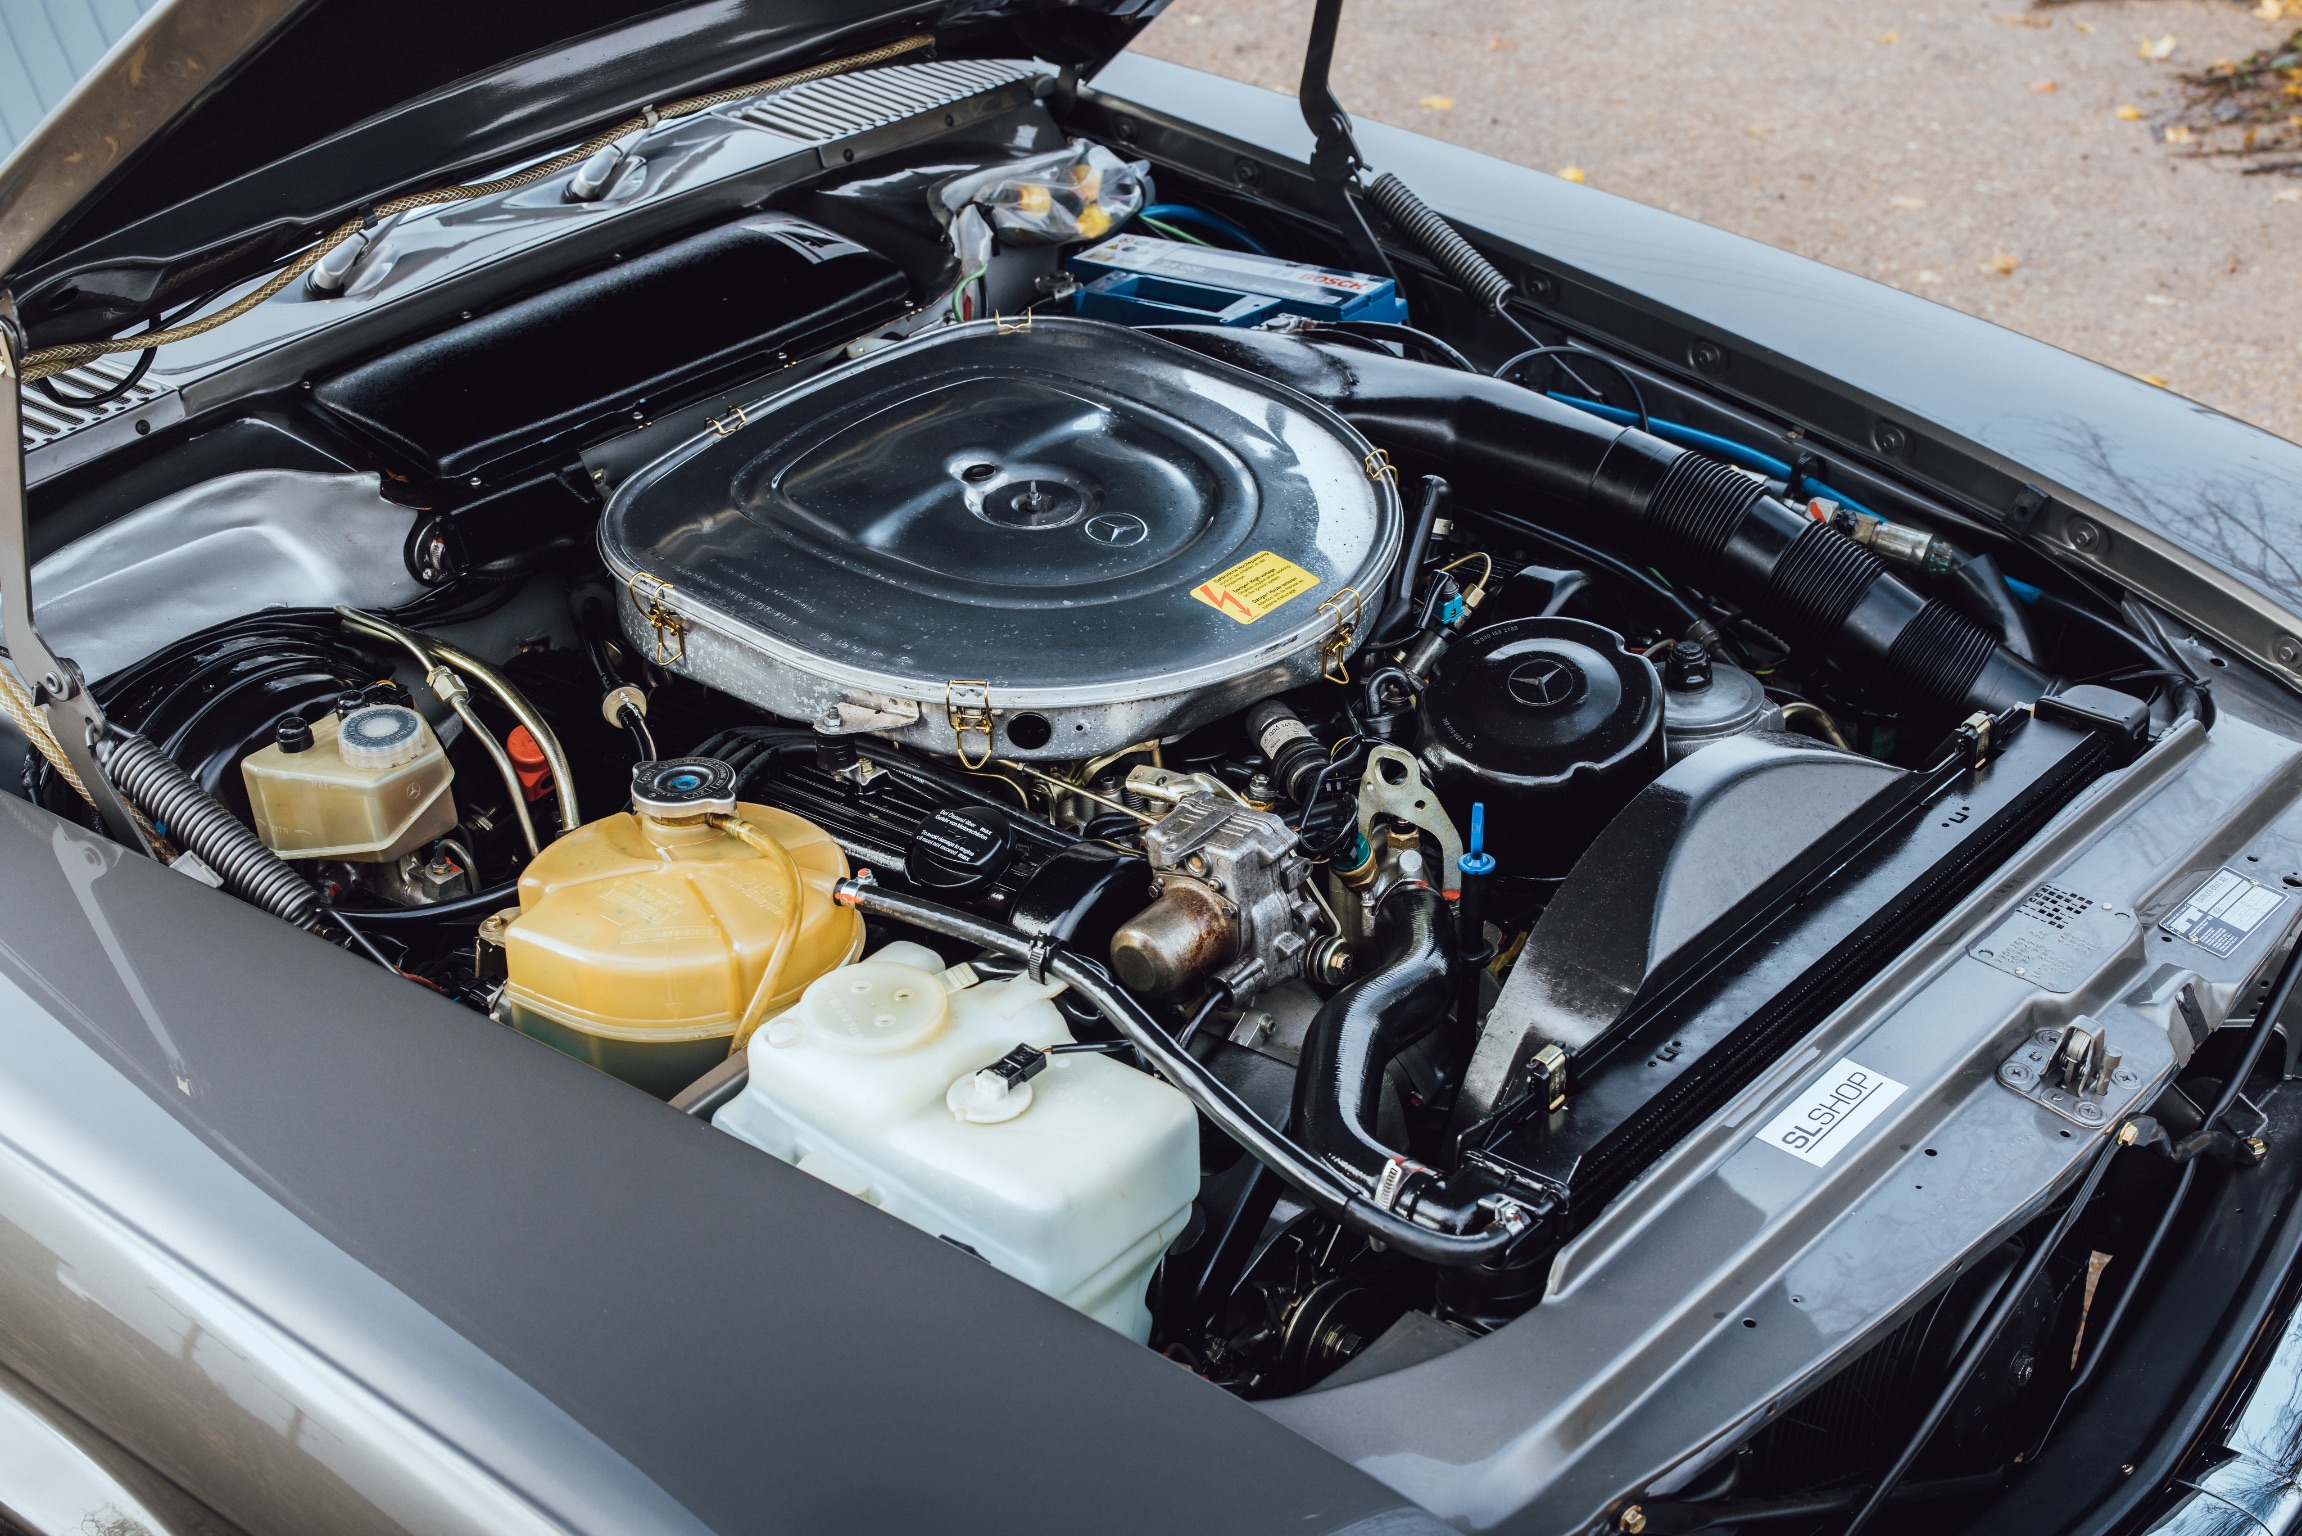
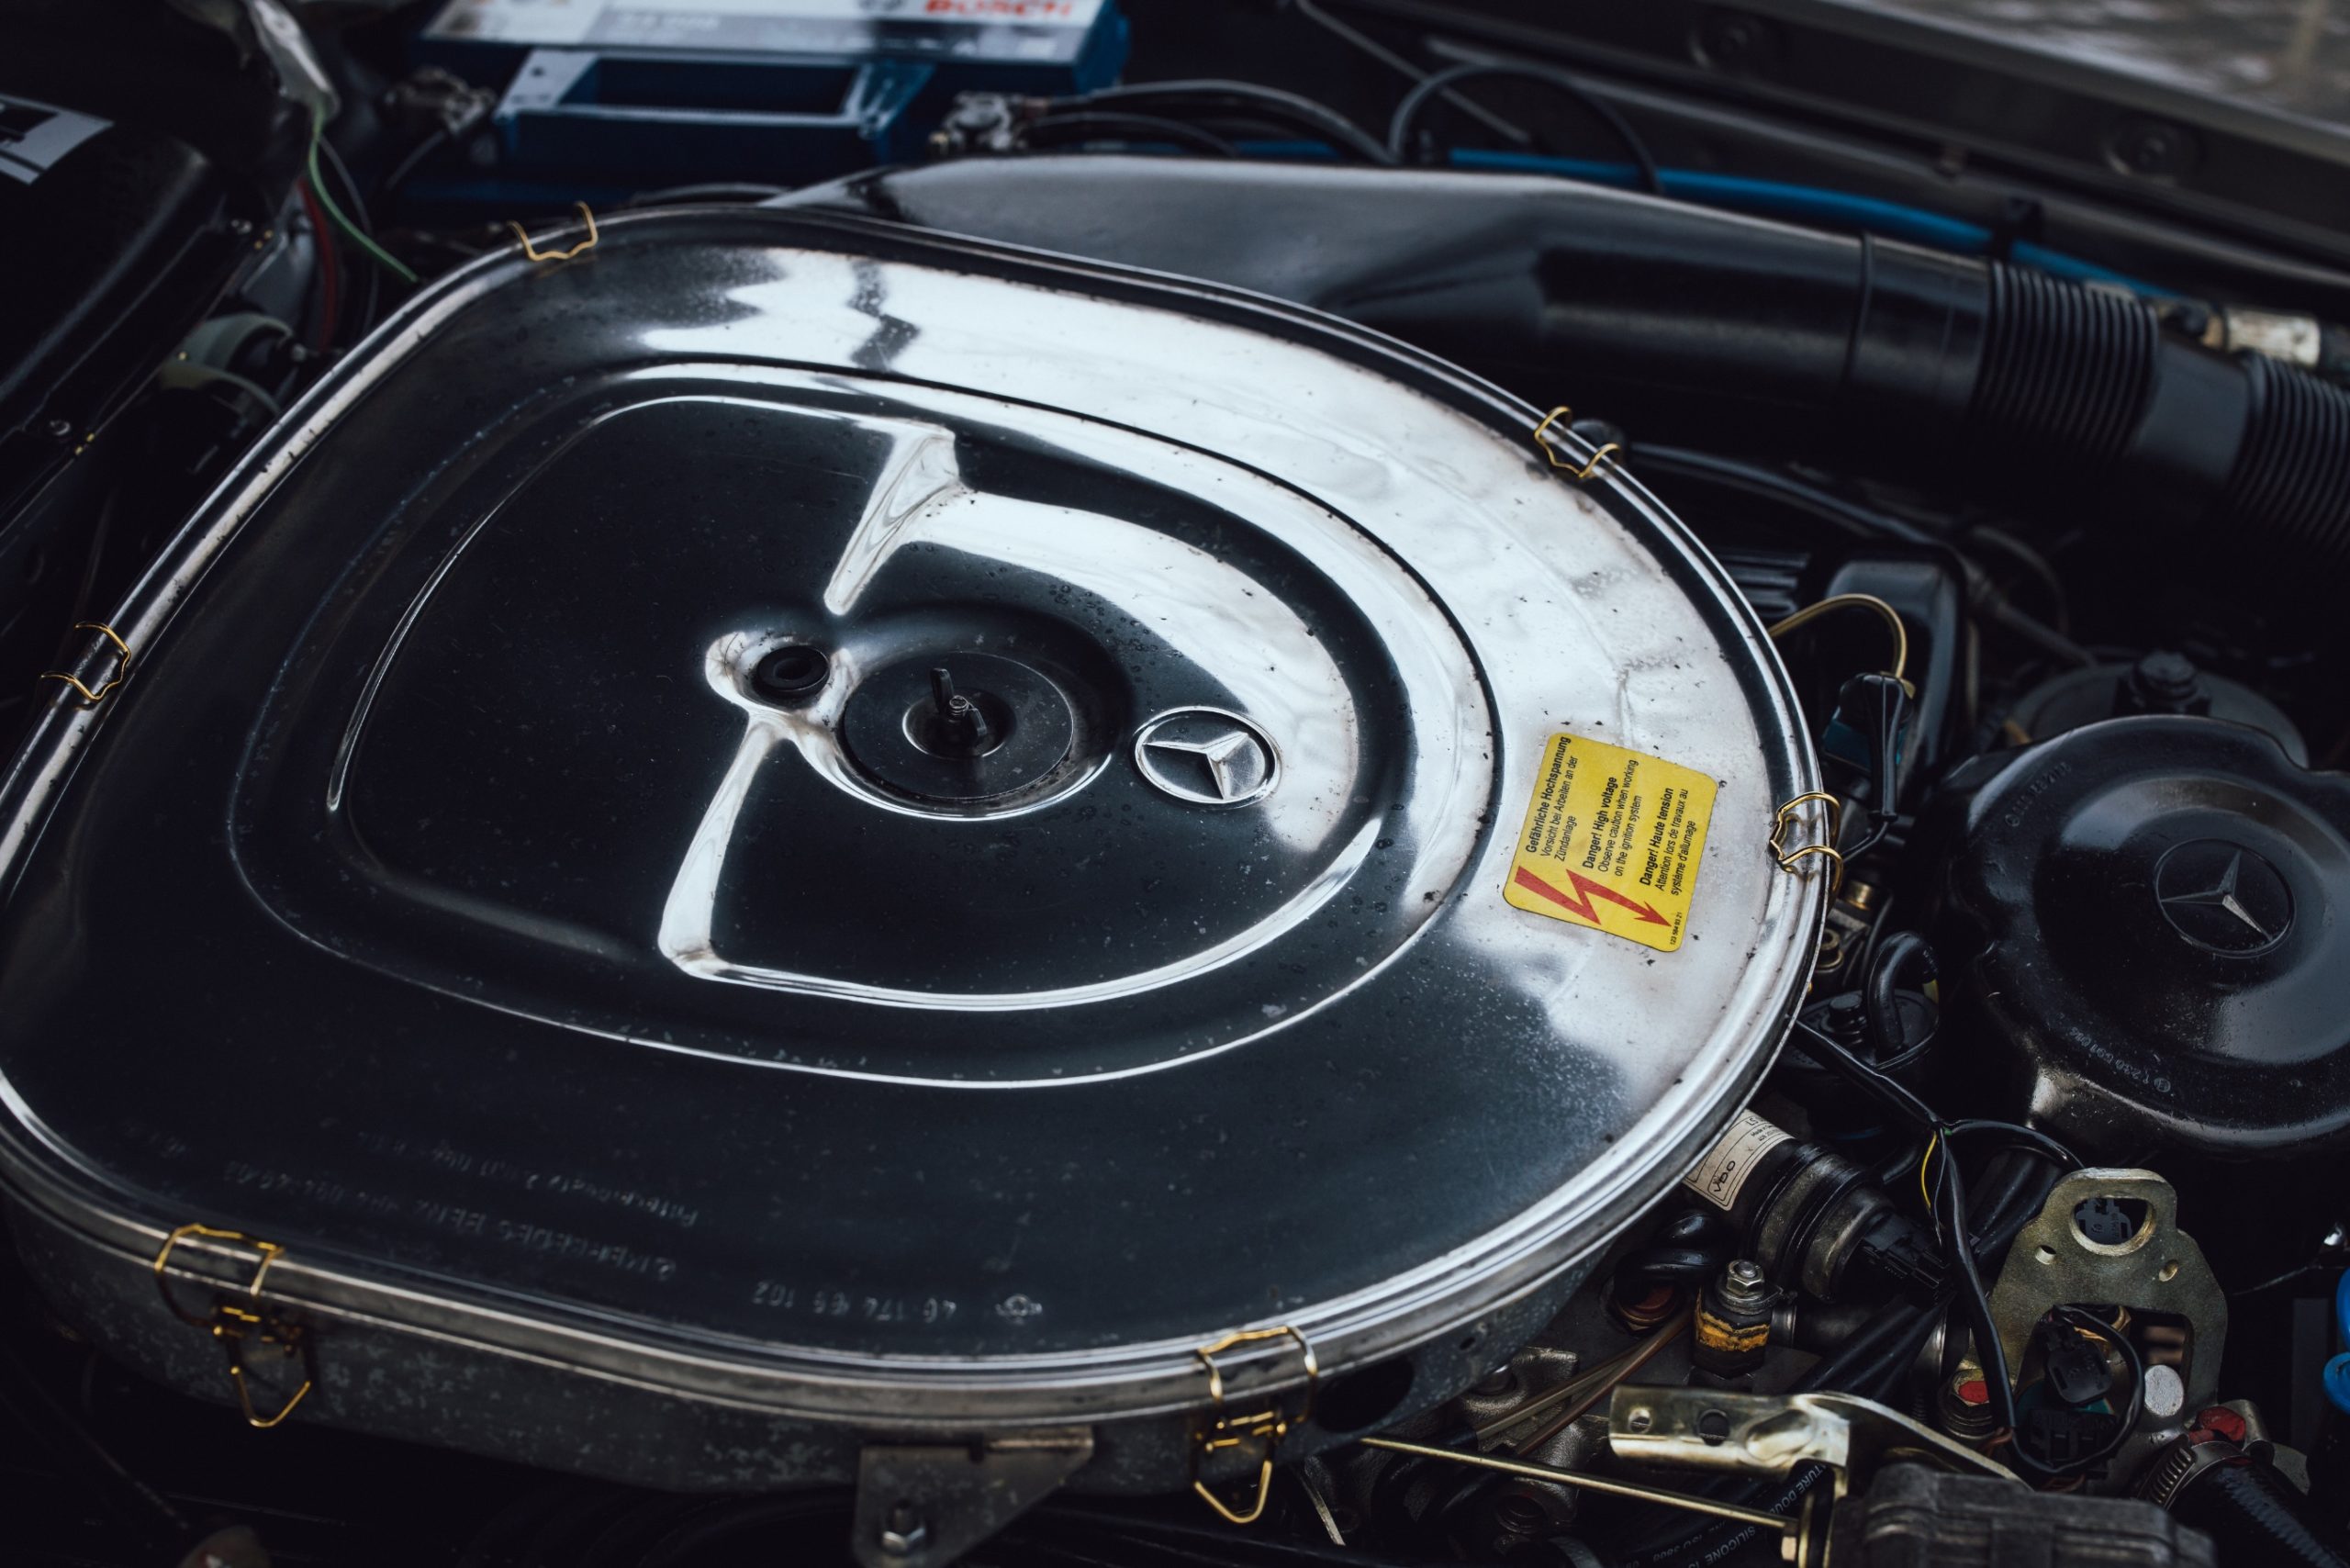
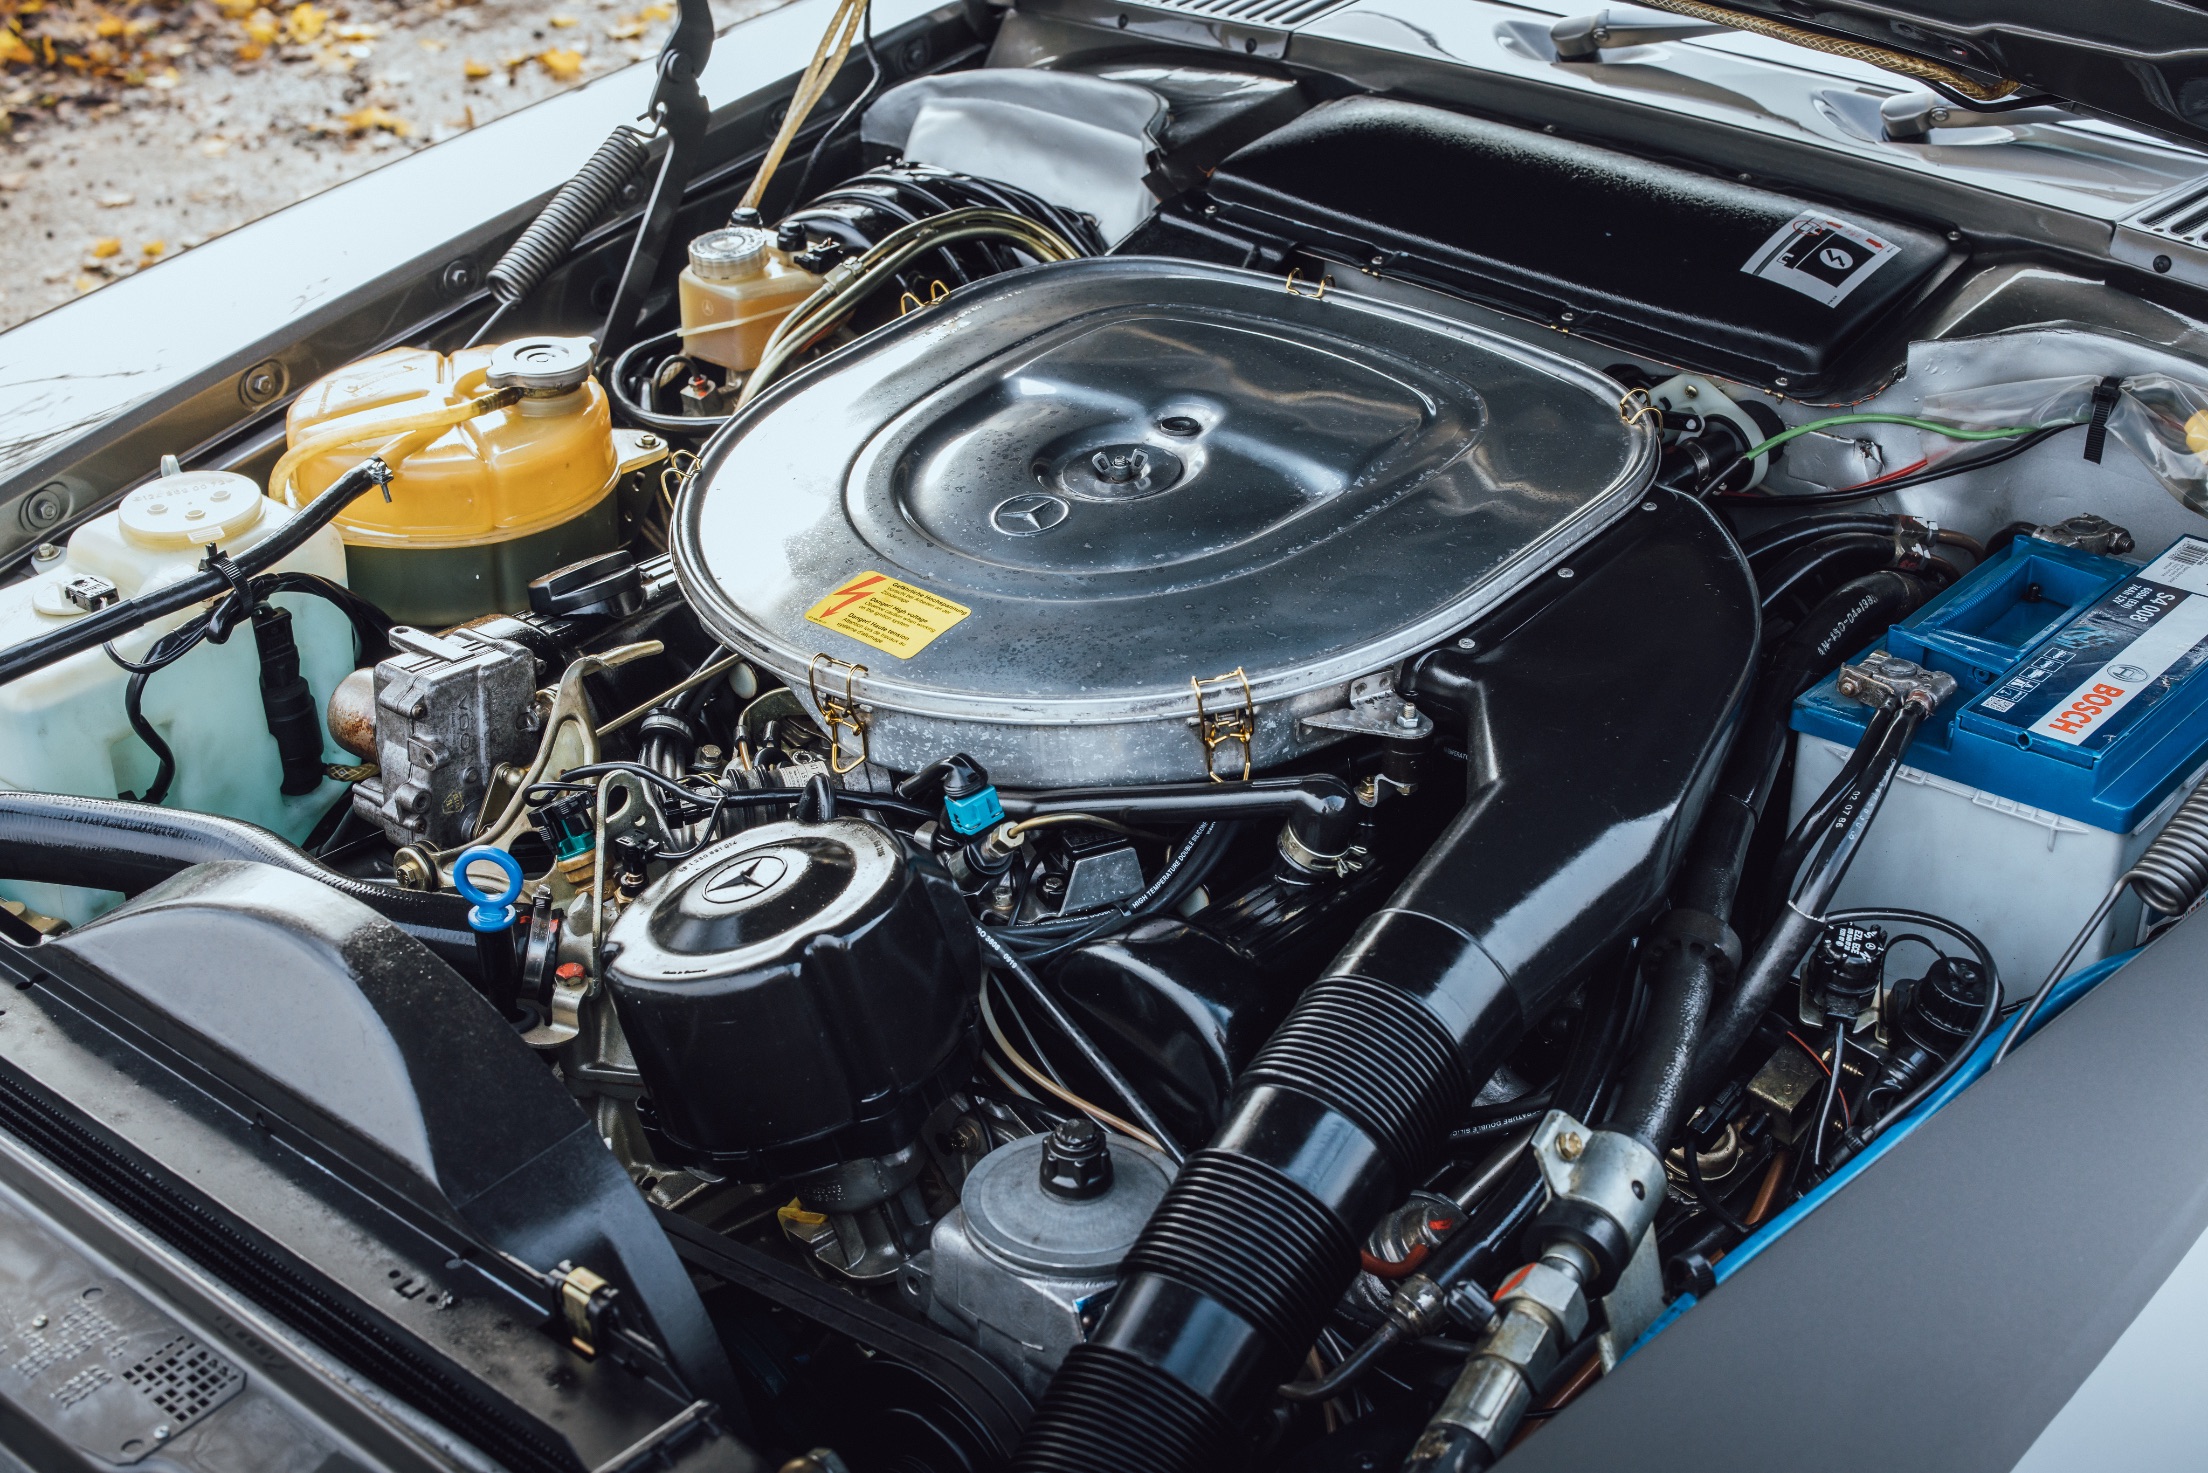
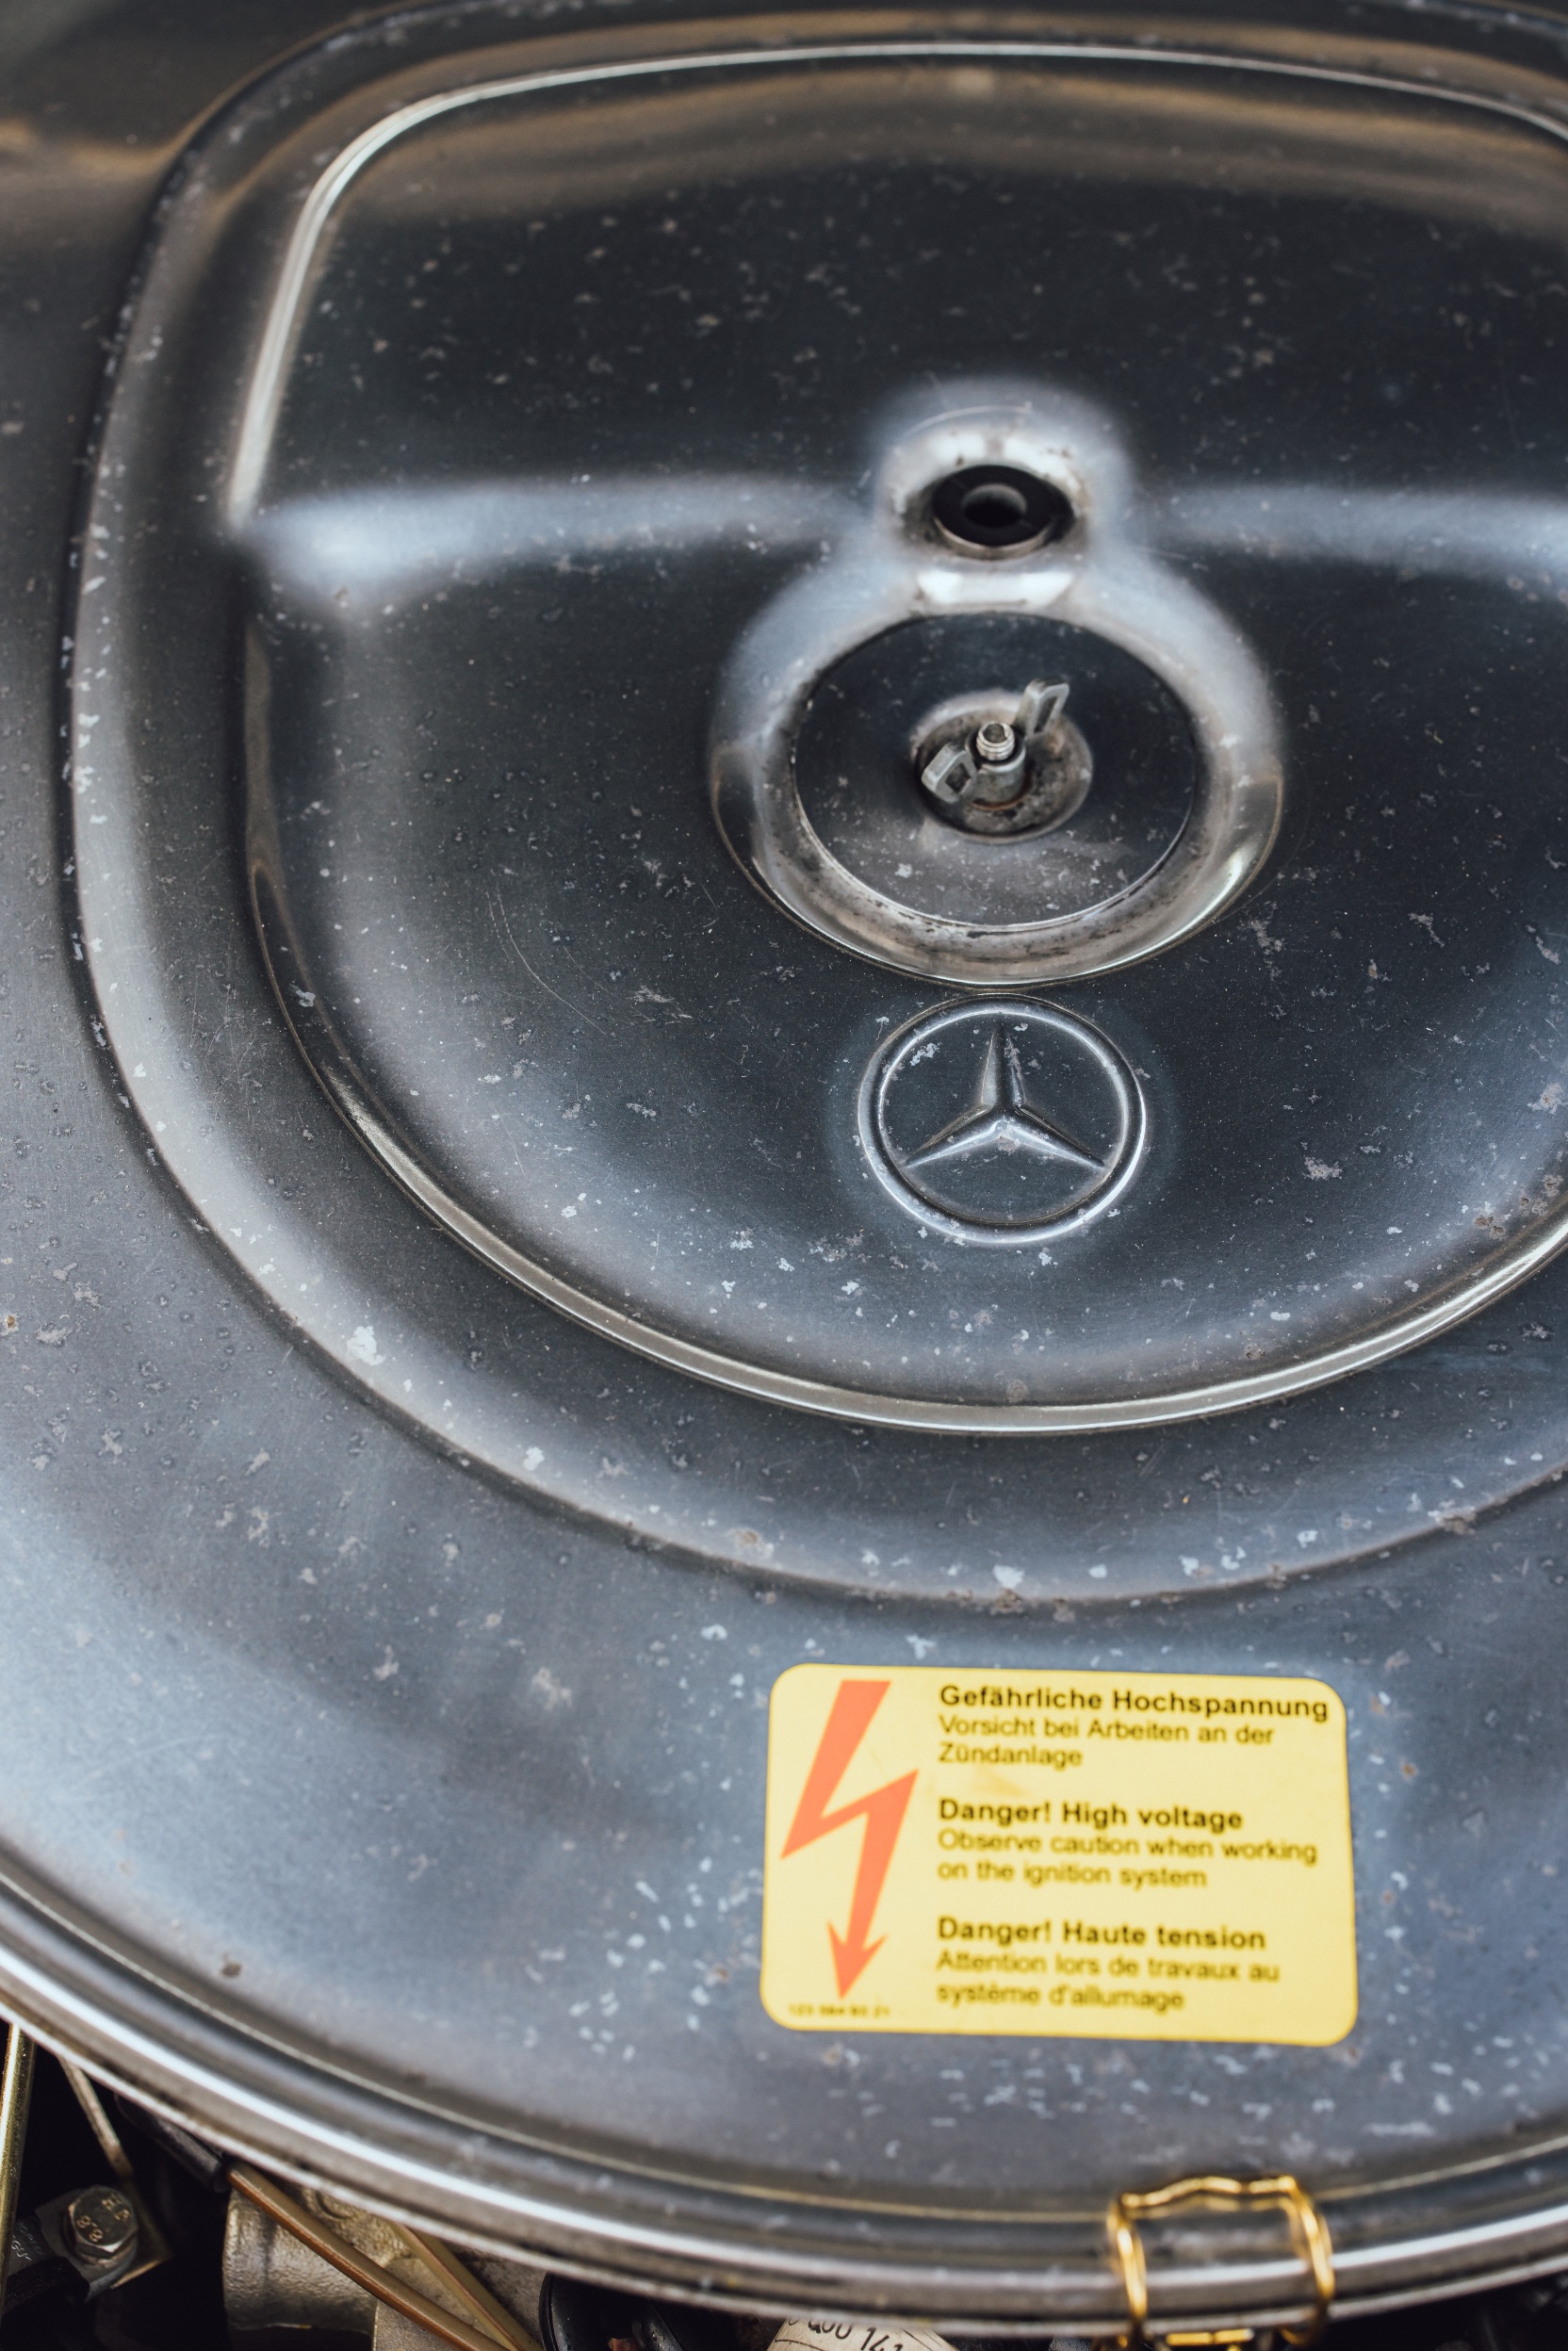
Simon Wood coordinates all the mechanical rebuilds at the SL Shop and takes a special interest in engine work. He describes how they approached the 420SL’S sizeable V8, ‘It was out of the car, of course, and mostly built up. It had indeed been apart for some work but there’s no way we could have just fitted it and hoped for the best, so we stripped it for a closer look.’
The more they looked, the more they found. Simon didn’t like the non-mb timing chain or the elderly chain guides and guide rails that’d been used. ‘We couldn’t trust the machining work either so once the cylinder heads came off we measured and examined everything and found one of the heads to be corroded around the coolant jacket. We had to Tig-weld that and then machine it flat.’
Simon found brand new camshafts in both cylinder heads so they could stay. Further down in the alloy engine block, the cylinder liners also measured up to specification, as did the connecting rods and pistons. ‘With the crankshaft out, we could check the bearing journals for ovality and scoring but they were in good shape. We didn’t like the bearings themselves, though, so we fitted new
Mercedes items along with a full gasket set. Before we reassembled it all, the major castings were stripped and soda-blasted to ensure everything was as clean as it could be.’
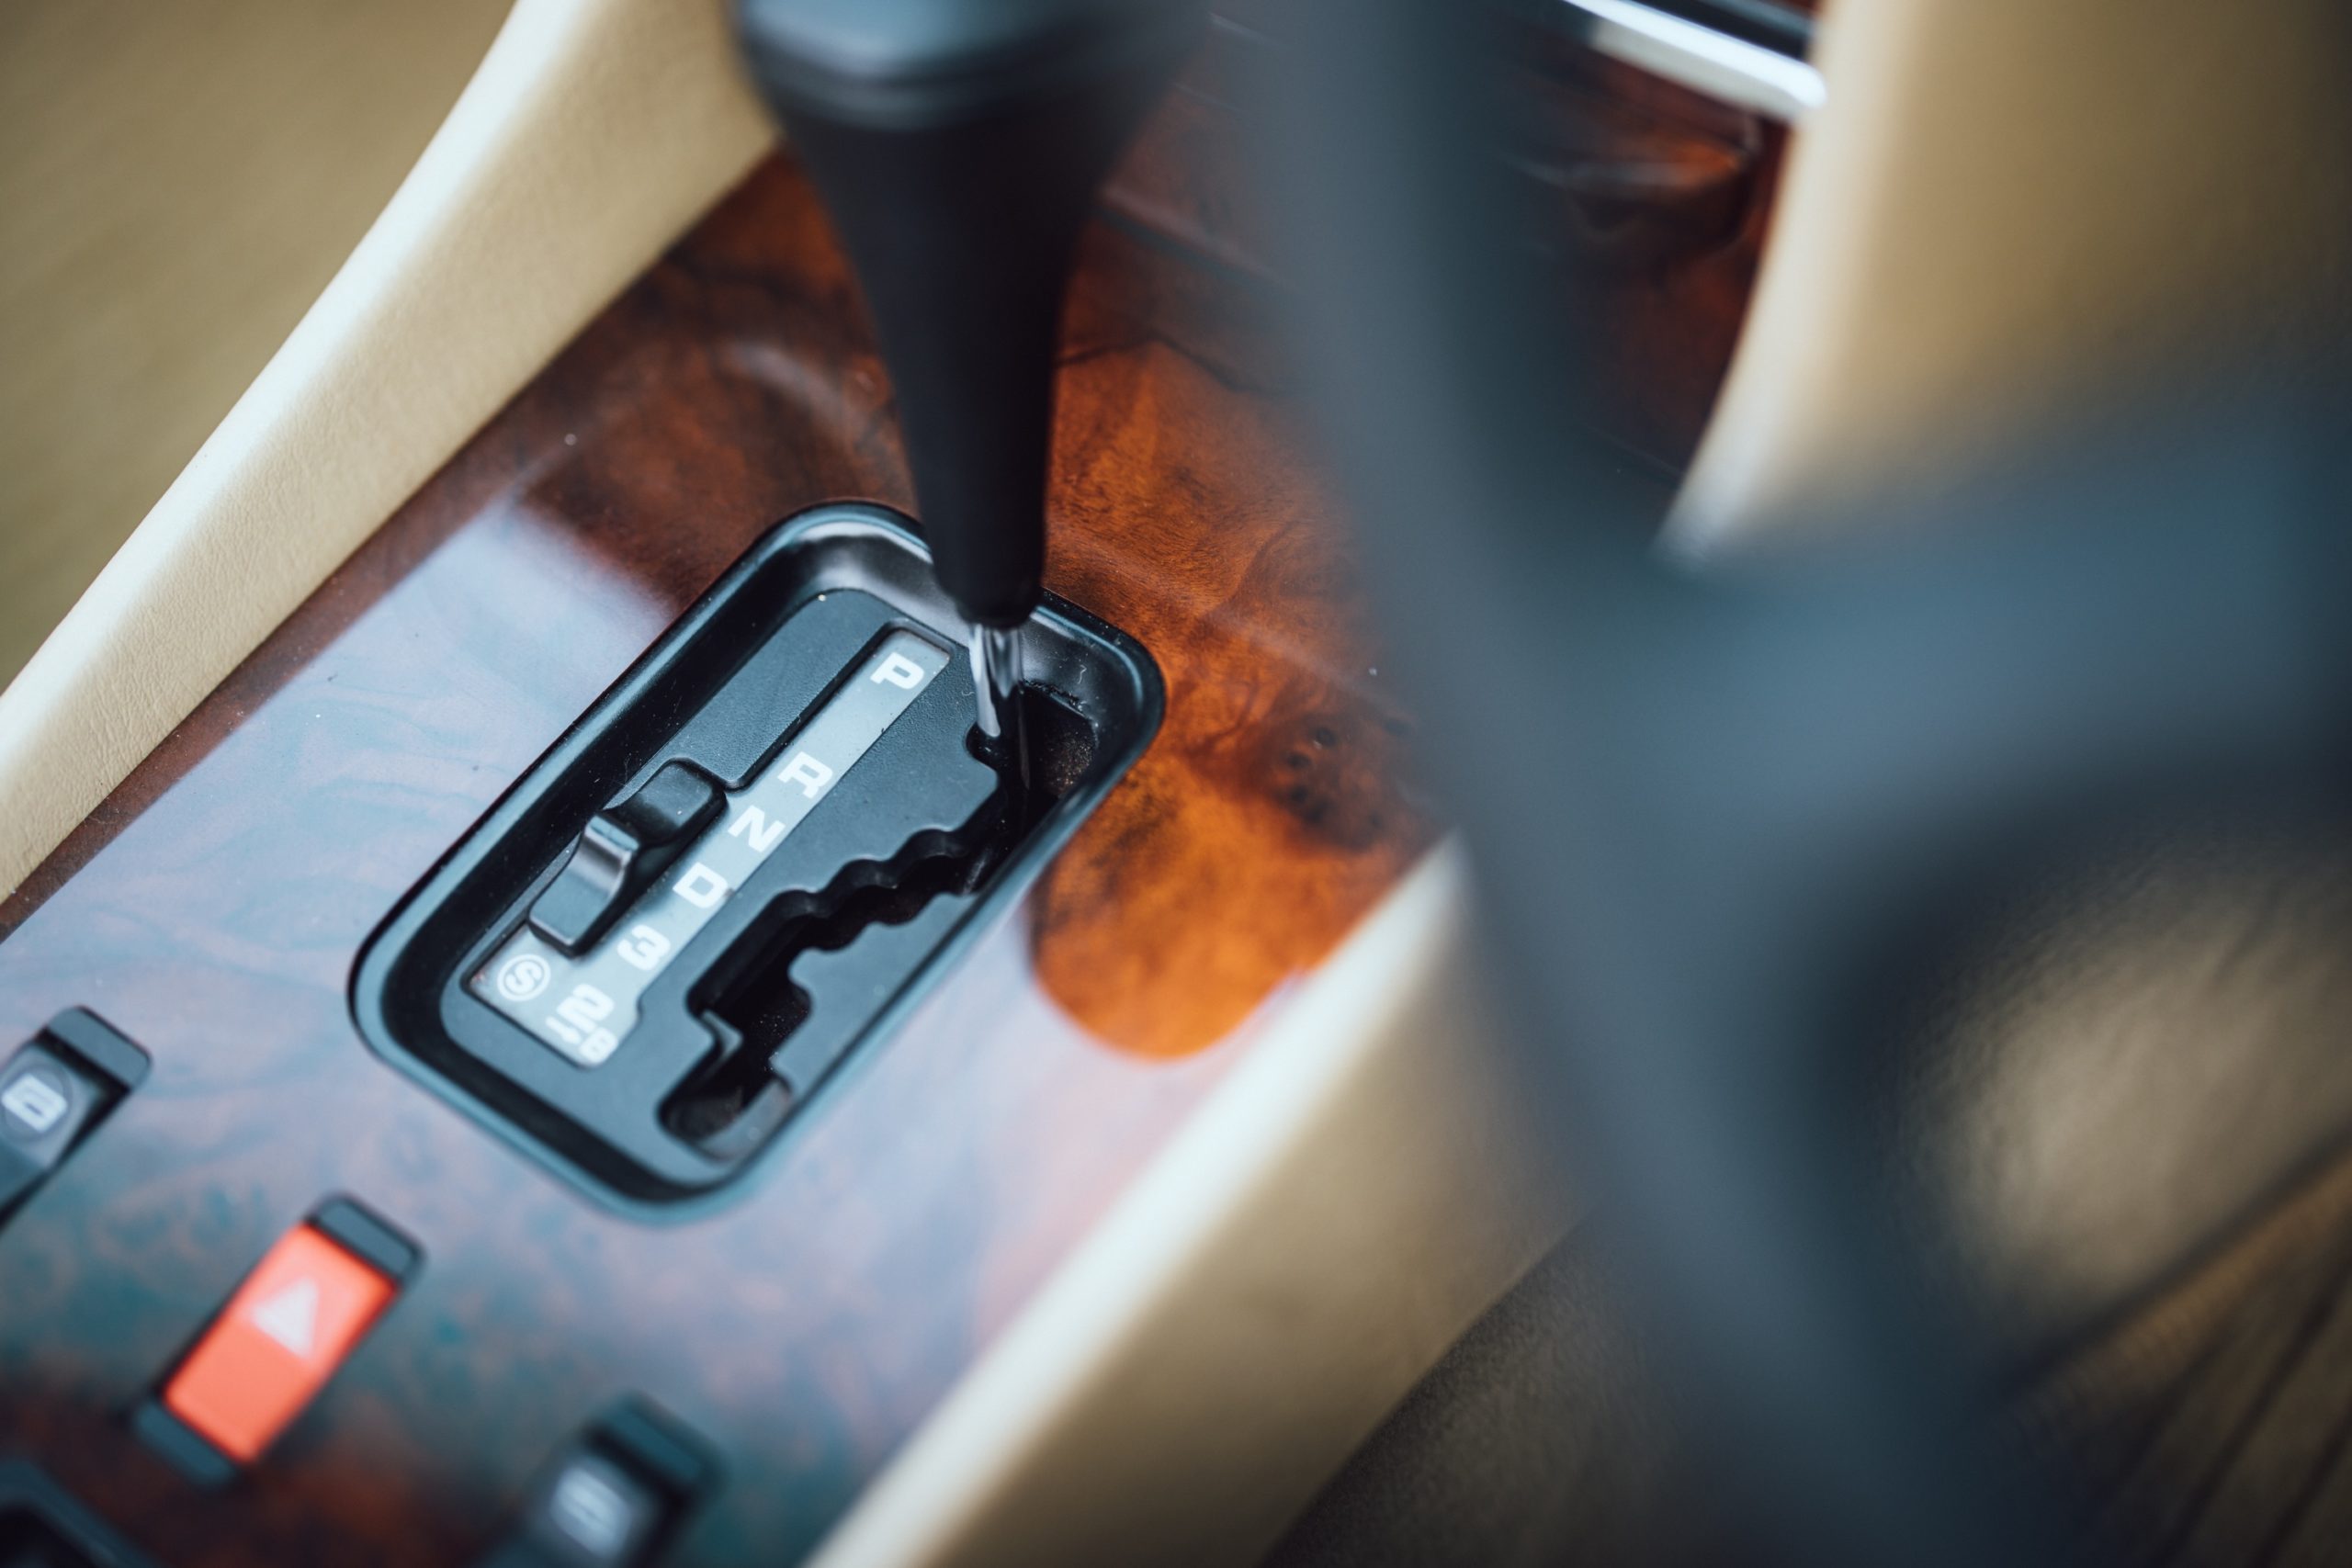
Next on the list was the four-speed automatic transmission. This went off to a gearbox specialist where nothing more than new gaskets and seals were required. Once the gearbox was in the car, though, Simon and his colleagues would have some careful work to do with the gearbox adjustment gauge – see My Favourite Tool to the right.
‘The engine and gearbox were quicker to finish than the ancillaries,’ says Simon. ‘Every single one of them was refurbished and some of them are pretty complex and unique to Mercedes. For instance, the cruise control unit works from a feed off the back of the speedometer and operates a mechanical linkage to the throttle. It features a solenoid that you can adjust with a coronet… there’s a special test box that we eventually plugged into the wiring loom on the inner wing – it lets you accelerate, slow down, set the speed and so on, while driving down the road.’
The main reason for the time taken over the many humble under-bonnet items was the standard that Simon and his colleagues were working towards throughout the project.
‘The aim was to leave each component exactly like the factory had finished it originally,’ he says. ‘That’s quite a big deal when you start with a box of old bits!’
Fiddly details
Harry Budd looked after much of the assembly and build-up for this SL and its component groups. He had a very clear path towards completion, ‘I had to refurbish the front and rear subframe assemblies. That meant a lot of stripping and refinishing of the subframes themselves, but also renewing bushes, ball joints, bearings, dampers and so on. When the bodyshell came back from paint these were ready to fit, but that wasn’t the first job – fuel and brake lines have to go in first.’
From there, the subframes were reunited with the car and suddenly it was back to rolling on its wheels. ‘After that, I installed a new wiring harness, and once that was in position, we were able to fit the engine and transmission,’ Harry continues. ‘Then I began to build up the bulkhead and dash.’
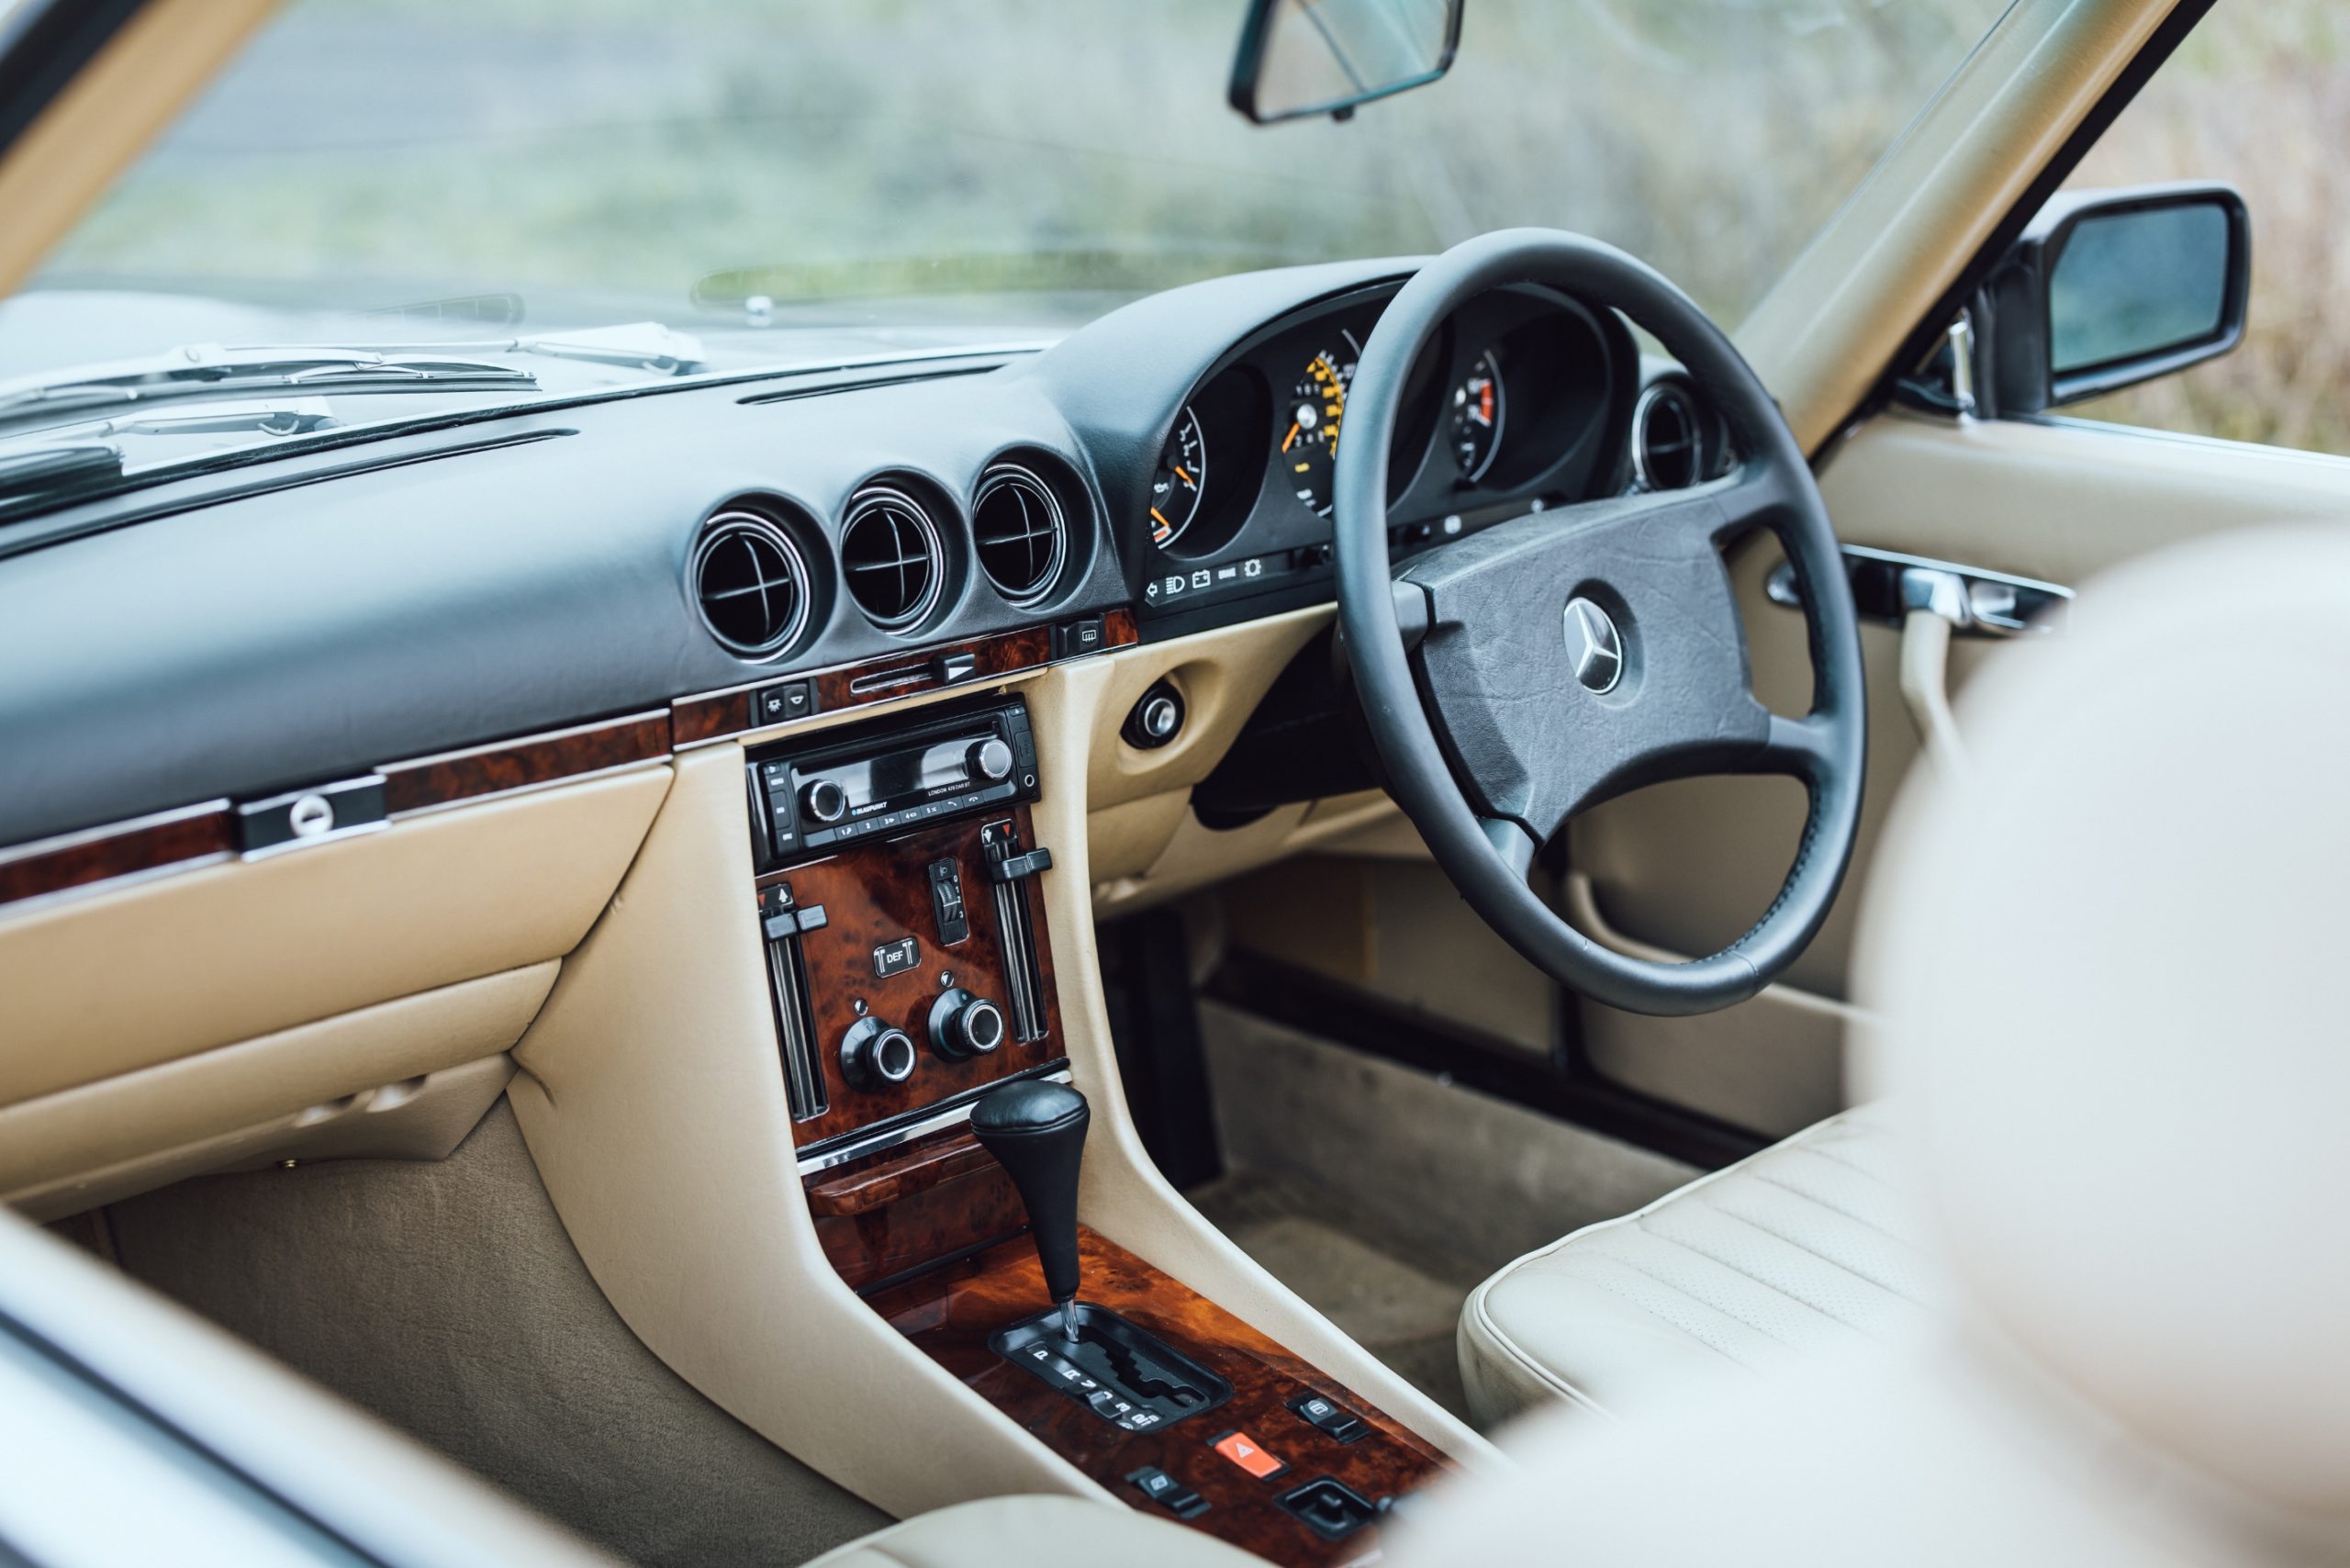
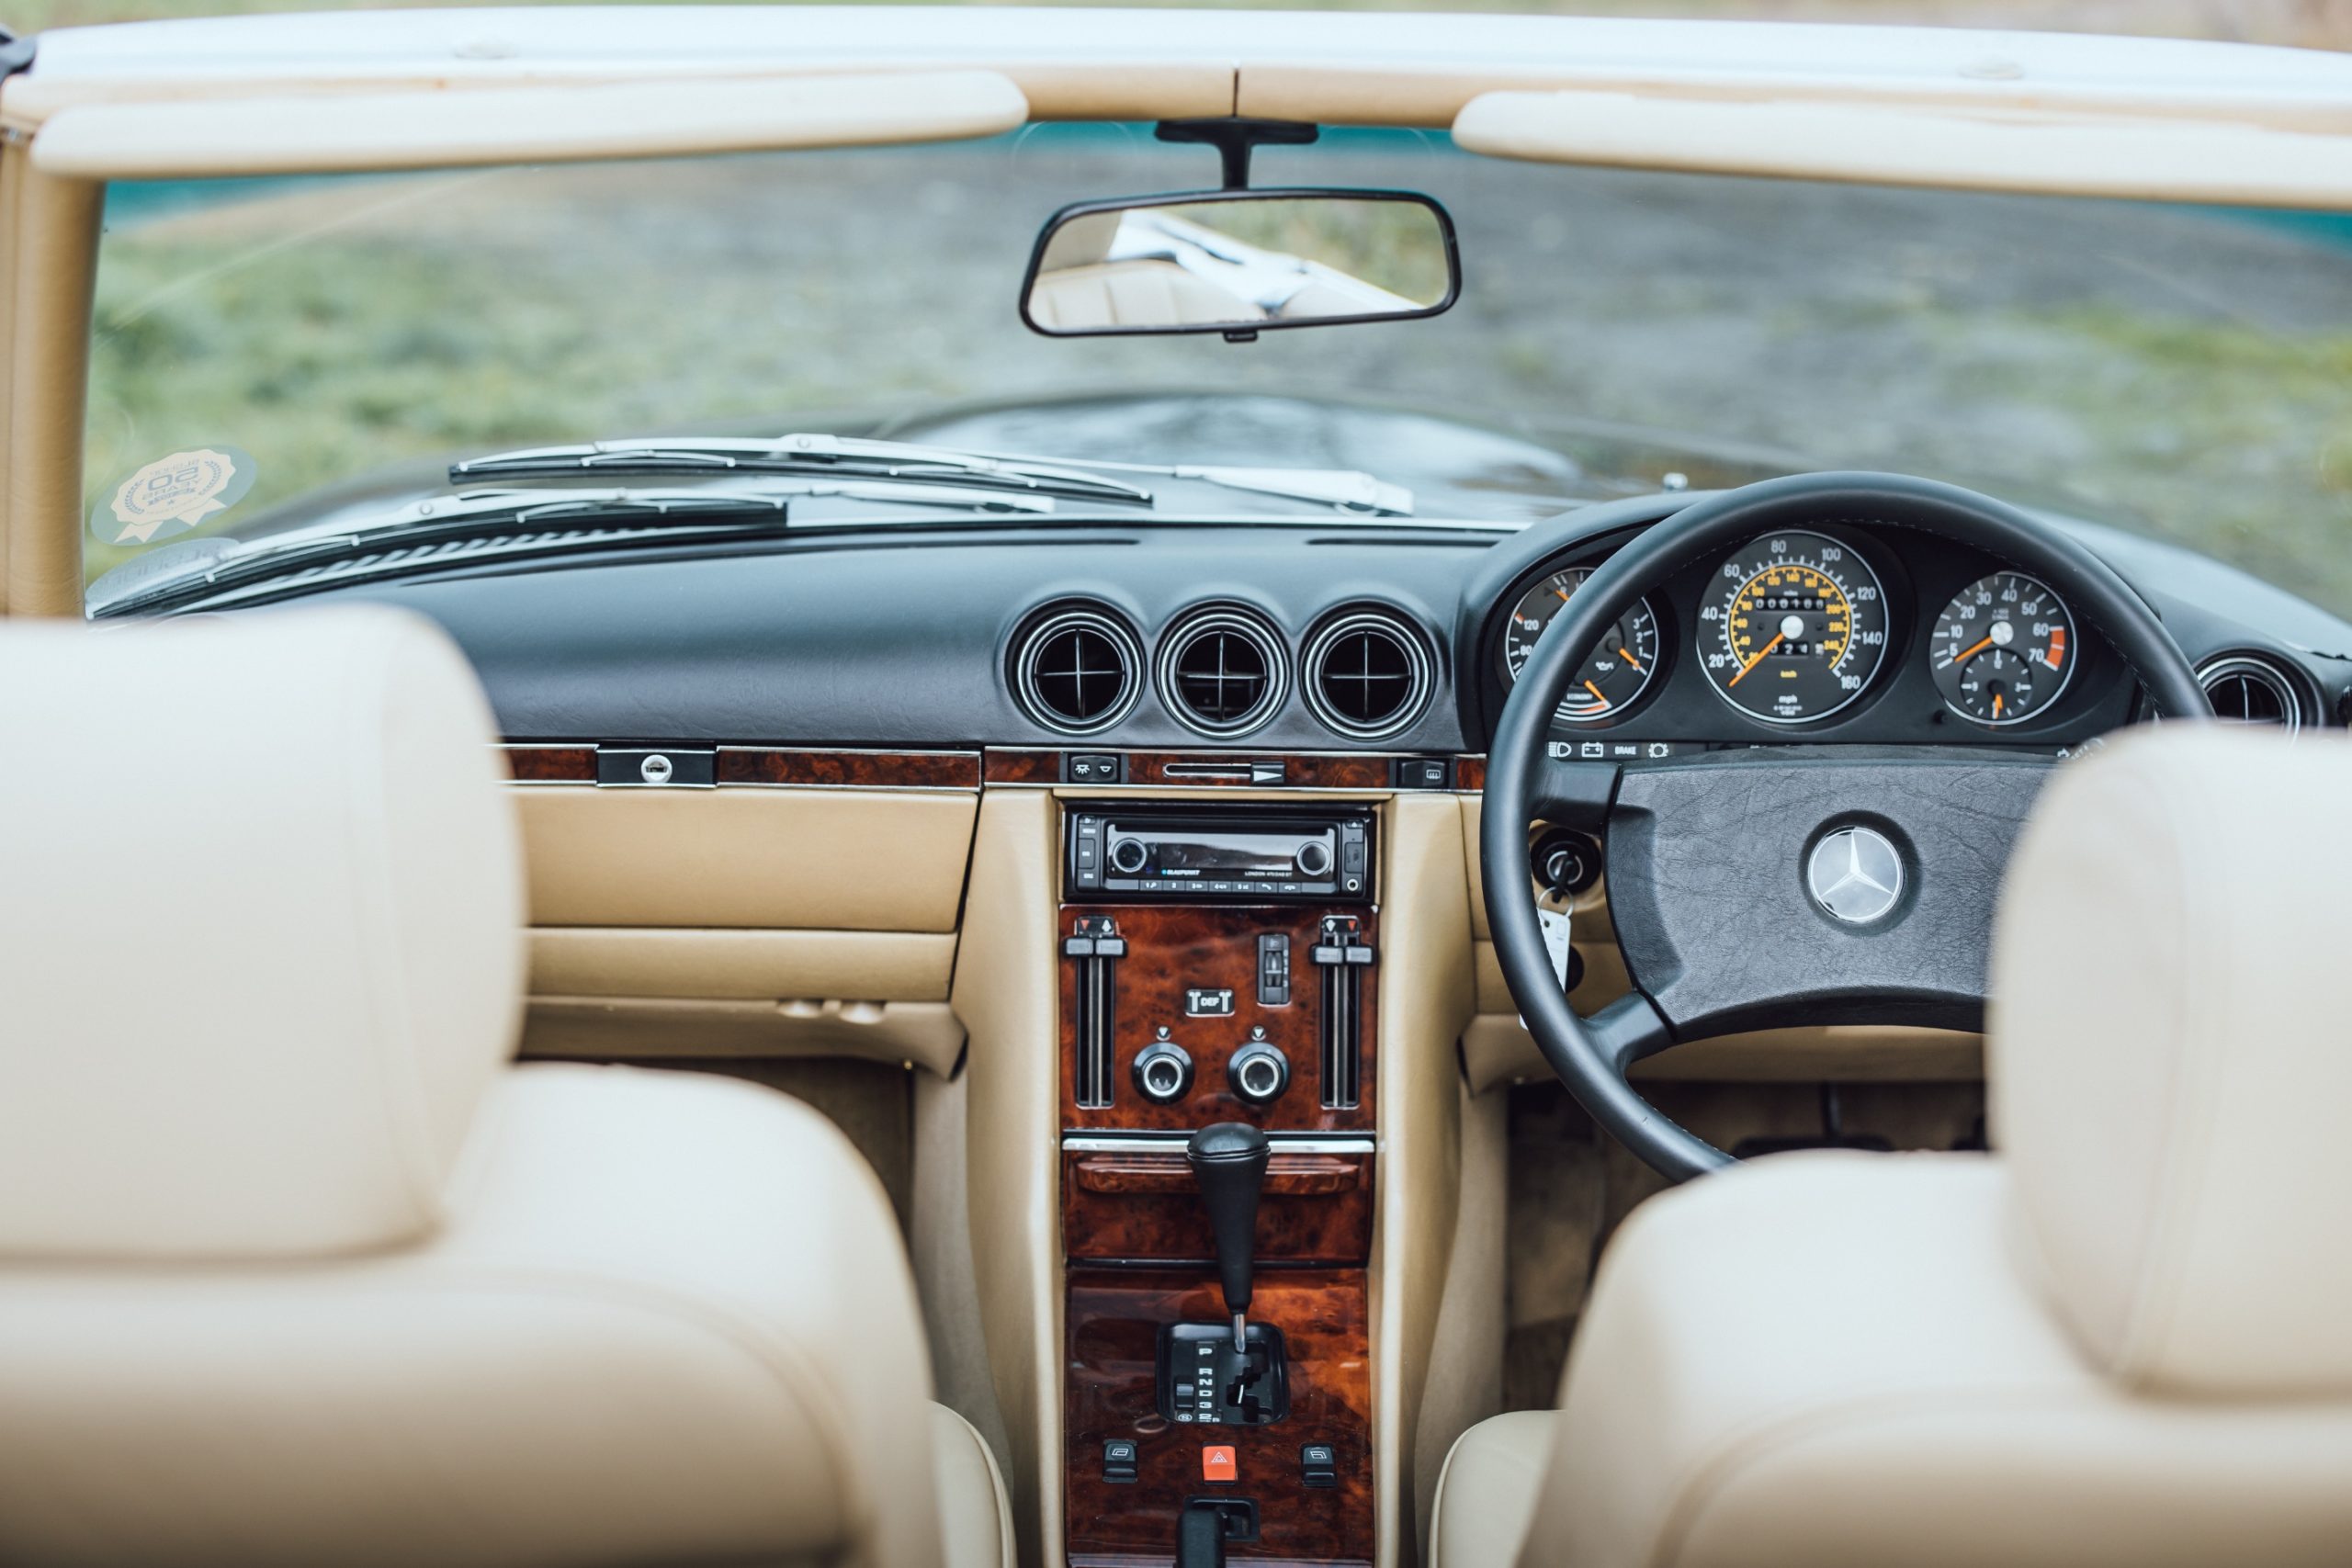
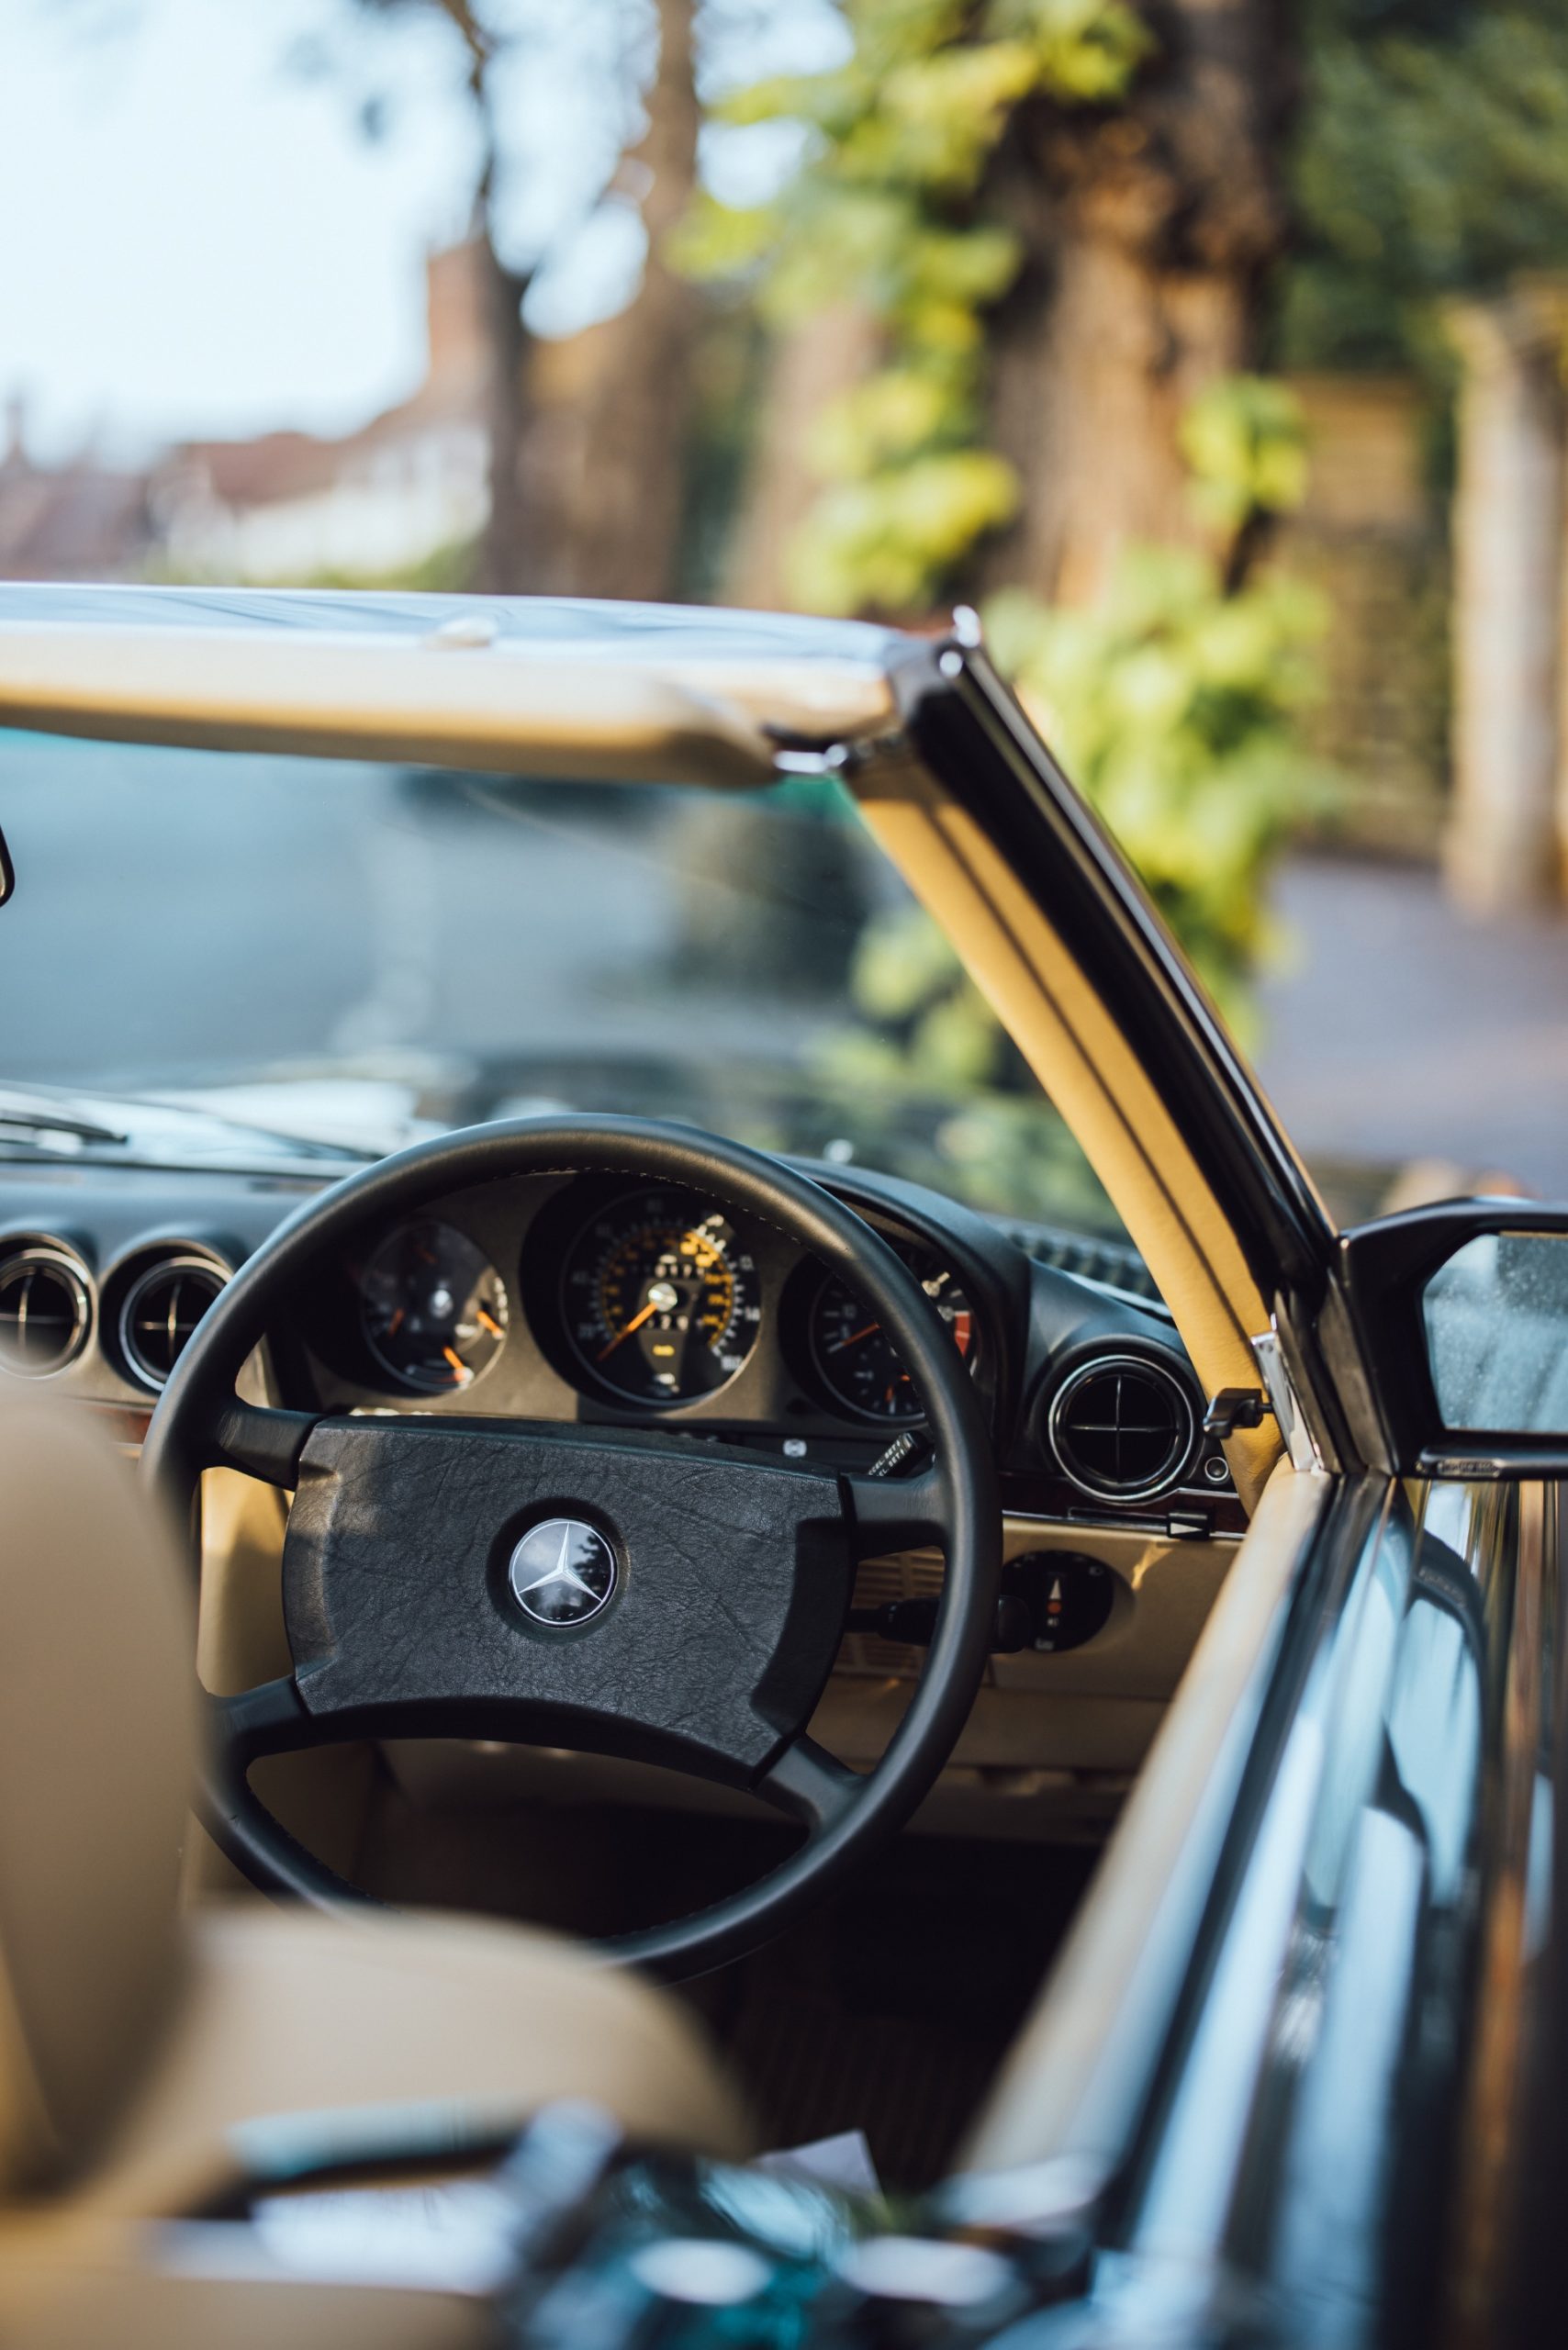
While work continued, Harry was making a list of anything else that would be needed. Some items were a late decision, such as the steering wheel. ‘The original wheel was a nice example but we had to consider it as part of a brand new car, because that’s what the restoration was going to produce. And it just wasn’t crisp enough, so we were able to source a new old-stock item.’
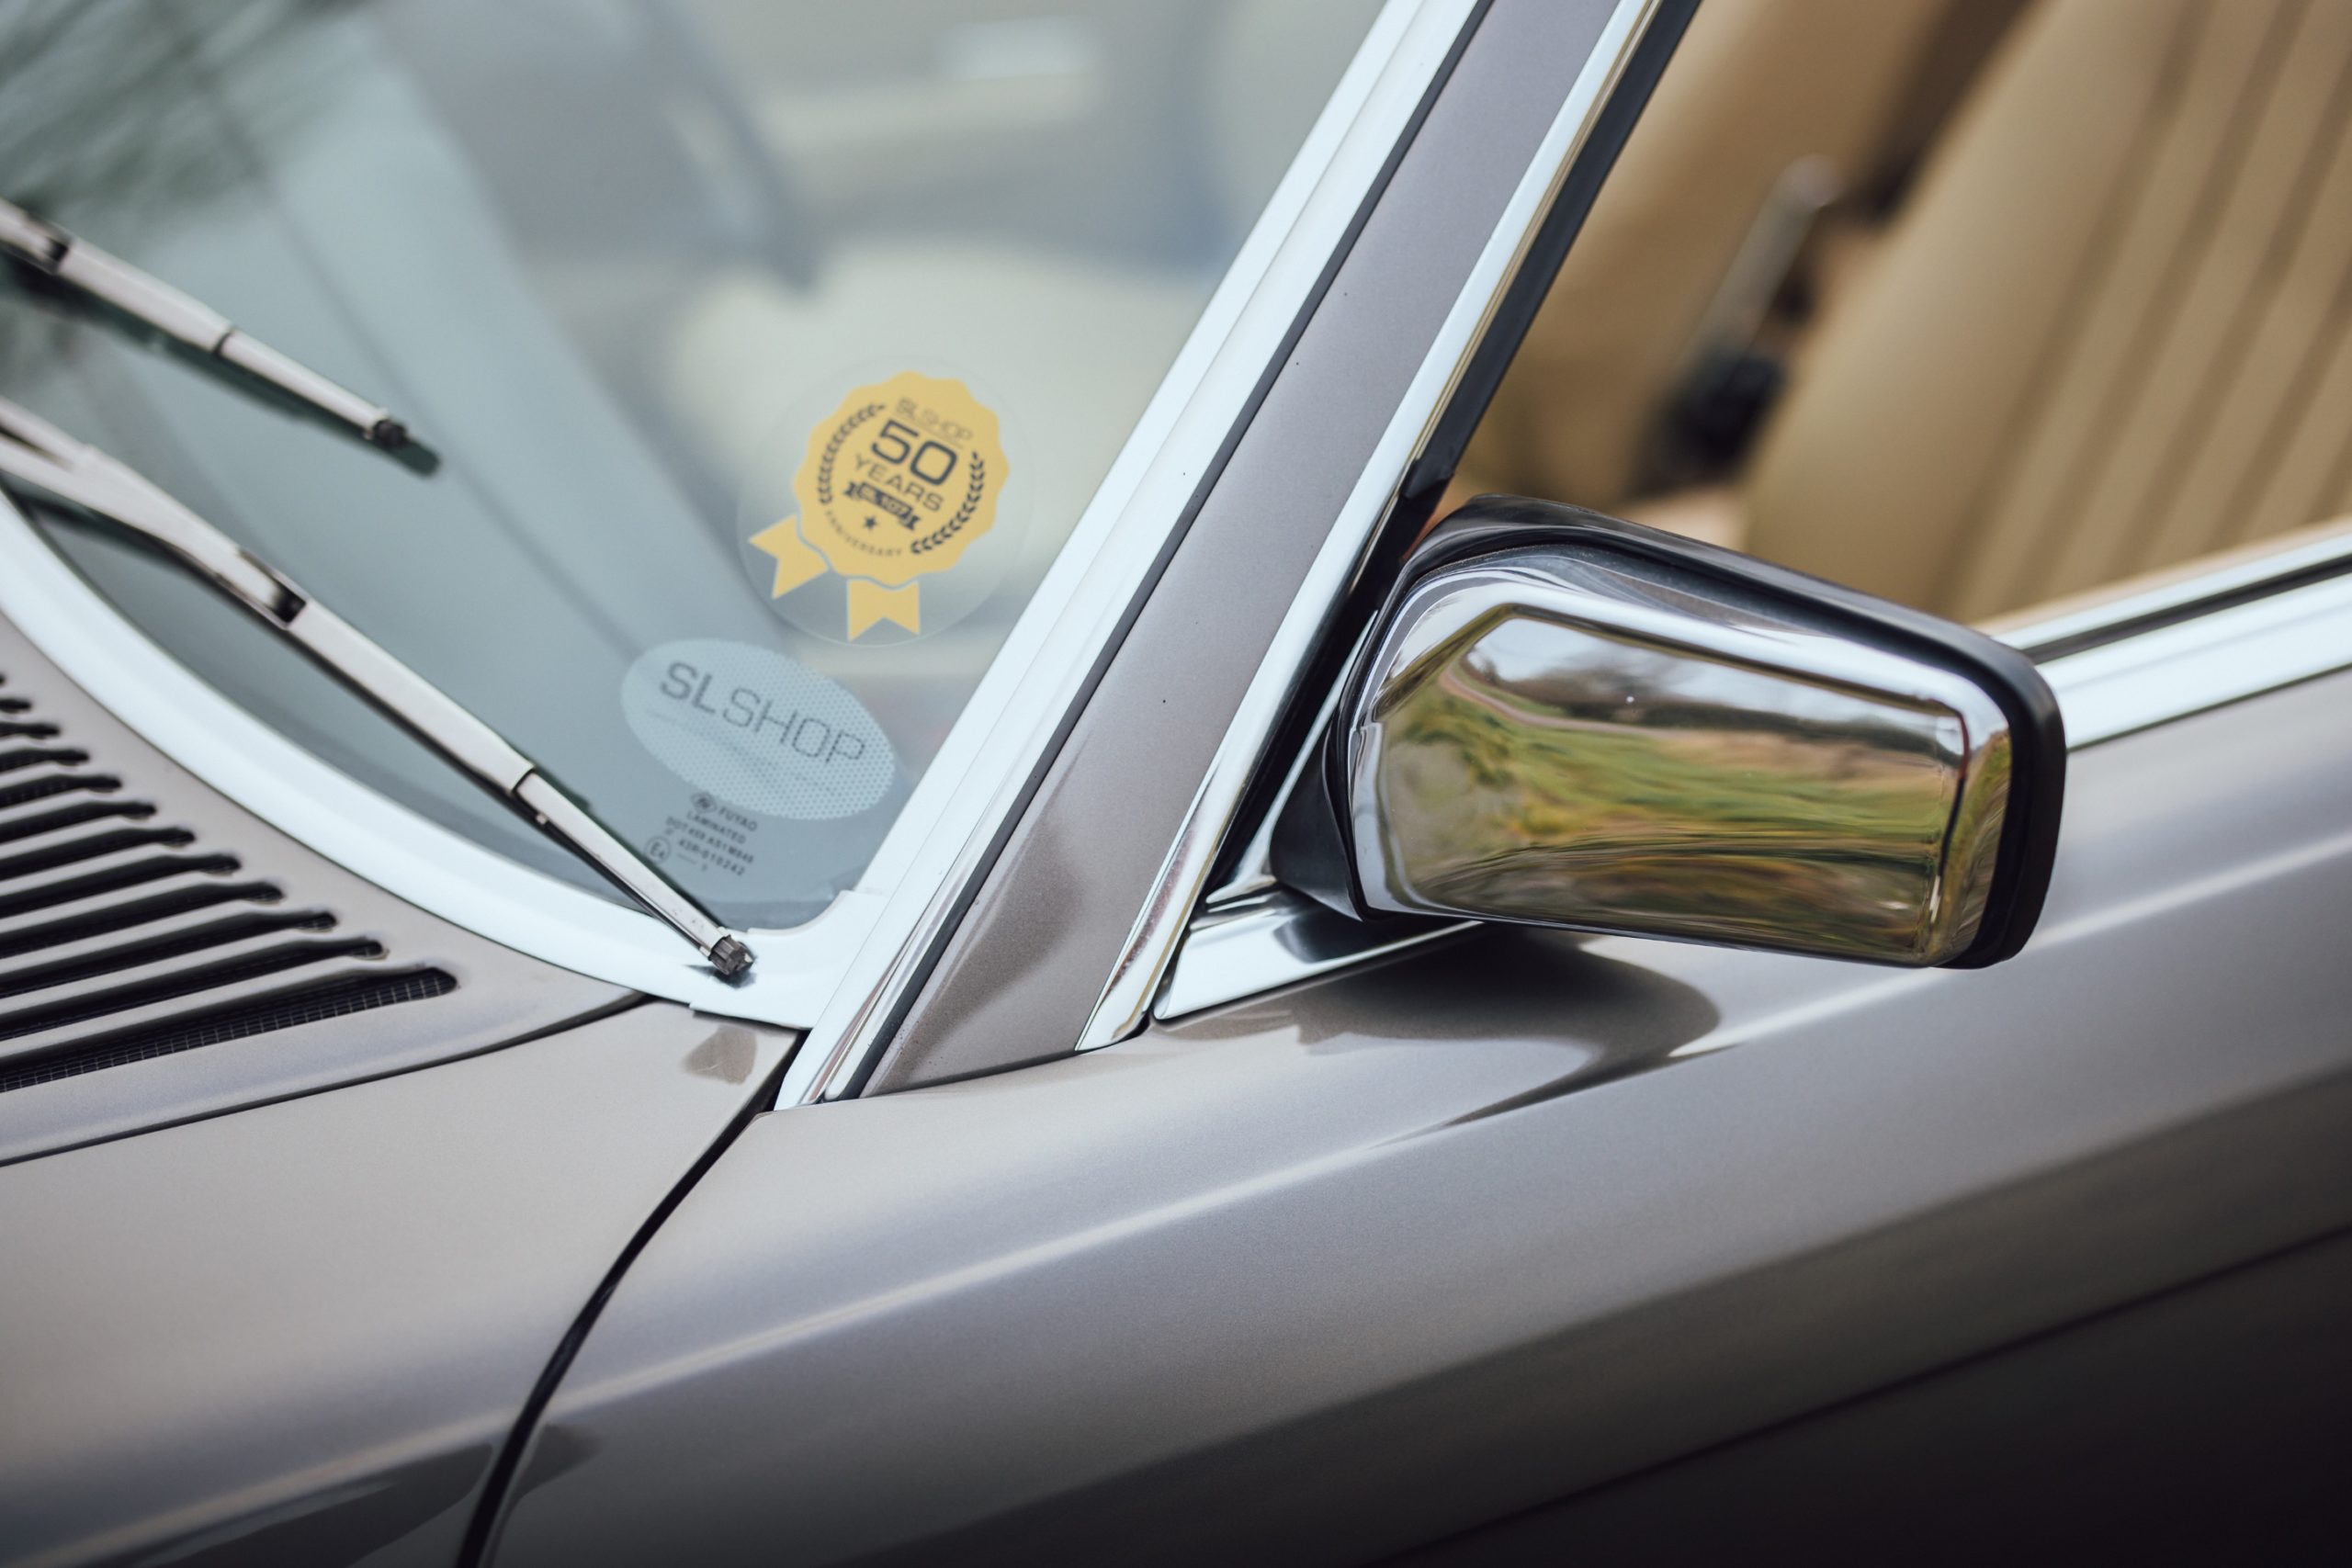
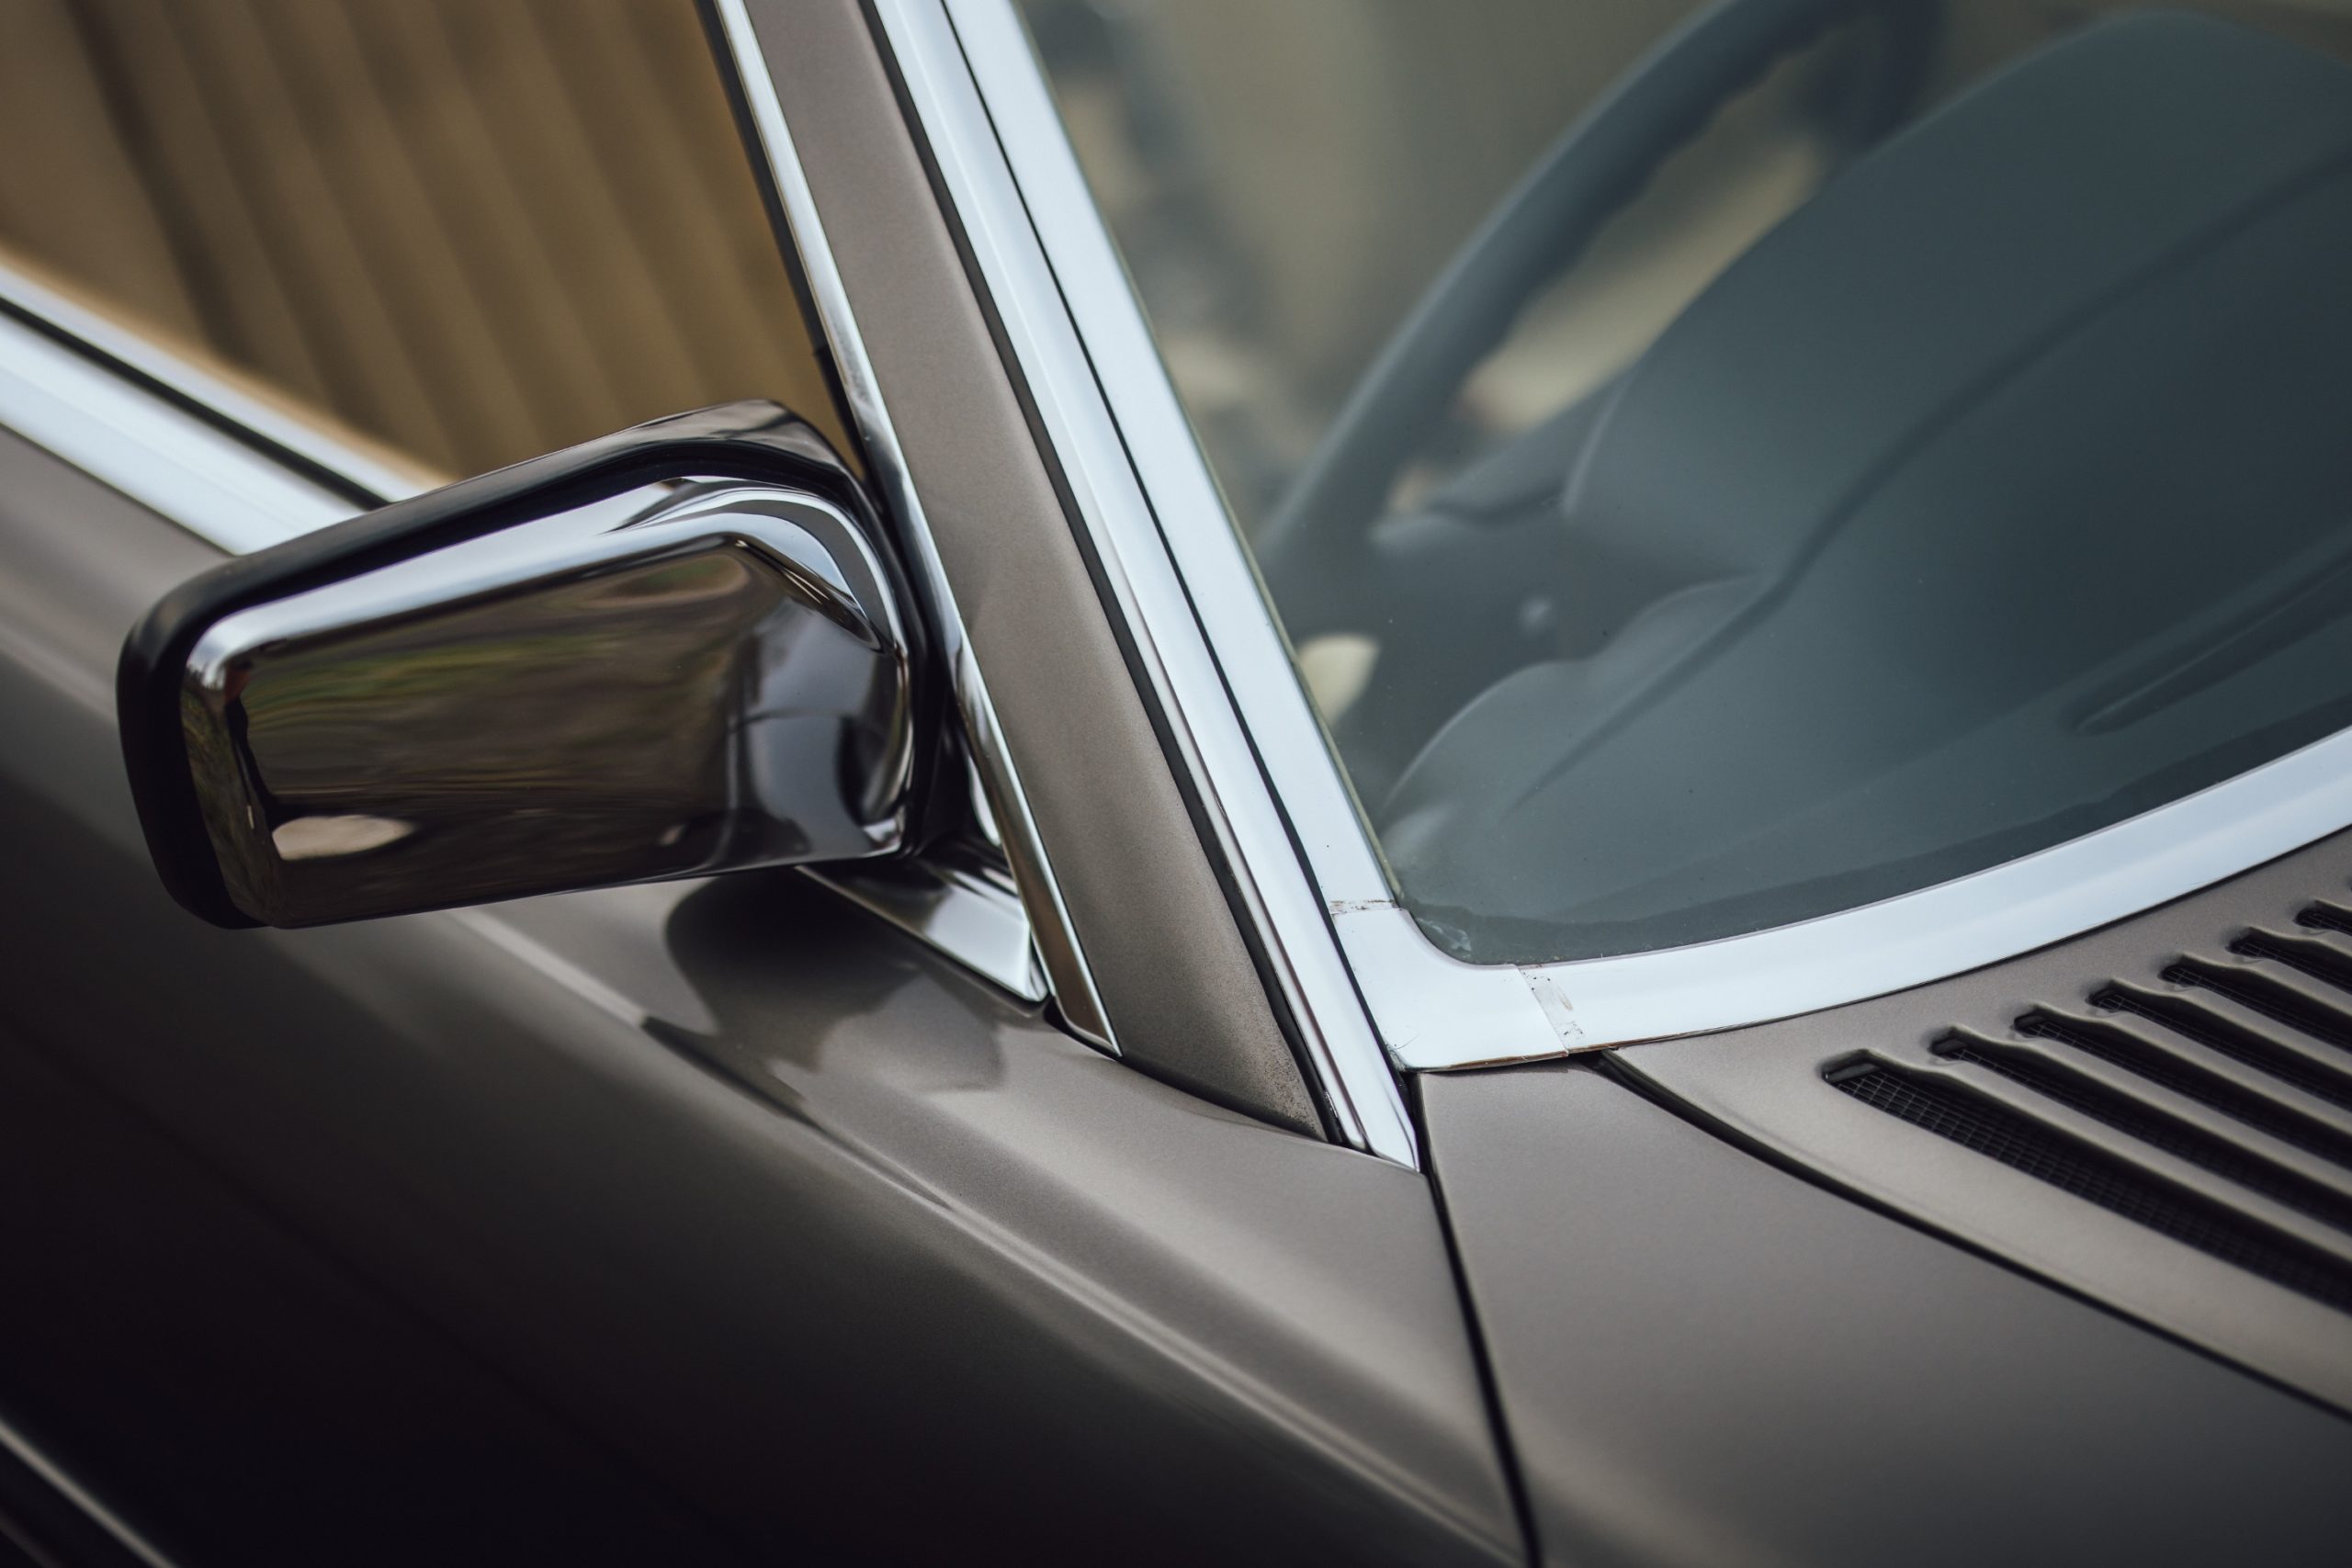
The B-pillar chromes are another example of the length Harry and the others had to go. The car’s original pieces had an excellent coat of chrome but were not a very good fit. Harry went through second-hand sets until he found some that fitted perfectly and then sent those for re-chroming.
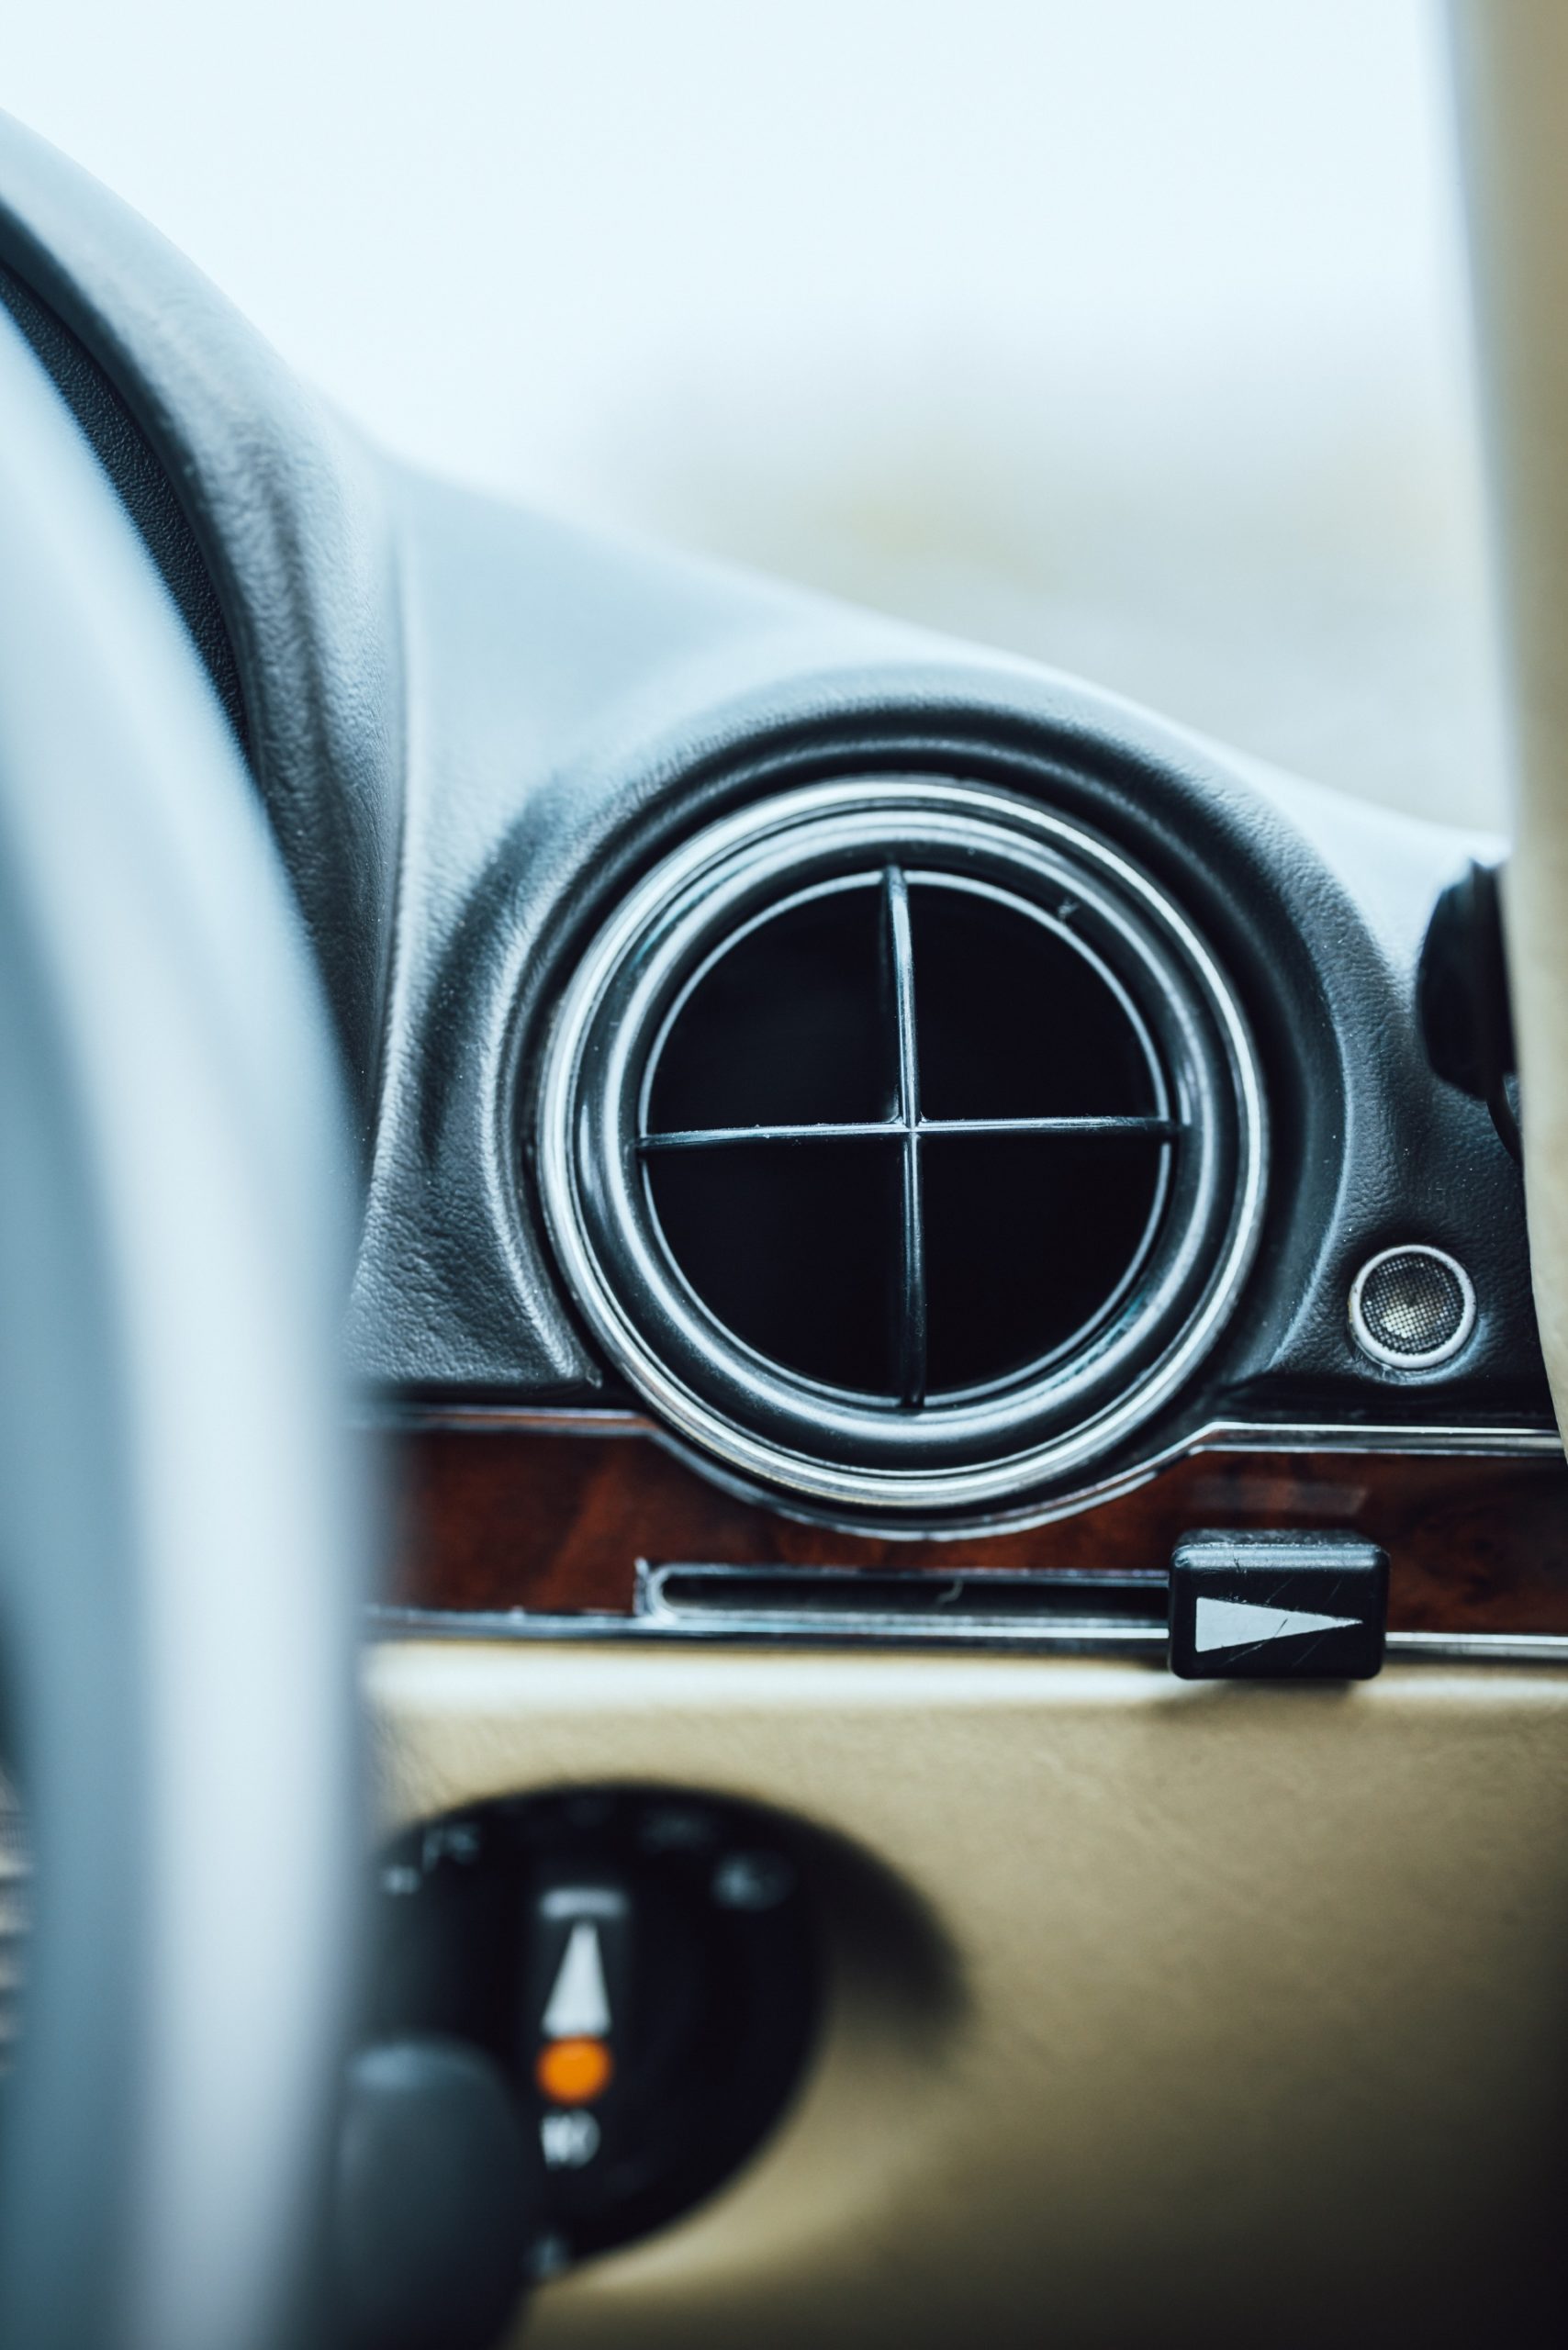
‘Building up the bulkhead was pretty involved,’ he recalls. ‘First we applied some cavity wax over the paint, then installed the heater. This is made up of the first section, then the matrix, then the third section and the first and third sections have the control flaps in them. There are eight or ten levers behind the dash to move these flaps about, only on this car they’d worn out and stopped sliding. So I replaced them and modified the flaps to ensure they can’t get stuck again in the future.’
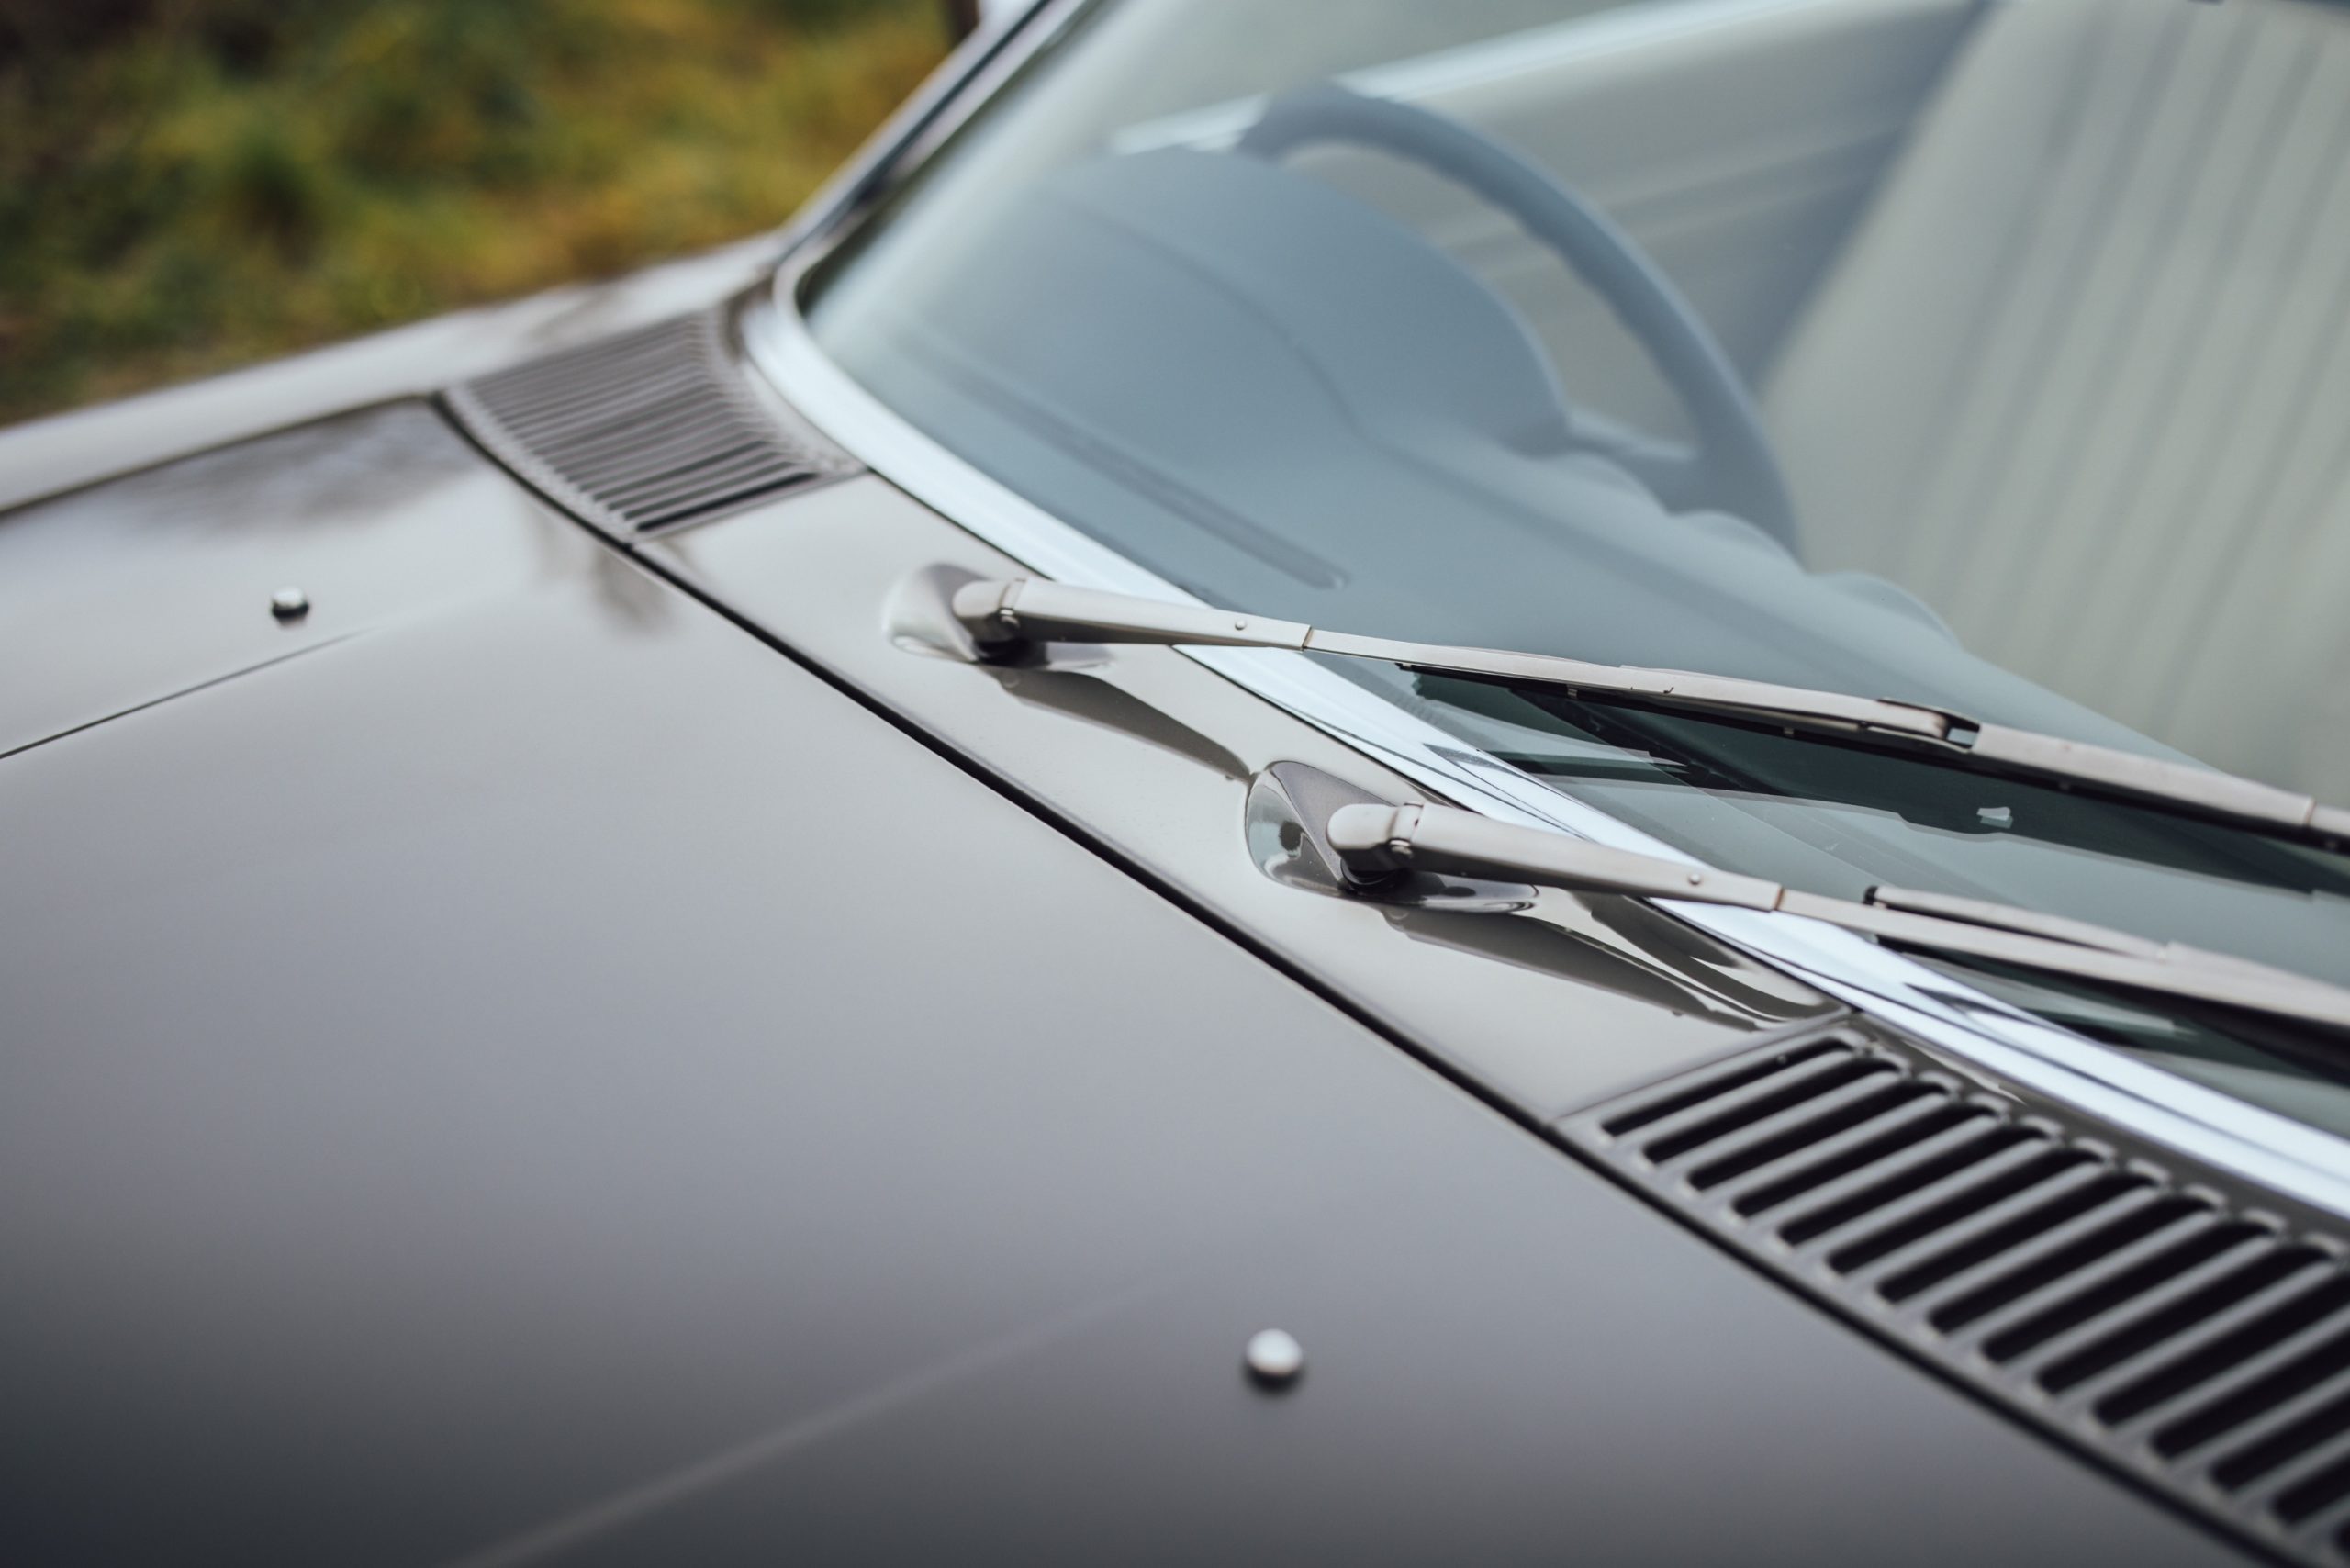
Harry also took this chance to check the wiper motors and lubricate the linkage before fitting it all, then returned to the build-up job inside the car. Next came the air-con system and the seals for all the apertures, then the section of the loom that controlled it all. Finally the new vacuum lines went in.
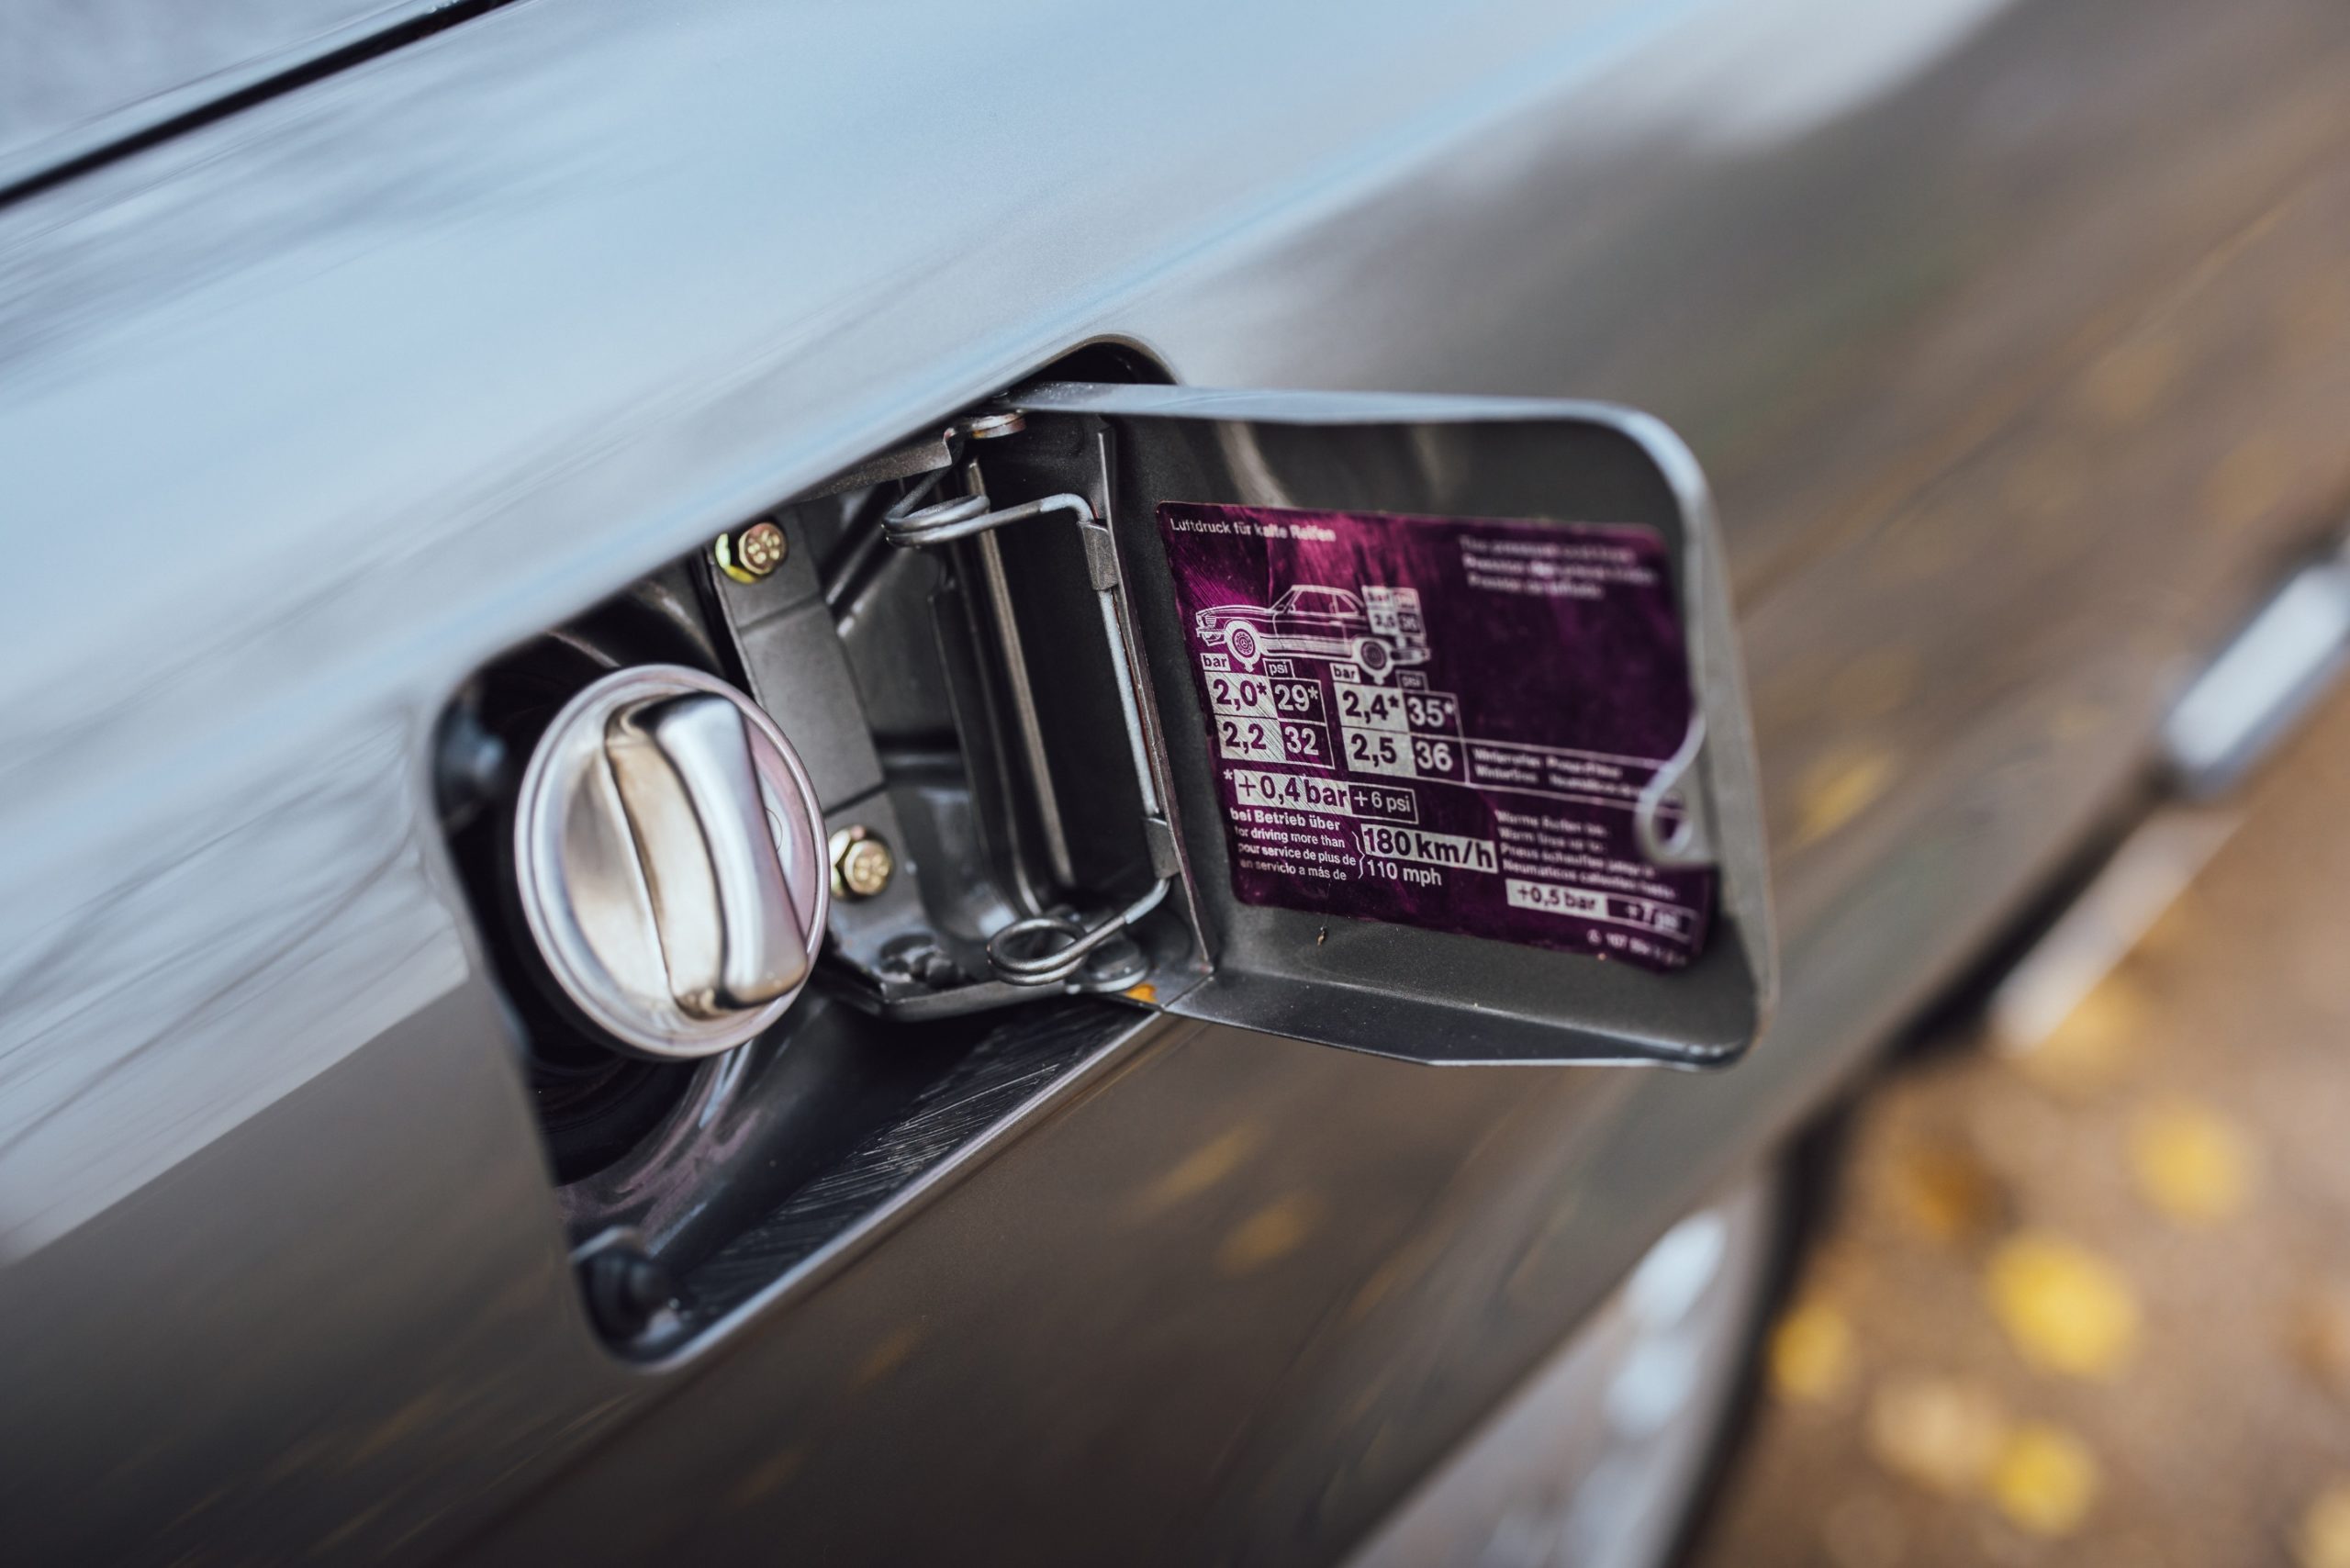
These small-bore tubes control rather a lot of the SL’S functions and fault finding after completion is a headache. The vacuum system is involved not only in the central locking but the speedometer, cruise control, fuel filler flap, boot release and even headlamp aim.
‘There are three lines into each door and an electric pump in the boot that runs the vacuum for the central locking,’ says Harry. ‘However it also uses inlet manifold vacuum. When the system gets old, as this one was, leaks occur. So ten minutes after you park, the car unlocks itself.’ With such a complex system, Harry took the only safe way forward and bench-tested as much of it as he could before installation, then section by section within the car.
If you can’t buy it, have it made
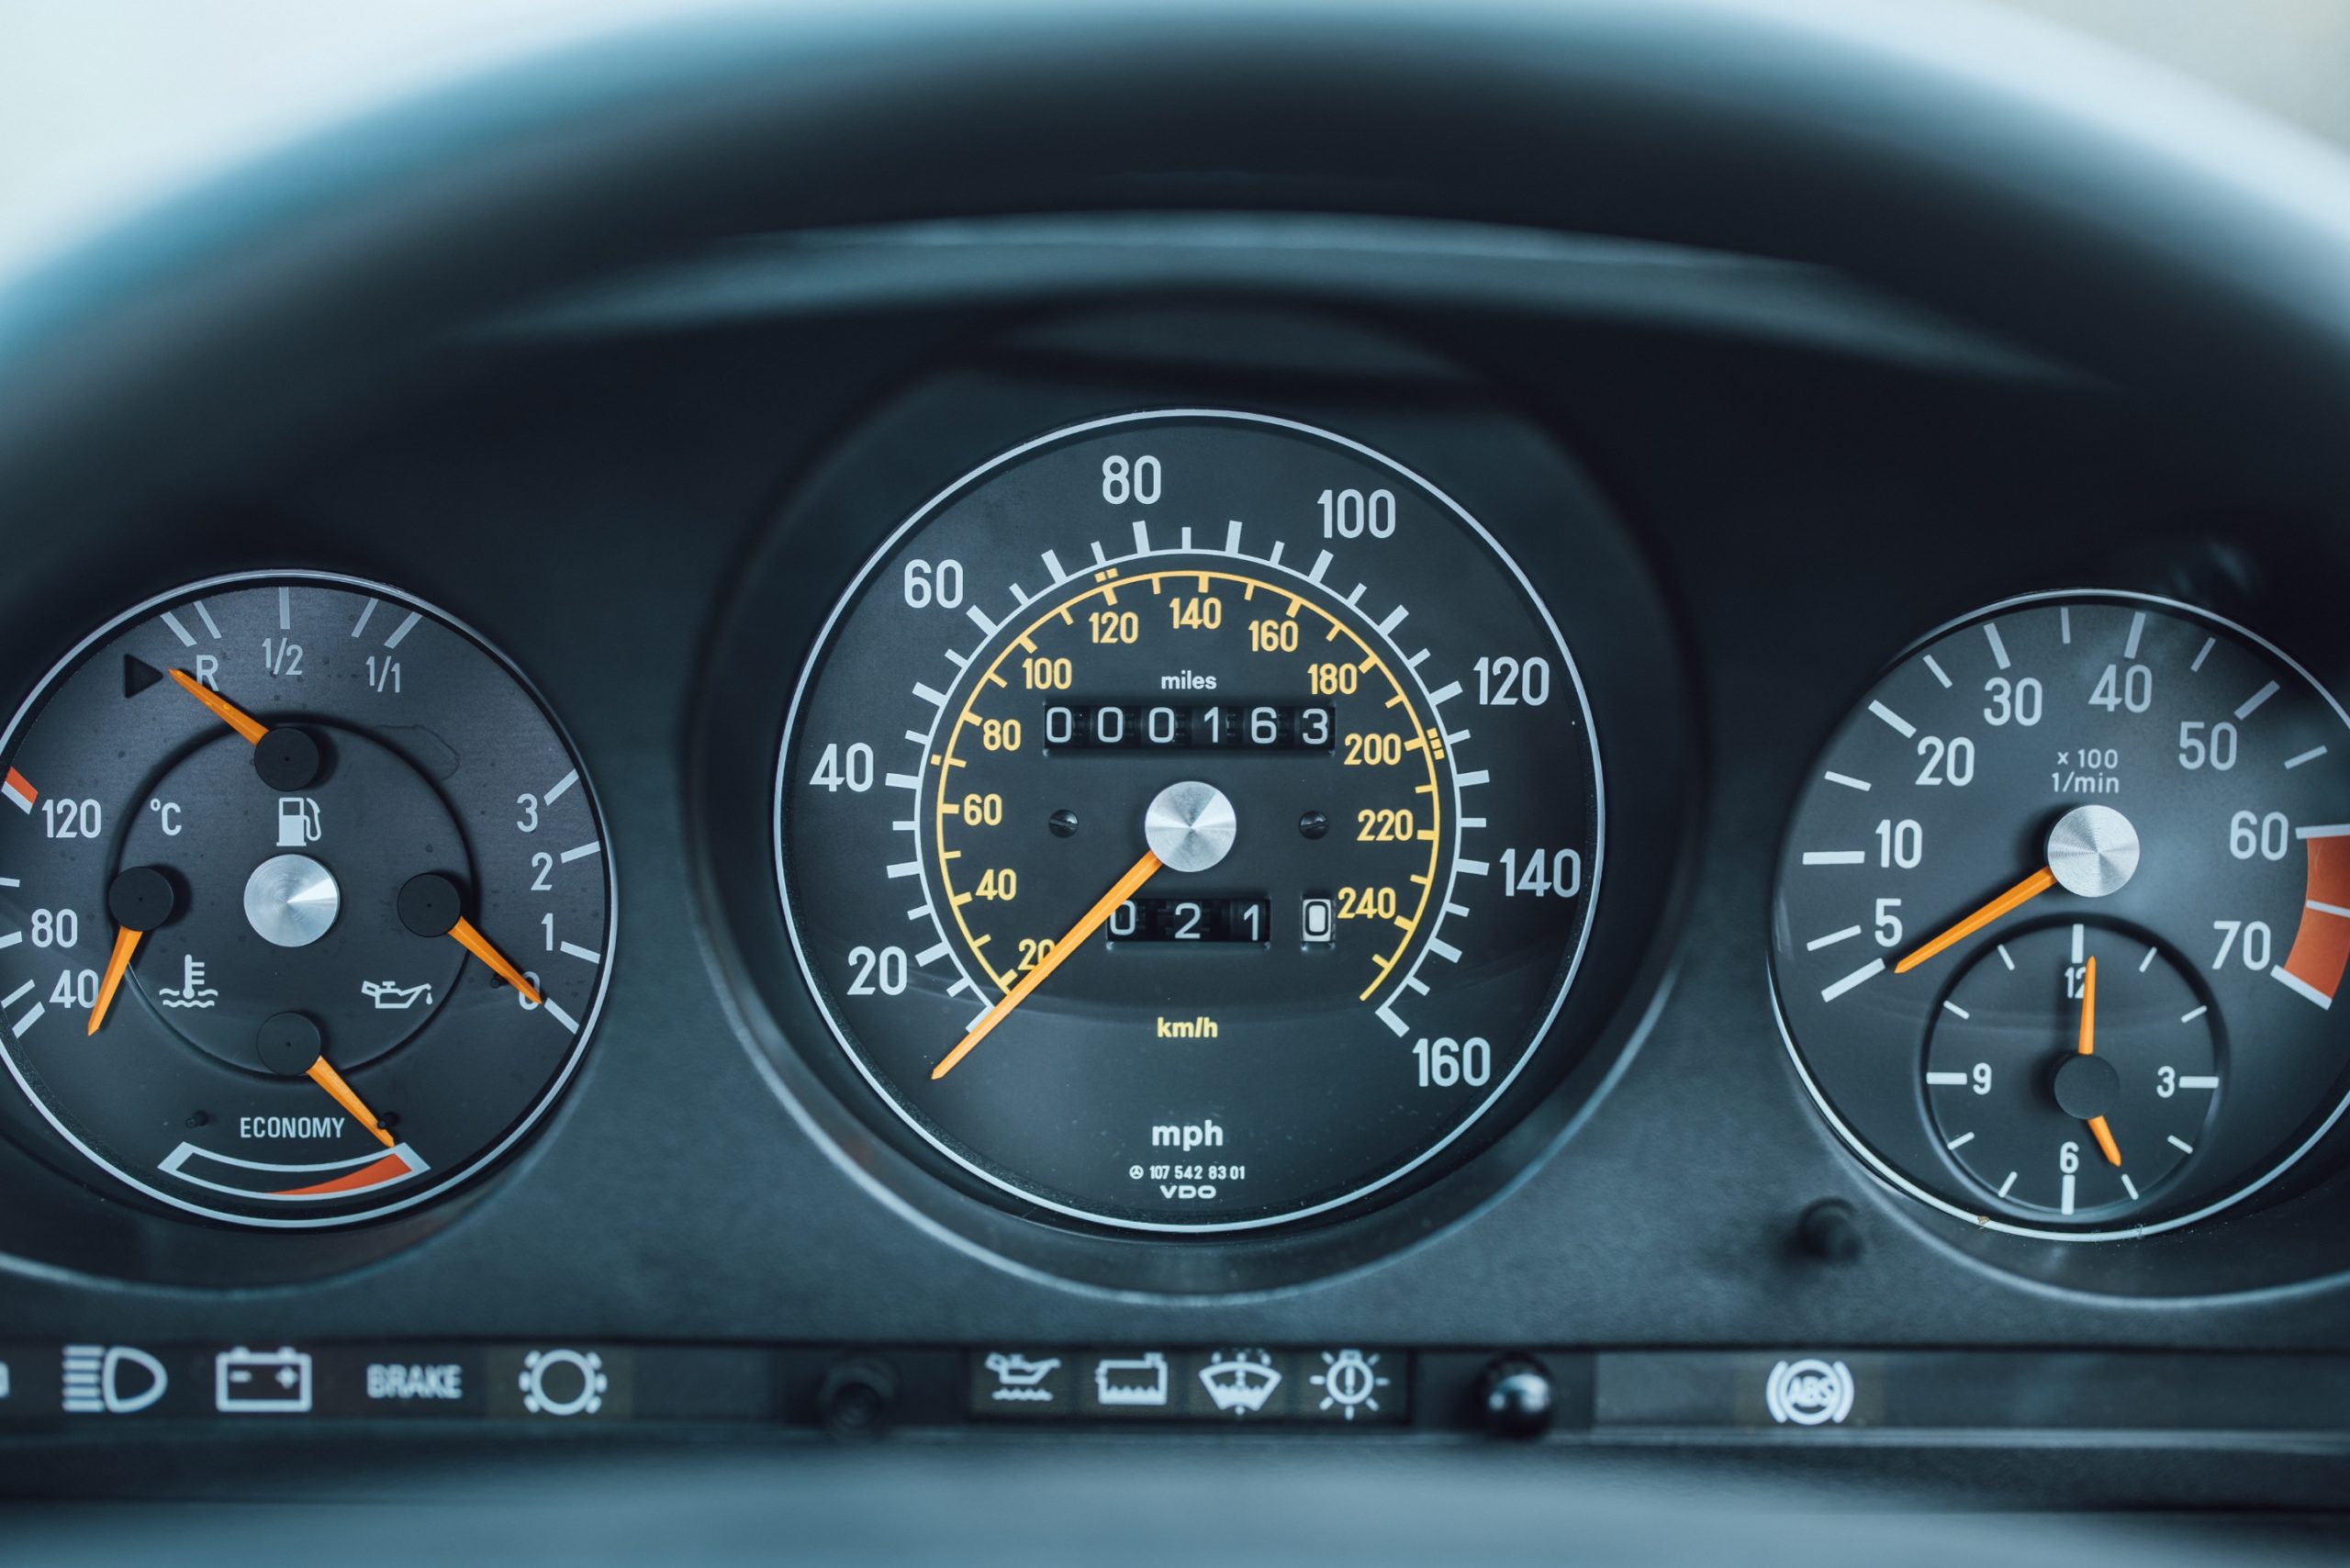
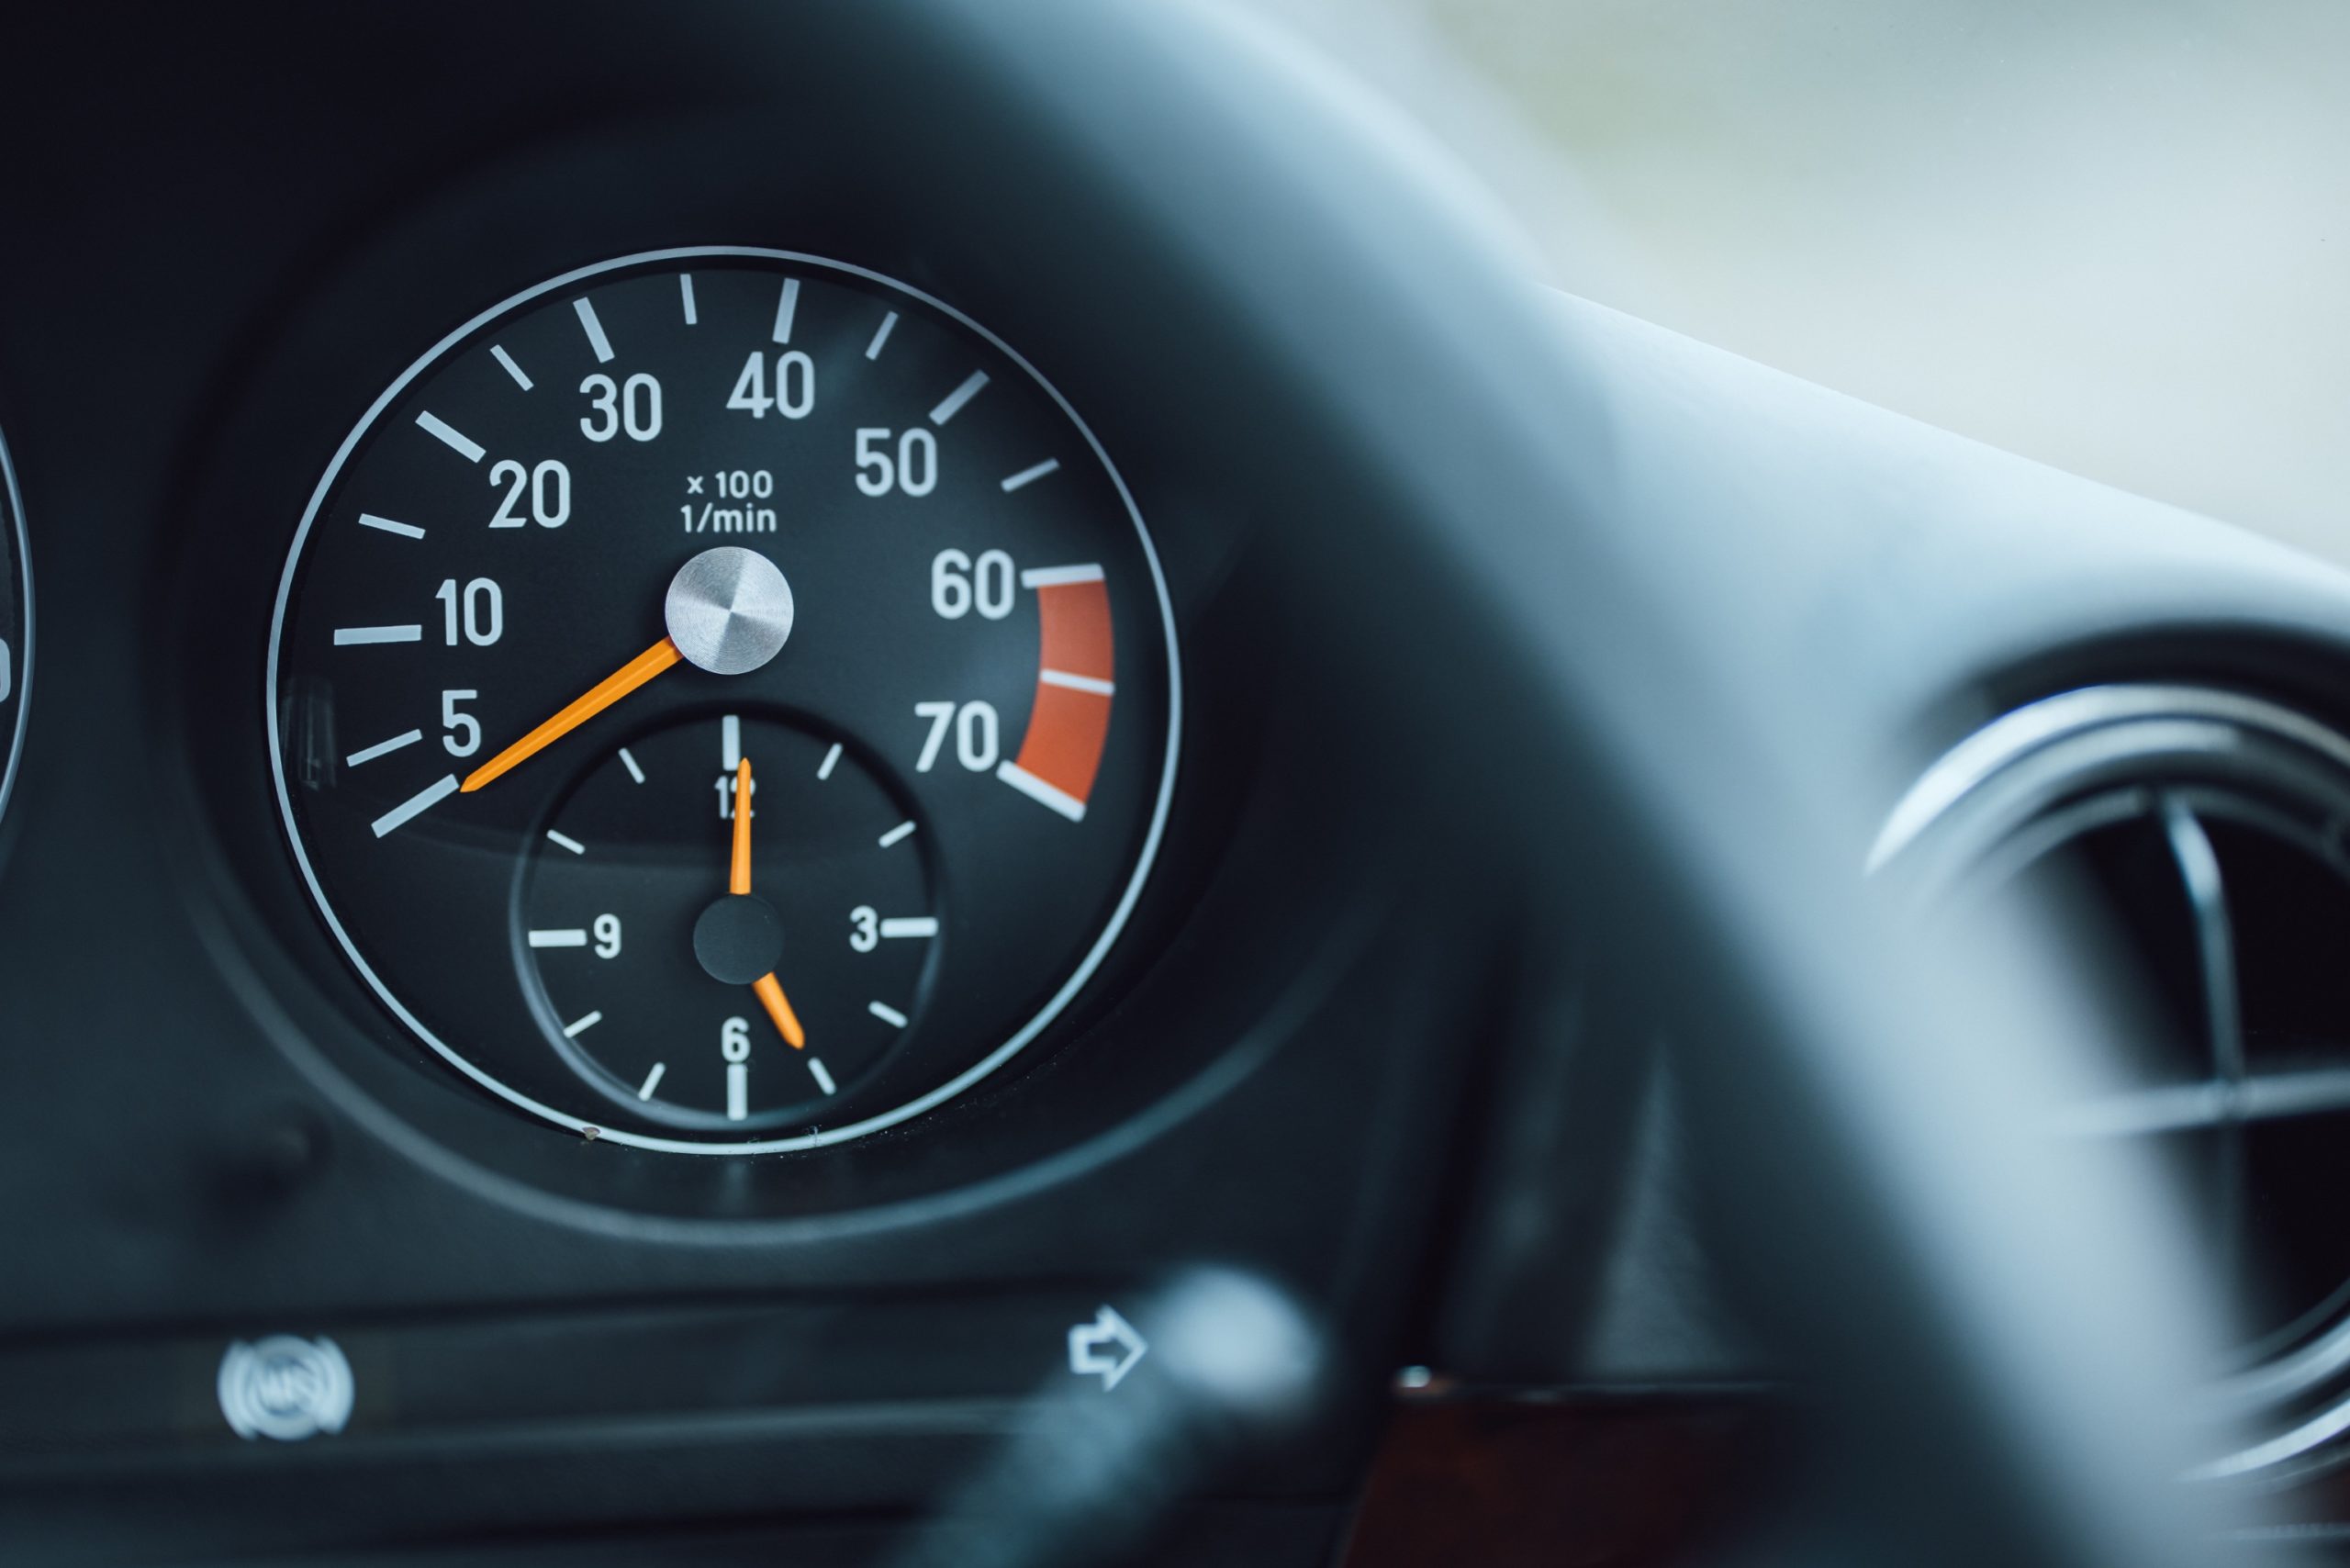
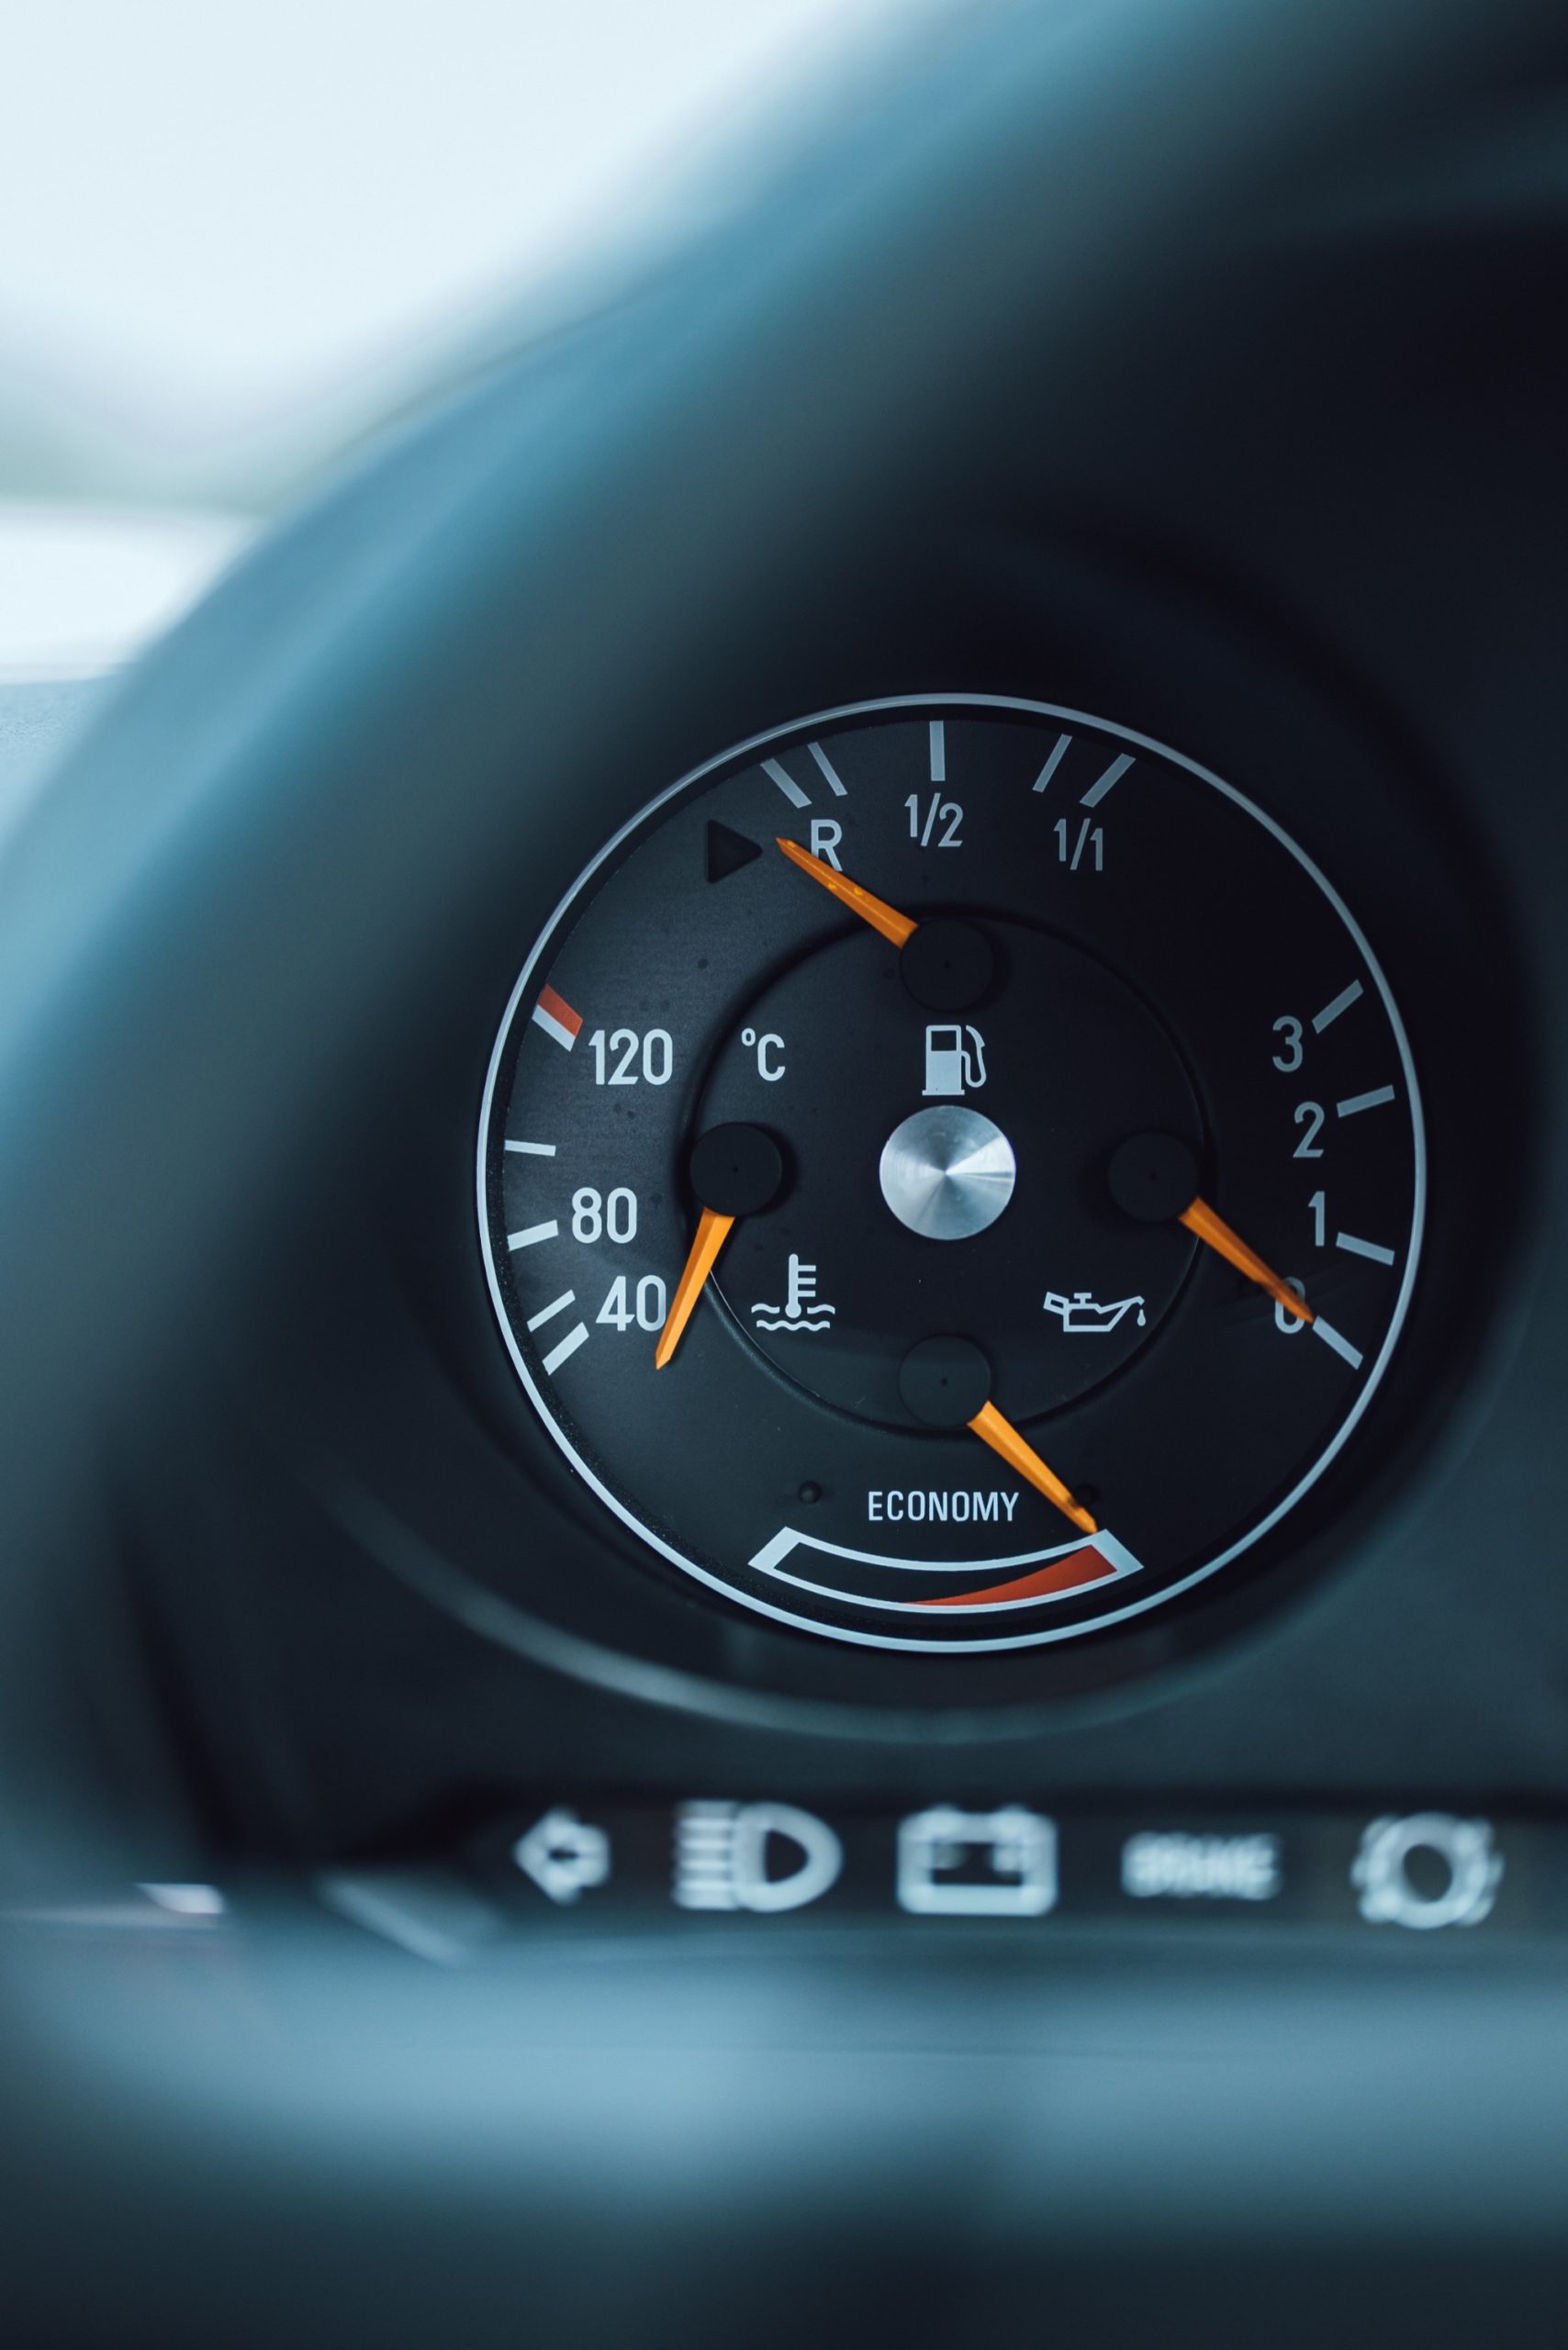
The SL Shop usually expects the rebuild of the bulkhead and dashboard to soak up 18 hours. Harry Budd invested at least 50 hours into this 420SL, such was the level the team wanted to hit. The dashboard dials, for instance, were not only reconditioned internally but had their needles re-coated by a specialist firm in Eastern Poland that uses the same flourescent paint Mercedes did.
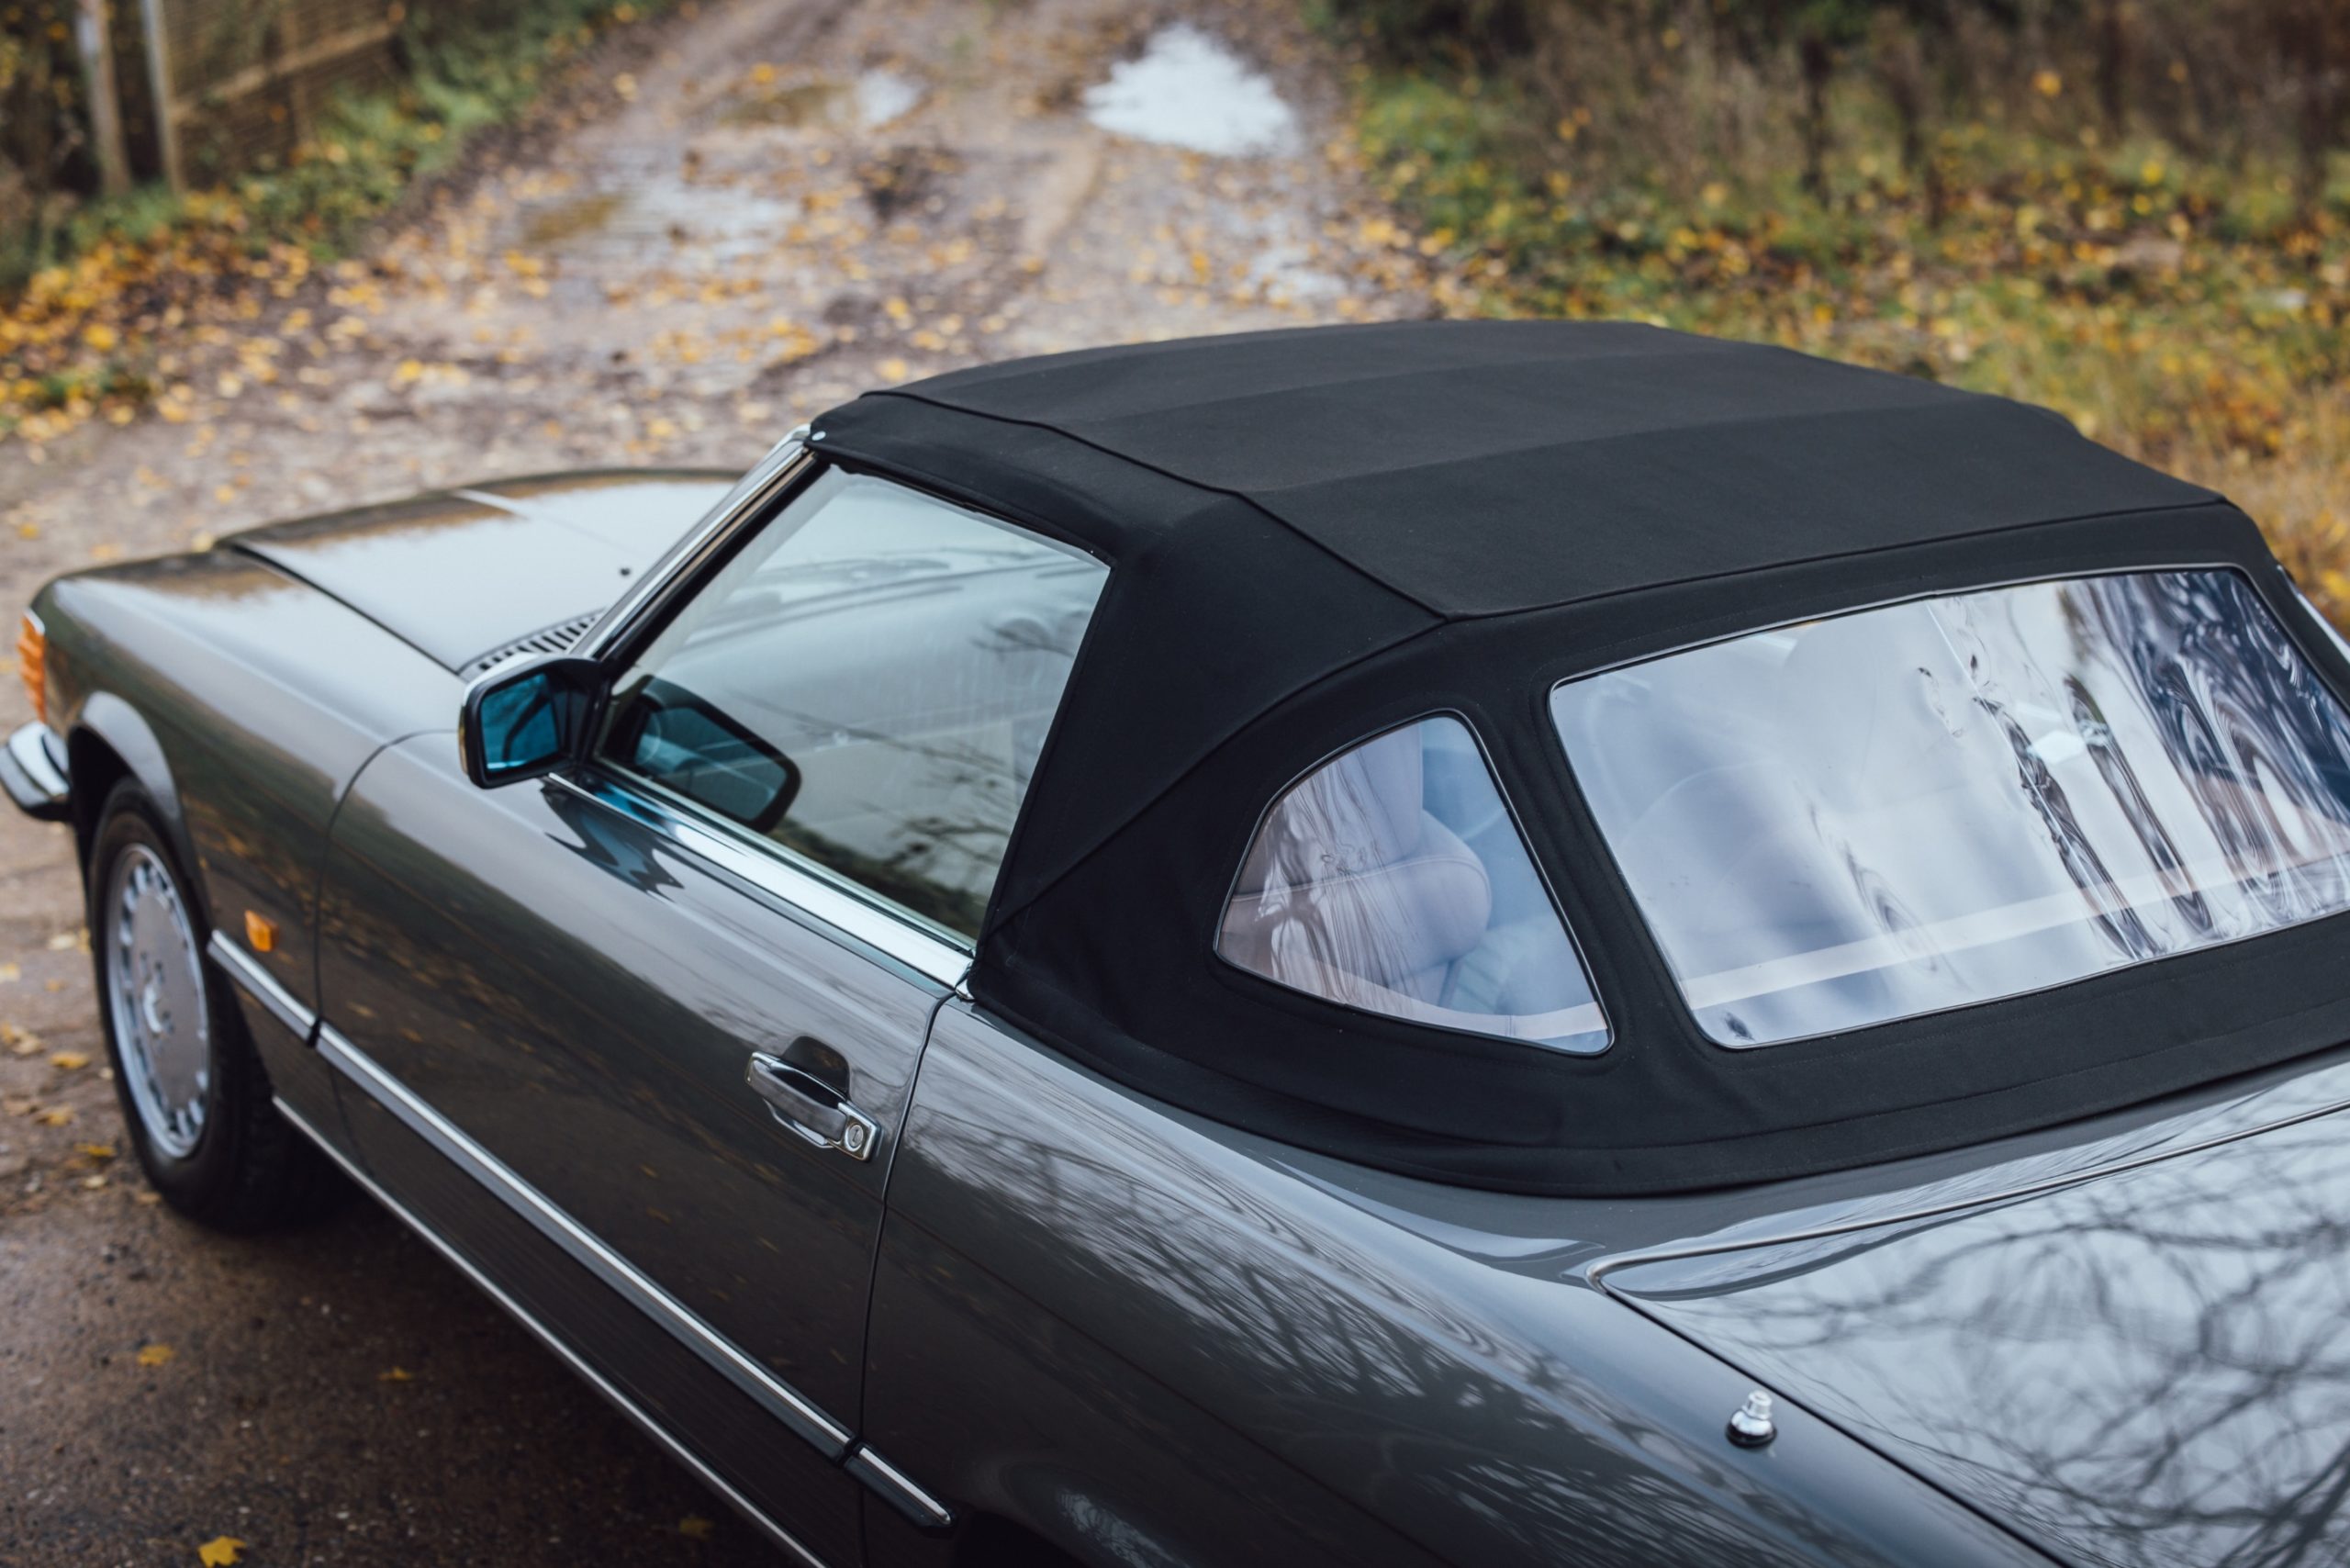
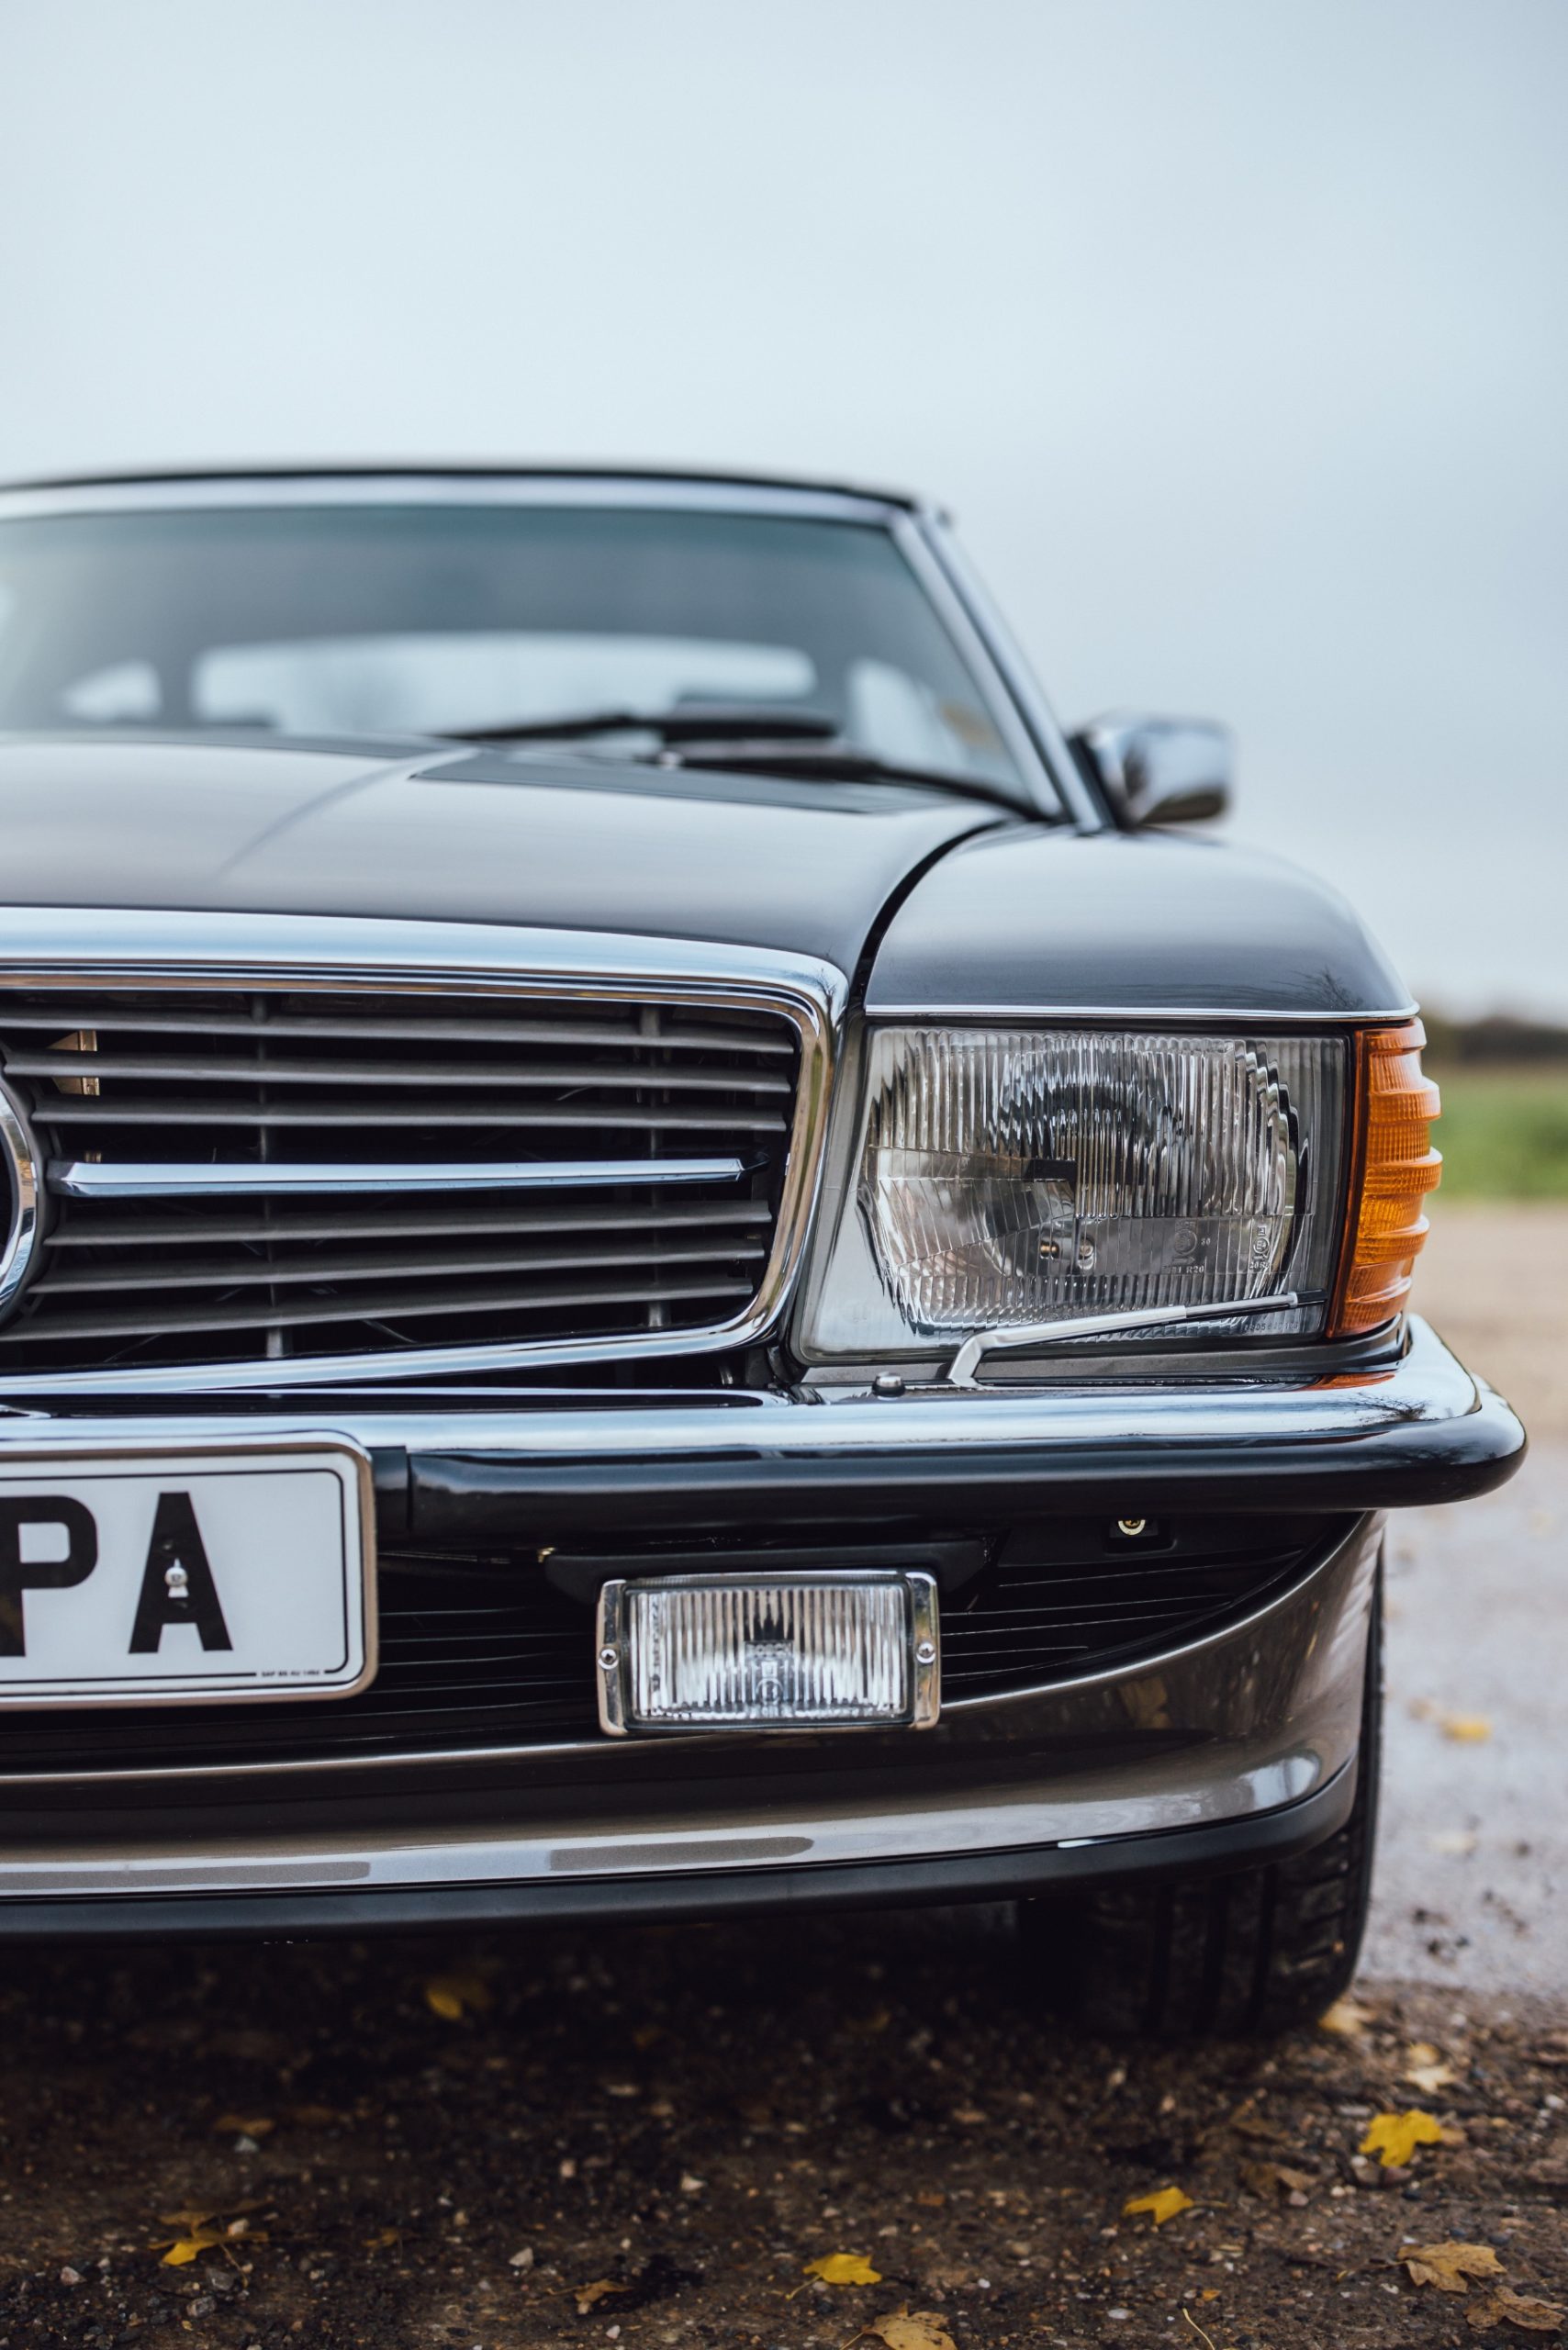
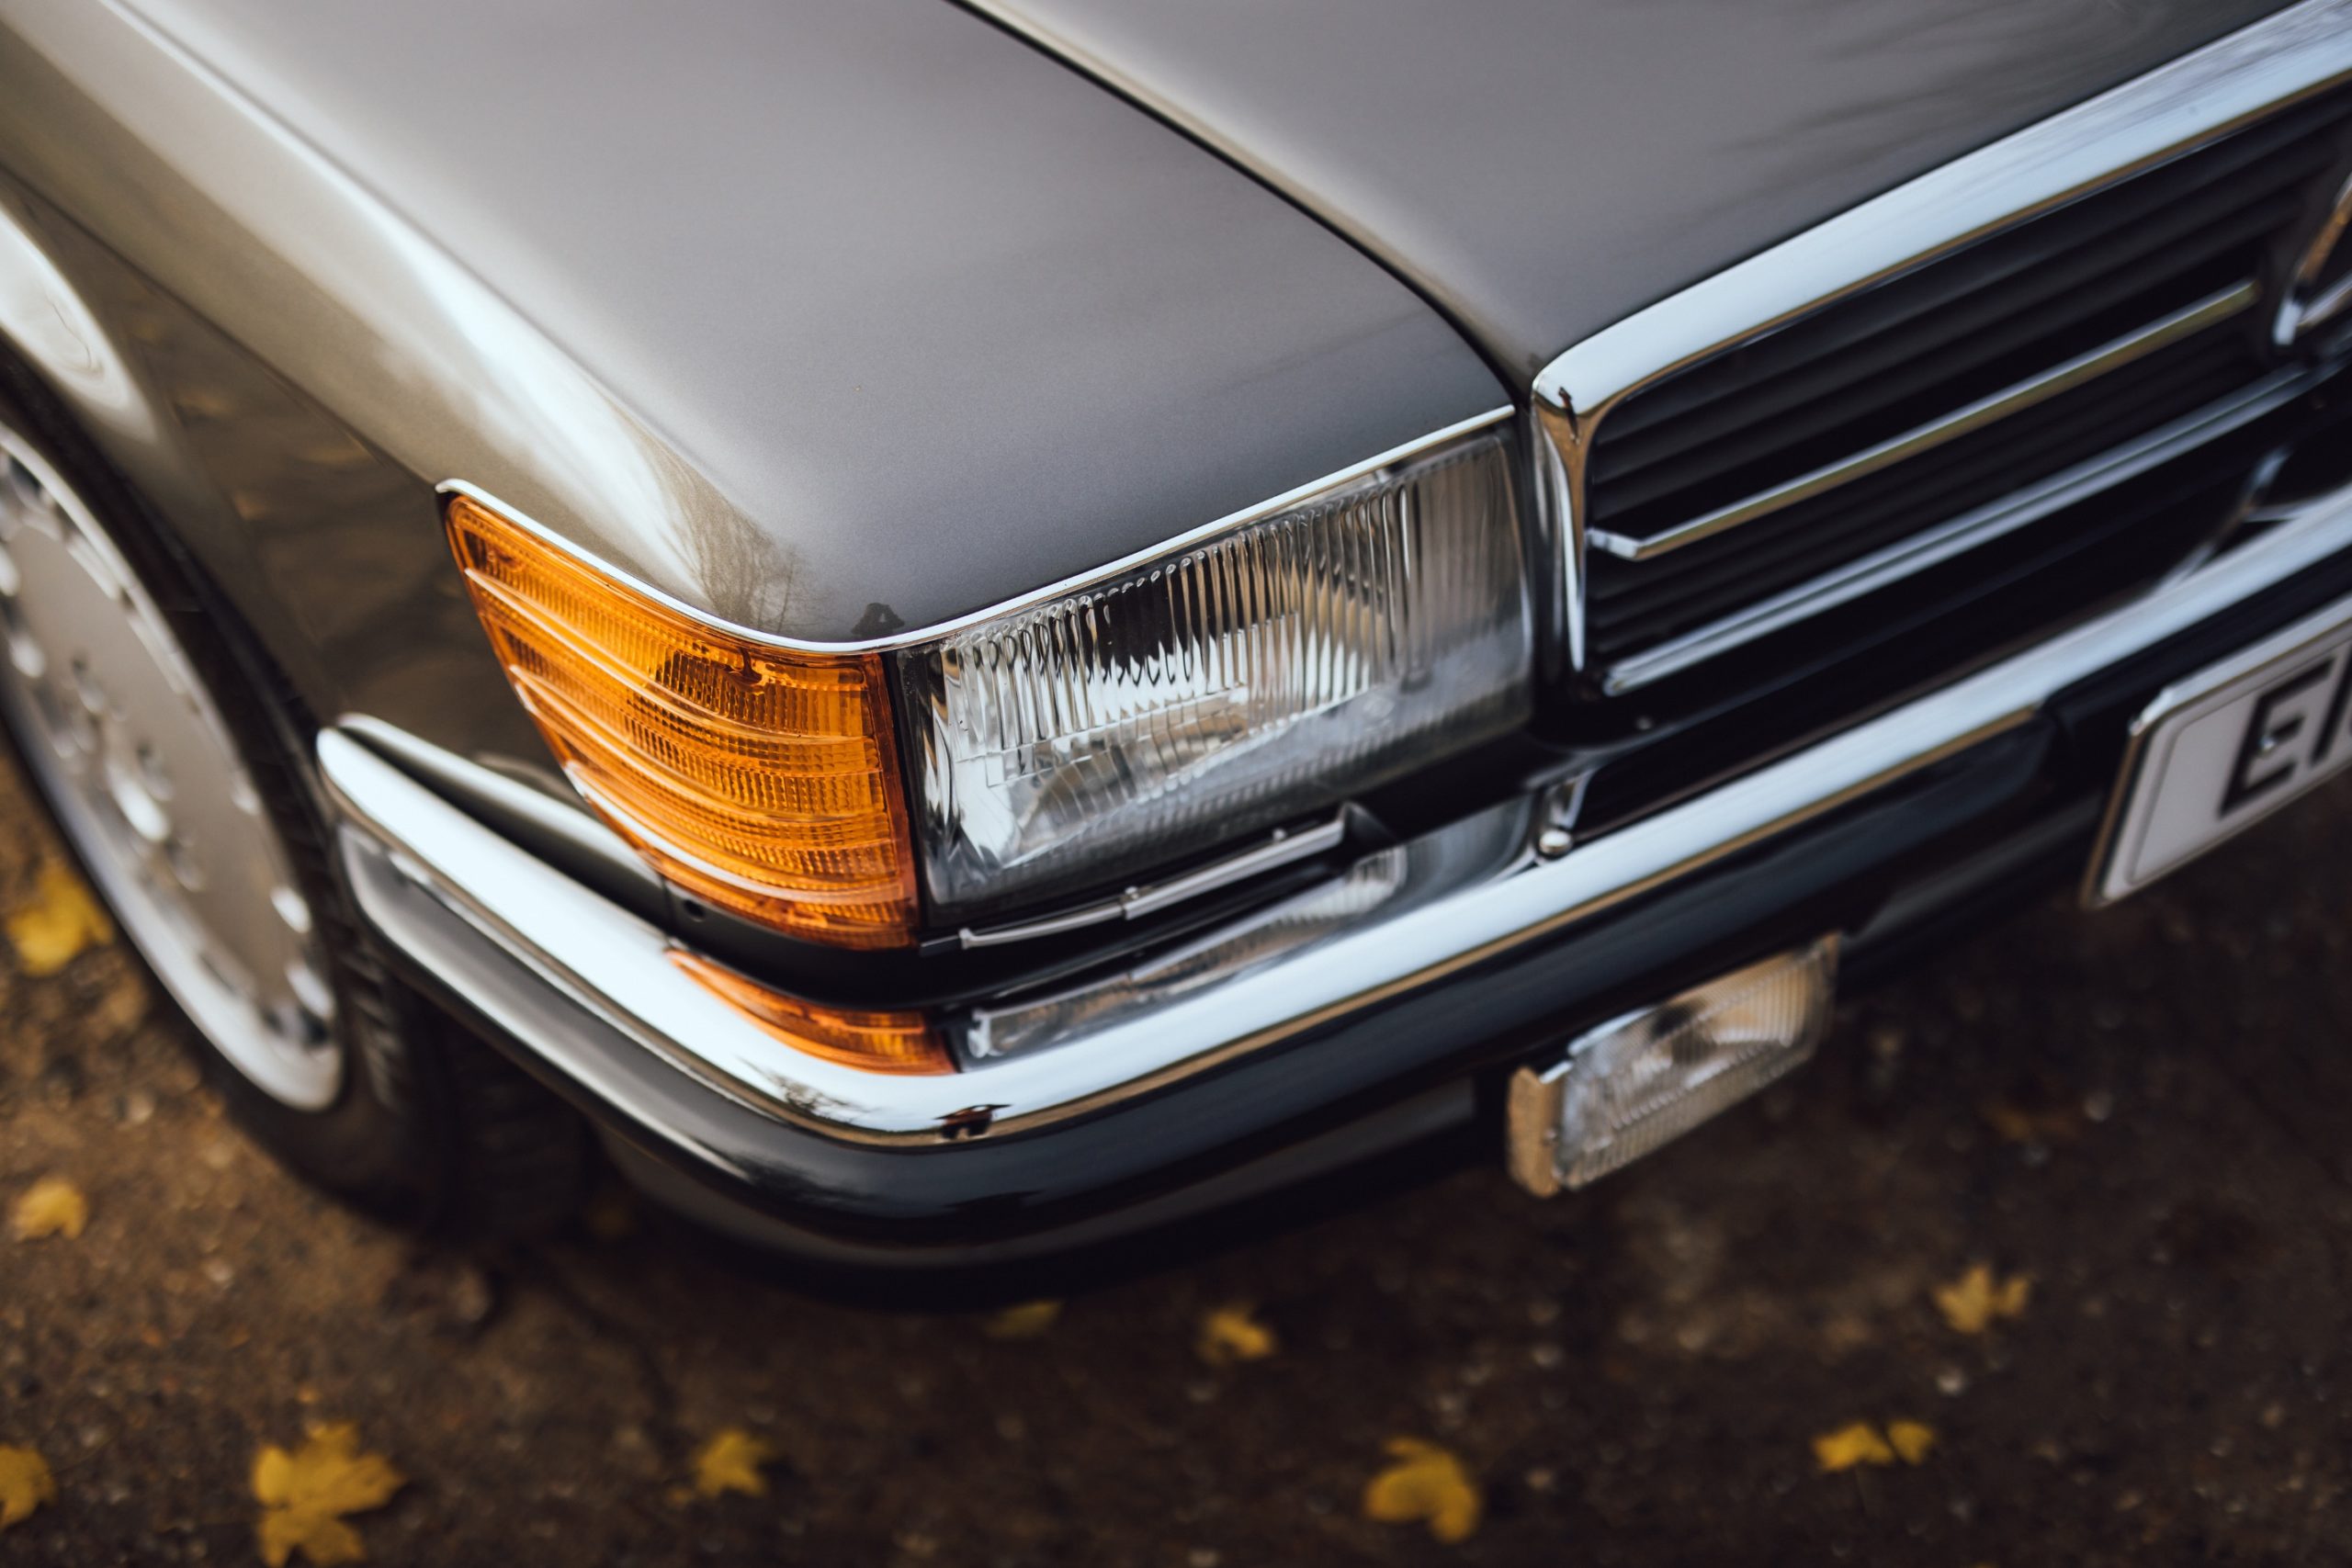
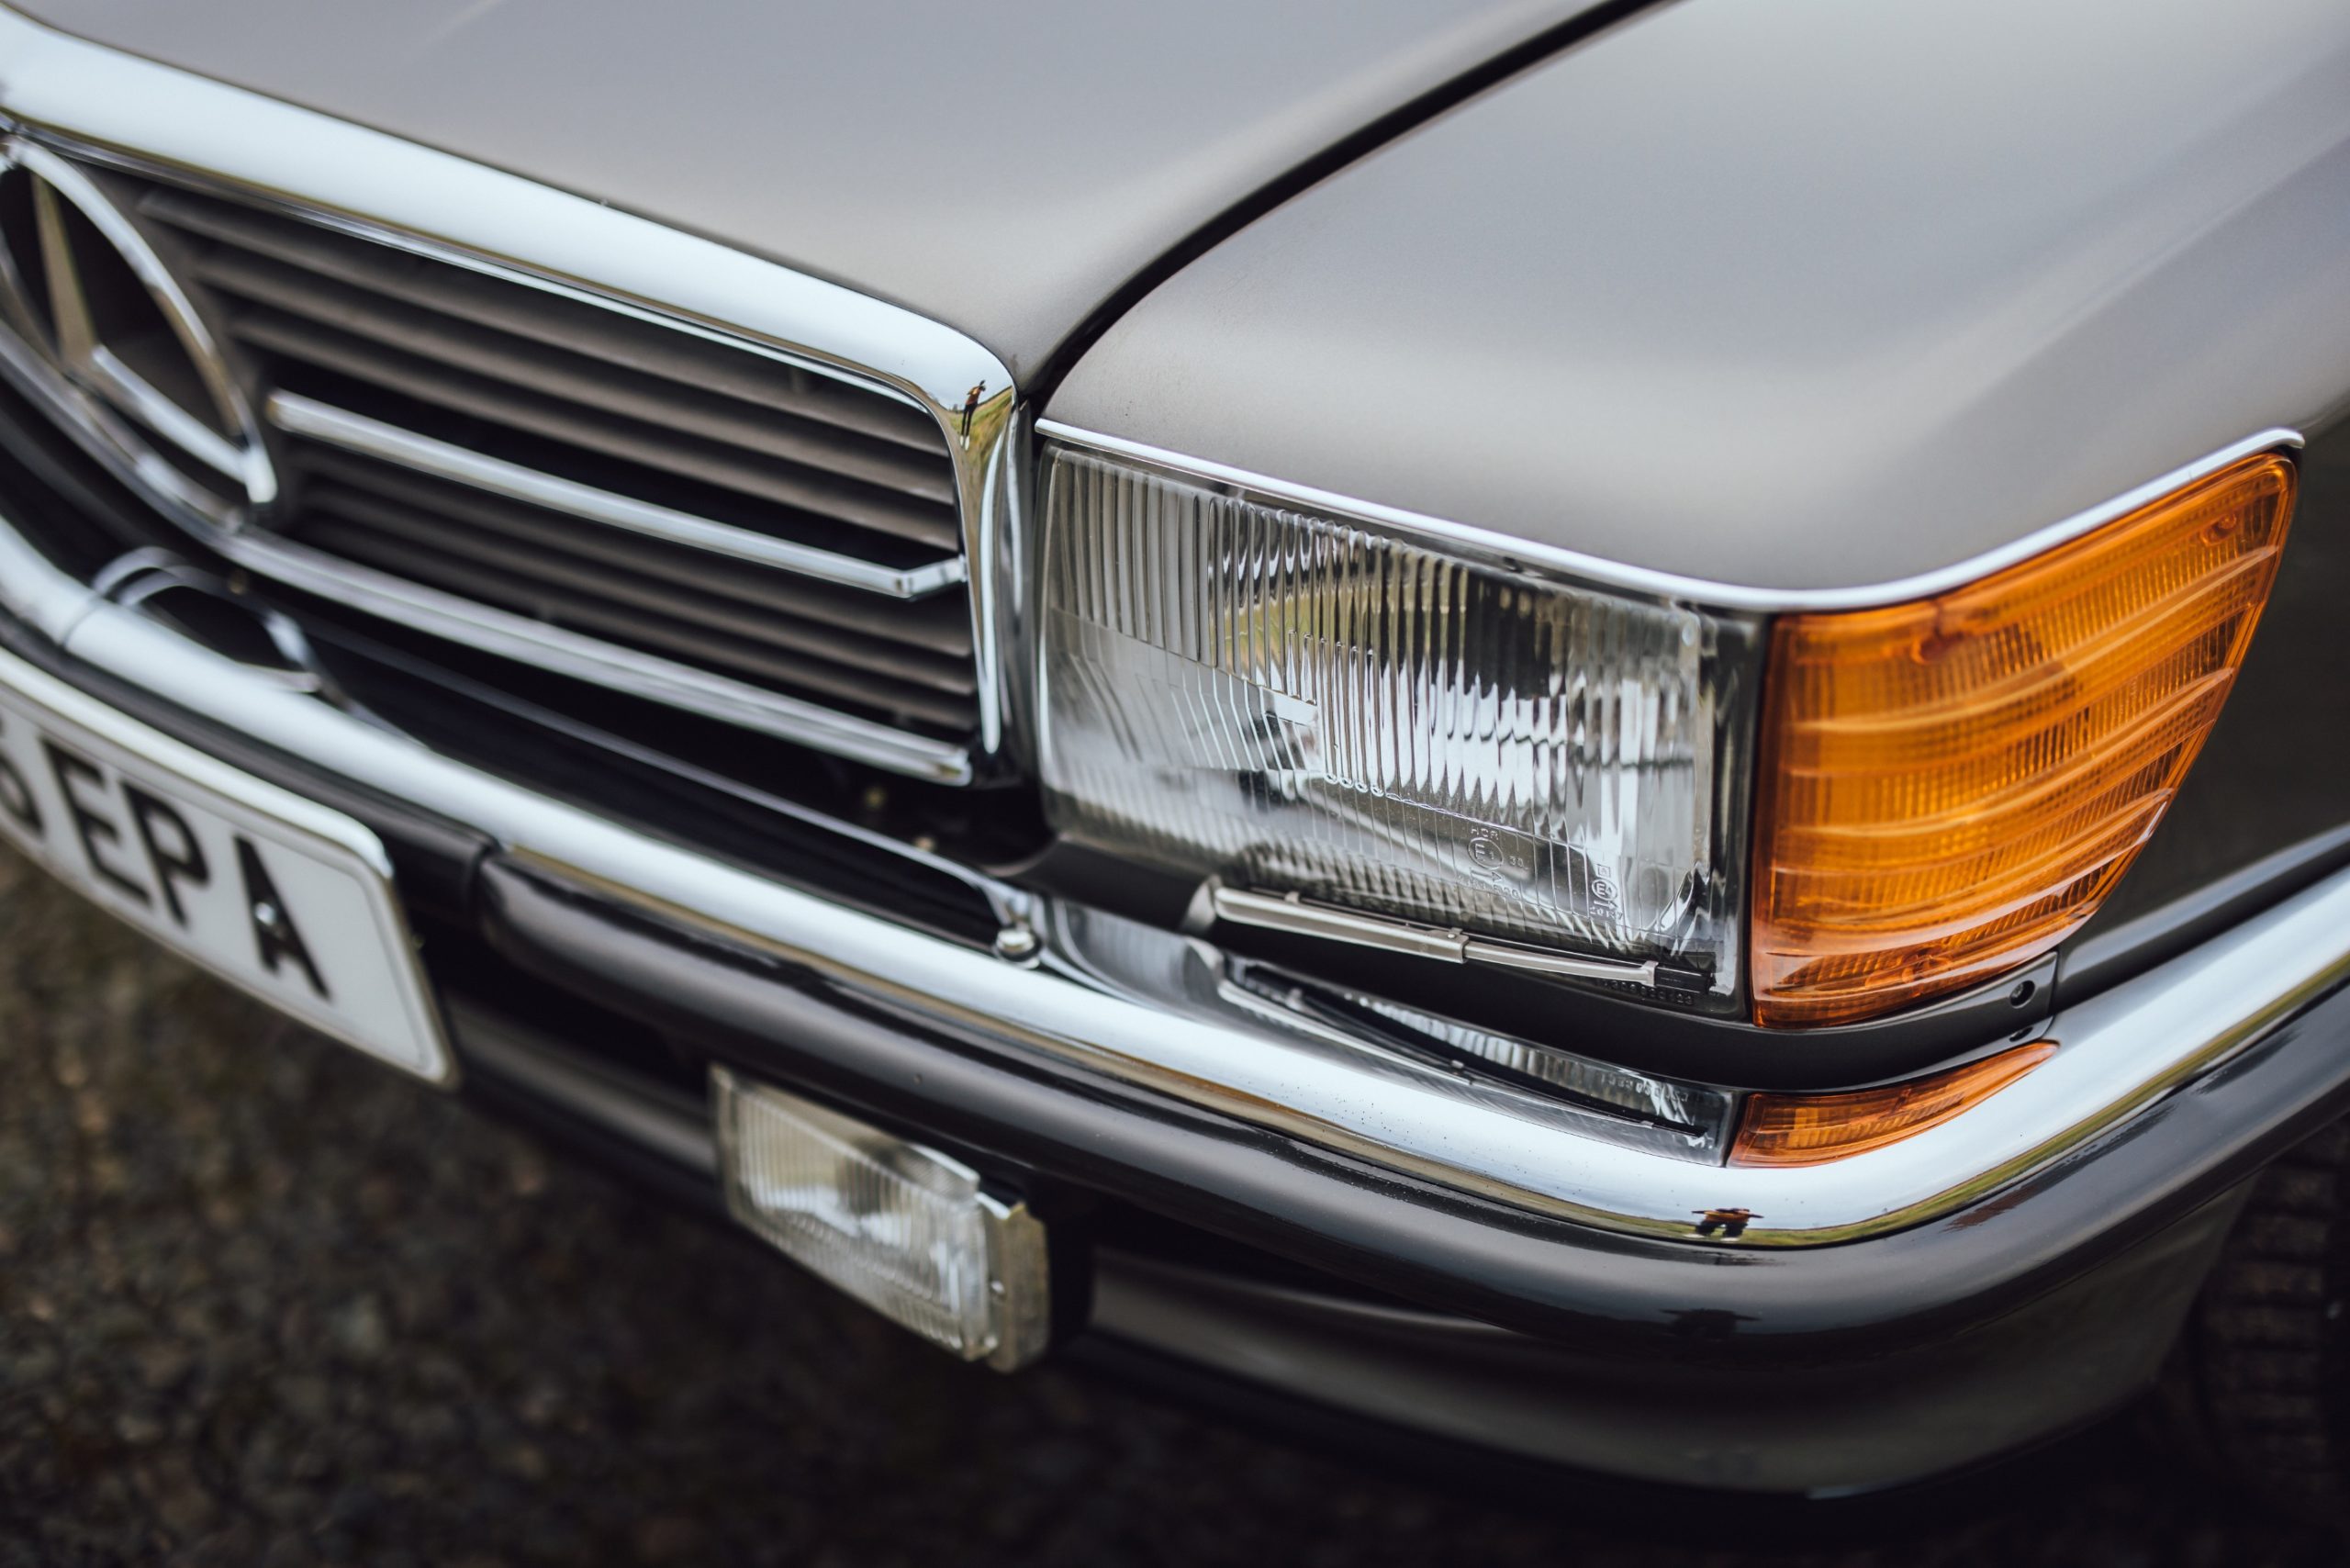
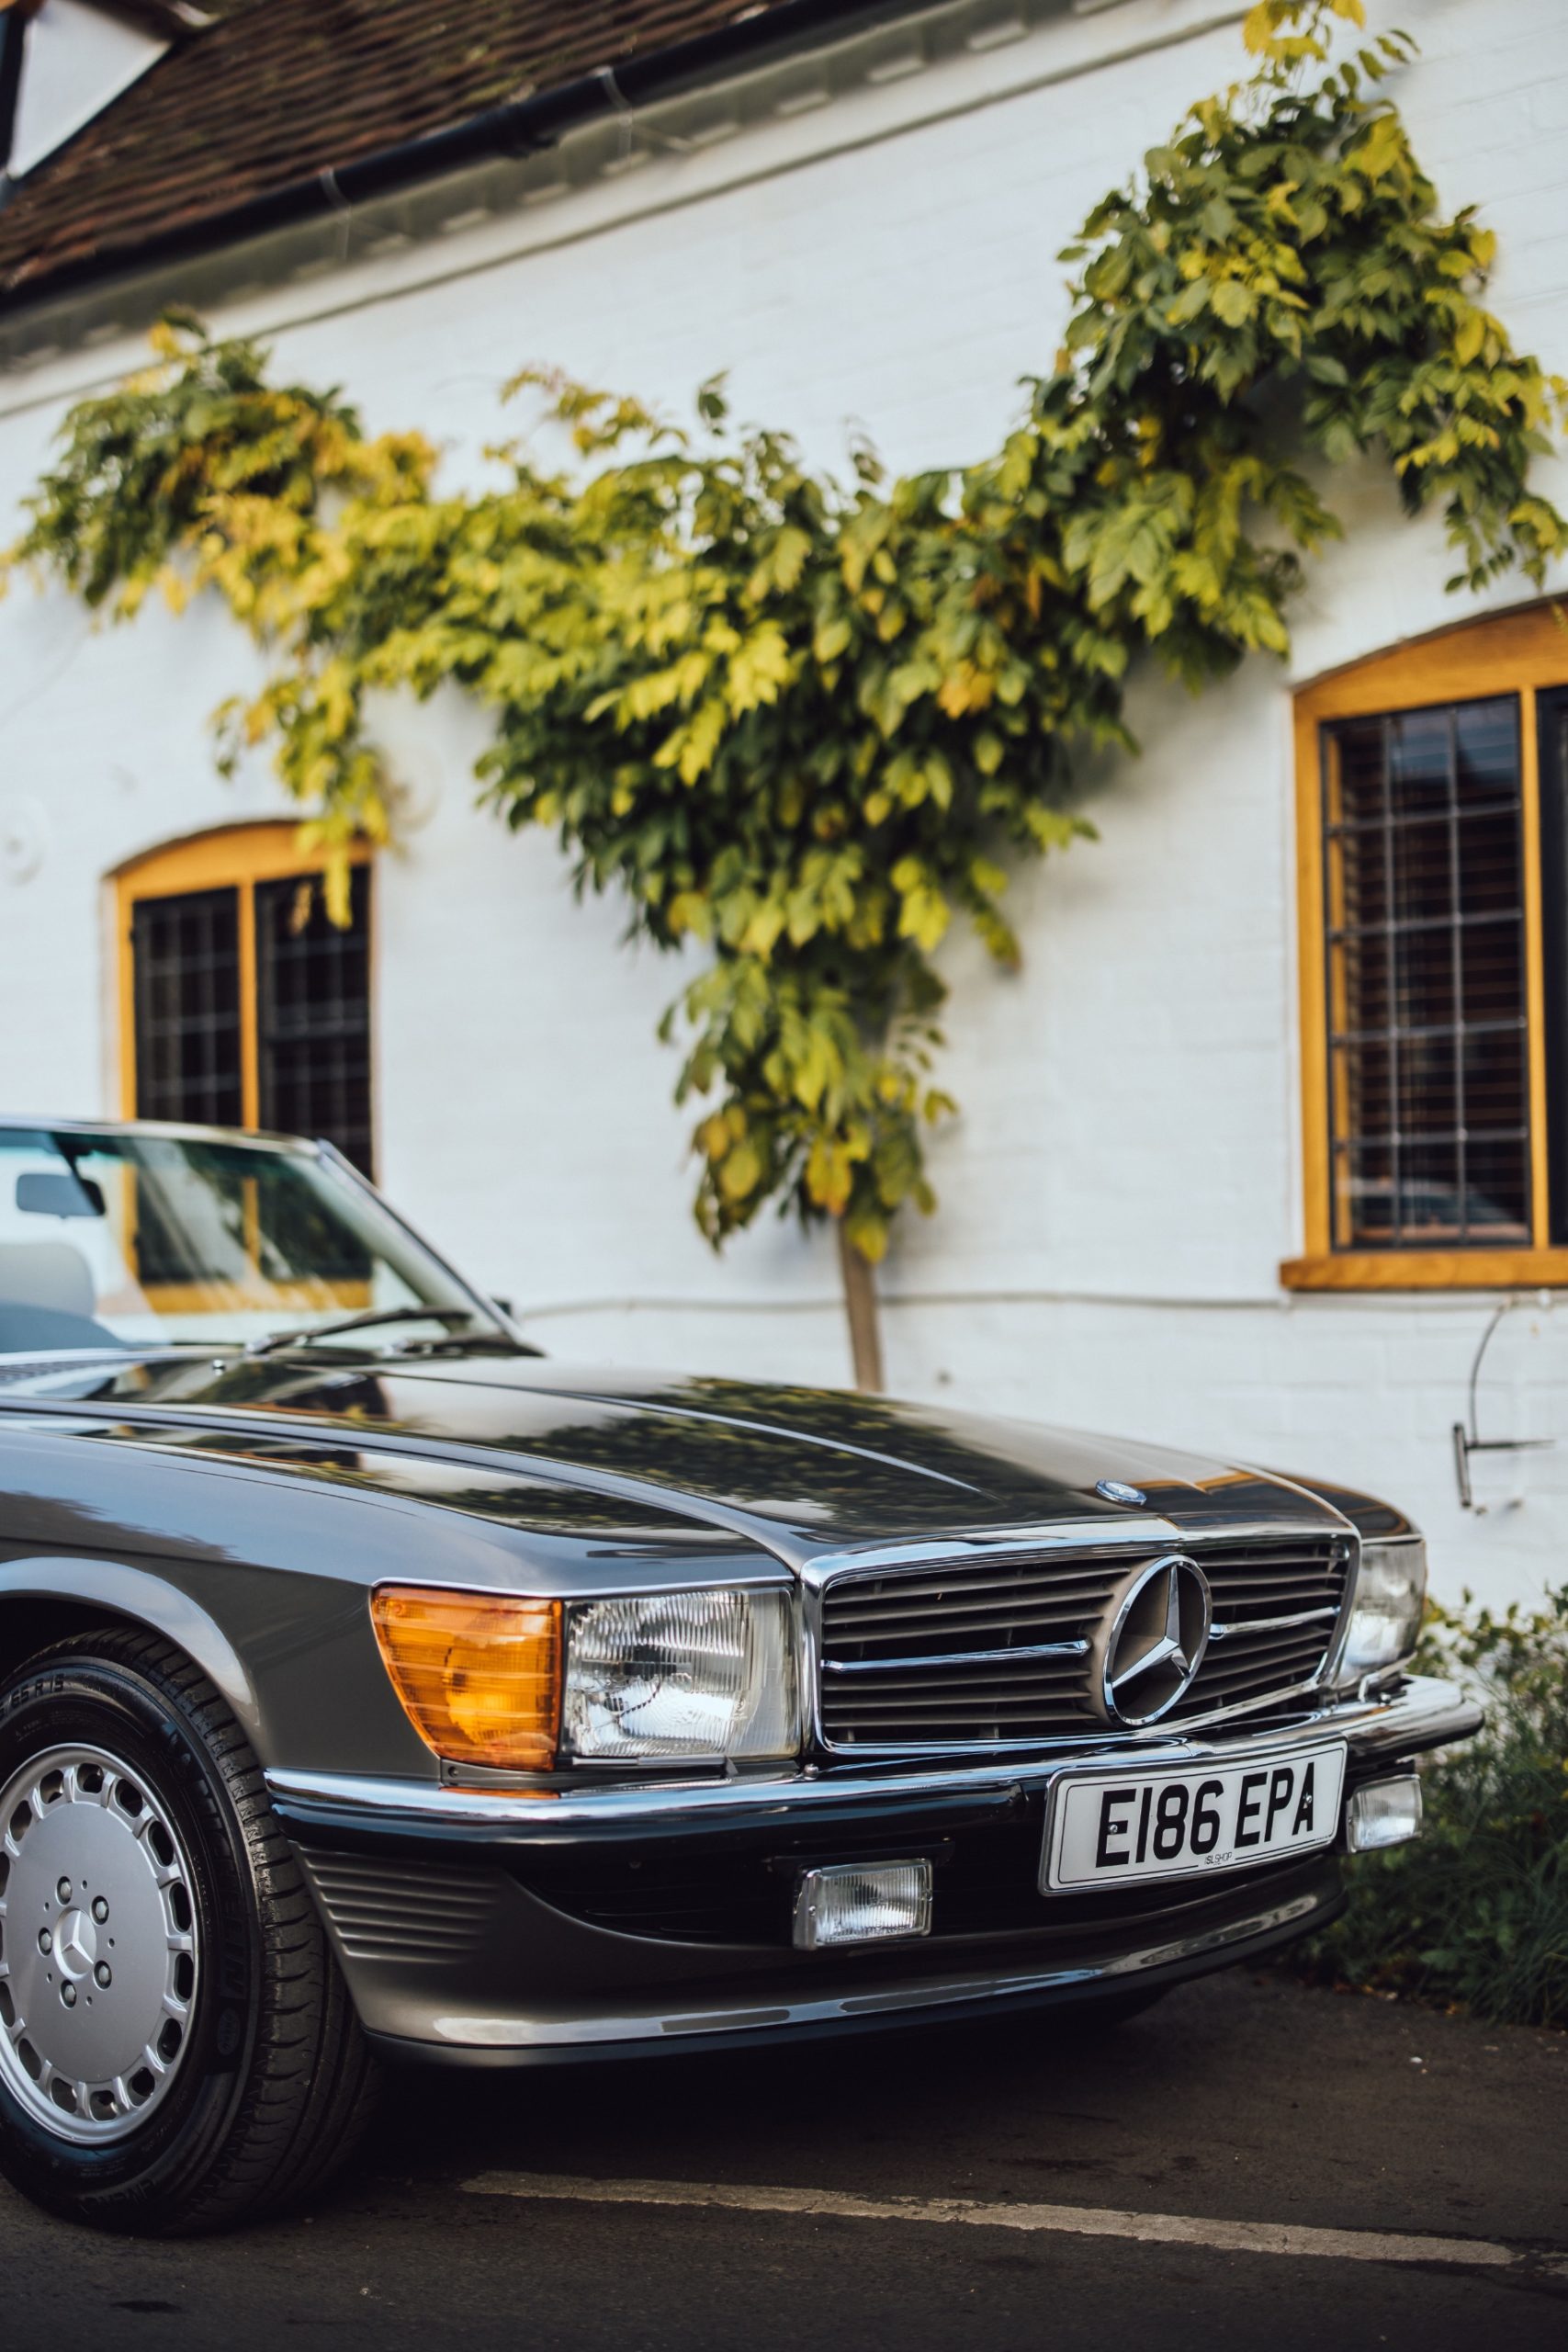
With the interior trim installed and the factory hard-top refinished to join the rest of the car, Sam Bailey was able to look back on the challenges they faced. ‘It should be easy for us,’ he says. ‘We carry about 13,000 lines in our parts business, but there’s always something you can’t get hold of. For example, the headlamps on this right-hand-drive car needed replacing but they’re not available new so we had to judge how to approach that – hunt good second-hand ones, rely on Mercedes restarting production, or commission our own? The first two options weren’t going to guarantee any further supply in the future so we’ve had them remanufactured. We’re now the sole supplier.’
Having invested so much time and money into this car – creating what must be the best 420SL in the world – could it simply slot into place in the showroom with other lovely examples costing half as much? Yes, because there’s always a demand for something exceptional. ‘The car has now sold to a customer who has huge plans for it,’ says Bruce Greetham. ‘We can’t say much more because it involves a surprise but suffice to say the location and the care invested in this event demanded a very specific and remarkable car, and we’re delighted to be able to help.’ Sam adds, ‘I also like to think of it as a tribute to the gentleman who sold it to us. ‘He thought it was worth restoring to the very highest standard. So did we.’
The current owner of this vehicle now wishes to hand over the keys to another enthusiast who has the time to enjoy this magnificent machine.
You can view this car on our Showroom page where you can book a viewing and test drive.
Share With Your Fellow Enthusiasts
Classic Mercedes Magazine, Issue 577
Words: Nigel Boothman
It was just a bare Mercedes 420SL shell on a spit,’ says Sam Bailey, founder of Mercedes R107 SL specialist The SL Shop. ‘Everything else was packed into boxes. Lots of boxes. We bought it from seeing a few photos – it seemed like it would be a good parts haul.’ The SL Shop’s parts department had been offered the car in sad circumstances. A customer had become ill and was unable to finish the restoration he’d started. Once Sam had seen the car in the metal, he realised it deserved a different fate. ‘The repairs I could see were not quite to SL Shop standards but for a home restoration, they’d been very carefully executed. Although dismantled, the car seemed to be complete and there were some well-restored components. The engine had supposedly been rebuilt. What’s more, this was a 420SL – it’s the least numerous R107 model.’
This left Sam in an unusual position.
The SL Shop is always busy with customer restorations, but now they’d have to find time for their own project. In the end, it disappeared under a dust sheet for a few years as the business grew and grew, but in 2019 Sam made the space and time available to begin the work. With so much experience of this model, surely his staff could throw it together in a few weeks? Well, no – it’s not quite as simple as that.
‘To restore the car to our standards we couldn’t take for granted that anything was correct. So even though we started with a repaired bodyshell, we had to strip it all over again and begin from the beginning. It was going to be a huge job.’
Low point: ‘Alignment of the door glass for a snug fit in both hard- and soft-tops. This job robs you of hours and fills the swear jar!’ Sam Bailey
First, peel the orange
The car’s bodyshell arrived in a coat of orange-red primer, covering up lots of seam sealer and making the repairs hard to judge. Rob Mccormack, Restoration Specialist at the SL Shop, knew what had to happen next. ‘We took the whole lot off with a wire wheel,’ he says. ‘It’s only by looking at the bare metal that you can be sure of the work. The gentleman had done a good job but we have specific measurements that aren’t available to the home restorer and I found a few things I needed to re-do.’
The first of these was pretty intimidating. The bulkhead in an R107 is a crucial structural feature but it’s about as close as these durable cars come to having a weak point. Water gets trapped near the top and it rusts through, as it must have done on this car. The previous owner had taken the bold step of ordering a new bulkhead – and it looked like an SL Shop part – to install himself. To anyone but Rob Mccormack, it looked fine.
‘The angle at which it sat wasn’t quite right,’ he explains. ‘I had to cut the welds, gently tap it into place and then re-weld the whole thing. The fit of the bulkhead doesn’t just affect the panel fit for the rest of the car but also the heater box. If it’s got too much or too little room, it can rattle or vibrate whenever the blower motor is used.’
Elsewhere, Rob discovered that the spare wheel well needed repairing, but in that case it was preferable to drill out the spot welds and replace the pressing from the SL Shop’s stock. One rear chassis leg showed a visible repair – structurally sound but noticeable. ‘It has to be invisible,’ Rob explains. ‘I cut out the repair, which was a bit of an overplate, and butt-welded new steel in there, flush with the surface.’
Once each repair was complete, Rob protected the area with acid-etch primer. Trial fitting of the external panels was a continuous process, ensuring that there were no nasty surprises once the structural repairs was completed and the final refit began.
‘The front wings bolt on and so there is a little bit of adjustment available,’ says Rob, ‘but with this car the wings that came with it were not quite straight enough – we used some of our own.’
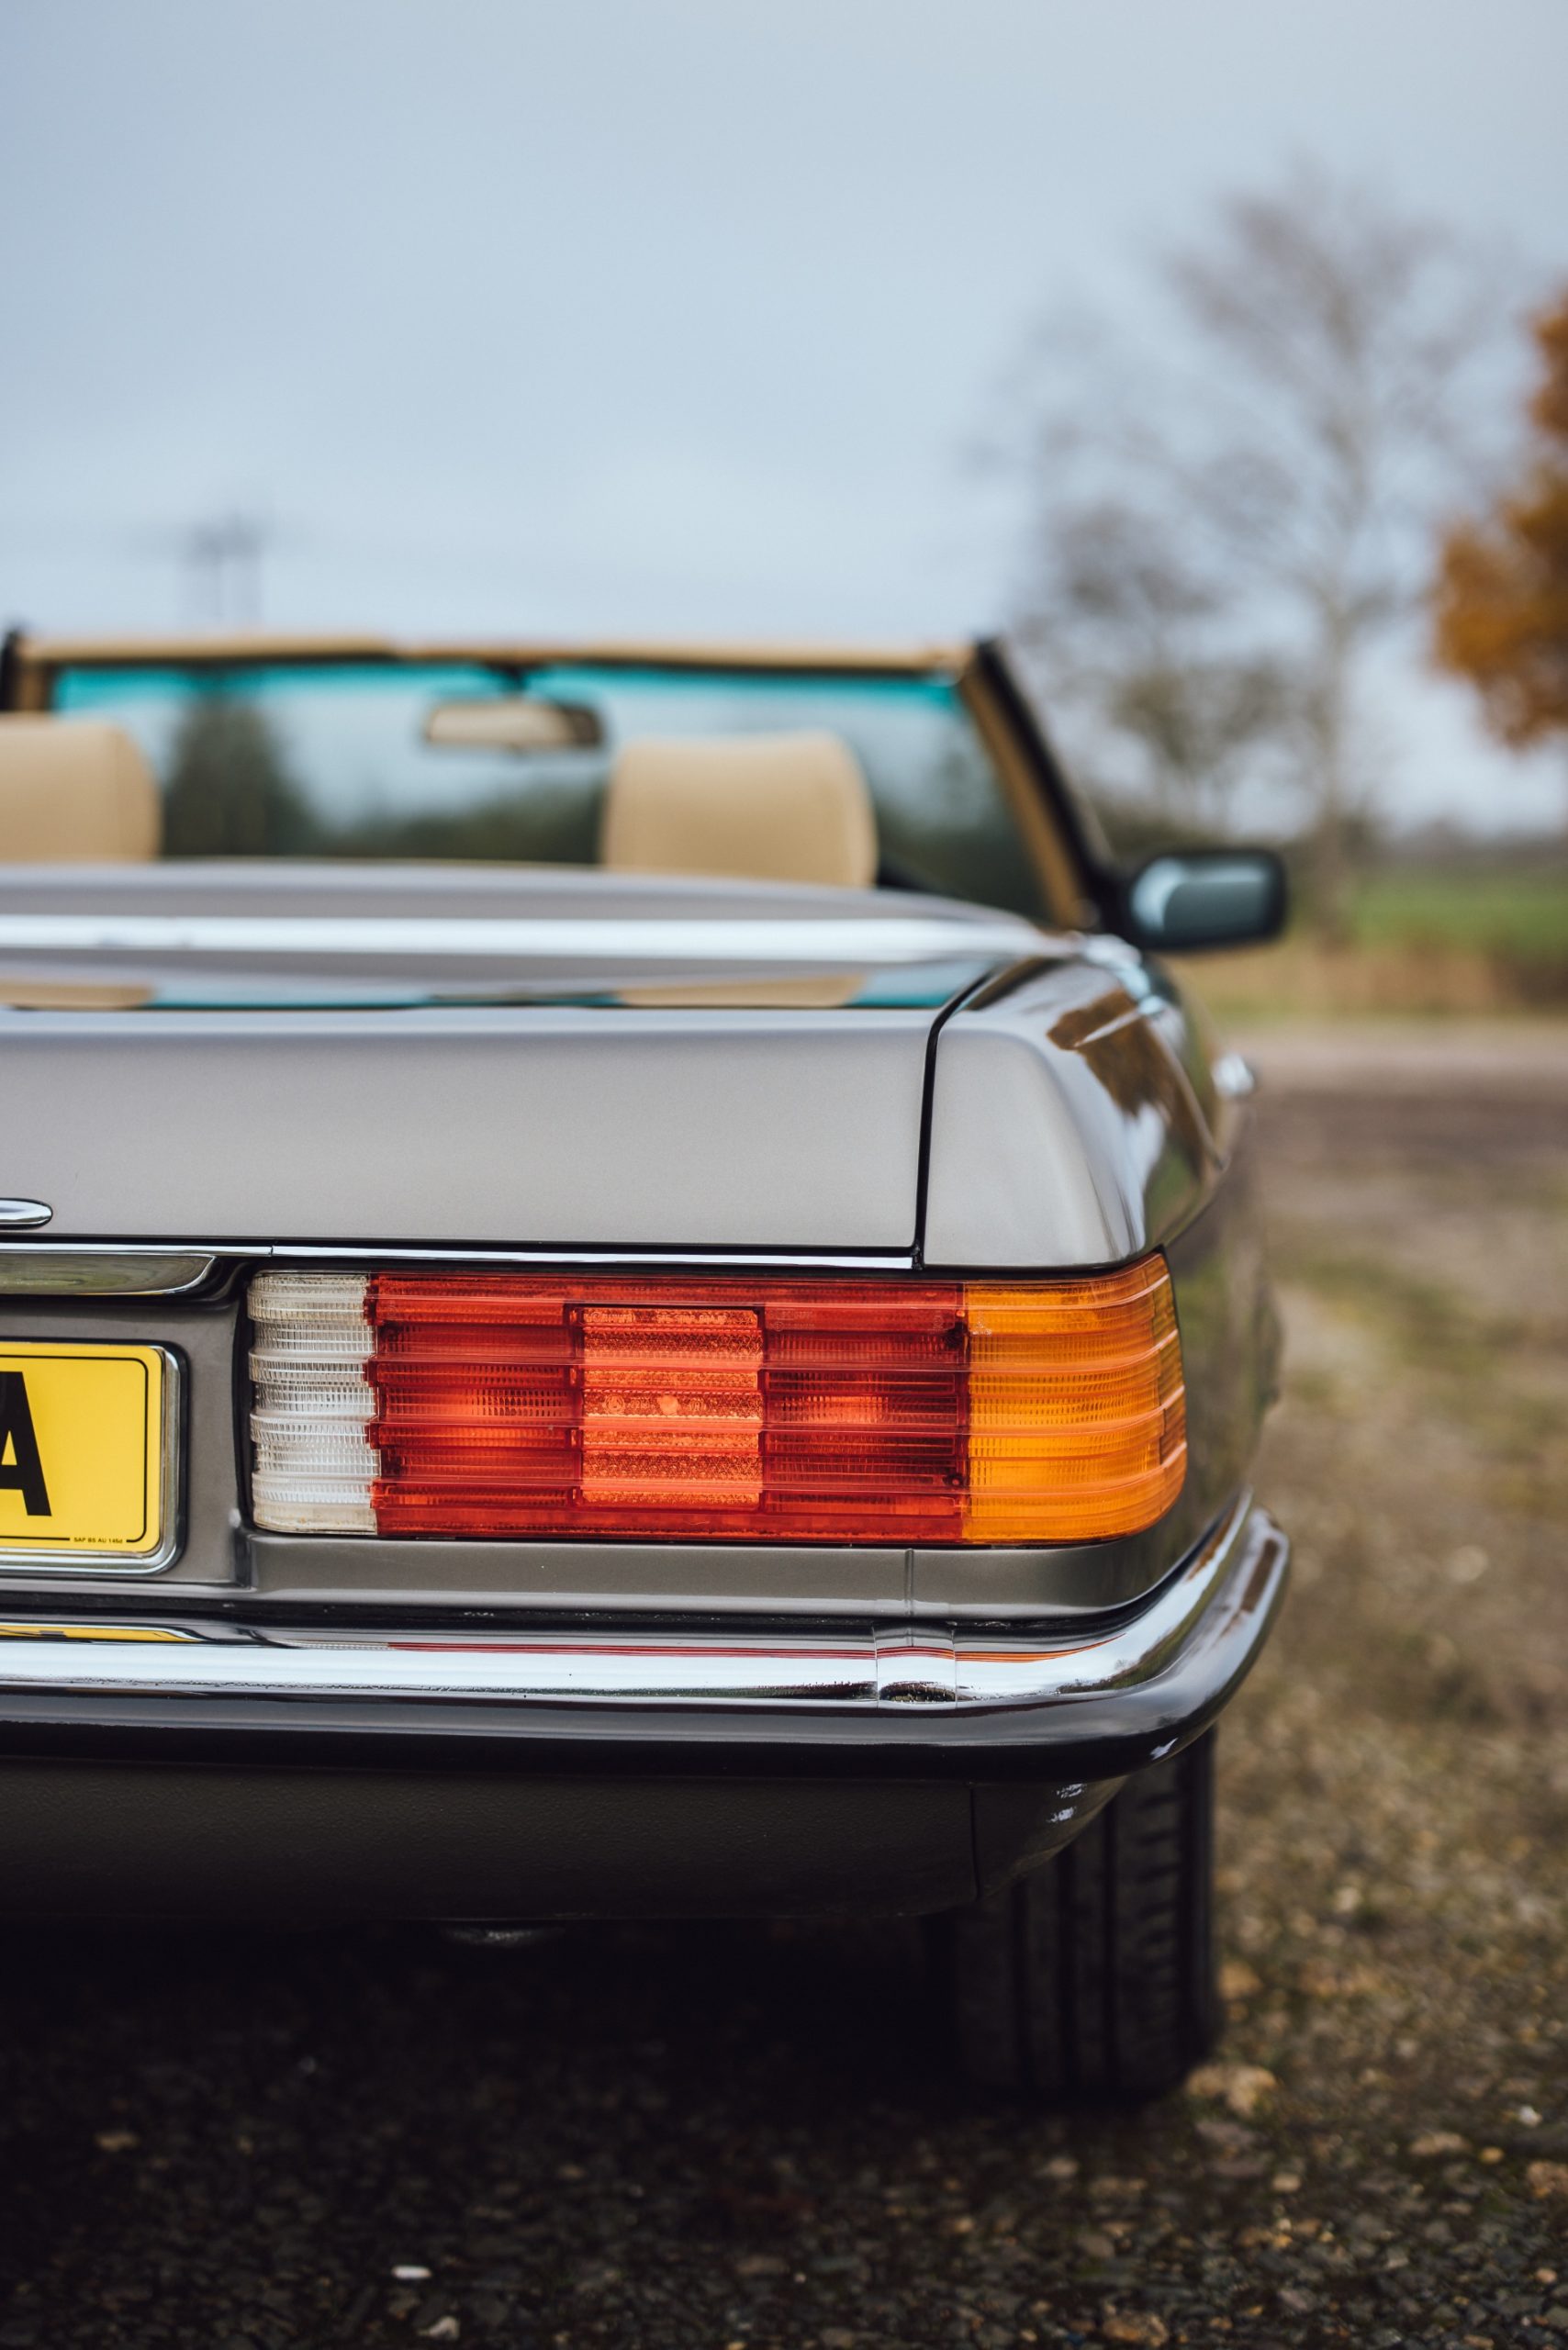
With time, the car’s date with the paint shop came closer, after which no bodywork repairs would be possible. ‘We had to know it was right,’ says Rob. ‘Every panel went on and off again dozens of times because we were continually trialling the panel fit, but in the end, we got to a final quality control meeting. That meant more than just checking the door gaps, so we fitted the light clusters, bumpers and trim and made our decisions. In the end it’s about aesthetic judgement as well as measurement.’
A change of colour
The car’s original colour was 568 Signal Red but Sam Bailey and managing director Bruce Greetham opted for a more understated hue – 172 Anthracite, another period option for the model, and one that complements the interior particularly well.
Stuart Bryant explains the paint shop’s procedure for replicating and even improving on the Mercedes factory finish. ‘Believe it or not, the first thing we did is strip it to bare metal – again. That protective etch primer came off and we got the levels and lines perfect with a polyester spray-putty called Plastomax made by Max Meyer, a German firm. We used its products at each step of the process so we could guarantee the work.’
Stuart’s team block-sanded the result by hand with 180-grit abrasives before using a 2K high-build primer and more handsanding at 320 and finally 500-grit to prepare for the base coat.
‘Every stage was done in a low-bake oven,’ continues Stuart. ‘Each new coat rested at 60°C for 40 minutes before we worked on it. We used three coats of lacquer to allow us to dig in hard and flat it back with 1500-grit right up to 4000 and then begin polishing, which still leaves plenty of material for many more years of polishing by the owner.’
With the SL’S bodyshell resplendent in its new shade, work to the cabin could commence. It had, in fact, already begun with the restoration and re-covering of the car’s seats. Sam Bailey reveals some of his more arcane knowledge of Mercedes trim specification as he recounts the process.
‘There was a change in the shape of the perforations in the seat leather about the time this car was made. It was important to get it right, so we had to establish that the pattern we’d be using was right – we couldn’t necessarily trust that the seats that came with the car were the originals.’
At some time in the 1985 or 1986 model year, the perforations changed from circular to diamond-shaped, a feature that probably coincided with seats that had larger bolsters and height adjustment. Sure enough, the later type was correct for this car. ‘We commissioned new covers of this pattern from a supplier in Germany so we could get exactly what we needed in Mushroom leather,’ says Sam.

The same went for the diminutive rear seats, one of many options ticked by the first owner. Not all of the cabin is leather though. The doorcards are MB-TEX vinyl, so Sam’s team also had to source cards in the correct tone and perforation pattern. ‘We used carpets commissioned from the same supplier in Germany,’ says Sam. ‘They’re just right for tone and texture as well.’
Sourcing all the items and materials was time-consuming, but the build-up process would be just as painstaking. That phase would have to wait for completion of the mechanical side of the job, where once again the team would make a call on what they could take on trust and what they must do all over again.
High point: ‘Right at the end – putting those final pieces of chrome on and stepping back’, Sam Bailey
Rebuilding the engine, again.
Simon Wood coordinates all the mechanical rebuilds at the SL Shop and takes a special interest in engine work. He describes how they approached the 420SL’S sizeable V8, ‘It was out of the car, of course, and mostly built up. It had indeed been apart for some work but there’s no way we could have just fitted it and hoped for the best, so we stripped it for a closer look.’
The more they looked, the more they found. Simon didn’t like the non-mb timing chain or the elderly chain guides and guide rails that’d been used. ‘We couldn’t trust the machining work either so once the cylinder heads came off we measured and examined everything and found one of the heads to be corroded around the coolant jacket. We had to Tig-weld that and then machine it flat.’
Simon found brand new camshafts in both cylinder heads so they could stay. Further down in the alloy engine block, the cylinder liners also measured up to specification, as did the connecting rods and pistons. ‘With the crankshaft out, we could check the bearing journals for ovality and scoring but they were in good shape. We didn’t like the bearings themselves, though, so we fitted new
Mercedes items along with a full gasket set. Before we reassembled it all, the major castings were stripped and soda-blasted to ensure everything was as clean as it could be.’

Next on the list was the four-speed automatic transmission. This went off to a gearbox specialist where nothing more than new gaskets and seals were required. Once the gearbox was in the car, though, Simon and his colleagues would have some careful work to do with the gearbox adjustment gauge – see My Favourite Tool to the right.
‘The engine and gearbox were quicker to finish than the ancillaries,’ says Simon. ‘Every single one of them was refurbished and some of them are pretty complex and unique to Mercedes. For instance, the cruise control unit works from a feed off the back of the speedometer and operates a mechanical linkage to the throttle. It features a solenoid that you can adjust with a coronet… there’s a special test box that we eventually plugged into the wiring loom on the inner wing – it lets you accelerate, slow down, set the speed and so on, while driving down the road.’
The main reason for the time taken over the many humble under-bonnet items was the standard that Simon and his colleagues were working towards throughout the project.
‘The aim was to leave each component exactly like the factory had finished it originally,’ he says. ‘That’s quite a big deal when you start with a box of old bits!’
Fiddly details
Harry Budd looked after much of the assembly and build-up for this SL and its component groups. He had a very clear path towards completion, ‘I had to refurbish the front and rear subframe assemblies. That meant a lot of stripping and refinishing of the subframes themselves, but also renewing bushes, ball joints, bearings, dampers and so on. When the bodyshell came back from paint these were ready to fit, but that wasn’t the first job – fuel and brake lines have to go in first.’
From there, the subframes were reunited with the car and suddenly it was back to rolling on its wheels. ‘After that, I installed a new wiring harness, and once that was in position, we were able to fit the engine and transmission,’ Harry continues. ‘Then I began to build up the bulkhead and dash.’
While work continued, Harry was making a list of anything else that would be needed. Some items were a late decision, such as the steering wheel. ‘The original wheel was a nice example but we had to consider it as part of a brand new car, because that’s what the restoration was going to produce. And it just wasn’t crisp enough, so we were able to source a new old-stock item.’
The B-pillar chromes are another example of the length Harry and the others had to go. The car’s original pieces had an excellent coat of chrome but were not a very good fit. Harry went through second-hand sets until he found some that fitted perfectly and then sent those for re-chroming.
‘Building up the bulkhead was pretty involved,’ he recalls. ‘First we applied some cavity wax over the paint, then installed the heater. This is made up of the first section, then the matrix, then the third section and the first and third sections have the control flaps in them. There are eight or ten levers behind the dash to move these flaps about, only on this car they’d worn out and stopped sliding. So I replaced them and modified the flaps to ensure they can’t get stuck again in the future.’
Harry also took this chance to check the wiper motors and lubricate the linkage before fitting it all, then returned to the build-up job inside the car. Next came the air-con system and the seals for all the apertures, then the section of the loom that controlled it all. Finally the new vacuum lines went in.
These small-bore tubes control rather a lot of the SL’S functions and fault finding after completion is a headache. The vacuum system is involved not only in the central locking but the speedometer, cruise control, fuel filler flap, boot release and even headlamp aim.
‘There are three lines into each door and an electric pump in the boot that runs the vacuum for the central locking,’ says Harry. ‘However it also uses inlet manifold vacuum. When the system gets old, as this one was, leaks occur. So ten minutes after you park, the car unlocks itself.’ With such a complex system, Harry took the only safe way forward and bench-tested as much of it as he could before installation, then section by section within the car.
If you can’t buy it, have it made
The SL Shop usually expects the rebuild of the bulkhead and dashboard to soak up 18 hours. Harry Budd invested at least 50 hours into this 420SL, such was the level the team wanted to hit. The dashboard dials, for instance, were not only reconditioned internally but had their needles re-coated by a specialist firm in Eastern Poland that uses the same flourescent paint Mercedes did.
With the interior trim installed and the factory hard-top refinished to join the rest of the car, Sam Bailey was able to look back on the challenges they faced. ‘It should be easy for us,’ he says. ‘We carry about 13,000 lines in our parts business, but there’s always something you can’t get hold of. For example, the headlamps on this right-hand-drive car needed replacing but they’re not available new so we had to judge how to approach that – hunt good second-hand ones, rely on Mercedes restarting production, or commission our own? The first two options weren’t going to guarantee any further supply in the future so we’ve had them remanufactured. We’re now the sole supplier.’
Having invested so much time and money into this car – creating what must be the best 420SL in the world – could it simply slot into place in the showroom with other lovely examples costing half as much? Yes, because there’s always a demand for something exceptional. ‘The car has now sold to a customer who has huge plans for it,’ says Bruce Greetham. ‘We can’t say much more because it involves a surprise but suffice to say the location and the care invested in this event demanded a very specific and remarkable car, and we’re delighted to be able to help.’ Sam adds, ‘I also like to think of it as a tribute to the gentleman who sold it to us. ‘He thought it was worth restoring to the very highest standard. So did we.’
The current owner of this vehicle now wishes to hand over the keys to another enthusiast who has the time to enjoy this magnificent machine.
You can view this car on our Showroom page where you can book a viewing and test drive.
Share With Your Fellow Enthusiasts
More from Journal
CARE
THE ULTIMATE CERTIFIED SERVICING INVESTMENT PLAN
Your ownership journey matters to us, which is why we have created a simple certified servicing investment plan, tailored to your individual needs and aspirations.
Start investing today and our dedicated CARE team will work with you to increase the value and enjoyment you receive from your vehicle.

STAY IN TUNE WITH SLSHOP MOMENTS
As part of SLSHOP’s community of enthusiasts, you’ll be the first to hear about events and tours, key product offers, exciting stories from owners around the world and of course… our latest additions to the showroom. So, be the first to know and you might just sneak a car on your driveway or take your car’s condition to new heights with our exclusive replacement parts.
Or, visit SLSHOP Journal
